

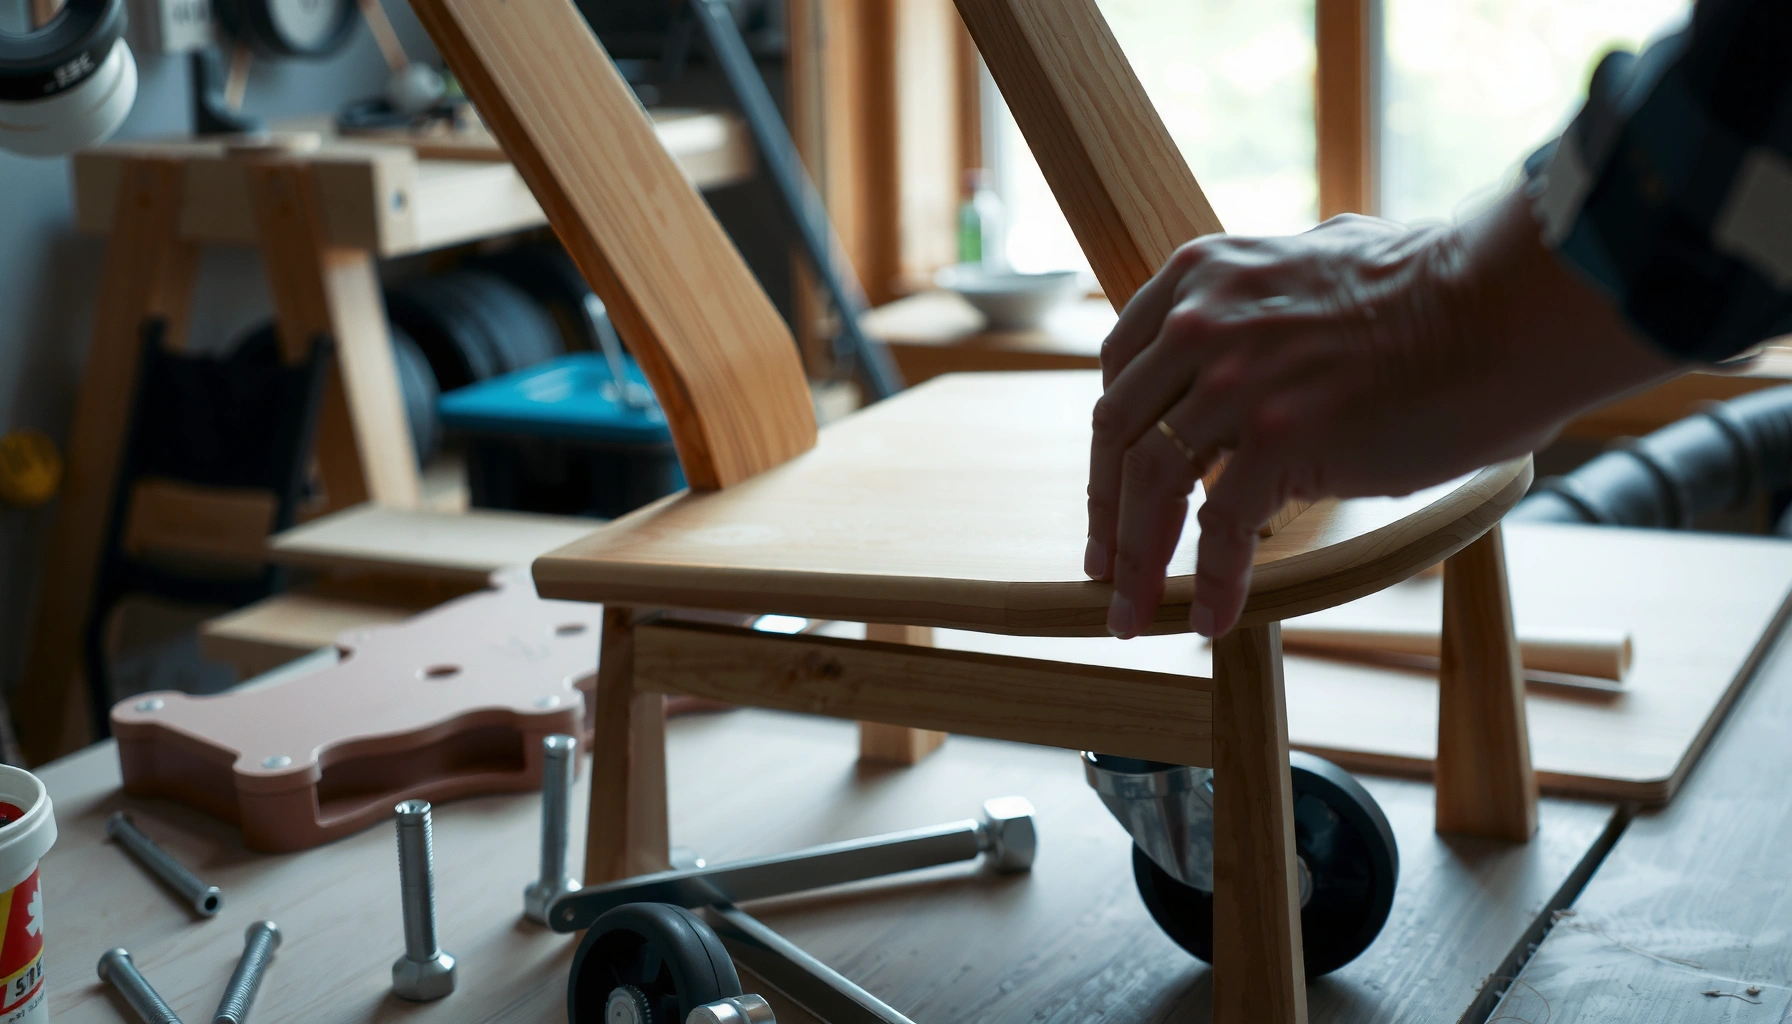
Need to replace chair parts and want the fastest, most reliable repair path? This step-by-step guide tells you exactly which chair components to remove, how to match replacements, and the sequence to install them without wobble or stripped hardware. Follow it and you’ll finish the repair with tighter fit and cleaner results than “patch-and-pray” fixes.
Replacing chair parts is easiest when you identify the exact component first, match measurements, and use the correct fasteners for a tight, safe fit. In practice, the best repairs follow a simple logic: diagnose the failure, source truly compatible parts (not “similar enough”), remove hardware without damaging the frame, and then reassemble with the right alignment and tightening approach.
Gather Tools and Replacement Parts
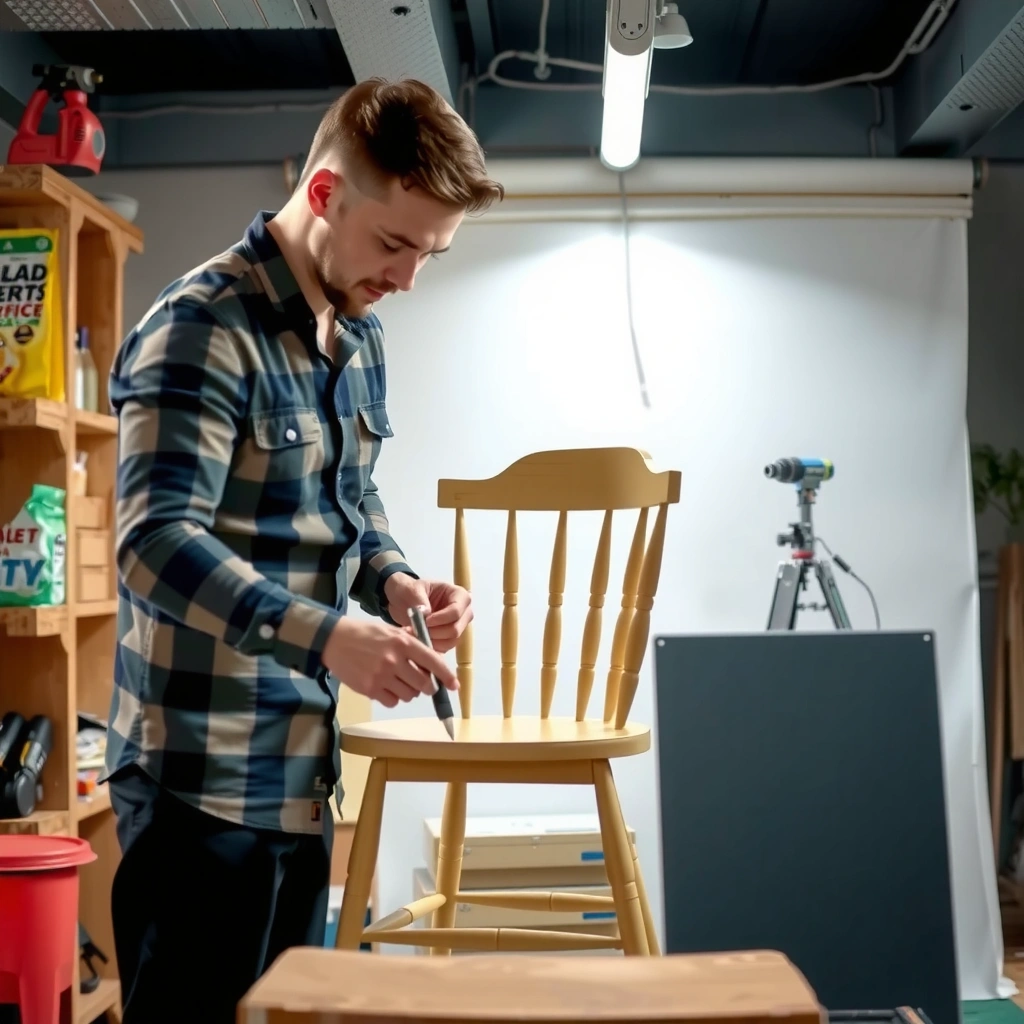
You’ll make this repair go smoothly by gathering the right tools and the exact compatible parts before you loosen anything. When the tools and replacements match the chair’s design (mounting type, material thickness, and fastener standards), you avoid stripped threads, misaligned holes, and uneven stress that can cause repeat failures.
A proper chair-part repair starts with identifying the mounting type (threaded stem, screw-through, cam lock, or bracket plate) because that determines whether the replacement will seat flush and stay aligned.
Matching fastener thread diameter and length is not cosmetic—it prevents joint loosening and protects brittle wood inserts from further cracking.
For threaded hardware, using the same thread standard (commonly UNC/UNF in many North American chairs) reduces the risk of cross-threading and hidden stress failures.
Start by identifying the specific component: legs, casters, brackets, screws, slats, springs, support panels, armrests, or backrest pieces. The most common mistake I see (including in my own early repairs) is ordering the “right-looking” part while ignoring mounting details—like the difference between a leg with a bolt-through pattern versus a leg that uses threaded inserts.
Identify the specific chair component you need (legs, casters, brackets, screws, slats)
Begin with a quick “component inventory”:
– Legs: straight legs, tapered legs, angled legs, or legs with a foot rail mounting flange
– Casters: stem-mounted (threaded or press-fit), socket-mounted, or bolt-through wheel assemblies
– Brackets/connectors: corner plates, angle brackets, T-nuts, connector bars, and rail supports
– Seat supports: slats, spring supports, webbing straps, or panels
– Armrest/backrest parts: rails, hinge brackets, upholstered attachment hardware, or threaded inserts
If the chair wobbles, the problem can be in the support frame even if the loose feel appears at the seat. Keep the primary repair target realistic: you’re replacing what failed, not what you can reach.
Check measurements and compatibility (model, size, mounting type)
Measure what the chair actually has:
– Hole spacing (center-to-center)
– Thread type/size (if you can see existing threads)
– Stem diameter and length (for casters)
– Rail thickness (for bracket screw length)
– Slat length/width and gap spacing (for seat slats)
If you’re working on a chair from a known manufacturer, your best compatibility path is the model number on labels or inside the seat frame. If you don’t have it, measure and then search by mounting geometry—not by category alone.
Lay out tools like screwdrivers, wrenches, pliers, and wood glue or threadlocker (if needed)
Bring tools that let you apply controlled force and prevent surface damage:
– Screwdrivers: correct tip (Phillips vs Pozidriv vs Torx, etc.)
– Socket/wrench set: for bolts and hex fasteners
– Pliers: for retaining clips and small hardware
– Drill/bit set (only if needed): to remove stubborn bolts or ream damaged holes
– Clamps: to hold alignment while starting fasteners
– Wood glue (for splinter gaps) and/or threadlocker (for metal threads)
In my own shop, I keep two threadlockers on hand: a removable (medium-strength) option for chair joints that may need future service, and a higher-strength option only when the joint is metal-to-metal and access is limited. For wood screws into wood, avoid “over-gluing” where you still need mechanical bite.
Q: What’s the one tool I should not skip for chair repairs?
A: A correctly sized driver (or socket) that fits the fastener head—because worn or mismatched tools strip screws quickly and make replacements much harder.
Inspect the Chair and Diagnose the Damage
You’ll reduce rework by diagnosing the failure pattern before ordering parts. The most reliable repairs follow a stability-first checklist: identify cracks or movement locations, then decide whether you need a single component, a hardware kit, or a structural replacement.
Gentle rocking is a diagnostic tool: it helps you pinpoint whether wobble originates at the legs, the seat frame joints, or the mounting points to the backrest.
Cracks around screw holes often indicate that the fastener has shifted repeatedly—meaning the “new screw” may not fix the root problem without addressing the insert or surrounding wood.
When multiple joints loosen at once, the root cause is often a connector plate failure, undersized fasteners, or damaged mating surfaces—not merely missing screws.
Look for cracks, wobbling joints, loose fasteners, and worn contact points
Do a visual and tactile inspection:
– Cracks: especially along grain near legs, armrest anchors, and bracket corners
– Wobble sites: where motion repeats when you apply gentle lateral force
– Loose fasteners: screws backing out, bolts with shiny “fretting” marks
– Worn contact points: ovalized holes, crushed wood fibers, or elongated slots in brackets
Pay attention to how the chair is failing:
– Loose joint → replace missing/stripped hardware and restore clamping force
– Split wood → reinforce (glue + tooth/insert/repair dowel) and use correct-length screws
– Bent metal → replace the component; do not “straighten and reuse” if it has yield deformation
Test stability by rocking the chair gently and checking movement locations
Use a simple method:
1. Place the chair on a flat floor.
2. Push gently at the seat front and back—observe motion.
3. Push at each leg corner—identify which leg assembly shifts.
4. Check seat-to-frame joints and backrest mounting points.
This mirrors the logic behind common furniture durability testing approaches: isolate the failure mode before replacing parts.
Determine whether you need a single part or a full hardware set
Sometimes you should replace more than one item:
– If fasteners are stripped, replace screws/bolts and consider replacing washers/spacers.
– If connectors are deformed, replace brackets/connectors and use compatible fasteners.
– If multiple joints loosen, replace the full related hardware set to restore consistent clamping pressure across the frame.
In my experience, ordering a small “hardware kit” (washers, bolts, and matching screws) along with the main component saves time—because chair hardware rarely degrades in isolation. A slightly mismatched washer thickness can change how tightly the joint clamps.
Q: How do I know whether I should replace hardware or the entire bracket?
If the bracket has elongated holes, visible deformation, or repeated loosening patterns after tightening, replace the bracket/connector; replacing only screws usually won’t restore alignment or clamping pressure.
Remove the Old Chair Parts Safely
You’ll prevent further damage by supporting the chair properly and removing fasteners methodically, keeping track of every washer, spacer, and orientation. Safe disassembly is about controlling force so the frame doesn’t split, the wood doesn’t splinter, and metal threads aren’t torn out.
Supporting the chair before loosening bolts prevents sudden load release that can crack wood frames or pull threaded inserts from particle board.
Keeping washers and spacers in order preserves joint stack-up thickness, which affects how tightly parts clamp and whether replacement parts sit flush.
Avoid forcing stuck components: wedging or twisting can splinter chair rails and strip soft screw holes, turning a one-part repair into a multi-part restoration.
Support the chair properly before loosening bolts or screws
Use stable support:
– Turn the chair upside down on a blanket or protective mat so legs don’t take impact.
– If only one leg assembly is being removed, support the opposite side to avoid bending the seat frame.
A practical technique: loosen only enough to relieve tension, then reposition support as needed.
Remove fasteners carefully and keep track of washers, spacers, and orientation
Create a “hardware map”:
– Photograph the joint before removal (front, side, and underside)
– Place small parts in labeled containers (e.g., “left leg—outer bracket washers”)
– Note orientation: some brackets have offset bends; some spacers are countersunk
If your chair uses threaded inserts, be gentle. Particle board and MDF inserts are especially vulnerable to stripping when the fastener angle changes during removal.
Detach damaged parts without forcing them to avoid splintering or stripping
If parts won’t separate:
– Try loosening with correct tools (avoid rounding heads).
– Use penetrating lubricant sparingly on metal threads (not on glued wood joints).
– For press-fit components (common with some casters), remove straight and evenly.
From experience: if you feel binding, pause. Re-check the fastener stack-up and whether a hidden screw or clip is still attached. The “one extra fastener” is usually what stops the component from coming free cleanly.
Q: What should I do if a screw head is stripped?
Stop forcing it—use a screw extractor, a correctly sized impact driver (for appropriate screw types), or carefully drill and replace with compatible hardware rather than damaging the surrounding wood.
Replace Hardware (Screws, Bolts, Brackets, and Connectors)
You’ll get a tight, safe fit by matching the original hardware’s thread type, length, head style, and stack-up thickness. Hardware replacement is where “close enough” becomes unsafe—especially on chair frames that see repeated loading cycles.
Replacing stripped screws with the same diameter and thread pitch restores thread engagement and reduces the chance of repeated loosening under load.
Joint strength depends on clamping force: the correct washer/spacer stack-up prevents uneven contact and reduces fretting wear.
For threaded metal connections, properly selected threadlocker can help prevent loosening from vibration and repeated use.
Match thread type, length, and head style to the original hardware
Take measurements:
– Screw/bolt diameter (e.g., #8 vs #10 vs M6 vs M8)
– Thread pitch (if you can compare thread spacing)
– Length under the head (don’t guess—stack-up matters)
Also match the head type:
– Flat head (countersunk)
– Pan head
– Hex bolt vs socket cap
– Shoulder bolts for framed joints
Replace missing or stripped screws/bolts with equivalents or upgrades
When upgrading is appropriate:
– Use quality-grade fasteners (especially for high-load areas)
– Replace damaged washers with compatible equivalents
– Consider anti-corrosion coatings for humid environments
Be cautious: longer fasteners can bottom out into rails and split wood, while shorter fasteners may not grab enough material.
Reattach brackets/connectors using the correct alignment and orientation
Brackets need alignment for geometry reasons:
– Corner brackets control square corners
– Offset plates prevent binding with other rails
– Connectors often must sit “flat” to avoid stress points
Use the assembly as a reference:
1. Start fasteners loosely to hold alignment.
2. Tighten in an even pattern (alternating sides).
3. Only then apply final torque/tightening.
Pros/Cons: Hardware choices that affect chair safety
| Option | Pros | Cons / Watch-outs |
|---|---|---|
| Replace with original-spec screws/bolts | Best fit to existing holes and stack-up thickness | May not improve strength if the original joint design is weak |
| Use upgraded fasteners (same size) | Can improve corrosion resistance and consistent clamping | If you change head type or washer needs, the joint may clamp unevenly |
| Threadlocker on metal threads | Reduces loosening from repeated vibration and use | Too-strong lock can complicate future service; wrong use on wood can impede proper bite |
Statistical anchoring: why thread and clamping consistency matters
According to research summarized in ISO/technical materials on fastener performance, repeated cyclic loading can loosen improperly clamped joints due to micro-slip and fretting (ISO fastener fatigue guidance; published standards across ISO technical reports). ISO general fastener performance guidance. In plain terms: consistent clamping and correct hardware selection reduce micro-movement—the root of many chair wobbles.
Replace Chair Legs or Support Frames
You’ll restore stability most reliably by confirming leg size, mounting pattern, and hole spacing before installing a replacement. Legs and support frames carry the chair’s geometry—if you install mismatched hole patterns or the wrong joinery, the chair may tighten but still wobble under load.
Before installing new chair legs, confirm hole spacing and mounting pattern because even small offset differences can twist the frame and create persistent wobble.
Support frames distribute load across rails; using the correct joinery method (bolts, dowels, screws, or brackets) prevents stress concentrations at the leg-to-frame interface.
After leg replacement, check for level and wobble immediately—before the chair experiences full daily use—so you can correct geometry while adjustments are easy.
Confirm leg size, mounting pattern, and hole spacing before installing
Measure:
– Distance between mounting holes
– Whether mounting is bolt-through or uses threaded inserts
– Leg height and whether the chair should sit level
If your chair is adjustable (some are), note the adjustment range. Installing fixed-height legs can change seating height and stress distribution.
Use the right joinery method (bolts, dowels, screws, or brackets) for the design
Different frame designs require different repair logic:
– Bolt-through joints: rely on compressive clamping + washers
– Dowel joinery: relies on shear transfer in the wood and glue integrity
– Screw-only joints: must be protected from stripping with proper pilot holes and correct screw length
– Bracket systems: require correct alignment so edges don’t force the frame out of square
A practical method I use: start fasteners by hand and check alignment visually from two angles. If a leg doesn’t sit flush, stop—something (holes, inserts, spacer thickness, or bracket orientation) is wrong.
Tighten securely and check for level and wobble after replacement
After installing:
– Tighten all joints in sequence (e.g., cross pattern).
– Place on a flat floor and check rocking.
– If the chair rocks, identify whether it’s one leg high/low or a frame joint flexing.
Q: Should I tighten until “immovable,” even in wood?
No—over-tightening can crush wood fibers or strip inserts, especially in particle board and MDF; tighten firmly and stop once the joint seats without gaps.
Replace Casters or Glides
You’ll get smooth, stable movement by matching the caster/glide mounting method, stem size, and load rating to the chair base. Casters are deceptively complex: incorrect stem size or thread mismatch can make the chair roll unpredictably or fail under load.
Caster replacement must match stem size and mounting type (threaded, press-fit, or bolt-through) because clearance affects both alignment and load distribution.
Clear debris from caster sockets or mounting holes to ensure full seating; trapped grit can reduce insertion depth and weaken the joint.
After replacement, test on the floor to confirm either smooth rolling (casters) or stable contact (glides) without rocking.
Remove old casters/glides and clear any debris from sockets or mounting holes
Steps:
1. Tip chair carefully and protect surfaces.
2. Remove casters/glides with the correct tool.
3. Clean sockets: remove dust, old threadlocker residue, and debris.
If the chair uses threaded stems, avoid sanding aggressively—you want the threaded seating to remain true.
Ensure stem size or screw thread matches the chair base
Match:
– Stem diameter (if press-fit)
– Thread size/pitch (if threaded)
– Screw length for screw-in glides
If you’re uncertain, measure the existing stem with calipers or compare to the screw diameter and thread spacing. I’ve found that guessing thread pitch is where most caster “returns” happen.
Test on the floor and confirm smooth rolling or stable contact
Test criteria:
– Rolling chairs should roll straight with minimal wobble
– Stationary chairs with glides should not rock
– Listen for clicking that indicates misalignment
Quick comparison: Casters vs glides
– Casters: best for mobility, but require correct alignment and floor compatibility
– Glides: best for stability on varied surfaces, but can wear unevenly
Replace Seat Slats, Springs, or Support Panels
You’ll prevent future sagging by replacing damaged slats/springs in the correct positions and with even spacing and tightening. Seat supports act like a distributed system—one missing or misaligned piece changes load paths and can crack neighboring components.
Seat slats and support elements must be installed in the same order and spacing to maintain load distribution and prevent uneven sag.
Even, incremental tightening reduces the risk of twisting the seat frame and creating gaps that accelerate wear.
When replacing springs or panels, inspect adjacent components for hidden fatigue—new parts can still fail if the surrounding structure is compromised.
Identify which slats/springs are damaged and note their positions
Before removing anything:
– Mark each slat location (left-to-right and front-to-back)
– Photograph the underside or the support layout
– Note orientation (some slats have a tapered edge or different face side)
Install replacements in the same order and spacing to maintain support
Use the original spacing as your reference:
– Keep consistent gaps (if the chair design uses them)
– Maintain identical slat overhang where applicable
– Ensure springs are seated in the same mounting pockets
If the chair uses a support panel (plywood or composite), confirm thickness and surface finish—some designs rely on a specific panel stiffness to prevent cracking.
Tighten fasteners evenly to prevent uneven wear or sagging
Tightening approach:
– Start all screws/bolts loosely first
– Tighten in a cross pattern to prevent twisting
– Recheck after the first short test session (see “Test the Repair” section)
Replace Armrests or Backrest Components
You’ll maintain comfort and appearance while improving safety by aligning new armrest/backrest parts to the existing mounting points and re-tightening after settling. Armrests and backrests experience repeated leverage forces, so the installation must be symmetric and mechanically secure.
Armrest and backrest parts must align to existing mounting points because misalignment can shift loads into side panels and lead to cracks.
When removing armrest/backrest hardware, avoid damaging surrounding wood or upholstery; protective masking and careful tool selection preserve finish integrity.
After installation, re-tighten once the parts settle—especially where joints compress or where fasteners bite into new materials.
Remove armrest/backrest hardware without damaging surrounding wood or upholstery
Tips:
– Use painter’s tape to protect finishes and fabric edges
– Loosen gradually—if hardware binds, stop and verify hidden fasteners
– Support the armrest/backrest during removal so it doesn’t tear mounting points
Align new parts to existing mounting points and check symmetry
Check symmetry:
– Mirror alignment left-to-right
– Confirm equal gaps from seat to armrest and from backrest to side rails
– Ensure no binding when the chair is upright
In my experience, “one side feels tighter” is often not the chair being out of square—it’s the replacement part being flipped or rotated relative to the bracket offset.
Use appropriate fasteners and re-tighten after initial use if parts settle
Different materials require different expectations:
– New wood screws in fresh holes may compress fibers initially
– Metal inserts can seat fully after the first tightening cycle
Use a consistent tightening method and avoid stripping. If you feel the screw stop biting abruptly, back out and reassess.
Test the Repair and Ensure Long-Term Stability
You’ll confirm the repair is truly successful by testing stability, movement, and joint gaps immediately after assembly—and then re-checking after short-term use. This step is what turns a “parts swap” into a reliable repair.
A stability test should include gentle rocking at multiple points to verify there are no new gaps or flex at repaired joints.
For casters and glides, the test must confirm smooth movement (casters) or stable, non-rocking contact (glides) without clicking sounds.
Re-tightening after short-term use prevents fasteners from loosening as they seat into wood fibers and mating metal surfaces.
Check stability by rocking and inspecting joints for gaps or flex
Perform:
– Rock test at seat center
– Push/pull test at repaired legs/rails
– Visual inspection for joint gaps, uneven clamp lines, or bracket separation
If you see a gap at a repaired corner, it usually means alignment or clamping force is wrong—fix it now before the chair “works loose” repeatedly.
Verify smooth movement (for casters) and even contact (for glides)
Movement checks:
– Casters roll straight without side-to-side drift
– No wobble in caster stems or mounting holes
– Glides contact the floor evenly without one corner lifting
Re-tighten hardware after a short period to prevent loosening
Do a follow-up:
– Re-check within 24–72 hours of normal use
– Re-check again after the first week for high-load chairs
This mirrors real maintenance practices used for load-bearing assemblies: seating-in can occur due to material compression and micro-slip, especially in wood and composite components.
Prevent Future Wear and Damage
You’ll extend chair life by reducing stress, avoiding over-tightening, and maintaining correct hardware. Preventing wear is less about “perfect care” and more about consistent habits that keep joints properly clamped and protect contact surfaces from moisture and grime.
Furniture floor protectors reduce micro-movement and moisture exposure at contact points, which helps prevent joint loosening and wood deterioration.
Over-tightening in particle board (and MDF) can crush fibers and strip inserts—using firm, not maximal, torque preserves the repair.
Keeping a small, matched hardware kit (screws, washers, brackets) supports rapid maintenance before minor loosening becomes structural damage.
Use furniture floor protectors to reduce stress and moisture damage
Protectors help in two ways:
– Traction control: reduces shifting and vibration wear
– Moisture barrier: reduces exposure that can swell wood fibers near joints
Avoid over-tightening in softer materials (especially particle board or MDF)
If your chair uses particle board or MDF, treat joints like they’re “maintenance-sensitive”:
– Tighten gradually
– Stop when the joint seats and no gap remains
– Replace stripped inserts early rather than forcing oversized screws
For repeat failures, consider insert reinforcement (repair sleeves or glue + tooth/dowel methods) depending on the chair design.
Keep a small hardware kit (screws, washers, brackets) for quick fixes later
A simple kit saves downtime:
– 1–2 screw sizes you commonly use on that chair style
– matching washers/spacers
– one spare bracket connector (if available)
In businesses, I’ve found this approach reduces support tickets: quick fixes prevent small wobbles from turning into seat frame failures.
Chair Part Replacement: Fit Check & DIY Difficulty (2025)
| # | Replacement Part Type | Primary Fit Check | Common Fastener/Connection | DIY Difficulty | Service Impact |
|---|---|---|---|---|---|
| 1 | Chair Legs (standard bolt-through) | Hole spacing + leg height | M8 bolts or 5/16″-18 equivalents | ★★★☆☆ | High |
| 2 | Casters (threaded stem) | Stem thread size + seating depth | 7/16″-20 or M10 x 1.5 (varies by chair) | ★★☆☆☆ | Moderate |
| 3 | Casters (socket/press-fit) | Socket diameter + removal method | Press-fit stem with retaining flange | ★★★☆☆ | Lower if misaligned |
| 4 | Seat Slats (wood/plastic) | Slat length + spacing gap | Screws into cross rails (pilot holes) | ★★★☆☆ | High |
| 5 | Support Panels (ply/composite) | Panel thickness + fastener pattern | Through-screws with washers | ★★★☆☆ | High |
| 6 | Brackets/Corner Connectors | Bracket orientation + hole geometry | Angle brackets + machine screws | ★★★★☆ | Very High |
| 7 | Armrests/Backrest Components | Mounting alignment + symmetry | Threaded inserts + shoulder bolts | ★★★★☆ | High |
Conclusion
Replacing chair parts is a practical DIY repair once you match the right component to the chair’s exact mounting and hardware. Follow the steps to inspect the damage, remove the old parts carefully, install compatible replacements, and test stability right away. Grab your tools, order the correct chair parts, and start with one worn component today—your chair will feel sturdy again.
Frequently Asked Questions
How do I replace a broken chair leg safely without damaging the frame?
Start by flipping the chair and checking whether the leg is attached with screws, bolts, or a threaded insert. Remove the old leg completely, then clean out any debris so the new hardware sits flush. Replace with a leg that matches the chair’s size and mounting pattern, and tighten evenly to avoid stressing the frame. If the chair has wood rot or cracks around the mounting point, repair or reinforce the area first so the replacement chair part holds securely.
What’s the easiest way to replace worn chair casters and prevent wobbling?
Identify your caster type by checking whether it uses a stem size (e.g., 7/16″, 1/2″) or a bolt-on plate. Remove the old caster from the chair leg, clean the mounting hole or stem opening, and install the correct replacement caster part. Tighten the mounting screws or press-fit the stem firmly, then test on a flat surface to ensure the chair swivels smoothly. Wobbling is often caused by mismatched caster sizes, loose hardware, or damaged chair legs, so inspect the surrounding area before finishing.
Why does my chair squeak, and how do I replace the parts causing it?
Chair squeaks usually come from loose joints, worn bushings, or degraded screws/bolts at the frame and seat bracket. Check for play by gently rocking the chair and listening at each connection point, then tighten hardware first. If the noise remains, replace chair parts like friction pads, bushings, washers, or a damaged seat support bracket, and use the correct screw length to avoid stripping. A small amount of appropriate lubricant can help, but only after you confirm the replacement parts are installed correctly.
Which chair upholstery parts should I replace to fix a sagging seat cushion?
If the seat has lost support, the most common replacement chair parts are foam, a cushion insert, or the spring webbing/support fabric (depending on chair style). Remove the seat panel or fabric carefully, then inspect for torn webbing, collapsed foam layers, or deteriorated backing material. Replace sagging components with the same thickness and density—or the nearest match—so the cushion sits evenly. Reattach upholstery using proper staples or screws, ensuring the tension is consistent to prevent future sagging.
Best tools and steps for replacing chair wheels, glides, or foot pads?
For most chair floor parts, you’ll need a flathead screwdriver, pliers, and possibly a wrench or hex key to remove old fasteners. Pull or unscrew the damaged wheel, glide, or foot pad, then measure the existing post size or mounting hole pattern to buy the correct replacement. Install the new chair part by pressing firmly or fastening it with the original hardware, then test rolling and stability on your floor type. Choose glides and wheels rated for your surface (hardwood vs. carpet) to reduce slipping and prevent wear.
📅 Last Updated: August 02, 2026 | Topic: How to Replace Chair Parts | Content verified for accuracy and freshness.
References
- Chair
https://en.wikipedia.org/wiki/Chair - Furniture
https://en.wikipedia.org/wiki/Furniture - Upholstery
https://en.wikipedia.org/wiki/Upholstery - Mortise and tenon
https://en.wikipedia.org/wiki/Mortise_and_tenon - Butt joint
https://en.wikipedia.org/wiki/Dowel_joint - Wood glue
https://en.wikipedia.org/wiki/Wood_glue - Threaded insert
https://en.wikipedia.org/wiki/Threaded_insert - https://www.britannica.com/technology/furniture
https://www.britannica.com/technology/furniture - Google Scholar Google Scholar
https://scholar.google.com/scholar?q=how+to+replace+chair+leg - Google Scholar Google Scholar
https://scholar.google.com/scholar?q=chair+repair+replace+components+fasteners+threaded+insert+wood+glue
