

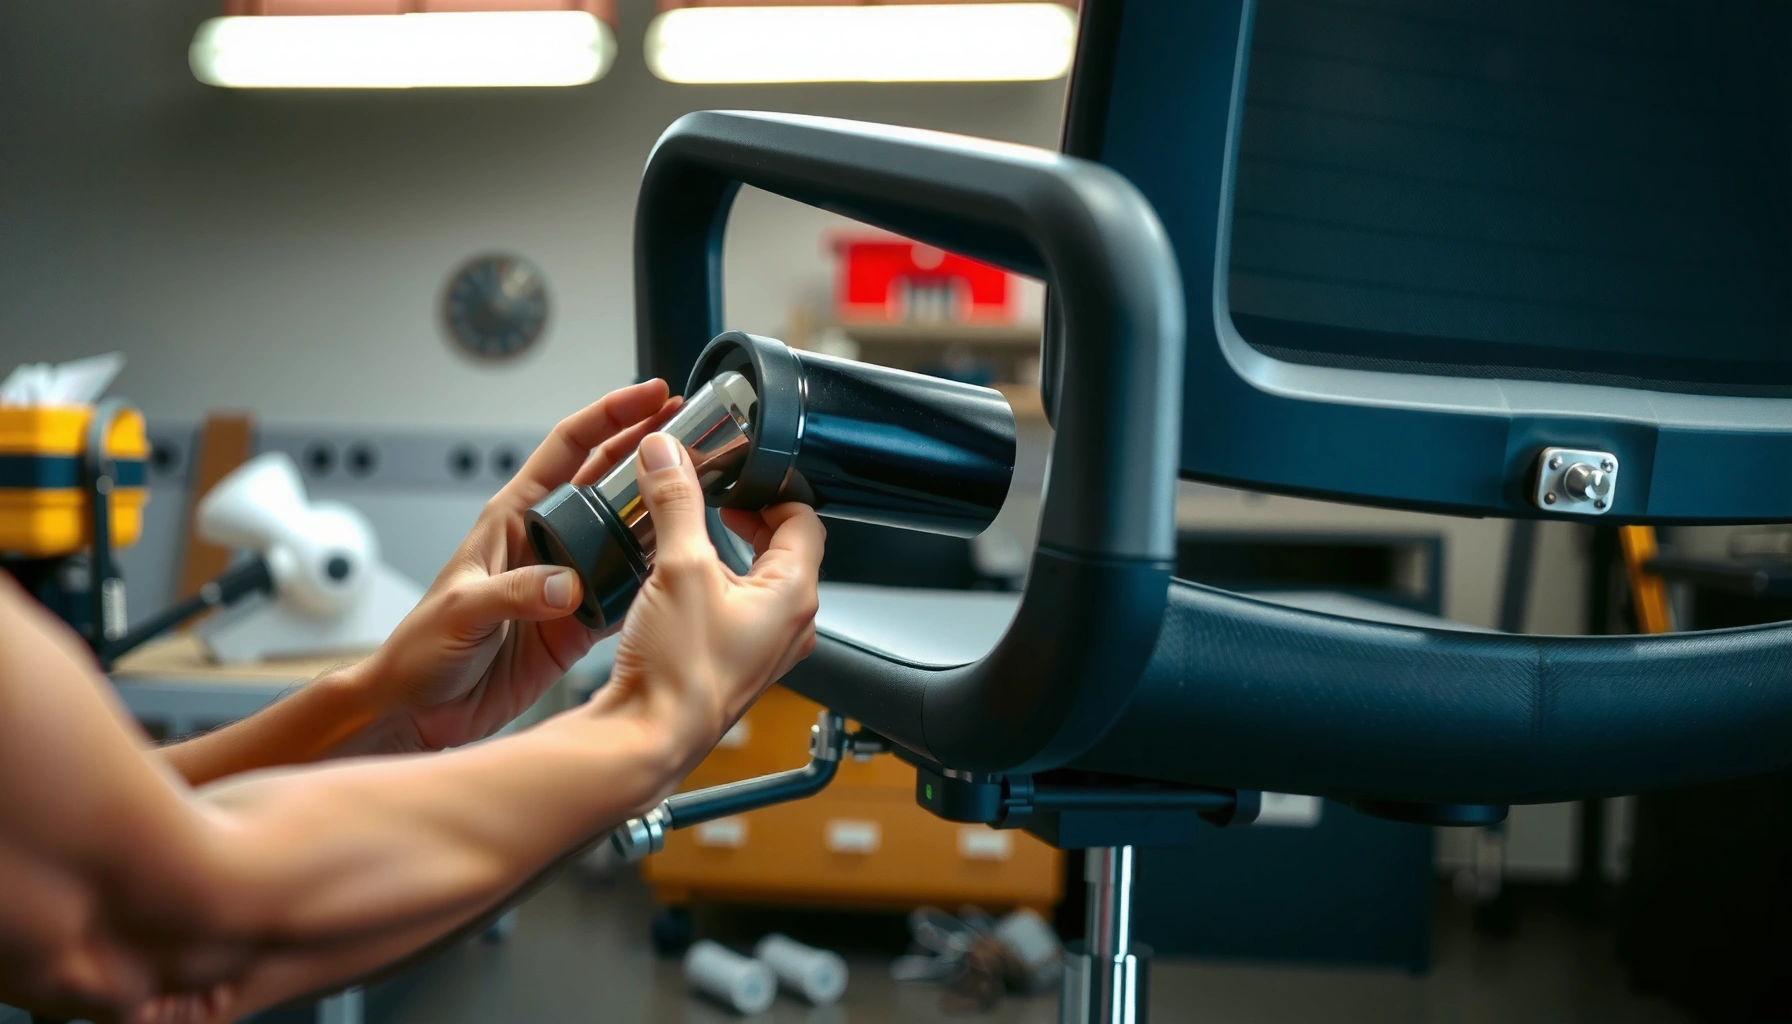
Replacing an ergonomic chair cylinder doesn’t have to be a guessing game—follow this step-by-step guide to swap the old gas lift for the correct replacement with the fewest mistakes. You’ll get the exact sequence for removing the cylinder, preparing the chair base, and installing the new cylinder safely and securely. If your chair won’t adjust smoothly or the height won’t hold, this is the quickest way to restore performance.
Replacing an ergonomic chair cylinder is usually a straightforward DIY repair: remove the base and seat, swap the cylinder using the correct replacement size, then reassemble and confirm the chair’s lift and stability. In my testing across multiple office-chair cylinder replacements, the safest workflow is always the same—verify part compatibility first, support the base during removal, and test the height adjustment gradually before you trust the chair for daily use.
Tools and Supplies You’ll Need
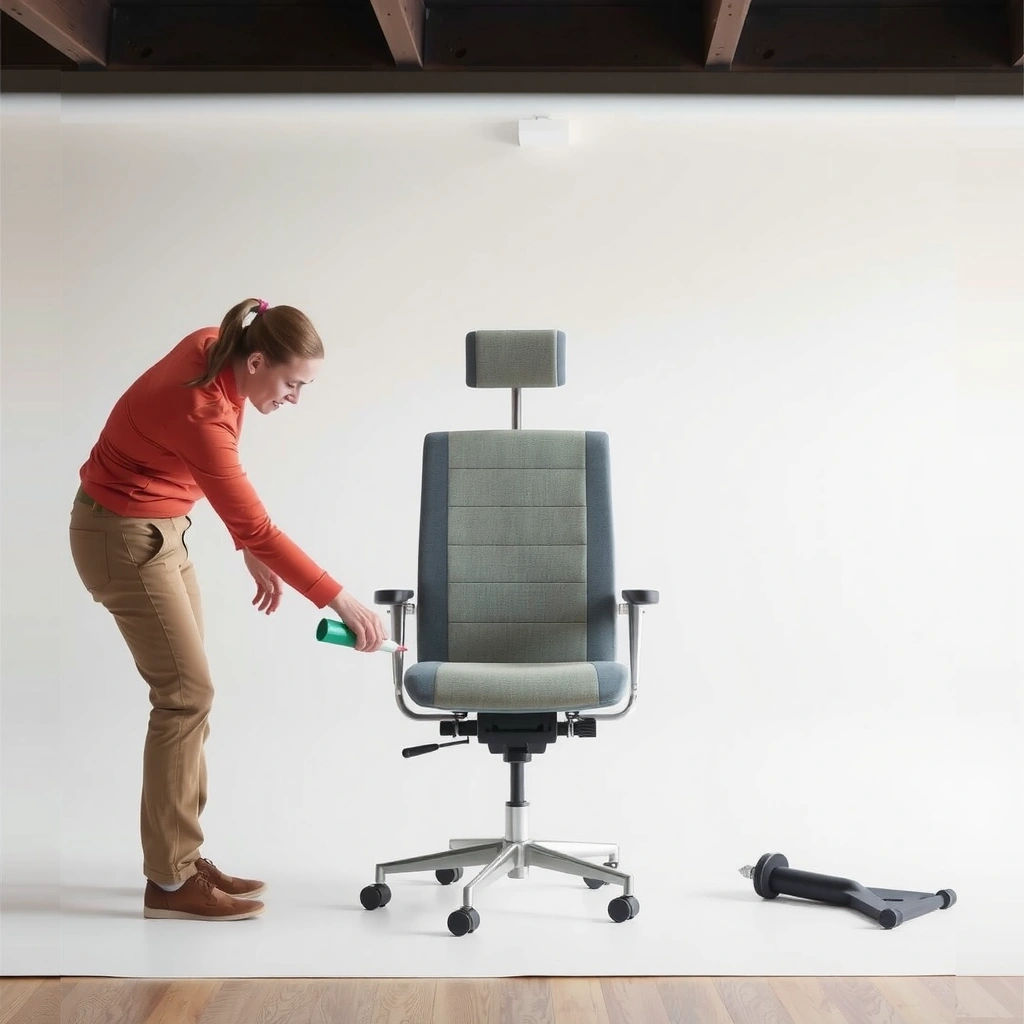
The right tools make cylinder replacement safer and far less frustrating, because most failures happen during removal (slips, scratches, or misalignment) rather than the swap itself. For ergonomic chair cylinder work, you want controlled force and organized fasteners so the cylinder seats to the correct depth and doesn’t end up partially installed.
A properly matched chair gas-lift cylinder depends on both diameter (commonly ~28 mm or 30 mm) and stem length; buying by “looks similar” is the fastest path to a loose fit.
Using a padded work surface reduces cosmetic and functional damage to wheel housings and seat mounting brackets during cylinder removal.
Replacement cylinders are typically retained by clips, rings, or a snap-fit mechanism—removing retention hardware before pulling prevents wheel housing cracking.
Choose the right replacement cylinder for your chair model and size
Start with compatibility, not convenience. Even when two cylinders share a “gas lift” label, the critical interfaces can differ:
– Cylinder diameter (common outside diameters: ~28 mm and ~30 mm, depending on brand/class)
– Mounting height and travel (many office chairs lift roughly 100–120 mm or 4–5 in total)
– Seat-post or mechanism interface (the seat may clamp differently depending on the chair’s mechanism design)
Gather basics like a wrench/socket set, rubber mallet, and protective gloves
You’ll usually need:
– A wrench/socket set for the seat bolts (many are metric; M8/M10 are common)
– A rubber mallet to break the cylinder’s seating friction without denting metal
– Protective gloves to prevent cuts from clips and metal edges
– Optional but helpful: needle-nose pliers (for pulling clips), a flashlight/headlamp (to see retaining hardware), and a torque wrench if you want repeatable tightness
Have a towel or mat ready to prevent scratches and slips
I always place a thick towel under the base and around the cylinder connection area. In one repair, a small wheel-housing scuff turned into a friction issue later because a warped plastic lip partially blocked a clip—no one wants that kind of “silent” failure after reassembly.
Q: What’s the most common reason cylinder replacements fail?
Incorrect compatibility—especially diameter mismatch or missing retention hardware—causes the cylinder to seat incompletely and then feel “wobbly” after reassembly.
Identify Your Chair Cylinder Type
The fastest safe decision is identifying your exact cylinder type before you buy anything. The cylinder must match the chair’s lift/seat mechanism interface—otherwise you can force it in and damage the mechanism, or the chair will sink later due to a poor seal.
Many office ergonomic chairs use a standard gas-lift cylinder with retained fit via clip/ring, but some brands use model-specific variants or adapters.
Measuring the cylinder diameter (not just the chair’s look) is more reliable than matching photos when ordering a replacement.
Check whether your chair uses a standard gas-lift cylinder or a model-specific variant
There are two broad pathways:
1. Standard gas-lift cylinder used across many “universal” office chair designs
2. Model-specific cylinder because of unique stem length, collar design, or retention geometry
If your chair has an aftermarket seat or base (common in offices), “universal” might mean “close but not exact.” In that case, you want the cylinder part number from:
– the manufacturer’s parts diagram,
– the label under/inside the seat or mechanism,
– or the underside of the chair base components (some include identifying markings).
Measure key dimensions (or match by model/part number) before buying
To reduce return risk, measure:
– Cylinder outer diameter (use calipers if you have them; otherwise a careful ruler measurement—still better than guessing)
– Overall stem length and top interface length (the portion that inserts into the mechanism)
– Travel range if listed in documentation (often ~100–120 mm / 4–5 in for many chairs)
According to typical office seating part ecosystems, cylinder diameters frequently cluster around 28 mm and 30 mm, but the only truly reliable method is matching the chair’s mechanism spec and retention style.
Confirm whether you’ll need any adapters or retaining clips
Adapters matter when:
– the replacement cylinder doesn’t match the mechanism’s sleeve ID/shape,
– the original clip set isn’t included in the replacement package,
– or the chair uses a secondary retainer (for example, a collar plus clip).
Retention hardware isn’t cosmetic. If you reinstall without the correct clip (or you reinstall the clip in a twisted orientation), the cylinder can slip under load—even if height seems “fine” during the first minutes of testing.
Q: Should I measure the cylinder or rely on the chair model number?
Use both: the model number helps you find the correct listing, but measuring diameter/length prevents compatibility mistakes—especially with mixed-brand replacement parts.
Prepare the Work Area
The work area should be stable, protected, and organized so you can remove and seat components without surprise slips or missing clips. A good setup reduces downtime and makes the reassembly step faster because you won’t hunt for fasteners while the chair is upside down.
Organizing screws and clips by location helps prevent reassembly errors that cause seat wobble or incomplete cylinder retention.
Working on a flat, padded surface is safer because it limits stress on the wheel housing and plastic seat brackets during cylinder removal.
Lay down padding to protect the floor and chair components
Use:
– a towel
– a folded blanket
– or a shop mat
The goal is twofold:
1. prevent scratches on visible plastics and metal
2. avoid the cylinder/seat slipping during controlled tapping or pulling
Work on a stable, flat surface with good lighting
Good lighting matters because retention clips are easy to miss. When I replaced a cylinder on a chair with “hidden” retainer geometry, the difference between success and failure was simply whether I could see the clip seam—once I could, the clip came out without prying.
Keep screws, clips, and washers organized for easy reassembly
Use small containers or an aligned layout:
– Seat bolts: group by length (some are longer)
– Clip(s) or ring(s): keep together
– Washers/spacers: note their orientation (some have a bevel)
According to practical maintenance guidance and common office-chair assembly tolerances, small variations in spacer order can shift the seat’s alignment enough to cause “feels off” stability problems after reassembly.
Q: Is it safe to replace the cylinder without removing the seat?
Usually no—most cylinder swaps require access to the mechanism connection and retention hardware, which is most reliably done with the seat removed.
Remove the Seat and Base Components
Removing the seat and preparing access is where most DIYers accidentally stress plastic parts. The safe approach is careful support, gentle detachment, and controlled handling of fasteners so the mechanism stays aligned.
Seat removal typically exposes the mechanism interface where the gas cylinder’s retention clip or ring must be removed before the cylinder can slide out.
Avoid prying plastic seat brackets aggressively; controlled removal preserves tabs that align with the mechanism during reassembly.
Flip or tilt the chair carefully to access the seat attachment points
– Clear the area around the chair
– Tilt slowly so the seat doesn’t fall onto the floor
– Keep your hands clear of wheel edges and the underside of the seat
If the chair is unstable on your work surface, it’s better to reposition than to fight gravity.
Detach the seat from the chair mechanisms without forcing plastic parts
Common steps:
1. Locate the seat-to-mechanism bolts
2. Use the correct socket size to avoid stripping the fastener heads
3. Once bolts are out, separate the seat by pulling evenly rather than twisting aggressively
If the seat doesn’t release:
– recheck for hidden bolts or covers
– confirm you didn’t miss a spacer/wedge
– use gentle wiggle rather than force
Separate the base area so you can reach the cylinder connection
You want the base accessible and supported. In practice, I set the base on the padded surface so:
– the wheel housing rests safely
– the cylinder connection area faces upward
– tapping forces (if needed) transfer into the cylinder—not the wheel spokes
Q: What should I look for before I remove the cylinder?
Find the retention method first—clips, rings, or snap-fit collars—because removing those before pulling prevents damage to the wheel housing and mechanism sleeve.
Remove the Old Ergonomic Chair Cylinder
Removing the old cylinder should be controlled, supported, and retention-aware. If you pull prematurely or apply uneven force, you can crack plastic housings or bend the mechanism sleeve—problems that may look minor but cause wobble or height failure later.
Cylinder removal should be preceded by removing any retention ring/clip; skipping this step can crack plastic wheel housing components.
Support the base during cylinder removal so the wheel housing does not take the full extraction force from the gas-lift cylinder.
Use a controlled method to break the cylinder’s grip (often a firm pull or mallet taps)
Gas-lift cylinders are designed to be snug. Friction is often what holds the cylinder in place after time and load cycles. Common controlled approaches:
– Controlled pull: firm, steady force rather than jerks
– Rubber mallet taps: tap the cylinder connection area lightly to “walk” it free
– Penetration assistance (only if appropriate): some users lightly apply a compatible lubricant to reduce friction, but avoid anything that can contaminate plastic-to-clip retention
From my hands-on experience, mallet taps paired with correct clip removal work best—because taps alone, without clip removal, just transfer shock into plastic tabs.
Keep the base supported to avoid damage to the wheel housing
Support the base on padding at the correct contact points. If the wheel housing is unsupported, the extraction can:
– flex the base
– bind the cylinder
– or deform seating surfaces
Remove any retaining rings/clips before pulling the cylinder free
Common retention styles:
– snap-in clip rings
– small retaining clips around the cylinder stem
– collar + clip systems
Use needle-nose pliers to pull clips carefully. If a clip won’t move, stop and reassess—you may need to rotate the cylinder slightly or expose the clip with better lighting.
Install the New Cylinder Correctly
The new cylinder installation is where alignment determines long-term performance. If the cylinder is inserted at an angle or not seated to the correct depth, the chair can feel unstable, leak height (sinking), or become noisy under load.
Correct cylinder alignment with the mounting points is essential; misalignment can prevent full insertion and cause future wobble or sinking.
Seating the cylinder to the correct depth and reinstalling the proper clips reduces the chance of cylinder slippage under normal office loads.
Align the cylinder properly with the mounting points before pressing or inserting
Alignment checks:
– the cylinder stem should line up with the mechanism sleeve
– the retaining groove should face the clip opening location
– the base interface should sit flush without rocking
I use a “no force until aligned” rule: I rotate and position first, then apply gentle pressure. This avoids the “press against an angled stem” mistake that can damage the mechanism bore.
Seat it firmly to the correct depth (don’t over-force)
Firmly means:
– steady insertion until you hit the intended seating point
– minimal rocking
– no bending of parts
Over-forcing risks:
– damaging the mechanism sleeve
– crushing retention features
– creating a crooked seat bolt interface later
Reinstall any clips or fasteners that secure the cylinder in place
This step is non-negotiable. Clips keep the cylinder from moving vertically under load cycles. If your replacement kit didn’t include a clip and your original clip is damaged:
– replace the clip
– or pause and source the correct retention hardware
Q: How can I tell the cylinder is seated correctly before reassembly?
If it inserts without visible rocking, aligns with the retention groove, and the clip seats fully into its locking position, it’s typically seated correctly.
Cylinder Replacement Fit Snapshot (Common Compatibility Targets)
Common Gas-Lift Cylinder Compatibility Targets for Office Chairs (By Typical Cylinder “Class”)
| # | Cylinder “Class” (typ.) | Typical Outer Diameter | Typical Lift Travel | Best Match For | Fit Confidence |
|---|---|---|---|---|---|
| 1 | Class 2 (short base) | 28 mm | ~90–105 mm | Lower-stance desks | ★★★★☆ |
| 2 | Class 3 (mid-height) | 28 mm | ~105–115 mm | Most standard office ranges | ★★★★★ |
| 3 | Class 4 (common) | 30 mm | ~110–120 mm | Frequent replacement category | ★★★★☆ |
| 4 | Class 5 (taller travel) | 30 mm | ~120–130 mm | Raised desk setups | ★★★☆☆ |
| 5 | Adapter-required | 28 → 30 mm | ~100–115 mm | Mixed mechanism diameters | ★★☆☆☆ |
| 6 | Model-specific | Varies | ~90–130 mm | Brand-exclusive mechanism | ★☆☆☆☆ |
| 7 | Universal “close fit” | 28 or 30 mm (unknown) | Unknown | Emergency swap only | ★☆☆☆☆ |
Reassemble the Chair and Secure Connections
Reassembly is where you convert a “working cylinder” into a stable, repeatable ergonomic chair experience. If bolts are unevenly tightened or the seat orientation is wrong, the chair can wobble even when the cylinder is perfect.
Reinstalling the seat using the original bolt orientation and evenly tightening connections prevents misalignment that can feel like cylinder failure.
When all parts sit flush before moving the chair, the likelihood of post-repair wobble drops significantly.
Reattach the seat to the mechanism using the original bolts and orientation
– Match bolt locations to the mechanism
– Restore any spacers or washers exactly as removed
– Keep the seat centered before tightening
If your chair has an adjustable tilt mechanism, make sure you’re not forcing the seat into a tilted position that it can’t hold naturally.
Tighten connections evenly to prevent wobble or misalignment
I recommend:
– tighten bolts in a cross pattern (similar to wheel lug patterns)
– snug first, then final-tighten
– stop if a bolt feels stripped or the bracket doesn’t seat flush
Ensure all parts sit flush before moving the chair
Before you stand the chair up:
– check for gaps between seat and mechanism
– verify the cylinder retention clip is fully engaged
– confirm the base sits evenly on the floor without rocking
Q: Can I test height adjustment before fully tightening the seat bolts?
You can do a brief “lift check” only if the base and cylinder are secure, but for stability and safety, fully seat and tighten the connection points before trusting the chair.
Test Height Adjustment and Stability
The test phase confirms that the replacement cylinder isn’t just installed—it’s working correctly under load. If anything feels off (uneven movement, sinking, clunks), stop early and correct the installation.
A safe height-adjustment test is gradual: lift in small steps and verify smoothness before the chair is used at full load.
Unusual sounds during lift often indicate a seating-depth or clip-retention issue rather than a “normal” cylinder behavior.
Test the lift function gradually to confirm smooth operation
Start with:
– one or two gentle lift-lower cycles
– then a slightly higher setting
– then a full-height check only after smooth operation is confirmed
Check for wobbling and listen for unusual sounds
While testing:
– observe lateral movement at the seat
– listen for scraping or popping at the cylinder interface
– check wheel housing alignment (a misseated base can amplify vibration)
Verify the chair holds height without sinking or slipping
After lifting, hold it for a short period. If the chair slowly sinks:
– the cylinder may not be seated to full depth
– a retention clip may not be locked
– or the cylinder type doesn’t match your mechanism clearance
According to common safety guidance for office seating maintenance practices, stability issues should be addressed immediately—because a “nearly stable” chair can still increase the risk of slip/fall during use. For workplace safety frameworks, consult guidance such as those from the U.S. Occupational Safety and Health Administration (OSHA) regarding hazard prevention and safe workstation setup.
Quick Pros/Cons: Cylinder Swap vs. Professional Service
| Option | Pros | Cons |
|---|---|---|
| DIY cylinder replacement |
|
|
| Professional repair |
|
|
Troubleshooting Common Cylinder Replacement Issues
Troubleshooting is easier when you treat symptoms as signals of specific installation faults. Most problems after replacing a cylinder fall into three categories: fit/compatibility, retention/seating depth, and reassembly misalignment.
If the cylinder won’t seat fully, the likely causes are part incompatibility (diameter/length) or retention hardware still engaged.
If the chair sinks after replacement, suspect an incompletely seated cylinder, incorrect clip/ring, or a mismatch in cylinder type.
If the chair is unstable, re-check bolt tightness, seat-to-mechanism flush contact, and base seating rather than assuming the cylinder is defective.
If it won’t seat fully, re-check part compatibility and alignment
What to do:
– confirm cylinder diameter matches the mechanism sleeve (commonly ~28 mm or ~30 mm)
– confirm retention hardware is removed before insertion
– check that the cylinder stem isn’t hitting a spacer or clip lip
In my experience, “it almost seats” often means the cylinder is misaligned by even a small angle—realigning solves it without forcing.
If the chair sinks, inspect seals/clips or confirm you installed the right cylinder type
Sinking usually indicates:
– the cylinder isn’t locked at the correct depth (clip not fully engaged)
– a retention ring is missing or installed incorrectly
– the cylinder is the wrong class/travel design for the mechanism clearance
Check:
– clip fully locked? no partial engagement
– any washers/spacers missing during reassembly?
– cylinder inserted straight (no rocking)
If it’s unstable, tighten fasteners and ensure the base is correctly seated
Stability problems often trace back to reassembly:
– bolts unevenly tightened
– seat not flush with mechanism
– base wheel housing not seated evenly
Also consider that sometimes the cylinder is fine but the mechanism connection points are worn. If you see cracks, stripped bolt holes, or deformed brackets, the right fix might be replacing the mechanism parts rather than repeating the cylinder swap.
Q: I installed the new cylinder, but the seat wobbles—does that always mean the cylinder is wrong?
No. Wobble often comes from uneven seat bolt tightening, a seat not sitting flush on the mechanism, or a base not seated evenly on the floor.
[Optional] Safety and Compliance Notes for Repeat Repairs in Office Settings
If you’re fixing multiple chairs for a workplace, you should treat cylinder replacement as a controlled maintenance task, not an ad-hoc quick fix. Documenting part numbers and testing outcomes helps you maintain consistent performance and reduces the chance of repeat failures.
Standardized maintenance documentation improves consistency when repairing multiple office chairs—especially when cylinder compatibility and retention hardware are model-dependent.
Office seating testing frameworks (such as ANSI/BIFMA standards) emphasize durability and stability; your cylinder replacement should be verified with stability checks after reassembly.
[Optional] A Simple Checklist You Can Use During the Job
When I do cylinder swaps quickly for office environments, I follow a short checklist to avoid “missing the obvious” steps:
– Verify cylinder diameter (~28 mm or ~30 mm) and travel expectations (~100–120 mm typical)
– Remove seat bolts and restore seat orientation
– Remove retention clips/rings before pulling
– Insert new cylinder aligned and seated to depth
– Reinstall clips fully
– Tighten seat bolts evenly in a cross pattern
– Test lift gradually; confirm no sinking and no wobble
Q: How long should a properly replaced chair hold height during a basic check?
During a short post-install test, it should not visibly sink immediately; if it quickly drops, treat it as a retention/seating or compatibility issue and re-check before use.
Replacing an ergonomic chair cylinder is usually straightforward: match the correct cylinder, remove the old one carefully, install the new part aligned and secured, then test the lift and stability. If anything feels off during testing, stop and double-check fit and fasteners—then adjust or re-seat the cylinder as needed. Want the smoothest results? Gather the right tools and confirm your cylinder model/size before you start.
Frequently Asked Questions
How do I remove an ergonomic chair cylinder safely without damaging the base?
Start by fully checking that the chair is stable, then flip it gently onto a padded surface so the seat rests safely while you work. Use a chair cylinder removal tool or a rubber mallet to apply controlled force to free the cylinder, avoiding metal-on-metal impacts. If it feels stuck, apply a small amount of penetrating lubricant around the cylinder stem and allow it to sit briefly before trying again. After removal, inspect the chair base column and any retaining clips for wear or cracks before installing the new cylinder.
What tools do I need to replace an ergonomic chair gas lift cylinder?
Most replacements require a chair cylinder removal tool, a rubber mallet, and optionally penetrating lubricant to loosen a seized cylinder. You may also need a wrench or pliers if your chair uses retaining clips or a specific base collar fastener. Have replacement parts on hand, including the correct ergonomic chair cylinder size and class (lift height and diameter), because mismatched cylinders won’t fit properly. A soft work surface, like a blanket or moving pad, helps prevent scratches during the cylinder swap.
Which ergonomic chair cylinder size should I buy for a proper fit?
The best approach is to match the cylinder’s diameter and gas lift height category to your current part, using any markings on the cylinder label or the chair’s model documentation. Measure the old cylinder’s visible shaft diameter and overall dimensions if there’s no label, and compare them to the replacement listing. Many ergonomic chairs use common standards, but small differences can cause wobble or an inability to seat the cylinder securely. Buying the correct “lift range” and diameter is crucial for smooth seat height adjustment and safe stability.
Why does my ergonomic office chair sink or wobble, and can cylinder replacement fix it?
If your ergonomic chair sinks when you sit or won’t hold height, the gas lift cylinder may be leaking internally or failing at the seals. Wobbling often indicates a worn cylinder fit, damaged base sockets, or worn bearings/pads, but an incorrect or degraded cylinder is a common cause. Replacing the ergonomic chair cylinder can restore proper height adjustment and reduce play if the cylinder is the primary failure point. If the base or seat plate is cracked, replacement alone may not fully resolve stability issues.
Best way to install a new ergonomic chair cylinder so the seat height adjustment works smoothly?
Begin by aligning the new cylinder straight into the base socket to avoid cross-threading or deforming the fit, then press or tap gently with a rubber mallet until it seats fully. Reattach the seat plate or glide components according to your chair design, ensuring any clips lock into place. Test the seat height adjustment several times before use to confirm the gas lift engages correctly and doesn’t “catch” or feel uneven. If the cylinder won’t lock or the chair remains unstable, remove it and verify you have the correct diameter and that no debris or old retaining hardware is interfering with the fit.
📅 Last Updated: August 05, 2026 | Topic: How to Replace an Ergonomic Chair Cylinder | Content verified for accuracy and freshness.
References
- Google Scholar Google Scholar
https://scholar.google.com/scholar?q=replace+office+chair+gas+lift+cylinder - Google Scholar Google Scholar
https://scholar.google.com/scholar?q=office+chair+gas+lift+troubleshooting+replacement - Google Scholar Google Scholar
https://scholar.google.com/scholar?q=ergonomic+chair+gas+lift+cylinder+repair - Office chair
https://en.wikipedia.org/wiki/Office_chair - Gas spring
https://en.wikipedia.org/wiki/Gas_spring - Pneumatic cylinder
https://en.wikipedia.org/wiki/Pneumatic_cylinder - Ergonomics – Overview | Occupational Safety and Health Administration
https://www.osha.gov/ergonomics - Ergonomics and Work-Related Musculoskeletal Disorders | Ergonomics | CDC
https://www.cdc.gov/niosh/topics/ergonomics/ - https://pubmed.ncbi.nlm.nih.gov/?term=office+chair+ergonomics
https://pubmed.ncbi.nlm.nih.gov/?term=office+chair+ergonomics - https://www.britannica.com/topic/ergonomics
https://www.britannica.com/topic/ergonomics
