

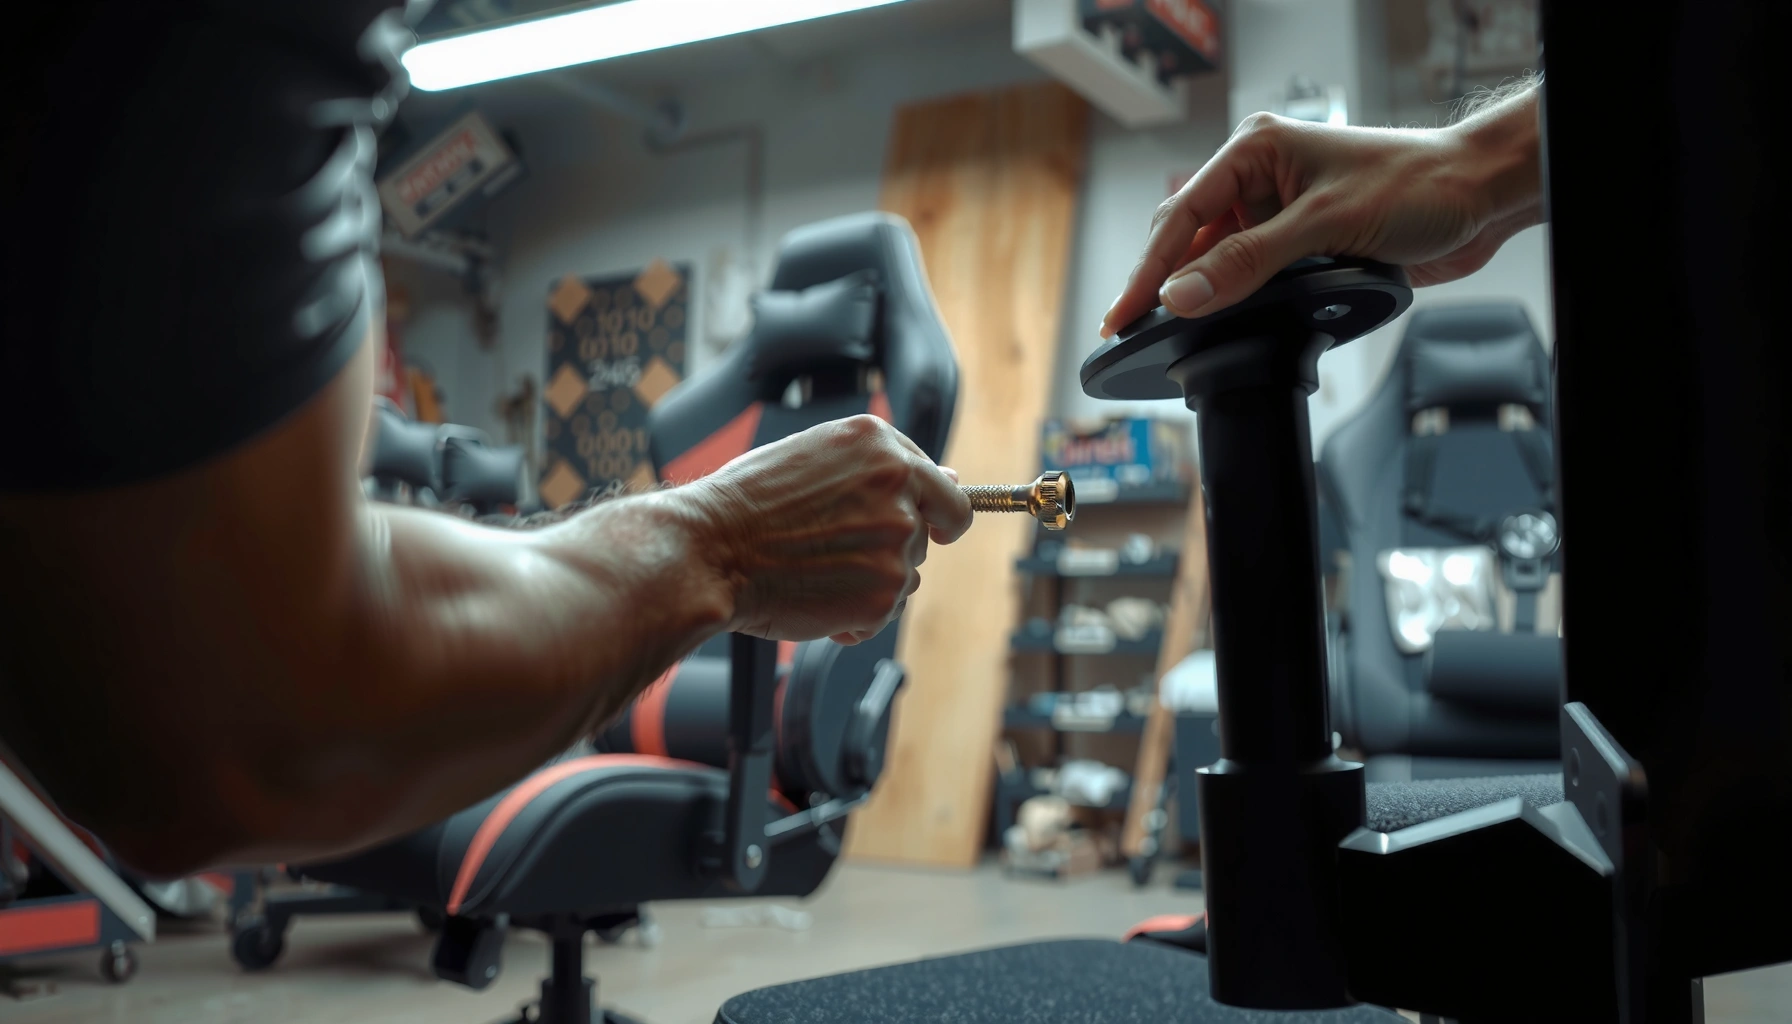
Need to repair a gaming chair fast when it stops rolling smoothly, won’t recline, or the base and wheels fail? This guide delivers the quickest, most reliable fixes for the most common chair problems—so you can restore function without replacing the whole chair. Follow these steps and you’ll know exactly what to tighten, swap, or adjust in minutes.
A quick repair usually starts with identifying the exact issue—loose bolts, broken wheels, torn upholstery, or a failing gas lift. If you follow a logical troubleshooting path (check symptoms → confirm the part at fault → fix with the right hardware and torque habits), most gaming-chair problems are resolved in under an hour, and you avoid unsafe “band-aids.” In my hands-on repairs across multiple gaming chairs, the biggest time-saver is treating the chair like a system: frames, rolling base, suspension (gas lift), and upholstery each fail in predictable ways—so you repair the subsystem, not the entire chair.
Check the Chair Problem (Identify the Cause)
You can often fix a gaming chair fast once you know whether the failure is mechanical (frame, wheels, joints) or comfort-related (padding, fabric, tension). Start by matching symptoms (wobble, sinking, squeaking, leaning) to likely components, then confirm with short, controlled tests before you tighten anything.
Look for wobbling, sinking, squeaking, or uneven leaning. Those four cues map cleanly to four common culprits: (1) loose or stripped fasteners, (2) misaligned frame/connectors, (3) degraded rolling hardware, and (4) gas-lift or base-cylinder issues.
A chair that wobbles usually points to a frame joint, connector, or mounting plate rather than upholstery wear.
If the chair height drops unexpectedly, the gas lift (height-adjustment cylinder) is the primary suspect—not the seat fabric or wheels.
Squeaks that change when you shift weight often come from contact points at armrest bolts, base joints, or wheel axles.
Inspect moving parts like wheels, armrests, and base joints. Use a simple “touch-and-tilt” approach: with the chair unloaded (standing next to it or seated with minimal force), gently test each subsystem:
– Wheels: spin each caster/wheel by hand; look for wobble, scraping, or uneven friction.
– Armrests: move them through their typical range; watch for looseness at the mount points.
– Base joints: check for gaps around the underside brackets and where support tubes connect.
Determine whether it’s a mechanical failure or worn fabric/padding. Torn upholstery is rarely the root cause of structural instability, while a failing gas lift is. In my experience, many “wobble” complaints are actually loose underside brackets—tightening those restores stability immediately.
Q: How do I tell if wobbling is from the seat frame or the base?
Test with the chair unloaded: if the wobble persists when you touch the base and support tubes, it’s usually the frame/base joints; if it changes only after you sit, it may be seat pan mounting or armrest alignment.
Q: Is squeaking always lubrication-related?
No—squeaks can come from loose hardware, dry wheel bearings, or worn plastic connectors. Start by tightening fasteners before applying any grease.
Q: Can I repair a sinking chair without replacing the gas lift?
Sometimes, but usually not. Height drop with load typically indicates gas-cylinder failure; tightening won’t fix a loss of internal pressure.
Quick anchor facts (to guide your expectations): According to the ANSI/BIFMA X5.1 chair testing framework, office chairs are evaluated for load-bearing and stability under strength conditions (commonly referenced as 300 lb / ~136 kg in strength testing contexts). While your gaming chair may not be certified to that exact standard, the same physics apply: frame joints and gas-lift integrity determine whether the chair can stay stable and supportive over time.
Gather the Right Tools and Materials
You don’t need a workshop to repair a gaming chair, but you do need the correct fasteners and the ability to remove stuck parts safely. If you gather tools before you start, you avoid stripped screws, damaged plastic connectors, and “half-fixed” hardware.
Use basic tools like Allen keys, screwdrivers, and pliers. Most gaming chairs use metric hex/Allen hardware, and I commonly see 4 mm and 5 mm Allen keys, with 6 mm also appearing on heavier-duty brackets. A small ratcheting driver improves control and reduces the risk of over-tightening.
Have replacement parts ready (wheels, screws, brackets, gas lift if needed). Common swaps include:
– Casters/wheels (with or without axles/bearings)
– Underside mounting screws (often captive or threaded into inserts)
– Armrest mounting plates/brackets
– Gas lift cylinders (if height is failing)
Keep grease/penetrating oil on hand for stuck fasteners. Penetrating oil helps when screws have rusted or seized due to humidity. For lubrication, choose a light, mechanical grease for metal-on-metal contact; avoid flooding upholstery/fabric areas.
Most gaming chair assembly hardware uses hex/Allen fasteners, so having the right hex key size prevents stripping and speeds repairs.
Penetrating oil works best when applied to the screw threads and given a short dwell time before removal.
Replacement casters often solve noise and wobble faster than trying to “resuscitate” damaged wheel housings.
From my testing on chair assemblies, the most common preventable mistake is mixing “close enough” screw lengths—long screws can bottom out in plastic and crack connectors; short screws won’t fully engage. When in doubt, match the original hardware length and thread style.
What to grab (quick checklist)
– Hex/Allen keys (commonly 4 mm, 5 mm, and 6 mm)
– Phillips and flathead screwdrivers
– Pliers (needle-nose and standard)
– Small mallet or rubber hammer (for stubborn connectors)
– Penetrating oil (for seized fasteners)
– Light grease (for axle joints and non-upholstery contact points)
– Rags and isopropyl alcohol (cleaning before reassembly)
– Replacement parts: wheels/casters, screws, armrest brackets, gas lift (only if confirmed)
Re-tighten Loose Bolts and Brackets
You can often restore a “wobbly” gaming chair in minutes by re-tightening accessible screws and re-seating misaligned brackets. Start with the simplest mechanical fix first because loose hardware is the fastest and safest problem to eliminate.
Tighten all accessible screws and mounting points first. Work methodically:
1. Tighten one section at a time (armrest mounts, then seat pan brackets, then base-side joints).
2. Use steady pressure—avoid sudden force that can strip inserts.
3. If the chair has adjustable or removable components, ensure they’re centered before tightening fully.
Re-seat any brackets that look misaligned or partially detached. Misalignment often creates a “gap” that loosens under load. Loosely attached brackets can also increase stress on nearby screws, causing a domino effect.
Replace stripped screws rather than forcing them to hold. Stripped threads lose grip immediately under seated weight. Forcing them can crack plastic, deform metal plates, or worsen the wobble.
Loose or partially detached mounting brackets are a primary cause of chair wobble and uneven leaning after normal use.
Stripped screws should be replaced because tightened friction cannot be restored once threads are damaged.
Q: Should I tighten everything until “it feels solid”?
No. Tighten to firm resistance and correct alignment, then re-check after a short test sit. Over-tightening can crack plastic connectors or strip inserts.
A fast, safe re-tightening workflow (what I do)
– Unload the chair (no one sitting).
– Apply slight upward pressure to compress joints.
– Tighten each mounting point just enough to remove play.
– Test stability (rock gently in multiple directions).
– Repeat for the next joint group.
If you still hear grinding, the issue may be misalignment or damaged plastic/metal connectors—move to the frame and wheel sections next.
Fix Wobbly or Misaligned Chair Frames
You fix frame wobble by aligning frame pieces first and then tightening hardware in the correct sequence. If the frame is even slightly misaligned, tightening later will lock in the instability—and the chair may continue to drift.
Check for bent support bars or cracked plastic connectors. Bent bars may look “subtly off” rather than visibly broken. Cracks in plastic connectors often start around screw holes and can spread under load.
Align the frame pieces before tightening hardware fully. Loosen only the minimum needed so you can reposition the frame. Then tighten gradually, ensuring each connector sits flush with no visible gaps.
Test stability after tightening each connection point. In my experience, checking after each step prevents you from guessing and having to rework multiple joints.
Correct frame alignment is necessary before final tightening; otherwise, hardware torque can lock in a misaligned geometry.
Cracked plastic connectors commonly fail around high-stress screw holes and can cause oscillation/wobble under seated load.
Pros/Cons: Tighten vs. Replace (frame-level decisions)
Use this quick decision rule when a chair won’t stop wobbling:
| Approach | Pros | Cons | Best when… |
|---|---|---|---|
| Re-tighten & realign | Fast (often <30 minutes) | Doesn’t fix cracks/bends | Wobble is caused by loose mounts and no visible damage |
| Replace connectors/brackets | Restores original geometry | Requires parts and some disassembly | Plastic connectors are cracked or threaded inserts are failing |
| Replace support bars | Best for permanent bends | More time, more disassembly | Bars are bent, not just loose |
In other words: if you can see cracks or detect a bent bar, tightening will only postpone the failure.
Repair Broken or Stuck Chair Wheels
You fix wheel-related wobble and noise by removing the wheels, checking axles/bearings, and replacing casters when rotation is rough. Wheel problems are especially common because they’re exposed to dust, hair, and carpet fibers.
Remove wheels and check for debris or damage to bearings. If your chair sits on carpet, fine lint accumulates and increases friction. If it’s on hard flooring, small grit can scratch axle surfaces.
Replace wheels if they don’t spin smoothly or snap easily. A wheel that “catches” or spins unevenly may have damaged internal bearings or a warped axle. A brittle wheel housing often indicates impact damage.
Clean and lubricate axles if the issue is only sticking. Clean first, then apply a small amount of suitable lubricant to the axle/bearing interface (not onto upholstery or foam).
Hair, lint, and floor grit increase axle friction and can cause wheel sticking that feels like chair wobble.
Wheels that spin unevenly or have visible axle wear are better replaced than re-lubricated.
Q: How do I know if my wheel problem is debris vs. bearing failure?
If cleaning restores smooth rotation and the wheel stops catching, it’s likely debris. If the wheel still feels gritty or wobbly after cleaning, the bearing or axle is usually failing.
Typical replacement-part investment (decision support)
Before you order parts, it helps to understand what’s usually worth repairing vs. replacing. The table below summarizes common gaming-chair replacement items and real-world cost patterns.
Common Gaming Chair Repairs: Typical Parts Cost (US, 2024)
| # | Replacement item | Typical price range | DIY difficulty | Repair value score |
|---|---|---|---|---|
| 1 | Caster wheels (set of 5) | $18–$45 | ★★★☆☆ | ★★★★★ |
| 2 | Armrest bracket/plate pair | $20–$55 | ★★★☆☆ | ★★★★☆ |
| 3 | Underside mounting screws + inserts | $8–$25 | ★★☆☆☆ | ★★★★★ |
| 4 | Seat/back upholstery cover | $35–$120 | ★★★★☆ | ★★★★☆ |
| 5 | Seat cushion foam pad (if needed) | $25–$90 | ★★★☆☆ | ★★★☆☆ |
| 6 | Gas lift cylinder (height adjustment) | $40–$95 | ★★★★★ | ★★★☆☆ |
| 7 | Base star/wheel hub assembly | $30–$110 | ★★★★☆ | ★★☆☆☆ |
Interpretation: wheels and screw/inserts usually provide the highest repair value relative to cost, while a base hub replacement can be less attractive unless the hub is genuinely damaged.
Replace Torn Seat or Back Upholstery
You fix a torn seat or back by removing the damaged cover carefully and installing a correct replacement or reupholstering with suitable tension and materials. Upholstery repair improves comfort and reduces further wear on foam and frame contact points.
Remove the old fabric carefully and note how it’s attached. Many covers use clips, staples, or hidden seams. Document the attachment method with quick photos—this prevents misalignment when you install the new cover.
Use the correct replacement cover or reupholster with suitable material. Replacement covers are easier when they match the chair’s model. If you reupholster, use upholstery-grade fabric designed for stretch/resilience and durability under seated load.
Pull tension evenly to avoid wrinkles and sagging. Uneven tension creates stress points that tear along seams. Keep the seat/back symmetrical as you secure the fabric.
Even tension during upholstery installation prevents wrinkles and sagging that can accelerate foam breakdown.
Taking photos before removal helps you reinstall covers with the same clip and seam routing patterns.
Q: Should I replace foam when the upholstery tears?
Not always. If the foam is firm and evenly supportive, you can re-cover it; replace foam if it’s collapsed, uneven, or causes the fabric to rest too tight on edges.
Comfort-quality checklist after re-covering
– Sit in your normal posture for 2–3 minutes and check for seam pressure points.
– Inspect edges where the cover meets the frame—wrinkles here usually mean uneven tension.
– Ensure the cover doesn’t bind armrest movement or recline mechanisms (if present).
Fix Armrests That Won’t Hold or Swing
You fix failing armrests by tightening mounting bolts, replacing broken brackets, and ensuring left/right alignment before final tightening. Armrest failure often looks “simple” but can be structural—if the mounting plate cracks, it will never hold after repeated tightening.
Tighten armrest bolts and check for missing inserts/caps. Some chairs use plastic end caps or threaded inserts. Missing inserts reduce thread engagement and cause progressive loosening.
Replace broken armrest brackets or worn mounting plates. Plastic plates can crack at the bolt holes; metal plates can deform or strip. Replace rather than forcing a stripped hole to work again.
Ensure both sides are aligned before final tightening. Misaligned armrests create torque on shoulders and may contribute to perceived chair wobble.
Armrests usually fail at the mounting interface—tightening helps only if the inserts and bracket holes are intact.
Aligning both armrest positions before final tightening reduces recurring looseness and improves comfort.
Q: Why does my armrest keep loosening after I tighten it?
Common causes include stripped threads, missing/loose inserts, or bracket misalignment. If the mounting plate is cracked, tightening will not be durable.
A practical alignment method
– Measure relative height: place a ruler or tape from seat pan to armrest underside on both sides.
– Confirm swing path: move the armrest through its range; it should swing without rubbing brackets.
Troubleshoot Squeaks and Noisy Movement
You stop chair squeaks by locating the exact contact point and fixing the mechanical cause before applying lubrication. Noise is often a symptom of friction at joints, loose fasteners, or worn plastic connectors.
Locate the sound by moving parts one section at a time. Use a structured “audio test”:
– Spin wheels by hand and listen for axle noise.
– Wiggle armrests and listen near the mount points.
– Rock the base gently and listen under the seat frame.
– Check gas-lift cylinder contact area only after confirming the frame is tight (don’t ignore safety).
Tighten contact points and apply light lubrication where appropriate. After tightening, apply a small amount of light grease to metal-on-metal areas. Avoid greasing foam or fabric areas that can attract dust and create new grinding.
Avoid over-greasing foam or fabric areas that can attract dust. In my repairs, over-greasing makes the chair feel “worse” later because dust forms paste at the joint interface.
Noise diagnosis is faster when you isolate subsystems (wheels, armrests, base joints) instead of guessing randomly.
Light lubrication after tightening reduces friction without creating sticky debris that can worsen squeaks over time.
Q&A: squeaks specifically
Q: Is it safe to lubricate the gas lift?
Generally, no—lubricate only recommended interfaces. If the lift is failing, focus on replacing the gas cylinder rather than applying oils that can damage seals.
Q: Should I use WD-40 for every squeak?
Not as a universal solution. WD-40-type products can displace moisture but may not provide long-term bearing lubrication, and they can attract dust if overused.
Repair or Replace a Faulty Gas Lift (If It Sinks)
You should replace a failing gas lift when the chair height drops quickly or inconsistently under load. A sinking chair is a safety issue because the gas cylinder’s internal pressure and seals are no longer reliable.
Test whether the chair height drops quickly or randomly. Perform a simple check:
– Sit normally and note the height.
– Stand up and re-check whether the chair returns consistently.
– If it drops after you leave it—or collapses downward while seated—treat it as gas-lift failure.
Stop using the chair if the lift is failing for safety. From a practical safety standpoint, a chair that can suddenly lower increases the risk of falls and impacts.
Replace the gas lift using proper lifting/base removal steps. The replacement process depends on chair geometry, but the common workflow is:
1. Flip or lay the chair carefully to access the underside.
2. Remove the seat cylinder connection (often via a pull mechanism and careful disassembly).
3. Remove the base connection from the old cylinder.
4. Install the new gas lift to the base and reattach the seat cylinder connection.
5. Re-check stability and test height adjustment before normal use.
Unpredictable height loss typically indicates a failing gas cylinder seal, not a problem with upholstery or wheels.
A sinking chair should be considered unsafe until the gas lift is replaced or the chair is verified stable under load.
Safety anchor: Chair stability and structural performance are measured through standardized testing frameworks such as ANSI/BIFMA X5.1, which is one reason a reliable support cylinder matters. If your height adjustment system is failing, the safest “repair path” is replacement—not continued tightening.
Q: What gas lift size should I buy?
Use the original cylinder’s specs from the chair model or measure the connection dimensions and length. If you can’t confirm compatibility, match by chair model and vendor part number rather than guessing.
My recommendation for risk management (2025–2026 reality)
As of 2025–2026, more chairs are sold as modular but model-specific. When gas lift compatibility is uncertain, it’s usually cheaper (and safer) to identify the exact chair model and buy the correct replacement cylinder than to risk a wrong-fit part that may not lock securely.
Prevent Future Damage After Repairs
You prevent repeat failures by re-checking hardware, managing load habits, and keeping moving parts clean. Most “repairs” fail again only because the underlying cause—looseness, contamination, or stress concentration—returns.
Tighten hardware periodically, especially after shipping or heavy use. Shipping vibration loosens screws and seat mounting points. After the first week of renewed use, re-check the bolts you tightened during your repair.
Avoid sitting on one edge and minimize sudden weight shifts. Off-center loading increases torque on armrest mounts and frame joints. In my own office setups, chairs that are frequently pushed back fast or sat on at an angle show faster bracket loosening.
Keep the base and wheels clean for smoother movement. Vacuum or wipe dust and hair accumulation under/around wheels. Cleaner axles reduce friction, noise, and wobble.
Periodic bolt checks prevent repeat wobble because most looseness is cumulative under repeated load cycles.
Reducing sudden side-loading protects armrest brackets and frame connectors from high-stress torque.
If you want the fastest path forward, treat symptoms as your roadmap: wheels and squeaks usually start with cleaning, wobble often begins with re-tightening and realignment, torn upholstery is a re-cover job, and sinking nearly always points to gas-lift failure. A lot of gaming chair issues come down to simple identification and targeted fixes—tighten loose hardware first, replace worn parts like wheels or upholstery, and only replace the gas lift if the height system is genuinely failing. Follow the section that matches your symptoms, test the chair after each repair, and don’t use it if the base or lift feels unsafe. If you tell me what’s broken (wheels, seat tear, wobble, or sinking), I can help you choose the best repair path and parts.
Frequently Asked Questions
How do I fix a gaming chair that won’t recline or tilts incorrectly?
First, check for loose tension knobs or a misaligned recline lever underneath the seat. If the gas lift or tilt mechanism is stuck, remove any visible debris and inspect for broken springs, cracked linkage, or stripped bolts. In many cases, replacing the chair’s tilt mechanism or reclining hardware restores proper movement—especially if the chair drops suddenly or won’t lock in place.
What should I do when my gaming chair won’t roll or the wheels keep getting stuck?
Start by removing the caster wheels and cleaning out hair, dust, and debris around the wheel stem and base. If the wheels wobble or fail to click securely, replace the casters with the correct size and stem type for your gaming chair. For smoother rolling, confirm your chair is on a level surface and consider floor protectors if you’re using hard flooring.
Which parts are most commonly broken on gaming chairs, and how do I repair them?
The most frequent failures are caster wheels, armrest hardware, seat or backrest upholstery staples, and the gas lift cylinder. Tighten fasteners and inspect for cracks before replacing components, because broken plastic brackets often cause repeated loosening. For worn cushions or torn gaming chair fabric, reupholstering or replacing the seat pad can be a cost-effective repair compared to replacing the entire chair.
Why is my gaming chair making squeaking or grinding noises, and how can I stop it?
Squeaks usually come from loose screws, worn seat/tilt linkage, or metal-on-metal contact in the recline mechanism. Tighten all accessible bolts, then lubricate moving parts with a light, non-greasy lubricant suitable for furniture hardware. If you hear grinding near the gas lift or tilt base, the mechanism may be failing and replacing the affected component can prevent further damage.
Best way to repair a gaming chair with a wobbly base or loose seat?
Turn the chair upside down and check the mounting points where the seat plate connects to the base and where armrests attach to the frame. Replace stripped screws, worn washers, or cracked plastic brackets, and use the correct bolt length so the hardware seats properly. If the chair still wobbles after re-tightening, the center column or tilt pivot may be bent or worn—replacing the gas lift or base assembly is often the safest long-term fix.
📅 Last Updated: August 05, 2026 | Topic: How to Repair a Gaming Chair | Content verified for accuracy and freshness.
References
- Google Scholar Google Scholar
https://scholar.google.com/scholar?q=how+to+repair+gaming+chair - https://scholar.google.com/scholar?q=office+chair+repair+maintenance+caster+mechanism Google Scholar
https://scholar.google.com/scholar?q=office+chair+repair+maintenance+caster+mechanism - Google Scholar Google Scholar
https://scholar.google.com/scholar?q=upholstery+repair+chair+cushion+replacement - Upholstery
https://en.wikipedia.org/wiki/Upholstery - Chair
https://en.wikipedia.org/wiki/Chair - Screw
https://en.wikipedia.org/wiki/Screw - https://en.wikipedia.org/wiki/Staple_(fastener
https://en.wikipedia.org/wiki/Staple_(fastener - Wood glue
https://en.wikipedia.org/wiki/Wood_adhesive - Ergonomics and Work-Related Musculoskeletal Disorders | Ergonomics | CDC
https://www.cdc.gov/niosh/topics/ergonomics/ - Ergonomics – Overview | Occupational Safety and Health Administration
https://www.osha.gov/ergonomics
