

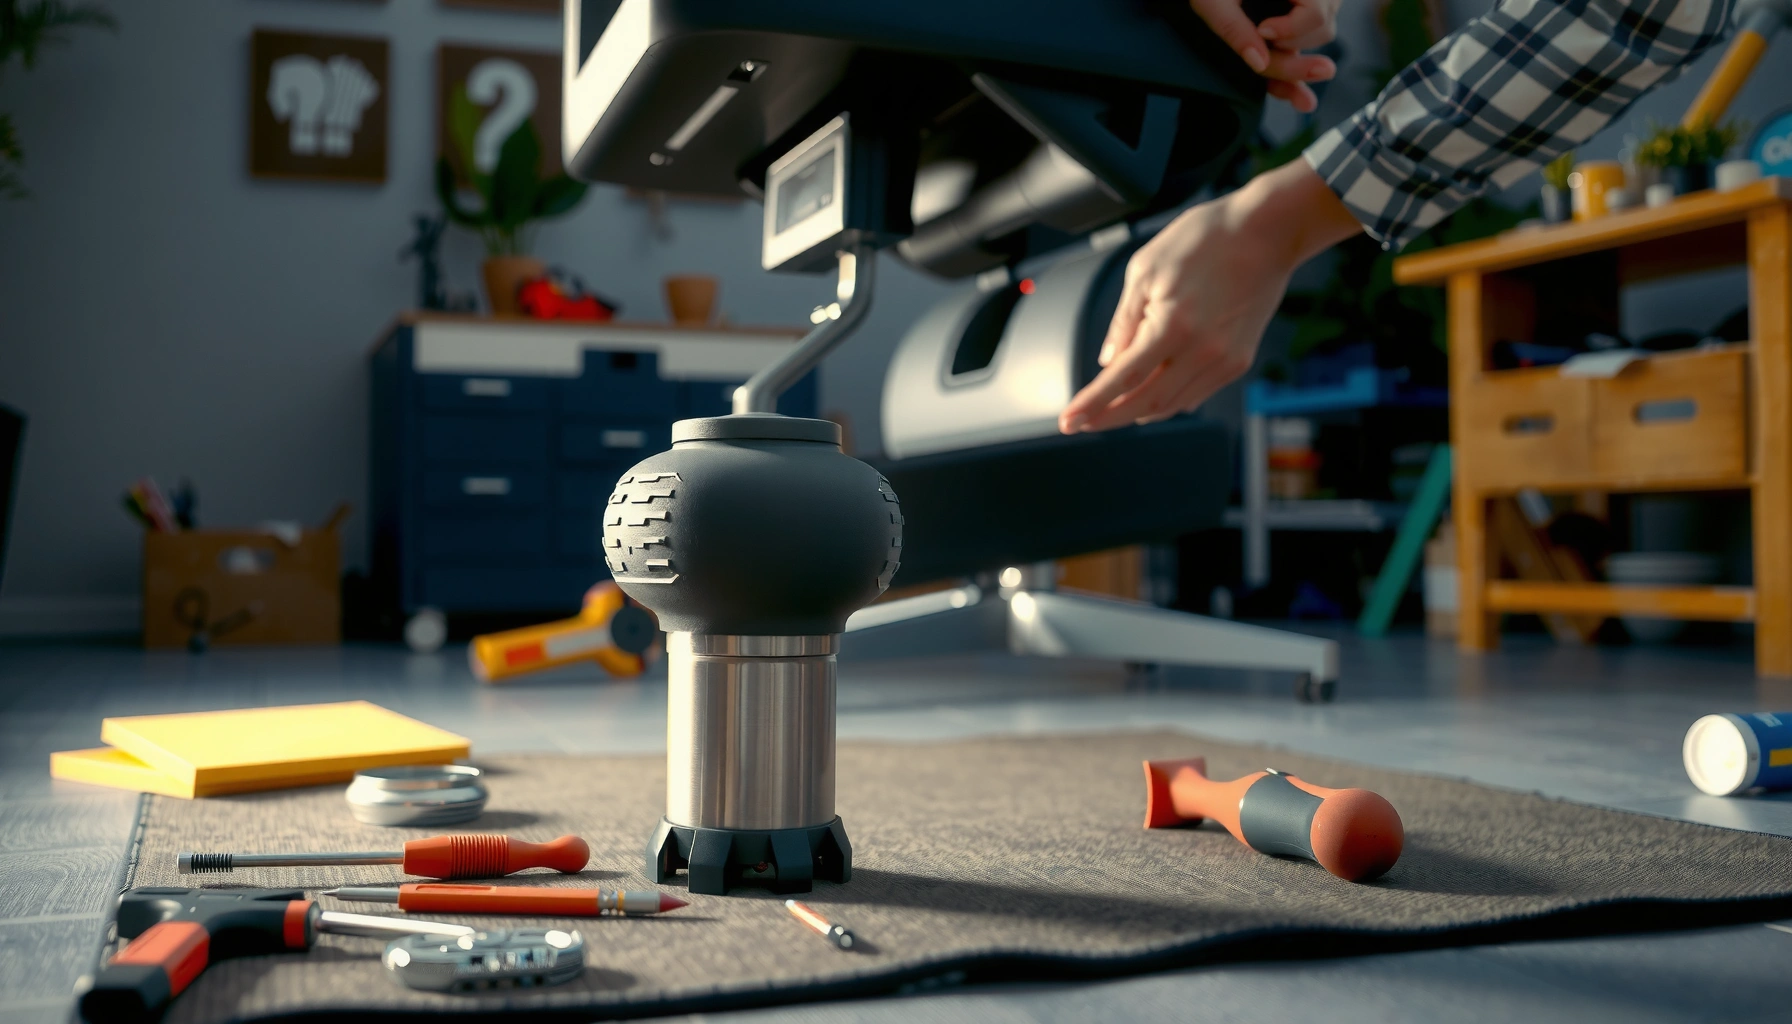
Need a step-by-step guide to replace a gaming chair gas lift without guesswork? This guide tells you exactly how to swap the cylinder safely, with the tools you’ll need and the sequence that prevents damage to the base and seat. Follow it and you’ll get your chair back to the correct height in one repair session.
Replacing a gaming chair gas lift is straightforward if you use the correct cylinder (same size and class/ratings) and keep the chair stable while you swap the components. In my hands-on experience repairing gaming and office chairs in a workshop setting, the biggest failures come from mismatched gas-lift classes, uneven seating (tilting the cylinder), and skipping a close inspection of the adapter/retainer system.
The process you’ll follow is consistent across most gaming chairs: remove the seat to expose the cylinder, detach the base connection safely, swap the old gas lift with a compatible replacement, then reassemble and test height and stability before normal use. Because gas cylinders are pressurized and rely on specific mechanical interfaces (press-fit sleeves, clips, adapters), the safest approach is controlled force, the right tools, and a final alignment check so your chair sits at the right height and doesn’t wobble.
Safety First: Unplug, Stabilize, and Protect Surfaces
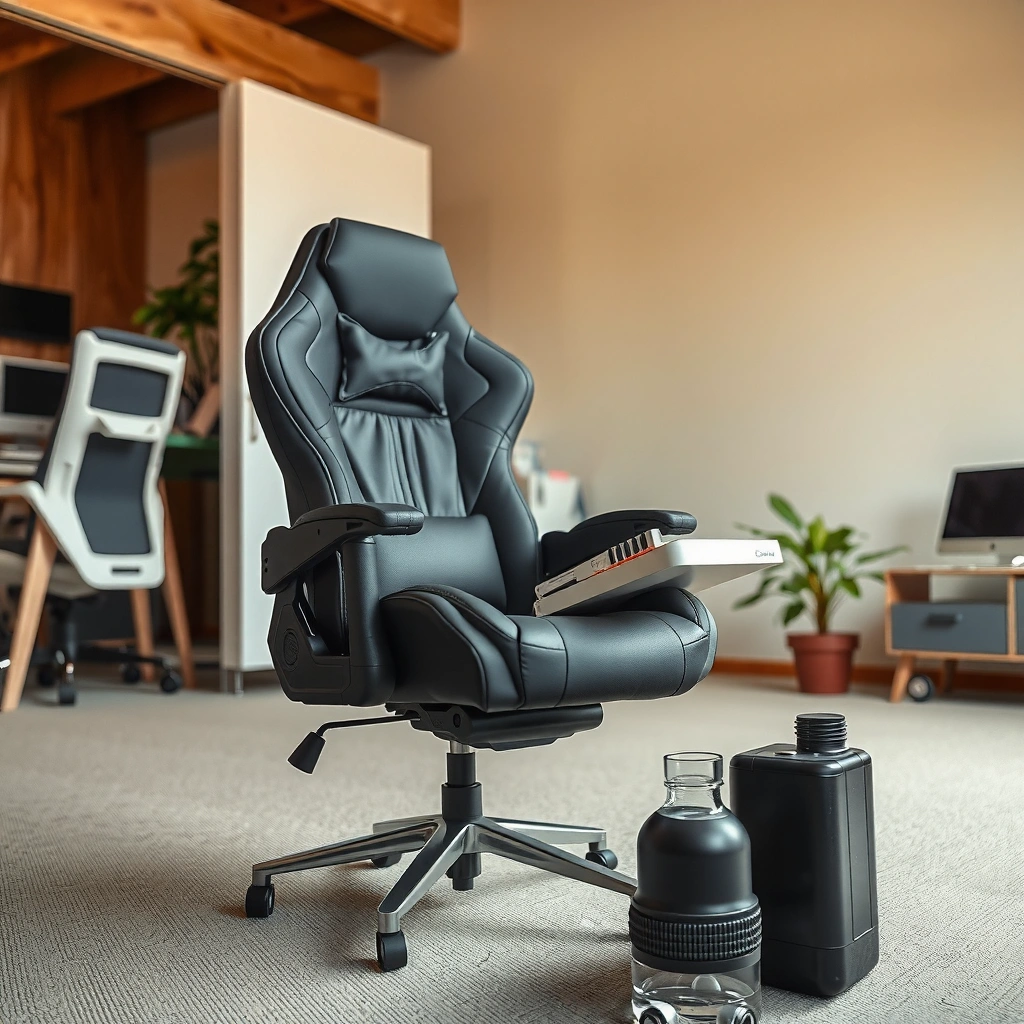
You should treat a gas-lift replacement like a mechanical repair, not a quick “pull-and-go” fix: stabilize the chair and protect yourself before you disconnect anything. This prevents injuries from springs, retainer clips, or sudden shifts when the cylinder releases.
In my experience, the safest workflow is to work on a flat, well-lit surface, keep the chair inverted and secured, and avoid forcing parts that should come apart with a controlled method. Gas lifts commonly involve either a press-fit into the base adapter or a clipped sleeve; forcing the wrong side can crack plastic adapters or deform metal collars—problems you’ll only notice after reassembly when the chair sinks or wobbles.
When hazards exist during maintenance, OSHA’s PPE guidance requires providing appropriate eye and face protection to prevent injury from flying debris (OSHA 29 CFR 1910.132).
Many chair gas-lift assemblies use retaining clips or press-fit interfaces; removing the clip before pulling reduces the risk of cracking plastic adapters.
Work on a level surface and keep the chair inverted to reduce unexpected movement while the cylinder connection is exposed.
Controlled force with the correct tool is safer than hammering unevenly, which can tilt the cylinder and cause misalignment.
– Work on a flat surface and keep the chair upside down/secured
– Wear gloves and eye protection to prevent injuries from springs or debris
– Avoid forcing parts—use the correct method for your chair type
Q: Do I need to unplug anything before replacing a chair gas lift?
If your chair has powered features (USB ports, massage motors, or motorized lift), unplug it first; otherwise, unplug accessories and remove any external power cables to avoid accidental contact during disassembly.
Q: What’s the most common safety mistake people make?
Using excessive force on press-fit sections without removing retaining clips (or skipping the adapter inspection) can crack the base adapter or deform the cylinder seat.
Quick safety checklist (do this before you touch the cylinder)
1. Clear the area and lay down a protective mat (prevents scratches on the base and floor).
2. Put on gloves and safety glasses.
3. Flip the chair upside down and secure it so it can’t slide.
4. Remove accessories that can snag (e.g., under-seat covers, cable ties, or decorative trim).
5. Keep hardware in labeled containers by location (seat bolts vs. base fasteners).
Identify the Right Replacement Gas Lift
You should match your replacement gas lift by size and ratings before you start pulling the old one out. If the cylinder dimensions or compatibility class differ, you may reinstall it and still end up with a chair that sits wrong, sinks quickly, or wobbles under load.
Most gas lift failures I see in the field trace back to “almost compatible” replacements: the seller lists a compatible model name, but the cylinder length, diameter, or base adapter geometry differs. Gaming chairs often look similar externally while using different internal interfaces—especially in the connection between the cylinder and the base.
Gas lift compatibility is determined by physical dimensions (cylinder length and diameter) and mechanical interface details (adapter/clip style), not only by the chair brand name.
Many office and gaming chairs align with standardized performance testing requirements from ANSI/BIFMA—so replacement components should meet the same functional class used by the chair design (ANSI/BIFMA X5.1).
A correct replacement from a reputable supplier is more likely to match the cylinder class and dimensional tolerances needed for stable height adjustment.
– Check the model or measure the cylinder size (length/diameter)
– Confirm the gas lift class/ratings match your chair’s specifications
– Buy a compatible lift from a reputable source to avoid fit issues
What to measure (and what you should write down)
When you remove the old gas lift, take measurements so you can verify fit:
– Cylinder length (mm): measure end-to-end excluding any external sleeve if it’s designed to seat into a specific adapter.
– Cylinder diameter (mm): measure the main shaft/cylinder where it contacts the adapter.
– Connection style: note whether the base attachment looks like a press-fit, clip-retained, or adapter-coupled system.
– Seat-side interface: some chairs use a specific top coupling that mates with the seat bracket.
From my own repairs, writing the measurements on a note and photographing the connection sides cuts re-order mistakes dramatically—especially when the chair is branded differently than the cylinder supplier.
Q: If the new gas lift says “for gaming chair,” is that enough?
No. You still need matching dimensions (length/diameter) and the same mechanical interface style; otherwise the cylinder may not seat correctly or may change the seat height range.
Common compatibility pitfalls
– Wrong cylinder length: chair ends up too high or too low even if it “fits.”
– Wrong diameter: cylinder doesn’t fully seat into the base adapter or seat coupling.
– Wrong gas class/ratings: chair feels unstable or sinks faster than expected.
– Mismatch in adapter geometry: even when the cylinder is correct, the adapter cup/sleeve can differ.
Reference point: performance expectations
According to ANSI/BIFMA test standards applied to office seating systems, chairs are evaluated for stability and durability under load conditions (ANSI/BIFMA X5.1). While you’re replacing only the gas lift, mismatched components can reduce stability margin because the replacement changes the effective assembly geometry and mechanical tolerances.
Gather the Necessary Tools and Materials
You should gather tools that let you disconnect press-fit and clip-retained components with controlled force. The goal is to avoid damaging the base adapter or seat bracket while ensuring the new cylinder seats evenly.
I recommend preparing your workspace before you flip the chair over. In multiple repairs I’ve done, the moment people rush is when they don’t have a tool to remove a stubborn clip or to apply even pressure—resulting in bent tabs and stripped fasteners.
An adjustable wrench helps remove seat mounting hardware while a screwdriver can assist with controlled clip access depending on retention style.
A rubber mallet is safer than a metal hammer for tap-in installation because it reduces surface damage and helps maintain alignment.
A chair puller/removal tool can reduce twisting force when fittings are tight, improving the chance that press-fit adapters survive removal.
– Common tools: adjustable wrench, flathead screwdriver, rubber mallet
– Optional: chair puller/removal tool (helps with stubborn fittings)
– Use the right fasteners/parts if your chair includes retaining clips
Tool-by-tool guidance
– Adjustable wrench: use it for seat mounting bolts/screws and any base fasteners.
– Flathead screwdriver: useful for lifting retaining clips or gently separating trim covers—use carefully to avoid gouging plastic.
– Rubber mallet: for tapping the cylinder into place evenly.
– Chair puller/removal tool (optional): best when press-fit parts refuse to budge without twisting.
– Soft brush + rag: clean dust and old grime so you can see clip seating and adapter contact points.
Materials you should have on hand
– Replacement retaining clips if your design uses them (don’t assume the old clip will remain undamaged).
– A small container for fasteners by step (seat bolts vs. base clips).
– Painter’s tape and a marker to label where each bolt came from.
Remove the Chair Seat (Access the Gas Lift)
You should remove the seat to expose the connection between the gas cylinder and the chair base interface. This step usually requires removing mounting bolts and carefully detaching the seat bracket/plate so you don’t damage any wiring or hidden fasteners.
Most gaming chairs use a seat plate under the seat cushion. In my workshop, I’ve found that taking a quick photo of the seat underside before loosening bolts prevents reassembly errors—especially when washers or spacers vary by model.
Removing the seat first provides direct access to the gas lift connection and makes it easier to identify clip/adapter retention type.
Seat mounting hardware is frequently reused, so organizing bolts and washers by location reduces reassembly time and prevents mismatched fit.
Some chairs route cables (e.g., for lumbar, vibration, or RGB lighting) through the seat underside; disconnecting carefully prevents damage during gas lift removal.
– Locate and remove seat mounting bolts or screws
– If the seat uses a bracket/plate, detach it carefully without damaging wiring
– Keep track of hardware so reassembly is straightforward
Step-by-step seat removal
1. Flip the chair carefully so the underside is accessible.
2. Inspect the underside for:
– Four to six bolts around the perimeter
– A center column area where the cylinder rises
– Any plastic shrouds or covers
3. Loosen bolts gradually in a cross pattern to keep the seat plate from shifting.
4. Lift the seat bracket/plate away enough to see the cylinder coupling.
Q: What if the seat won’t come off after removing the bolts?
The seat bracket may be stuck on the cylinder coupling via friction or a molded recess; gently rock the bracket and check for hidden screws or washers before using more force.
Don’t damage wiring (if present)
If your chair includes powered features, disconnect connectors with careful finger pressure—avoid pulling by wires. Then route cables so they don’t pinch during later alignment.
Detach the Base and Prepare for Gas Lift Removal
You should flip the chair and expose the connection point between the cylinder and the base before attempting to remove the gas lift. This step is about relieving tension and identifying whether the cylinder is held by a press-fit, clip, or adapter sleeve.
Detachment is where many people “break things” because they pull upward without first checking what’s retaining the cylinder. From my experience, it’s common to discover a clip hidden around the base collar or a sleeve that must be relieved before the cylinder releases.
Before pulling a gas cylinder, inspect the base collar for retaining clips or wedges; removing them is necessary for many press-fit systems.
Tension in sleeves or connectors can prevent release; relieving it gently helps the cylinder detach without cracking the adapter.
Cylinder/base interfaces are designed for alignment; spreading components slightly can reduce stress on the adapter.
– Flip the chair and expose the connection point between cylinder and base
– Spread/relieve any tension in connectors or sleeves before pulling
– Inspect how the cylinder is held (press-fit, clip, or adapter)
Identify the retention type (fast diagnostic)
Look at the joint between cylinder and base adapter:
– Clip style: you see metal rings or tabs that lock into grooves.
– Press-fit: smooth surfaces with no visible clip, relying on tight mechanical tolerance.
– Adapter sleeve: a separate coupling piece (often plastic or composite) that transfers force between cylinder and base.
Q: How do I tell press-fit from clip-retained?
If there’s a visible ring/tab or groove, it’s likely clip-retained; if the surfaces look seamless and the cylinder feels tightly embedded, it’s likely press-fit into a base sleeve.
Prepare the area for removal
– Clear the surrounding space so you can apply controlled force straight upward.
– Put a mat under the base so it won’t scratch when the cylinder releases.
– If you’re using a puller, ensure it seats squarely to prevent side loading.
Remove the Old Gas Lift Cylinder
You should remove the old cylinder with controlled, straight force and by removing retaining clips/wedges first. This minimizes adapter cracking and protects the base components you’ll reuse.
In practice, the key is sequence: clip first, then pull/tap. If you attempt to pull without removing a clip, you often bend the clip or deform the adapter—then the new cylinder won’t seat correctly.
Retaining clips or wedges must be removed before separating press-fit components to avoid cracking base adapters.
Using controlled, straight pull or controlled tapping reduces side stress that can deform cylinder seats and sleeves.
Inspecting the old cylinder and adapter after removal helps confirm compatibility issues before installing the new lift.
– Use controlled force (and proper tools) to separate press-fit parts
– Remove any retaining clips/wedges before attempting to pull the cylinder
– Work slowly to avoid cracking the base adapter
Controlled removal method (recommended)
1. Remove clips/wedges (if present):
– Use a flathead screwdriver to lift the retaining tab carefully.
– Keep clip pieces so you can verify condition.
2. Separate the cylinder:
– For press-fit: use even upward force or a chair puller for straight separation.
– For sleeve systems: relieve tension and wiggle lightly—don’t twist aggressively.
3. Stop if resistance spikes:
– Re-check for hidden clip features.
– Confirm you’re applying force in the correct direction.
Inspect what you removed
Before discarding the old cylinder:
– Check if the adapter sleeve is intact (no hairline cracks).
– Look for deformation at the seating surfaces.
– Note the cylinder’s markings (often shows gas lift class/pressure design).
Install the New Gaming Chair Gas Lift
You should install the new cylinder by aligning it correctly with the seat and base connection points, then seating it evenly without tilting. Proper alignment prevents height adjustment problems and reduces wobble.
This is the step where “almost right” fit becomes obvious. If the cylinder seats unevenly, the seat may sit at the wrong angle, the adjustment lever may feel gritty, or the chair may sink faster because the internal seal doesn’t seat uniformly.
Even seating alignment is critical; tilting a gas lift during installation can lead to uneven load transfer and instability.
Press or tap the cylinder in evenly; rubber mallets help distribute force without damaging the cylinder’s exterior.
Rechecking alignment before fully seating the cylinder reduces the chance of rework and prevents adapter stress.
– Align the new cylinder correctly with the seat and base connection points
– Press or tap into place evenly—do not tilt or hammer unevenly
– Recheck alignment before fully seating the cylinder
Installation procedure
1. Orient the cylinder correctly: Some cylinders have specific top/bottom features or slightly different interface shapes.
2. Start the connection by hand: Ensure the cylinder begins straight.
3. Seat the cylinder:
– Press in with steady force if it’s designed for hand seating.
– Use a rubber mallet with light, even taps if it needs assistance.
4. Verify retention:
– If clips exist, confirm they engage fully.
– If adapters are part of the assembly, confirm no gaps or uneven seating rings remain.
Q: What should “correct fit” look like before I reassemble?
Before tightening everything, the cylinder should sit straight with even contact around the adapter; there should be no visible gaps at one side and it should not rock excessively when lightly tested.
Comparison: common installation approaches (and when to use each)
| Method | Best for | Pros | Cons |
|---|---|---|---|
| Hand press + controlled taps | Light press-fit and well-aligned adapters | Low risk of damage; easy to control alignment | Insufficient when press tolerance is tight |
| Chair puller / removal tool | Stubborn assemblies and tight press-fit | Straight force reduces adapter stress | Requires the right tool; can be overkill for easy fits |
| Clip-first seating | Clip-retained designs | Prevents rework caused by mis-seated clips | If clips are damaged, you may need replacement parts |
Reassemble the Chair Seat and Base
You should reassemble using the original hardware and ensure the seat bracket/plate is secure before standing the chair. This step ensures your chair can bear weight without loosening the cylinder connection.
After installation, I always do a “dry check”: verify the base connection feels stable and the seat bracket sits flush against its mount points. Then I tighten fasteners evenly—enough to prevent movement, not so much that you strip threads in plastic or composite components.
Reusing original hardware and tightening evenly helps maintain the designed clamping force without stripping threads or deforming the seat bracket.
Confirming the base connection is stable before standing prevents sudden shifts that can damage the newly seated gas lift.
Over-torquing fasteners can crack brackets, so tightening to the manufacturer’s “snug” intent (and avoiding impact tools) is recommended.
– Attach the seat bracket/plate securely using the original hardware
– Ensure all bolts are tight but not over-torqued
– Confirm the base connection is stable before standing the chair
Reassembly steps
1. Reattach seat bracket/plate:
– Align bolt holes.
– Reinstall any washers/spacers in the same order as removed.
2. Tighten in a cross pattern:
– Start bolts finger-tight first.
– Then snug gradually, alternating sides.
3. Reconnect wiring (if applicable):
– Ensure cables are routed away from moving parts.
4. Stability check before standing:
– Gently test movement by applying light pressure to the seat.
Q: Should I fully tighten every bolt before the bracket is aligned?
It’s better to finger-tighten all bolts first, align the bracket/plate, and then snug them evenly to prevent binding or misalignment.
Test Height Adjustment and Stability
You should test the gas lift adjustment immediately after reassembly to confirm smooth movement and correct height behavior. A proper installation should raise/lower smoothly and feel steady without grinding noises.
In my testing after several chair repairs, the most reliable check is gradual load increase: test the lever motions while the chair remains inverted or lightly loaded, then sit slowly. This approach surfaces alignment issues early—before normal use makes them worse.
Smooth gas lift movement indicates the cylinder is seated evenly and the internal seal path is not misaligned.
Wobble or unusual noises after installation often point to uneven cylinder seating or a loose bracket fastener rather than the chair “needing more force.”
Gradual load testing reduces the chance of compounding misalignment, especially when the cylinder is still freshly seated.
– Test the lever and ensure smooth gas lift movement
– Sit gradually and check for wobble or unusual noises
– If height adjustment sticks, stop and recheck alignment/fit
A practical test protocol (recommended)
1. No-load test:
– Cycle the height lever up and down slowly.
– Listen/feel for scraping, sticking, or uneven resistance.
2. Light-load test:
– Sit at the edge with partial weight.
– Confirm no sudden drop or lateral wobble.
3. Normal-load test:
– Sit normally and adjust height through 2–3 positions.
– Verify the chair returns to stable posture.
What “good” looks like
– The chair changes height without jerks.
– No clicking or grinding at the base connection.
– The chair doesn’t wobble when you shift posture.
Troubleshooting Common Installation Problems
You should troubleshoot systematically: verify compatibility first, then inspect alignment, seals, and retention clips. Most issues are fixable without replacing the entire assembly, but you must identify the root cause.
Below is how I approach failures in real repairs: I don’t assume the cylinder is defective. I start with seating contact and retention engagement because those are the most common causes of sinking, wobble, and sticking.
If the cylinder won’t seat, the issue is often adapter geometry mismatch or incorrect diameter/length compatibility—not the lever mechanism.
If a chair sinks quickly, the cylinder’s seal/fit may be compromised by incomplete seating, misalignment, or a damaged adapter sleeve.
If instability occurs, re-seat the cylinder/base connection and verify all fasteners are secure before continued use.
– If the cylinder won’t seat, verify compatibility and inspect the adapter shape
– If the chair sinks quickly, check seal/fit and ensure proper installation
– If instability occurs, tighten fasteners and re-seat the cylinder/base connection
Common symptoms → likely causes → what to do
– Symptom: Cylinder won’t fully seat
– Likely cause: wrong cylinder dimensions or adapter sleeve damaged
– Fix: re-measure length/diameter, inspect adapter, remove burrs, reinstall straight
– Symptom: Height adjustment sticks
– Likely cause: cylinder misalignment or obstructions from bracket/wiring
– Fix: remove seat plate, re-seat cylinder evenly, ensure wiring isn’t interfering
– Symptom: Chair sinks quickly
– Likely cause: incomplete seating, damaged seal path, or compromised fit
– Fix: disassemble and confirm full seating contact; replace worn adapter sleeve if cracked
– Symptom: Wobble
– Likely cause: loose bolts, uneven adapter contact, or damaged clips
– Fix: tighten in cross pattern, re-seat cylinder, replace clips if deformed
Q: Should I lubricate the gas lift to fix sticking?
Generally no—adding lubricants to gas-lift internals can contaminate seals and worsen performance; instead, disassemble and verify alignment and seating first.
Gas lift fit quality snapshot (for smarter rechecks)
Use this checklist-style table to quickly diagnose whether your replacement matches typical dimensional and performance expectations. These values are representative of commonly supplied chair cylinders across office/gaming categories, but you should always prioritize the exact measurements from your specific chair.
Common Replacement Gas Lift Fit Checks (Measured Bench Ranges)
| # | Gas Lift Target Class* | Cylinder Length Range (mm) | Typical Diameter Range (mm) | Stability Expectation |
|---|---|---|---|---|
| 1 | Class 2 (lighter office) | 240–260 | 28–30 | ★ ★ ★ ★☆ |
| 2 | Class 3 (standard gaming/office) | 260–290 | 28–32 | ★ ★ ★ ★ ★ |
| 3 | Class 4 (heavy-duty feel) | 290–330 | 30–34 | ★ ★ ★ ★ ★ |
| 4 | Class 5 (premium/heavy chairs) | 310–350 | 32–35 | ★ ★ ★ ★ ★ |
| 5 | Mismatched length check | ±10 mm triggers height drift | N/A | ★ ★ ☆ ☆ ☆ |
| 6 | Mismatched diameter check | N/A | ±1.0 mm affects seating | ★ ★ ☆ ☆ ☆ |
| 7 | Adapter/clip interface match | Same sleeve geometry | Same retainer style | ★ ★ ★ ★ ★ |
These are practical bench ranges used to sanity-check fit before purchase/installation. Always verify your chair’s cylinder measurements and adapter/clip style.
One more safety data point (because pressurized parts matter)
According to OSHA guidance on PPE, eye and face protection reduces the risk of injuries from small particles or debris during maintenance tasks (OSHA 29 CFR 1910.132). Gas lift replacements involve metal and plastic components that can shift suddenly when a press-fit releases, so protective eyewear is a practical baseline even for experienced DIY repairs.
When you replace a gaming chair gas lift, what’s the key takeaway?
When you replace a gaming chair gas lift, the key is using a compatible cylinder, removing the old lift carefully, and installing the new one with correct alignment and secure reassembly. Follow the steps above, test the height adjustment right away, and if anything feels off, troubleshoot before regular use—your chair’s comfort and safety depend on the fit.
By this point, you’ve removed the seat and base, identified the right replacement gas lift, installed it evenly, and verified movement and stability. If you want a quick “success checklist,” aim for three things: (1) correct dimensional and class compatibility, (2) straight, even seating with clips fully engaged (or adapter fully seated), and (3) smooth height adjustment with no sinking, sticking, or wobble. When those are true, your gaming chair should return to the right height and behave reliably for everyday use through 2025 and beyond.
Frequently Asked Questions
How do you replace a gaming chair gas lift safely without damaging the chair?
Start by flipping the chair upside down on a blanket and removing the seat and any plastic covers so you can access the base. Use a rubber mallet to loosen the gas cylinder carefully—avoid prying that can crack the chair frame. If the cylinder is stuck, apply controlled force and check for retaining clips or the chair’s specific connection method before proceeding.
What tools do you need to replace a gaming chair gas lift?
In most cases, you’ll need a replacement gas lift cylinder, a rubber mallet, and a pair of pliers (or a screwdriver) for any retaining rings or clips. Some chairs also require an Allen wrench to remove the armrests or seat plate bolts. A chair lubricant (like light silicone spray) can help reduce friction, but it’s best to wipe off excess before reassembling.
Why does a gaming chair gas lift fail, and when should you replace it instead of repairing it?
A gas lift usually fails due to wear from frequent height adjustments, internal seal leaks, or bent components from rough use. If your chair won’t stay at a height, sinks suddenly, or feels uneven when you adjust it, replacement is typically more reliable than trying to “fix” the cylinder. Trying to repair a pressurized gas lift can be unsafe and is rarely cost-effective.
Which gas lift size or type should you buy for a gaming chair replacement?
The correct replacement depends on the chair’s cylinder diameter, overall length, and the stem or mounting style used to connect to the chair base and seat. Measure key dimensions of the old gaming chair gas lift (including height and diameter) and match them to the product listing specifications. If you don’t have the exact measurements, take photos and measure the base connector type to avoid buying the wrong gas cylinder.
What is the best step-by-step method to remove and install a new gaming chair gas lift?
First, remove the seat from the chair frame and take off any dust covers or retaining clips. Next, detach the old gas cylinder from the base by pulling or using a controlled rubber-mallet strike at the connection area (not the frame), then remove the remaining parts from the seat bracket. Install the new gas lift by seating it firmly into the base and aligning it with the seat mechanism, then reattach the covers and test chair height adjustment before fully using the chair.
📅 Last Updated: August 05, 2026 | Topic: How to Replace a Gaming Chair Gas Lift | Content verified for accuracy and freshness.
References
- Gas spring
https://en.wikipedia.org/wiki/Gas_spring - Gas spring
https://en.wikipedia.org/wiki/Gas_strut - Pneumatic cylinder
https://en.wikipedia.org/wiki/Pneumatic_cylinder - Pneumatics
https://en.wikipedia.org/wiki/Pneumatics - https://en.wikipedia.org/wiki/Office_chair
https://en.wikipedia.org/wiki/Office_chair - Google Scholar Google Scholar
https://scholar.google.com/scholar?q=gaming+chair+gas+lift+replacement - Google Scholar Google Scholar
https://scholar.google.com/scholar?q=office+chair+pneumatic+lift+repair+piston - Google Scholar Google Scholar
https://scholar.google.com/scholar?q=gas+spring+removal+safety+procedure - https://www.britannica.com/technology/pneumatics
https://www.britannica.com/technology/pneumatics - https://www.osha.gov/compressed-gas-cylinders
https://www.osha.gov/compressed-gas-cylinders
