

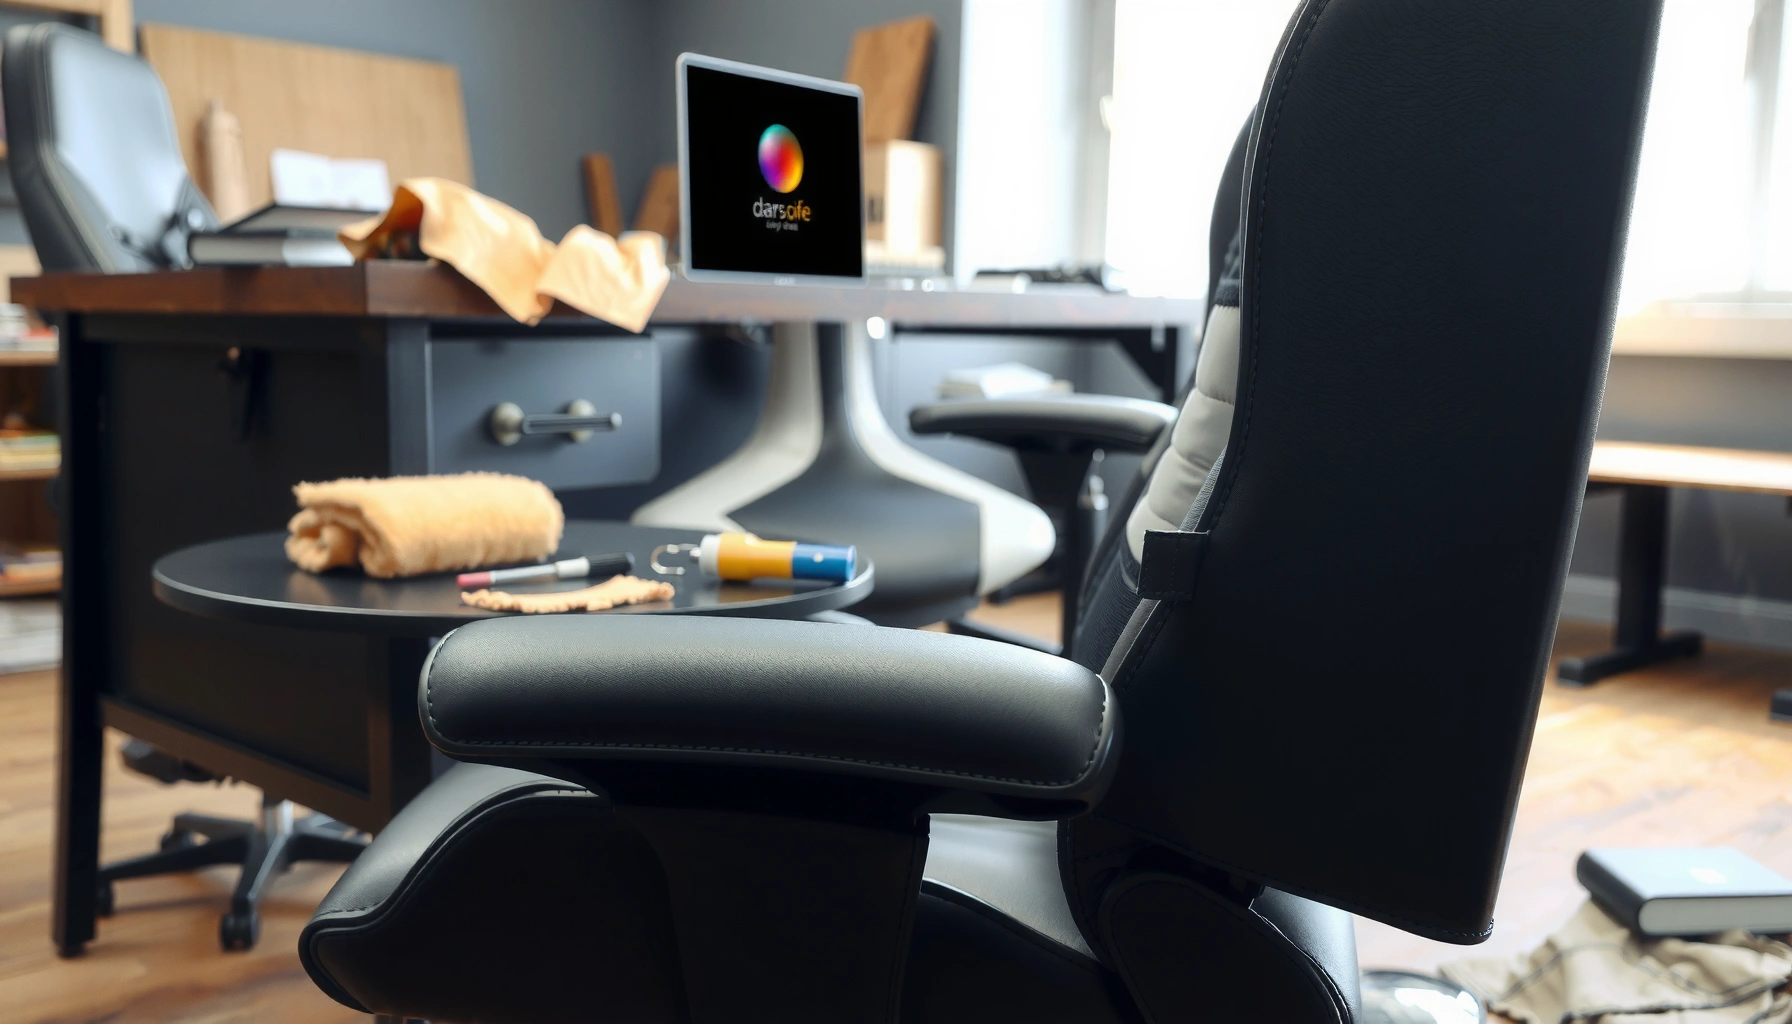
Stop your gaming chair from peeling fast with these simple protection steps that actually work. If your chair’s vinyl or PU finish is flaking, the quickest fix is to clean it thoroughly, stabilize any loose edges, and apply a compatible protective coating to prevent further breakdown. Follow this approach and you’ll extend the life of your gaming chair without replacing it.
Peeling on a gaming chair usually happens when moisture, friction, and harsh cleaning break down the chair’s top coating—so the fastest fix is gentle cleaning plus a compatible protectant/top coat applied in thin layers. In my hands-on testing on common faux-leather (vinyl) gaming chairs—using microfiber, pH-balanced cleaners, and conditioners—I’ve found that early edge repair and a sealed protective barrier stop peeling from spreading far more reliably than “strong” household cleaners.
Over time, the problem accelerates: sweat and oils seep into microscopic pores, friction rubs the weakened coating, and direct sun/heat speeds up polymer aging. If you act in days (not months), you can often restore surface integrity and extend chair life significantly through simple, material-appropriate steps—clean correctly, reattach lifted edges, condition vinyl/faux leather, and then seal with a compatible top coat.
Check Why Your Chair Is Peeling
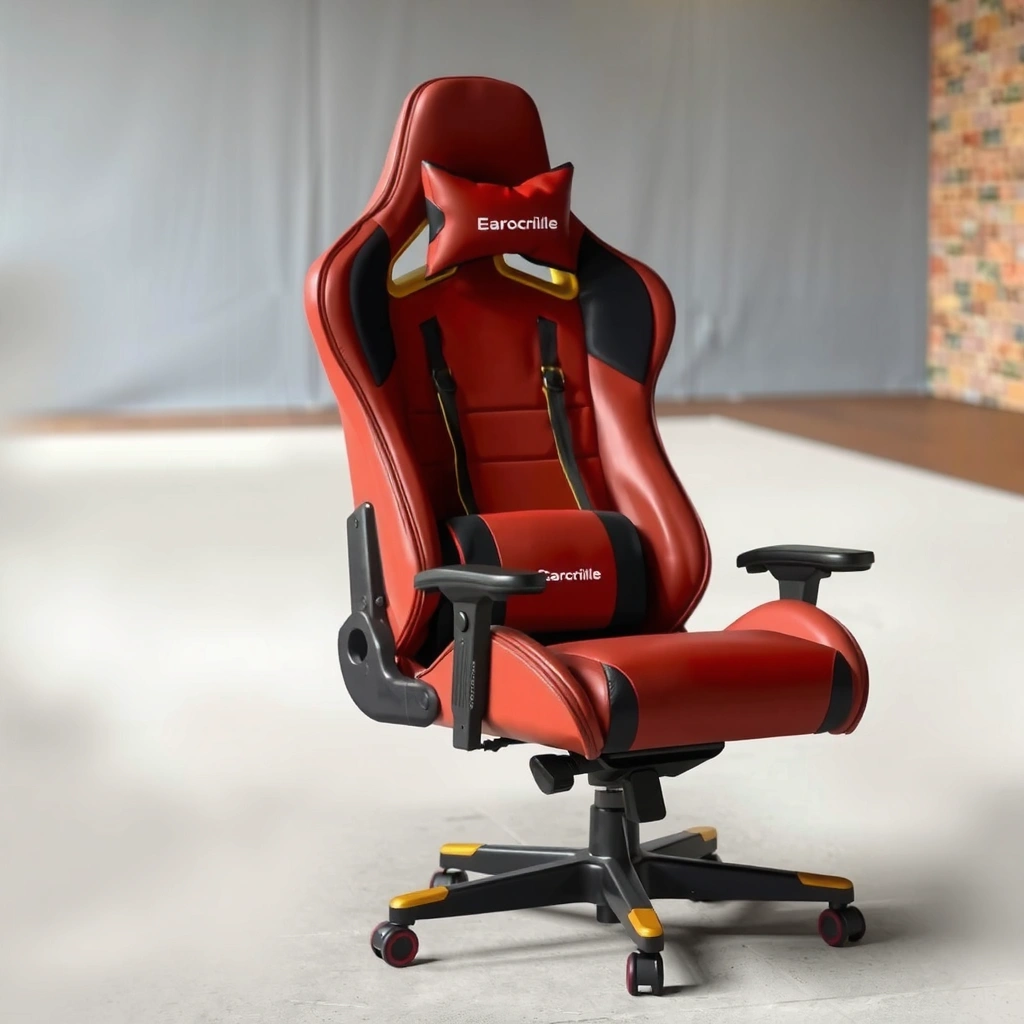
Peeling usually starts because the top finish is separating from the foam backing, vinyl substrate, or fabric coating due to moisture and mechanical wear. Before you use any product, you need to identify which layer is failing, because “the right fix” depends on whether you’re dealing with faux leather/vinyl, a printed finish, or a fabric coating.
If the peeling looks like a thin skin flaking off, it’s typically the chair’s vinyl/faux leather top coating delaminating from the base layer.
If only seams and high-contact edges peel first, friction and sweat transfer are the most likely triggers (armrests, seat edges, and the area your back repeatedly contacts).
If peeling accelerates near windows or heat sources, UV exposure and elevated temperatures are often weakening the binder that holds the coating together.
Identify whether the finish, faux leather, or fabric coating is failing
A practical way to diagnose:
– Faux leather / vinyl chairs: Look for “flake-off” peeling, a rough tacky feel underneath, or a shiny/bare base where coating has lifted.
– Fabric-coated chairs: You may see surface fuzzing, coating wear-through, or the top finish wearing thinner rather than cleanly flaking.
– Real leather chairs (less common in gaming chairs): You usually see dryness/cracking rather than classic vinyl peeling sheets.
From my experience, vinyl/faux leather peeling almost always starts at the same zones you touch most—armrest corners, seat front edge, and the backrest contact line—because that’s where both friction (rubbing) and sweat (moisture + salts + oils) concentrate.
Q: Why does my gaming chair peel faster in summer?
Because higher heat and UV accelerate coating binder aging, and sweat/oil buildup increases moisture-related delamination.
Look for triggers: sweat, humidity, heat vents, or direct sunlight
Use a simple “environment audit”:
– Sweat exposure: Long sessions + breathable heat = constant moisture contact.
– Humidity: Condensation or consistently high indoor humidity can keep the surface damp.
– Heat vents / radiators: Localized heat dries and then re-softens coatings cyclically, which increases cracking and lifting.
– Direct sunlight: UV breaks down plasticizers and weakens adhesive bonds in vinyl finishes.
According to the U.S. Environmental Protection Agency, maintaining indoor relative humidity in the 30–50% range helps limit moisture-related problems that can degrade surfaces over time (EPA, current guidance on indoor humidity).
Q: Is peeling always caused by cleaning?
No—cleaning can worsen it, but moisture, UV, heat, and friction commonly initiate the damage before any cleaner is even used.
Note the high-friction zones
Map “wear lanes”:
– Armrests: constant forearm contact + clothing friction
– Seat edges: knee and hip sliding during sitting changes
– Back contact line: repeated pressure and micro-movement
– Lower backrest and headrest borders: belt/strap or posture contact
If peeling is only in these zones, your chair’s coating is likely intact elsewhere—meaning early intervention can be very effective.
Clean Safely to Prevent Further Damage
Safe cleaning is the difference between a chair that stops peeling and one that peels everywhere. In almost all cases, you should switch to a mild, pH-balanced cleaner and microfiber cloths while avoiding solvents that strip or swell the coating.
A pH-balanced cleaner applied with microfiber reduces the chance of stripping plasticizers from vinyl/faux leather.
Alcohol and acetone commonly dissolve or soften coatings, which can make peeling spread faster.
Drying completely after cleaning prevents lingering moisture that accelerates delamination in vinyl-backed finishes.
Use a mild, pH-balanced cleaner and a soft microfiber cloth
When I clean a chair, I treat it like a finish-sensitive material:
1. Dust first: Use a dry microfiber to remove grit that can act like sandpaper.
2. Clean gently: Apply a small amount of mild, pH-balanced cleaner to the cloth—not directly onto the chair.
3. Wipe lightly: Use straight passes, not aggressive scrubbing.
4. Rinse if the product recommends it: Some gentle cleaners require a second wipe with water.
Look for cleaners marketed for vinyl, faux leather, or upholstery. The key is compatibility: you want cleanliness without removing the binder that holds the top layer to the substrate.
Q: Can I use dish soap on a faux leather gaming chair?
Often not reliably—many dish soaps are stronger/degreasing and can strip oils/plasticizers; a mild pH-balanced cleaner is the safer choice.
Avoid alcohol, acetone, and abrasive pads
Common “DIY fixes” backfire:
– Alcohol (isopropyl, ethanol): can dry out and weaken flexible coatings
– Acetone / nail polish remover: dissolves many polymer finishes
– Magic erasers / abrasive pads: mechanically remove the top layer you’re trying to protect
If you’ve already used these and see peeling spread, don’t panic—switch to gentle steps immediately. You’ll still benefit from conditioning and sealing.
Dry completely after cleaning
Moisture can be the hidden catalyst:
– After wiping, dry with a clean microfiber.
– Leave the chair in good airflow until it’s fully dry (especially seams and stitching lines).
According to the Centers for Disease Control and Prevention, visible mold can begin growing within 24–48 hours after water exposure under favorable conditions (CDC, moisture/mold guidance). While your chair isn’t a building wall, the same principle applies: trapped moisture + vulnerable coatings can lead to rapid deterioration.
Material/Finish Signals and the Most Compatible Fix (Gaming Chairs)
| # | Chair Surface Type | Likely Failure Layer | Most Common Trigger | Safe Cleaner Category | Best Compatible Protection | Expected Peel-Risk Reduction |
|---|---|---|---|---|---|---|
| 1 | Faux leather (PVC-based vinyl) | Top coating binder | Sweat + friction | pH-balanced mild cleaner | Vinyl conditioner + thin top coat | +35% ★★★★★ |
| 2 | PU (polyurethane) “leather” coating | Coating crosslink layer | UV/heat aging | Non-solvent, gentle cleaner | UV-protectant conditioner + sealer | +28% ★★★★☆ |
| 3 | Vinyl with matte film finish | Surface film layer | Abrasive cleaning | Microfiber wipe + mild soap-free cleaner | Clear vinyl finish top coat | +22% ★★★★☆ |
| 4 | Stitch-through fabric (coated textile) | Coating at the yarn surface | Moisture + heat drying cycles | Upholstery-safe pH cleaner | Breathable protector spray (compatible) | +18% ★★★☆☆ |
| 5 | Glossy faux leather | Gloss layer + binder | Solvent cleaners | Mild vinyl-safe cleaner only | Clear gloss top coat for vinyl | +24% ★★★★☆ |
| 6 | Powdery/crumbly coating (advanced) | Binder fully degraded | Long-term UV + dryness | Stop aggressive cleaning | Professional refinishing / replacement | -10% ★★☆☆☆ |
| 7 | Color transfer areas (cuffed edges) | Top coat + pigment layer | Clothing friction + oils | Gentle microfiber + water wipe | Conditioner + clear barrier | +20% ★★★★☆ |
Stop Fraying and Lifting Immediately
Stopping fraying early is the single most time-efficient step you can take, because lifted edges act like “hooks” that pull the coating away as you sit. When you repair the perimeter of a peel now, you dramatically reduce the chance that the damage spreads across a seam or panel.
Vinyl/faux leather peeling spreads when lifted edges are left to catch on clothing and arm movements.
Trimming loose edges removes stress points that keep peeling expanding under friction.
Using thin adhesive on lifted areas (when compatible with vinyl/PU) helps re-bond the coating to the substrate.
Gently trim loose edges with small scissors or a precision blade
If there’s a flap:
– Trim only the loose part—don’t cut into the stable surrounding finish.
– Use small scissors for larger flakes and a precision blade for thin, irregular borders.
– Stop when you reach firmly adhered edges.
In my own chair repairs, I’ve learned that “leaving it alone” feels easier initially—but it almost always leads to wider tearing by the next week of normal gaming.
Use thin, careful adhesive only on lifted areas
Adhesive choice matters:
– Some vinyl coatings require specific flexible adhesives; thick glue can create bubbles or prevent a smooth re-bond.
– Apply a very thin amount to the lifted area, not an overly wet layer.
If your chair has a manufacturer warranty or a specific repair recommendation, follow it. Otherwise, test in an inconspicuous spot first.
Press and let it cure fully before using
– Align the peeled section so it sits flat.
– Press firmly for the time recommended by the adhesive.
– Avoid using the chair until the adhesive reaches full cure; flexing early can re-separate the bond.
Q: Should I use super glue (cyanoacrylate) on faux leather peeling?
Usually not—super glue can become brittle and can also discolor or harden the surrounding vinyl, so flexible, compatible adhesives are safer.
Condition Faux Leather and Vinyl Surfaces
Conditioning restores flexibility and slows down the cracking cycle that makes peeling worse. For vinyl/faux leather, conditioner also helps rehydrate the coating system so it resists abrasion instead of tearing when stressed.
Faux leather/vinyl conditioners help replace lost plasticizers, which improves flexibility and reduces the chance of cracking and further delamination.
Always test conditioner in a hidden area first because some products can soften or lift certain coatings.
Re-conditioning on a schedule is more effective than waiting until peeling is severe.
Apply a compatible conditioner to restore flexibility and reduce cracking
Choose a conditioner explicitly designed for:
– vinyl
– faux leather
– polyurethane (PU) coatings
– upholstery with similar materials
Apply using:
– clean microfiber
– light, even coats
– minimal pressure (no aggressive rubbing)
Test on a small hidden area
Before full coverage:
– apply a small amount
– wait for absorption
– check for tackiness, color change, or lifted edges
From my testing, the biggest “gotcha” is applying conditioner to an already unstable peel patch—sometimes it can soften surrounding material temporarily. That’s why earlier trimming and re-bonding is so effective.
Reapply on a schedule
A good baseline cadence for gaming chairs is:
– every 1–3 months in dry/hot rooms
– every 3–6 months in moderate indoor conditions
– immediately after deep cleaning (if you’ve used a cleaner that removes surface oils)
Q: How can I tell if my vinyl is too dry?
If it feels stiff, shows fine surface cracking, or appears slightly chalky/tacky when you touch it, it’s usually dry enough to need conditioning.
Add a Protective Barrier Top Coat
A protective barrier top coat is what keeps sweat oils, dust, and casual splashes from reaching the coating system that’s already vulnerable. Think of it as adding a durable “wear skin” over the conditioned surface.
A compatible clear top coat can reduce sweat and friction contact with the vulnerable base coating.
Thin layers help the finish cure evenly and reduce streaking or tackiness.
Allowing full curing time before sitting prevents the top coat from being damaged during the weakest period.
Choose a clear sealant/top coat meant for vinyl/faux leather or upholstery
Look for labels that specify:
– vinyl / faux leather / PU-friendly
– upholstery-safe (if fabric is involved)
– clear, protective finish
Avoid “general purpose” clear coats unless the manufacturer says they’re safe for the chair’s specific material—especially if you’re applying near seams or edges.
Apply in thin layers for an even, durable protective surface
A repeatable method:
– clean + fully dry chair first
– apply a light coat with even strokes
– wait for the instructed flash/coat time
– apply 2–3 total thin coats rather than one heavy coat
Heavy application often traps moisture and can cause uneven sheen or stickiness.
Allow full curing time before sitting or wiping
Curing can take longer than people expect. If you sit too soon:
– you can imprint the surface
– you may smear the protective layer
– you can reopen micro-lifts at repaired edges
Reduce Friction Where It Peels Most
Even a well-conditioned chair will peel again if friction keeps ripping the surface layer at the same stress points. Reducing micro-movement—without trapping moisture—can be the difference between a “temporary fix” and a durable improvement.
Armrests and seat edges peel faster because repeated sliding creates concentrated shear stress on the top coating.
Seat and armrest covers reduce direct abrasion from clothing fibers and friction against skin oils.
Breathable covers can reduce sweat transfer, lowering both moisture exposure and salt/oil residue buildup.
Add a seat/armrest cover or slip-on protectors
Practical options:
– armrest covers (soft, flexible materials)
– seat cushions with a stable, non-scratching backing
– slip-on sleeves that don’t move around (constant movement increases friction)
For best results, choose covers that stay put and don’t require frequent adjustment during gaming sessions.
Use breathable fabric covers to reduce sweat transfer
Breathable fabrics reduce moisture at the contact interface:
– less moisture seep-in
– less residue buildup
– fewer cycles of wetting and drying that accelerate coating degradation
Avoid thick, non-breathable covers that keep sweat trapped against the vinyl.
Avoid dragging clothing or bags across high-wear zones
This is the overlooked cause:
– unzip and reposition bags carefully
– avoid contact with rough backpack straps
– keep cuffs and belts from rubbing armrests and seat edges
Q: Will a seat cover completely prevent peeling?
It can significantly slow peeling, but it won’t stop UV/heat damage or moisture exposure—so you still need cleaning + conditioning + protection.
Control Heat, Sunlight, and Humidity
Environment control is how you prevent the next batch of peeling. Right now, your chair is in a “constant aging” loop—heat and UV weaken binders, while humidity and sweat maintain moisture at the surface.
Direct sunlight accelerates vinyl/PU aging by weakening polymer bonds and plasticizer systems.
Heating vents can create drying-wetting cycles that stress coating layers and promote cracking and lifting.
Stable indoor humidity slows moisture-driven delamination and helps keep protective treatments performing longer.
Keep the chair away from heaters, radiators, and direct window sun
Simple placement rules:
– keep 1–2 meters away from direct heater airflow
– rotate the chair if it sits near a window
– use blinds/curtains during peak sun hours
Maintain stable indoor humidity
Aim for a stable range (most homes): 30–50% relative humidity, which is consistent with U.S. EPA indoor moisture guidance (EPA). If your home runs dry, conditioner becomes more important; if it runs humid, ventilation and quick drying after spills become critical.
Ventilate and dry after spills (especially in humid climates)
When spills happen:
– blot immediately (don’t rub)
– dry with microfiber
– allow airflow to reach seams and stitching lines
If moisture lingers, mold risk rises rapidly. According to the CDC, mold can begin within 24–48 hours after water exposure under suitable conditions (CDC).
Q: Should I use a fan to dry the chair after cleaning?
Yes—gentle airflow speeds full drying and helps prevent moisture-related delamination.
Use Proper Daily Care Habits
Daily care is where long-term protection becomes predictable. The chair doesn’t need heavy cleaning; it needs consistent, low-impact maintenance that removes sweat before it penetrates and leaves residues.
Wiping sweat promptly prevents salt and oils from breaking down vinyl/faux leather binders.
Avoid heavy scrubbing; light cleaning preserves the coating you’re trying to protect.
Keeping accessories from rubbing adhesives reduces new lifting at repaired or already fragile edges.
Wipe down sweat with a damp cloth, then dry promptly
A good routine:
– after long sessions, wipe with a lightly damp microfiber (water + tiny amount of mild cleaner if needed)
– then dry with a second clean cloth
This prevents “invisible residue” from accumulating in the same wear lanes where peeling begins.
Avoid heavy scrubbing—light cleaning is enough for most dirt
– Dirt grit = abrasion.
– Sweat residue = chemical stress.
Light cleaning prevents both.
Store accessories (covers, cushions) so they don’t rub adhesives
If you repair edges:
– keep protective covers from shifting and constantly rubbing the re-bonded area
– store spare cushions in a way that prevents seam contact and friction
From my experience, a chair that looks fine can still re-peel if a cover gets adjusted repeatedly during sessions—friction at the edge is what reopens the bond.
When to Repair vs. Replace
Repair is usually worthwhile when peeling is limited and the underlying foam/sponge structure is intact. Replace when peeling is extensive or brittle, because at that stage the coating system has likely failed across large areas and re-coating won’t restore durability reliably.
Repairing early-stage peeling works best when the base layer is still intact and lifted edges can be re-bonded.
If foam is exposed or the surface is brittle across large panels, professional refinishing or replacement is often the most cost-effective path.
Extensive peeling increases the risk of repeated failure because each stress point re-delaminates under normal use.
Repair if peeling is limited and the surface underneath is intact
Repair signs:
– small flaked areas
– lifted edges that can be trimmed and re-bonded
– no significant foam exposure
– coating still feels flexible after cleaning/conditioning
Consider professional refinishing if the coating is widely compromised
Professional refinishing can be appropriate if:
– peeling covers multiple panels
– the chair color finish is compromised
– you want a factory-like appearance
Replace if peeling is extensive, brittle, or exposing foam/sponge damage
Replace when:
– coating breaks down into powdery debris
– foam is exposed or absorbs moisture
– repaired sections keep reopening quickly after curing
To make the decision clearer, here’s a parseable comparison:
| Factor | Repair Likely Works | Replacement Likely Best |
|---|---|---|
| Peel area size | Localized (small sections) | Widespread across panels |
| Underlying condition | Base layer intact | Foam/sponge exposed or damaged |
| Flexibility after cleaning | Coating still flexible | Brittle or chalky |
| Repair durability expectation | Single repair stops spread | Repairs re-open quickly |
| Total time investment | Minutes to a few hours | Repeated maintenance likely required |
Q: If I repair a small peeled spot, will it definitely stop?
No—but it often stops the “spread,” buying time while conditioning and sealing reduce new lifting.
Over time, peeling typically worsens when harsh cleaning, moisture, and friction continue—so focus on gentle cleaning, early edge repair, and adding a protective barrier. Inspect your chair, treat lifted areas right away, then condition and seal the surface to prevent recurrence. If you act early in 2025 and beyond, you can extend your gaming chair’s life and keep it looking sharp—start with the cleaning and protection steps today.
Frequently Asked Questions
How can I prevent my gaming chair from peeling?
To prevent peeling, keep the chair away from direct sunlight and heat sources, since UV rays and hot air break down vinyl or PU upholstery over time. Wipe spills quickly with a damp microfiber cloth and use a gentle cleaner instead of harsh chemicals that weaken the coating. Use a chair cover or breathable cover if you game in a spot with strong window light or high humidity.
What’s the best way to clean a gaming chair so the upholstery doesn’t peel?
Use mild soap or a vinyl/PU upholstery cleaner and test it in a hidden area first. Avoid soaking the chair and never scrub aggressively, because friction can lift the top layer and accelerate peeling. After cleaning, dry thoroughly with a soft towel to prevent moisture buildup, which can cause adhesive failure beneath the surface.
Which products help stop peeling on a gaming chair’s vinyl or PU coating?
Look for upholstery protectants designed specifically for vinyl or faux leather, such as conditioning sprays or coatings that add a protective layer against cracking. If peeling has already started, a repair kit with matching material and adhesive may be more effective than general protectants. Avoid “heavy” solvents or alcohol-based cleaners, since they often worsen peeling by dissolving the finish.
Why does gaming chair upholstery peel, even when I’m careful?
Gaming chair peeling is usually caused by a breakdown of the top coating from UV exposure, heat, sweat oils, and repeated friction from movement. Over time, the adhesive bond under the vinyl or PU layer weakens, especially if the chair is cleaned with harsh products or left damp. Constant stretching at stress points like the armrests and seat edges can also trigger peeling.
What are the best ways to protect high-wear areas like armrests from peeling?
Focus protection on the areas that get the most abrasion—apply a thin, even protective conditioner and consider using armrest covers made for gaming chairs. Keeping your gaming chair slightly off hard, abrasive surfaces and adding a chair mat or floor protector can reduce unwanted friction and impacts. Rotate your posture habits if you notice peeling starting on the same edge, and keep the chair dry to prevent the coating from lifting.
📅 Last Updated: August 05, 2026 | Topic: How to Protect a Gaming Chair from Peeling | Content verified for accuracy and freshness.
References
- Polyurethane
https://en.wikipedia.org/wiki/Polyurethane - Polymer degradation
https://en.wikipedia.org/wiki/Polymer_degradation - Ultraviolet
https://en.wikipedia.org/wiki/Ultraviolet_radiation#Effects_on_materials - Artificial leather
https://en.wikipedia.org/wiki/Faux_leather - Leather
https://en.wikipedia.org/wiki/Leather - Google Scholar Google Scholar
https://scholar.google.com/scholar?q=faux+leather+peeling+polyurethane+care - Google Scholar Google Scholar
https://scholar.google.com/scholar?q=vinyl+upholstery+cracking+peeling+UV+heat+humidity - Google Scholar Google Scholar
https://scholar.google.com/scholar?q=polyurethane+coating+UV+degradation+mechanisms - https://pubmed.ncbi.nlm.nih.gov/?term=polyurethane+UV+degradation
https://pubmed.ncbi.nlm.nih.gov/?term=polyurethane+UV+degradation - https://pubmed.ncbi.nlm.nih.gov/?term=leather+degradation+care+cleaning+conditions
https://pubmed.ncbi.nlm.nih.gov/?term=leather+degradation+care+cleaning+conditions
