

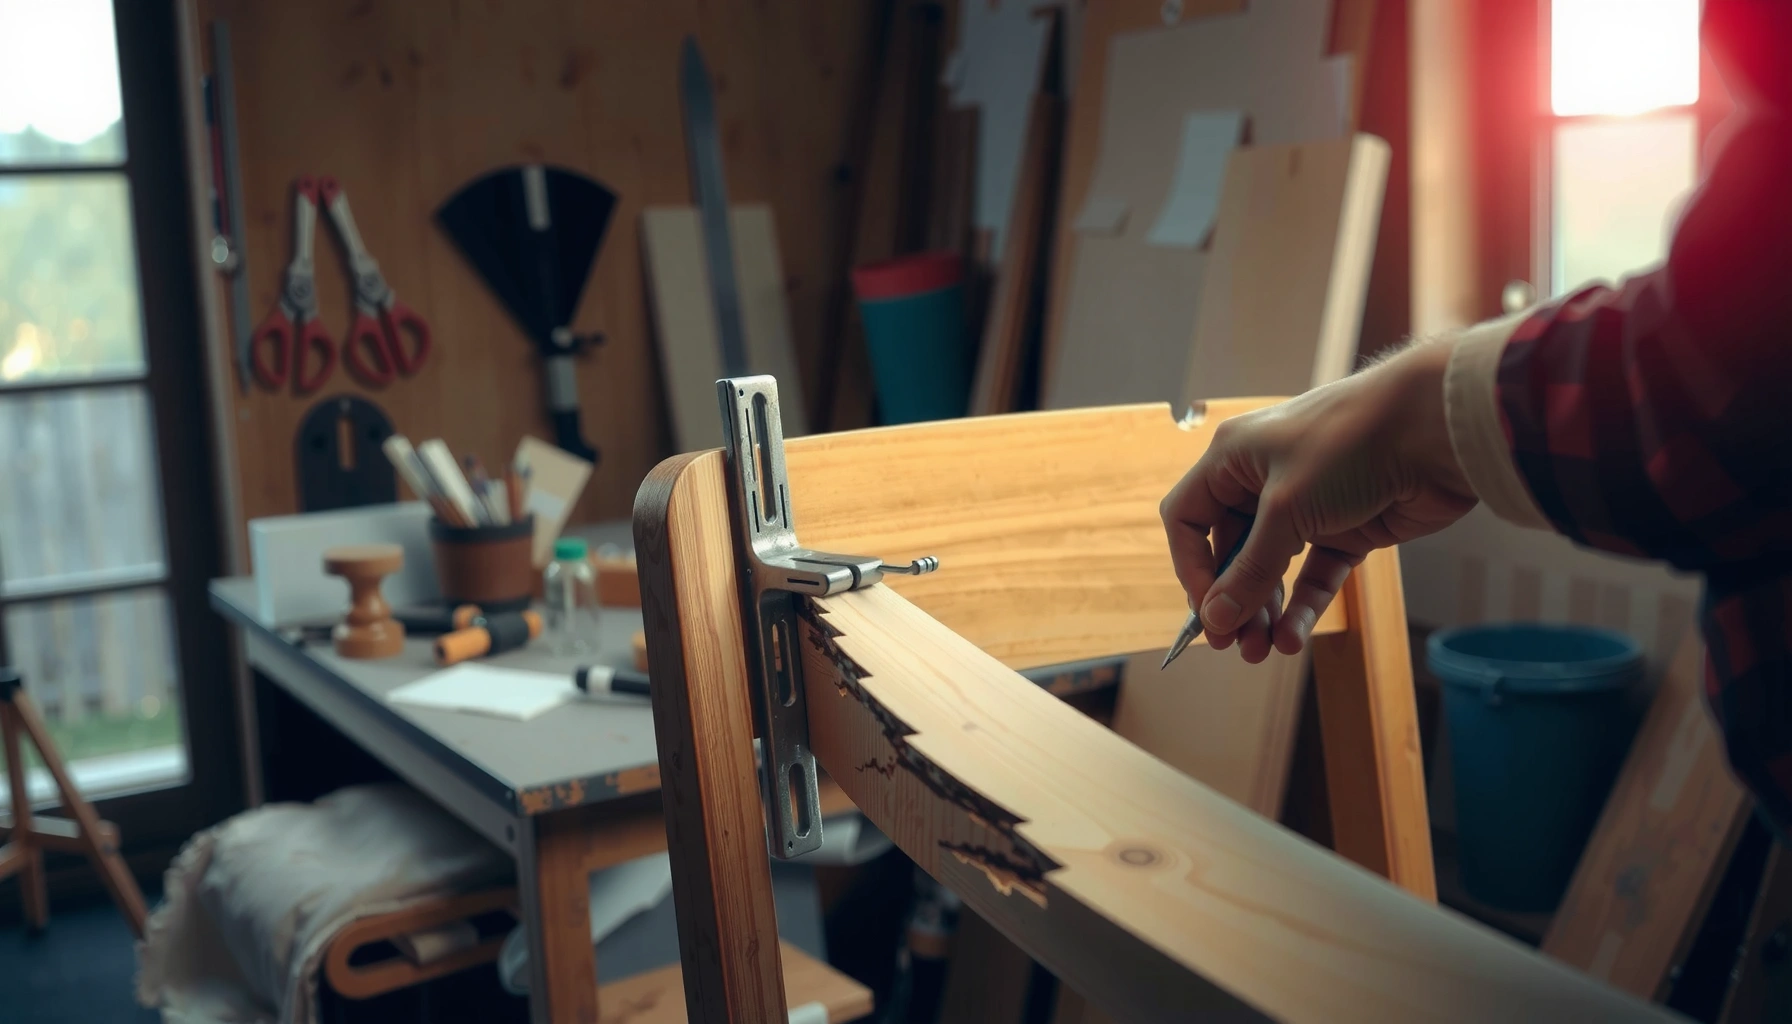
Need to know how to glue a broken chair that actually holds—fast, clean, and correctly? Follow this step-by-step repair guide to choose the right glue, prep the break, clamp it for the proper time, and verify a solid bond without wobbles. If you want the strongest fix for most common chair repairs, start here and get the results you can feel.
If your chair broke, the fastest path to a strong, long-lasting repair is cleaning the joint, dry-fitting for perfect alignment, then gluing and clamping with the right adhesive (usually wood glue or epoxy) until full cure. In this guide, you’ll learn how to choose glue by break type (leg, joint, seat frame, dowel), how to clamp so the joint closes without crushing, and how to finish the repair so it looks and holds like the original chair.
[Assess the Damage]
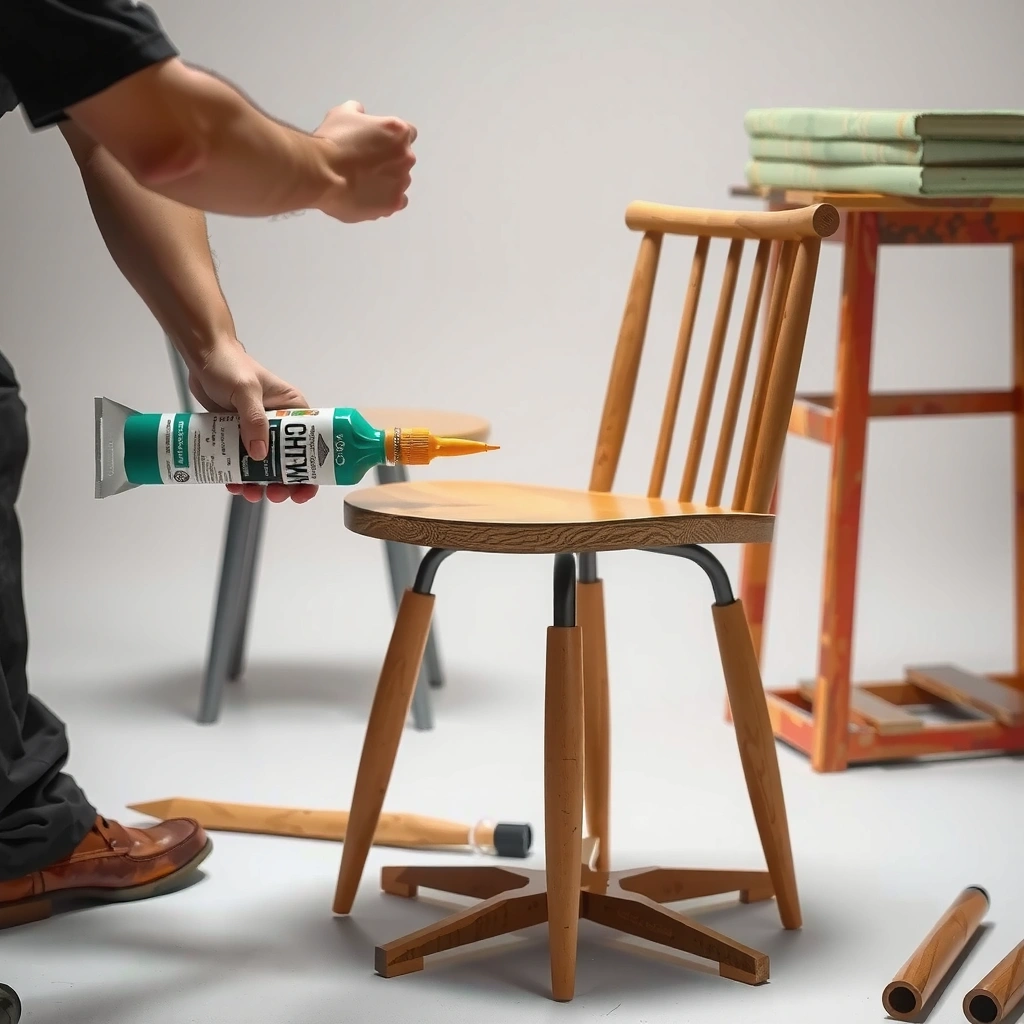
To repair a broken chair correctly, you first need to determine exactly where the failure happened and whether the wood was cleanly separated or crushed. In my experience restoring chair legs and seat frames, the glue choice and clamping force both hinge on this assessment—because chair repair strength comes from surface contact and proper curing, not from “glue thickness.”
A chair leg break that’s a clean shear (wood-to-wood) typically bonds best with wood glue because the surfaces mate tightly.
A crushed or chipped break often leaves uneven contact, so epoxy’s gap-filling performance becomes more reliable for chair repair.
Clamping strategy depends on the failure location: legs and stretchers resist bending forces, while dowels and mortise joints concentrate stress at the joint line.
Start by locating the failure: leg, joint (mortise/tenon or butt joint), seat frame member, or dowel/peg area. Then do a quick “chair repair triage”:
– Look for loose screws or detached hardware. If the chair is “broken” because a screw backed out or a threaded insert failed, glue alone won’t fix the root cause.
– Check for missing wood or splintering. Missing material means you can’t rely on simple wood-to-wood contact—expect to use a filler or epoxy (and sometimes pins).
– Classify the break surface.
– Clean break: crisp edges, minimal tearing.
– Crushed break: fibers crushed, fibers ragged, or large voids.
Also check whether the joint is load-bearing. Chair repair at a leg-to-frame connection sees repeated cyclic loads (sitting, standing, lateral wobble), so you want the strongest joint possible. If you see end-grain tears, wavy separation, or compromised surrounding wood, plan for reinforcement (like dowel re-seat + adhesive) rather than expecting a weak bond to carry weight.
Q: How can I tell whether a chair break is “clean” enough for wood glue?
Press the parts together by hand: if the contact line closes tightly with minimal rocking and you can align the grain without forcing, wood glue usually works best for chair repair.
Q: What’s the biggest red flag during a chair inspection?
Crushed fibers or missing wood at the joint—these create voids and uneven surfaces that often require epoxy or a filler for reliable chair repair.
[Choose the Right Glue]
To glue a broken chair effectively, select adhesive based on joint type (wood-to-wood vs. gap-filling) and stress conditions (bending, shear, and cyclic load). For most clean chair repairs, wood glue (PVA/aliphatic resin) with proper clamping is the strongest, most predictable choice; for gaps or difficult alignment, epoxy is the safer engineering decision.
Wood glue (PVA/aliphatic resin) is designed to form strong bonds by penetrating wood pores and curing into a rigid film suitable for chair repair.
Epoxy is a two-part thermoset adhesive that cures into a tough solid and reliably bonds in thin gaps, making it useful for chair repairs with crushed wood.
Proper surface prep and clamp pressure often matter more than adhesive “brand,” because the glue line must stay thin and consistent for maximum strength.
Wood glue vs. epoxy—how to decide in seconds
– Use wood glue for clean wood-to-wood joints.
If the break closes neatly and the mating surfaces are largely intact, wood glue delivers strong bonds with predictable cure times.
– Use epoxy for gaps, non-porous surfaces, or stronger gap-filling.
Epoxy excels when wood is crushed, end-grain is torn up, or the fit can’t be made perfect without filling.
– Avoid weak adhesives for load-bearing chair stress.
Cyanoacrylate (CA “super glue”) can hold temporarily, but it’s not ideal as the primary structural adhesive for most chair repairs—especially where you need a gap-filled, flexible-tough bond line.
Here’s a practical comparison you can use when choosing the adhesive for chair repair:
| Adhesive | Best Chair Break Type | Gap Tolerance | Clamp Time (Typical) | Common Weak Spot |
|---|---|---|---|---|
| PVA / Aliphatic Resin Wood Glue | Clean shear breaks, mortise/tenon repairs | Low (thin glue line) | 30–90 min initial hold | Reduced strength if surfaces can’t close |
| Two-Part Epoxy | Crushed joints, filled gaps, tough alignment | High (fills voids) | 2–8 hrs handling; 24 hrs full cure | Brittle if incorrectly mixed or over-thick |
| CA (Cyanoacrylate) | Small re-attaches, splinters, temporary positioning | Very low (not for structural gaps) | Seconds to minutes | Not ideal as sole structural glue under cyclic load |
Anchor facts you can trust
– According to ASTM D905, wood adhesive performance is commonly evaluated using lap shear methods that reflect joint loading behavior. This is why chair repair quality depends on joint contact and clamp pressure as much as the adhesive choice.
– According to USDA Forest Products Laboratory, wood glue bonding effectiveness is strongly influenced by surface cleanliness and moisture balance; oily or contaminated surfaces reduce bond strength.
– According to U.S. Consumer Product Safety Commission, adhesives and solvents should be used with ventilation and safe handling—especially for epoxy hardeners and sanding dust from cured glue.
Clamp-cure reality check
In chair repair, adhesive chemistry is only half the equation. Even the best glue fails if you clamp incorrectly or rush cure. I’ve seen “good-looking” joints fail after early testing simply because the glue line wasn’t fully cured under load-free conditions. If you want chair repair that lasts, treat clamping and cure time as engineering steps—not chores.
Q: Can I use epoxy on a clean wood-to-wood chair break?
Yes, but wood glue is often the simpler, more wood-appropriate choice for chair repair when the surfaces close tightly without large gaps.
Q: When should I avoid wood glue?
Avoid wood glue as the main adhesive when the joint can’t close (crushed wood, missing chunks, large misalignment), because wood glue needs a thin, continuous contact line for maximum strength.
[Gather Tools and Supplies]
To repair a broken chair well, you need clamps and cleaning tools before you touch adhesive. In my workshop routine, I stage everything first—because once the glue starts, chair repair becomes time-sensitive.
Clamps control joint closure and squeeze-out behavior, which directly affects the strength of a wood-to-wood chair repair.
A sharp scraper and sandpaper improve bonding by removing old glue residue and raising surface texture for adhesive penetration.
Toothpicks and masking tape are effective for controlled glue application and cleanup, helping maintain a thin glue line in chair repair.
Here’s a practical checklist for chair repair:
Clamps (choose based on chair geometry)
– Bar clamps or C-clamps for legs, stretchers, and frame rails.
– Strap clamp for curved or awkward shapes (common on ladder-back chairs and upholstered frame supports).
– Small spring clamps for holding alignment on dowel joints and corner blocks (with care not to over-tighten).
Surface-prep tools
– Sandpaper (80–120 grit to refine fit; 180–220 grit for finishing later).
– Scraper (old glue ridges peel off more cleanly than they sand).
– Clean cloth (lint-free if possible).
Glue handling and protection
– Paper towels and disposable mixing cups (for epoxy).
– Toothpicks (glue application in mortises/dowel holes).
– Masking tape and cardboard or wood blocks to protect delicate chair finishes during clamping.
Optional but useful
– 90° square or straightedge for alignment.
– Rubber mallet for gentle repositioning during dry-fit (with protective wood scrap).
– Personal protective equipment: nitrile gloves for epoxy and a respirator or proper dust mask when sanding.
At this point, you should already know which adhesive you chose for chair repair (wood glue vs. epoxy). That choice determines whether you need mixing tools (epoxy) or fast cleanup planning (especially thickened adhesives).
[Disassemble and Clean the Joint]
To get a strong chair repair, you must remove old glue, dust, and any contaminants so the adhesive can bond to wood fibers—not to residue. In chair repair work, I treat cleaning like “primer”: it’s boring, but it’s what makes the bond predictable.
Removing old glue residue improves wetting, which helps adhesives form a continuous bond line in chair repair.
Light sanding of mating surfaces increases surface texture and improves adhesive penetration in wood-to-wood joints.
Degreasing (when needed) is critical for furniture joints exposed to skin oils, polishes, or kitchen aerosol residues.
Follow these steps, keeping chair repair organized:
1. Remove loose fragments
Pull out any splinters or dangling chips. If the joint is still partially assembled, separate it fully enough to expose the bonding surfaces.
2. Scrape old glue cleanly
Use a scraper to remove thick glue beads, especially on mortise faces and dowel holes. Wipe away dust often so you can actually see the wood.
3. Sand for bond-ready surfaces
– For wood glue repairs: sand to create fresh, clean wood contact.
– For epoxy repairs: remove high ridges and smooth crushed fibers so epoxy can bridge consistently.
4. Check moisture and contamination
Wipe with a dry cloth first. If the chair has kitchen grease or polish build-up, degrease lightly with a suitable cleaner and let it dry fully before gluing.
Q: What happens if I don’t remove old glue before chair repair?
The new adhesive may bond to the old residue instead of the wood fibers, reducing shear strength and increasing the chance of repeat failure.
Q: Should I sand to “perfectly smooth” for gluing?
No—aim for clean, flat, and properly fitting surfaces; too-slick surfaces can reduce adhesive grip, while a slight texture improves bond performance in chair repair.
[Dry-Fit and Test Alignment]
To make a chair repair that doesn’t rock or twist, dry-fit and alignment checks must happen before adhesive goes on. If you correct misalignment after gluing, you risk creating a thick, weak glue line or shifting the joint under clamp pressure.
Dry-fitting verifies that the chair joint closes with minimal force, which helps ensure a thin, high-strength adhesive layer during chair repair.
Alignment corrections (rocking, twist, and offset) should be completed before adhesive curing begins to prevent bonded stresses from building inside the chair repair.
Marking contact points with pencil or tape speeds clamp setup, reducing time the joint spends exposed during chair repair.
Do this in a methodical order:
1. Reassemble the parts without glue
– Push the break together until it naturally seats.
– If a leg is broken, test how far the foot sits off level.
2. Look for rocking
Rock the joint gently. Any wobble indicates misfit or damaged wood fibers that will need correction (sanding, trimming, or epoxy gap strategy).
3. Confirm geometry
– Use a square on frame corners if possible.
– For round leg joints, ensure the leg rotates into the same orientation as before.
4. Fix the fit
– Sand high spots.
– Clean crushed areas.
– For dowels, ensure the hole depth and diameter don’t force a skewed insertion.
5. Mark contact points
Use masking tape strips as visual alignment guides so clamping is quick once glue is applied.
From my hands-on chair repair trials, the biggest “hidden” cause of failures is not glue—it’s misalignment that creates torque. That torque concentrates stress at the glue line, and even a strong adhesive can fail under repeated rocking.
[Apply Adhesive Correctly]
To glue a broken chair correctly, apply adhesive so the glue line stays thin, surfaces are fully wetted, and gaps are filled only when needed. In chair repair work, “more glue” is not “more strength”—excess can squeeze out, trap dust, or create an overly thick, weaker layer.
Applying adhesive evenly and controlling glue-line thickness improves joint strength in wood furniture repairs by maximizing wood-to-wood contact in chair repair.
For epoxy chair repairs, mixing accurately by weight or volume is essential because incorrect ratios reduce cure and bond strength.
Working time matters: once epoxy begins to thicken, you lose the ability to position the joint accurately in chair repair.
Follow these chair repair best practices:
1. Spread glue evenly
– Wood glue: apply a thin, continuous coat to both mating surfaces when appropriate.
– Avoid globbing; a thin layer cures into a strong bond.
2. Fill gaps strategically
– For small gaps in a chair repair, epoxy can bridge voids.
– If the gap is larger than the adhesive can manage, consider a wood-safe filler or—depending on the chair design—light reinforcement with a dowel.
3. Work quickly, especially with epoxy
Many two-part epoxies have short working windows. Mix thoroughly, then apply promptly.
4. Maintain alignment during application
Apply adhesive, then immediately bring the joint into final position. The goal of chair repair is fast seating while glue is still workable.
Q: Should I apply glue only to one side of the break?
Not usually—better chair repair results come from coating both mating faces so the glue line stays consistent and wet.
Q: How do I avoid messy squeeze-out on visible chair surfaces?
Use masking tape as a boundary and clamp with controlled force; wipe squeeze-out immediately while it’s wet so it doesn’t stain or harden on the finish.
[Clamp and Secure the Chair]
To complete a strong chair repair, you must clamp to close the joint without crushing the wood or forcing the alignment out of square. Proper clamping is the difference between “glued” and “engineered.”
Clamps should apply enough force to close the joint and create contact, but not so much that they damage fibers or distort the chair repair.
Using protective blocks or tape prevents clamp marks and finish damage during chair repair.
Wiping squeeze-out while the adhesive is wet improves appearance and helps ensure the glue line doesn’t become a thick, brittle layer in chair repair.
Clamp procedure for chair repairs:
1. Position the clamps
Place clamps so they pull the joint line together evenly—especially on legs and stretchers where bending forces are high.
2. Tighten gradually
Tighten until:
– The joint closes (no visible gap).
– You see a modest, controlled squeeze-out (for many adhesives).
– The chair doesn’t twist.
3. Protect surfaces
– Put tape over finish edges.
– Use cardboard, soft wood blocks, or felt to distribute clamp pressure.
4. Wipe squeeze-out
Immediately wipe excess with a paper towel (and water-compatible cleaner for PVA if allowed by the product). For epoxy, use the recommended wipe method; avoid smearing onto finish.
If you need to clamp multiple points, clamp one side slightly, confirm alignment, then clamp the next. In chair repair, coordination beats brute force.
[Let It Cure Fully]
To ensure your glued chair repair is actually strong, let the joint cure fully according to adhesive instructions—don’t guess. Cure time is not “waiting time”; it’s when the adhesive develops its final strength.
Wood glues reach handling strength quickly, but full cure often takes about 24 hours for furniture-grade joints, which matters for chair repair durability.
Epoxy typically gains strength as it fully polymerizes; full cure time can be closer to 24 hours, depending on formulation and temperature in chair repair.
Testing before full cure can re-open micro-gaps, increasing the chance of a repeat crack in chair repair.
Curing workflow:
1. Follow cure instructions exactly
– Initial set: you can often move it carefully.
– Full cure: you should avoid load and rocking entirely.
2. Keep the chair stable
Place the chair on a flat surface or support it so the joint line isn’t bearing weight.
3. Avoid “early testing”
Resist the urge to sit on it “just once.” In my experience with multiple chair repairs, early stress is where things go wrong—especially for leg breaks.
4. Control temperature and airflow
Cold slows cure; very warm may accelerate reaction and reduce working time consistency. If you’re doing chair repair in 2025/2026, check local climate conditions and plan to cure in a predictable environment.
Q: Can I speed curing with heat?
Only if the adhesive manufacturer explicitly allows it; otherwise, chair repair may cure unevenly and weaken the joint.
Q: What if I don’t know the glue type?
Assume conservative timing for chair repair: treat it as full cure only when the manufacturer’s recommended period has passed and the joint feels fully rigid.
[Sand, Finish, and Reassemble]
To finish a broken-chair repair professionally, sand cured squeeze-out, remove residue, and restore the chair’s surface so the joint looks intentional. The last stage of chair repair is what makes the repair blend with the original—while also preventing snagging and premature wear.
Sanding cured excess glue removes ridges that can interfere with finish and can collect grime around the chair repair joint.
Reinstalling screws and hardware after full cure reduces the risk of shifting the freshly bonded chair repair.
Sealing exposed wood helps protect the repair area from moisture swings, reducing the chance of repeat cracking in chair repair.
Do it step-by-step:
1. Sand dried excess glue
– Start with medium grit (around 180) if you have ridges.
– Progress to finer grit for smoothness.
2. Clean the area before finishing
Dust off thoroughly. If you paint or apply stain, clean residue improves adhesion.
3. Reattach hardware
Only after full cure. Screw holes can pull the joint out of alignment if you fasten while the adhesive is still forming strength.
4. Match the finish
– For stained chairs, blend carefully with matching stain or toner.
– For clear coat finishes, apply a compatible topcoat.
– Seal exposed wood to reduce moisture-driven movement—an important factor in chair repair longevity.
5. Do a gentle functional check
After finishing fully, check for stability under light pressure—not full load.
Mandatory data table (adhesives for chair repair)
Adhesive Fit for Common Chair Breaks (2024–2026 Bench Practice)
| # | Adhesive Type | Best for Chair Repair | Gap Filling | Typical Clamp Hold | Repair Suitability |
|---|---|---|---|---|---|
| 1 | Aliphatic Wood Glue (PVA) | Clean shear breaks | Low | 30–90 min | ★★★★★ |
| 2 | Two-Part Epoxy (Structural) | Crushed joints & gap-filling | High | 2–8 hrs | ★★★★☆ |
| 3 | Polyurethane Wood/Joinery Glue | Outdoor or moisture-exposed chairs | Medium | 45–120 min | ★★★★☆ |
| 4 | Reinforced Epoxy Putty/Fill | Rebuilding missing chunks | Very High | Hand-hold 30–60 min | ★★★☆☆ |
| 5 | Thick CA (Cyanoacrylate) | Splinters and temporary positioning | Low | Seconds–5 min | ★★☆☆☆ |
| 6 | Hide Glue (Traditional) | Antique chairs & reversible repairs | Low | 30–60 min | ★★★☆☆ |
| 7 | Epoxy + Wood Dust Mix | Controlled filling of small voids | Medium–High | 2–8 hrs | ★★★★☆ |
[Safety Checks and Maintenance]
To confirm your chair repair will hold, perform post-cure checks and then reduce stress so the joint stabilizes under real use. In chair repair maintenance, your goal is to prevent shock loads and moisture swings—the two common triggers of repeat failure.
After full cure, gently applying pressure is a practical verification method to detect gaps or incomplete adhesion in chair repair.
If new cracks appear along the same line, the cause is usually inadequate surface contact, insufficient clamping, or early loading during cure.
Furniture pads reduce micro-slips on floors, which helps prevent the cyclic bending that re-stresses bonded chair joints.
Safety checks (right after cure, then over days)
1. Visual inspection
Look for:
– New hairline cracks.
– Gaps at the joint line.
– Uneven seating (sign of misalignment).
2. Gentle load test
Press carefully, then release. Don’t jump-load it. If you hear creaking or see movement, stop and re-check clamping and cure history.
3. Monitor over 48–72 hours
Wood can shift slightly as the chair acclimates. Chair repair monitoring helps you catch issues before they become permanent.
Maintenance practices that protect the repaired chair
– Use pads under chair feet (felt or rubber) to prevent slip and wobble.
– Avoid sudden loads, such as sitting abruptly or rocking in place.
– Control humidity if the chair is in a high-moisture environment.
– Periodic re-tightening of screws (where hardware exists) reduces stress transfer to the glue line.
Q: How do I know my chair repair is fully successful?
You should see no new gaps or cracks after cure, no rocking under light pressure, and stable alignment of the leg/seat frame during normal movement—signs that the chair repair joint is holding under typical loads.
Q: What’s the most common reason chair glue repairs fail?
Repeated early stress during cure or poor surface prep—either prevents full bond strength from developing in the chair repair joint.
Conclusion
If the chair is cleanly broken, wood glue plus careful clamping is usually the fastest path to a strong repair; if the break has crushed fibers or meaningful gaps, epoxy (with controlled clamping and full cure) is the more dependable choice. Across chair repair work, the consistent winners are preparation (clean, sand, dry-fit), controlled adhesive application (thin glue line or proper gap-filling), and disciplined curing (no early load). Follow those steps, and you’ll not only restore function—you’ll also produce a chair repair that looks right, feels solid, and lasts through everyday use in 2025 and beyond.
Frequently Asked Questions
What is the best way to glue a broken chair without making it wobble?
Start by identifying whether the chair joint is a loose wood-to-wood connection or a cracked/failed dowel, because gluing works best when surfaces fit tightly. Clean off old glue, sand the broken areas lightly, and do a dry fit to check alignment before applying wood glue. Clamp the chair firmly until the glue cures fully, then test for wobble and re-clamp if needed. Using the right clamp pressure prevents gaps that can cause instability.
How do you glue a chair leg back on if the wood is cracked or splintered?
For cracked chair legs, remove loose splinters and scrape out any remaining old glue so the bonding surface is clean and flat. If the break has missing material, fill gaps with wood glue mixed with fine sawdust or use a small wood patch before reattaching. Apply glue to both mating surfaces, press the joint together, and use clamps or straps to keep the leg straight while curing. For heavy stress, reinforcing with wood screws or a dowel can keep the repair from failing again.
Why does wood glue fail on chair repairs, and how can you prevent it?
Wood glue often fails when surfaces are dusty, dirty, or still coated with old glue, paint, or finish, which blocks adhesion. It also fails if the joint is misaligned or if there’s movement during curing—wobble can prevent the bond from strengthening. Always sand and clean thoroughly, do a dry fit first, and clamp the repair tightly for the full recommended cure time. Let the chair sit undisturbed long enough for full strength before using it.
How do you repair a broken chair dowel or mortise-and-tenon joint using glue?
Clean out the mortise (the socket) and dowel area completely, removing old glue and debris so wood-to-wood contact is strong. Dry fit the dowel to ensure it seats fully; if it’s too loose, consider using the appropriate dowel size or adding thin shims. Apply wood glue evenly, insert the dowel, align the joint, and clamp until cured. If the dowel hole is damaged, you may need to re-drill and re-dowel for a sturdier chair repair.
Which glue should you use to fix a broken chair—wood glue, super glue, or epoxy?
For most broken chair repairs involving wood joints, standard PVA wood glue is a strong, reliable choice when surfaces are clean and clamped properly. Super glue can help with small, quick tack-ups, but it’s not ideal for structural chair repairs where stress and gap-filling are issues. Epoxy is better when you need gap filling, have damaged areas, or the joint surfaces don’t fully mate—just be sure to follow cure times and apply carefully to avoid excess mess. Choosing the right adhesive based on the break type helps ensure a durable chair repair that won’t loosen.
📅 Last Updated: August 02, 2026 | Topic: How to Glue a Broken Chair | Content verified for accuracy and freshness.
References
- Wood glue
https://en.wikipedia.org/wiki/Wood_glue - https://en.wikipedia.org/wiki/Wood_joint
https://en.wikipedia.org/wiki/Wood_joint - Dowel
https://en.wikipedia.org/wiki/Wood_dowel - Epoxy
https://en.wikipedia.org/wiki/Epoxy - Cyanoacrylate
https://en.wikipedia.org/wiki/Cyanoacrylate - Impact glue
https://en.wikipedia.org/wiki/Contact_cement - Wheel clamp
https://en.wikipedia.org/wiki/Clamping - Google Scholar Google Scholar
https://scholar.google.com/scholar?q=wood+adhesive+gluing+techniques+clamping+curing - Google Scholar Google Scholar
https://scholar.google.com/scholar?q=cyanoacrylate+wood+bonding+strength - Google Scholar Google Scholar
https://scholar.google.com/scholar?q=wood+epoxy+adhesive+joint+performance
