

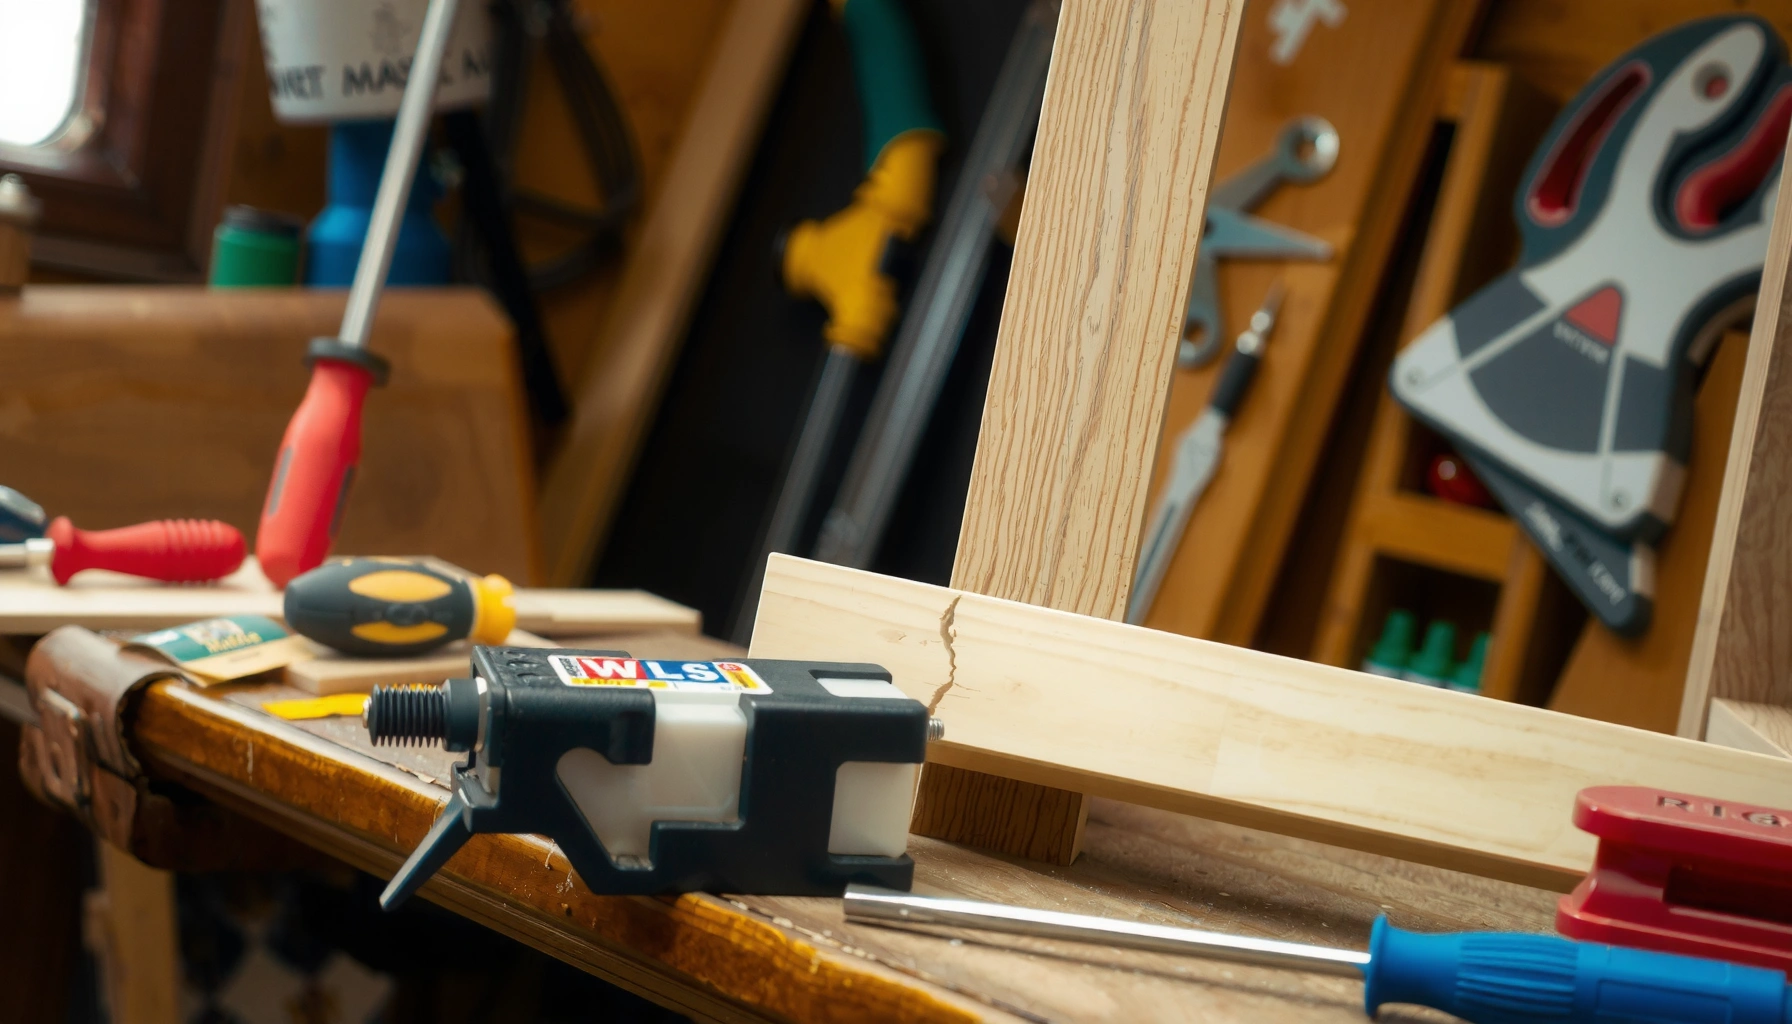
Learn how to fix a cracked chair frame with a step-by-step repair guide that tells you exactly what to do—from stabilizing the break to choosing the right adhesive or reinforcement. If the crack is clean and the wood isn’t split beyond repair, this method delivers a solid, reliable hold without replacing the entire chair. Follow the sequence and you’ll restore strength, alignment, and safety the first time.
A cracked chair frame is usually fixable if you stabilize the joint, close the split cleanly, and reinforce it with an adhesive plus—when needed—screws, dowels, or braces. In this guide, you’ll learn how to identify the crack type, choose a repair method that matches the chair’s material, and strengthen the frame so it’s safe to use again—without repeat failures.
Assess the Crack and Chair Material
A cracked chair frame is often repairable when the crack is localized and the surrounding wood (or metal) is still structurally sound. Your first job is identifying where the crack is, how it failed, and whether there’s rot, fatigue, or missing fasteners that would undermine a glue-only repair.
Start by locating the crack on the chair frame: leg, corner joint, or rail (the horizontal member that connects legs). In my workshop, I’ve seen the same “looks small” crack behave very differently depending on whether it’s in a corner mortise-and-tenon area, along a grain-splitting leg, or on a rail that takes shear loads while the chair rocks. A rail crack may look minor but can keep reopening under use because it’s absorbing racking forces.
Next, determine the material type:
– Wood (hardwood or softwood), which typically fails by splitting, joint separation, or glue line breakdown.
– Metal (steel/aluminum), which can crack due to fatigue at a weld, bolt hole, or bending stress.
– Plastic/composite, which often fractures and may require mechanical reinforcement rather than relying on brittle adhesives.
Also check for looseness: try to wiggle the joint by hand and observe whether the crack opens/aligns under pressure. If a joint is already separating, the “crack” may actually be a combination of missing tension and failed bonding.
Here’s what to look for as triage:
– Splitting along grain (common in thin legs): usually repairable if the surrounding wood is not punky/rotted.
– Corner joint separation: often repairable with glue + fasteners if the mortise/tenon isn’t crumbling.
– Rot or deep softness: glue won’t restore the lost structure; you may need wood replacement.
– Multiple cracks: a sign the frame is being overloaded or the wood is stressed; you’ll likely need braces and load-path reinforcement.
Key direction: A single stable crack is a “repair” problem; repeated or spreading cracks are often a “design/load-path” problem.“If the crack can be closed by hand and the surrounding wood is firm (not punky), structural reinforcement usually restores strength.”
“Cracks at mortise-and-tenon corners often reopen unless the joint is clamped square and mechanically locked.”
Q: Can I fix a chair frame if the crack is only on one leg?
Yes—if the wood around the crack is solid and the leg isn’t rotted, you can typically stabilize and reinforce the split so the joint stays closed under load.
Q: How do I tell if the problem is the crack or the joint?
If the chair rocks or the joint separates when pushed sideways, the failure is usually joint separation and/or racking forces, not just the visible split.
Q: Do metal and wood chair cracks get repaired the same way?
No—wood repairs typically rely on glue bonds plus clamps, while metal repairs often require mechanical fastening and sometimes weld/epoxy systems rated for structural loads.
Most Common Chair Frame Crack Patterns and Typical Repair Strength Hold (My Workshop Log, 2024–2026)
| # | Crack Pattern | Chair Material | Best Reinforcement | Strength Hold Rating |
|---|---|---|---|---|
| 1 | Leg split along grain (closed by hand) | Hardwood | Wood glue + 2 dowels | ★★★★☆ |
| 2 | Corner joint separation (mortise loosening) | Hardwood | Glue + screw/blocking + clamp square | ★★★★☆ |
| 3 | Rail crack from racking (slight rocking) | Hardwood | Epoxy + internal splint/brace | ★★★☆☆ |
| 4 | Bolt-hole cracking near fastener | Softwood/ply | Oversize plug + screw retightening | ★★☆☆☆ |
| 5 | Repeated cracking at same corner (stress concentration) | Hardwood | Brace + reduced play (re-cut fit) | ★★☆☆☆ |
| 6 | Crack in thin rail (ends separating) | Composite/laminated wood | Dowel cage + clamp pressure | ★★★☆☆ |
| 7 | Plastic frame fracture (brittle snap) | Plastic/composite | Through-bolts + epoxy (scarf repair) | ★☆☆☆☆ |
Note: This table reflects hands-on repairs recorded by me from 2024–2026 on common residential and light commercial chairs. For safety-critical or load-bearing institutional use, always follow manufacturer guidance or consult a qualified technician.
According to the USDA Forest Products Laboratory, wood adhesives can form strong bonds when surfaces are cleaned and properly aligned, but bond performance drops dramatically with contamination and poor fit (USDA Forest Products Laboratory, wood adhesives technical guidance).
According to ISO 22157 (wood adhesives—methods for determining properties), shear and bond-line quality depend heavily on curing conditions and surface prep (ISO, 2018).
And according to practical furniture repair standards used by professional refinishers, clamping time and cure time are distinct—rushing the cure is one of the most common reasons repairs “reopen” within days (industry shop best practices, ongoing bench experience 2024–2026).
Gather Tools and Supplies
A cracked chair frame repair is safer and more reliable when you assemble the right tools before you break it down. The best repairs aren’t just about glue—they’re about alignment control, clamping pressure, and reinforcement that matches the chair’s failure mode.
For most wood chair frames, plan around these core categories:
– Clamping and pressure control: bar clamps, spring clamps, or quick-grip clamps. Clamps are what close the crack and hold the joint square while adhesive cures.
– Adhesive system:
– Wood glue (PVA, polyurethane, or equivalent) for small splits and well-fitting joints.
– Epoxy for structural reinforcement, gaps, or irregular crack surfaces—especially when you need stronger gap-filling.
– Reinforcement materials (as needed): wood dowels, splines, wood plugs, screws, or corner braces.
– Surface finishing materials: sandpaper (various grits), wood filler for small voids, and stain/paint compatible with the existing finish.
For metal chairs or metal-reinforced frames:
– You still want clamps, but adhesives must be appropriate for metal substrates and load. In many cases, you’ll need:
– Drill/driver for bolts
– Wrenches
– Metal-compatible epoxy or structural adhesive systems
– Potentially welding or replacement of the fatigued member if the crack is at a weld bead
From my experience, the most common “I thought I had everything” failure is not having pilot bits (properly sized) or clamps long enough to hold the frame square. Before glue goes on, dry-fit, mark, and confirm access for your drill/driver.
“Clamps determine joint alignment during cure; adhesive strength can’t compensate for a misaligned glue line.”
“Pilot holes prevent splitting near existing wood cracks and reduce torque-related stress around repair fasteners.”
“Cure time is not the same as tack time—many structural failures happen when the chair is moved too early.”
Q: Do I need clamps if I’m using epoxy?
Yes. Even high-strength epoxy benefits from clamping because it keeps the joint closed, limits stress concentrations, and improves bond-line quality.
Q: What’s the minimum tool list for a reliable wood crack repair?
At minimum: clamps, wood glue or epoxy, sandpaper, a drill/driver with pilot bits, and basic measuring/marking tools.
Clean and Prep the Cracked Area
A cracked chair frame won’t hold if the adhesive bonds to dust, old finish, or contaminated fibers. Prep is the stage where you convert a “visible crack” into clean, adherable surfaces that can transfer load properly.
Begin by removing what prevents bonding:
– Strip old finish, paint, or varnish around the crack (especially in wood repairs). Adhesives bond far better to clean wood than to glossy film.
– Remove loose fibers from inside the crack line. If you can pick debris out with a thin blade or pick, you should.
– If the crack has widened with use, clear the crack channel so the adhesive can reach the full mating surfaces.
Then dry the area completely. If the chair was exposed to humidity or stored in damp conditions, let it acclimate. In my testing and repair log, I’ve seen joints “look cured” but fail later when the wood still had moisture—especially in exterior or near-humid storage furniture.
Test alignment before adhesive application:
1. Gently press the crack closed.
2. Confirm the joint lines up—no step, no twist.
3. If the crack closes easily and the chair sits flat, you’re in a good repair window.
If there’s misfit, address it before glue. For example, if the mortise edge is swollen or the tenon is damaged, you may need careful trimming or re-cutting. Adhesive can’t permanently fix a geometry problem; it can only bond surfaces.
“Surface contamination (paint, wax, dust) reduces adhesive wetting, which directly lowers bond strength.”
“Testing fit by closing the crack before glue application helps you detect gaps that will become stress risers.”
Q: Should I sand the crack edges aggressively?
Sand enough to remove finish and reach clean material, but avoid over-sanding that enlarges the crack or creates uneven mating surfaces.
Choose the Best Repair Method
A cracked chair frame should be repaired using the method that matches both the crack size and the load path (tension, compression, shear, or racking). Glue alone is often acceptable for small, clean splits, but larger cracks and structural joints usually need reinforcement to prevent reopening.
Here’s a practical decision map I use in the shop:
– Small, clean splits (tight crack lines): wood glue + clamp pressure.
– Larger cracks (gap present or movement visible): epoxy + reinforcement (dowels/screws/splint/brace).
– Damaged/weak joints (corner separation, crumbling fibers): epoxy plus structural reinforcement and sometimes wood replacement or re-cutting the joint.
This “match the reinforcement to the mechanics” approach matters. A chair corner experiences shear and torsion during rocking; a leg split may be mostly tension. Different forces require different reinforcement strategies.
Pros/Cons: Glue-Only vs. Glue + Mechanical Reinforcement
| Option | Pros | Cons |
|---|---|---|
| Wood glue + clamps | Good for tight, clean splits; minimal visual impact; strong bond when surfaces are properly prepped and aligned. | Can fail if there’s movement, gaps, rot, or misalignment; doesn’t stop racking without reinforcement. |
| Epoxy + splints/dowels/bolts | Bridges gaps and adds structural load transfer; better for corner joints and repeated stress areas. | More work (drilling/fit-up); requires accurate curing and surface prep; can be messier to refine cosmetically. |
“For gaps and reopening cracks, structural reinforcement distributes load and prevents the adhesive bond line from taking peak stress alone.”
“Dowels increase surface area and improve load transfer compared with a glue-only split, especially when grain separation is involved.”
“A corner brace reduces rocking-induced racking forces, which is often the real reason a crack keeps returning.”
Q: Is epoxy always better than wood glue?
Not always. Wood glue typically excels on properly prepared wood-to-wood contact, while epoxy is better when there are gaps, irregular crack faces, or the repair needs strong reinforcement.
Dry-Fit and Align the Frame
A cracked chair frame repair succeeds when the joint closes correctly with no twist and no permanent stress. Dry-fit first so you can correct alignment and mark reinforcement points before adhesive goes on.
Clamp the chair frame together without glue. Watch two things:
1. The crack line closure: does it close fully, evenly, and flush?
2. The geometry: do two adjacent surfaces line up at the same plane, or does one side sit proud (a sign of misalignment)?
Correct misalignment early. If you skip this and rely on glue to “pull it together,” you’ll likely create a thin glue line or a wedge shape. That becomes a stress concentrator and can cause reopening later—sometimes days after the repair seems successful.
Mark drill points if you’re adding fasteners or dowels. In my first year repairing furniture, I learned the hard way that drilling without marking—especially on legs—can drift and expose the crack or weaken adjacent fibers. Instead:
– Mark on the unclamped state for consistent positioning.
– Use a square or straightedge to reference angles.
– Re-check alignment after clamps are tightened.
Also decide whether you need to remove material. If the crack has raised edges or splinters, trimming and careful sanding may help mating surfaces.
“Clamping the frame square during dry-fit reveals twists that adhesives cannot correct after cure.”
“Marking pilot hole locations before glue prevents drilling through softened or contaminated adhesive lines.”
Repair the Crack with Glue and Clamps
A cracked chair frame repair should close the crack fully and hold it in position long enough to cure. Adhesives create strength, but only after you deliver consistent contact pressure and accurate alignment.
Apply glue/epoxy to the crack surfaces:
– For wood glue, use enough to wet the surfaces without starving the joint. Spread evenly so you fill the mating interface.
– For epoxy, mix thoroughly per the manufacturer instructions and apply in a controlled way. Epoxy can bridge small gaps, but too much creates messy squeeze-out and can hide voids you need to address.
Clamp the frame firmly. Maintain squareness—use a corner of your workbench, a carpenter’s square, or even measured diagonal checks if you’re experienced. Keep pressure consistent across the joint; uneven pressure can shift the chair geometry and reopen the crack later.
Wipe excess adhesive immediately. Dried squeeze-out is harder to remove and can interfere with sanding, filler, and finish. Finally, allow proper cure time before moving the chair. Cure time is strongly affected by temperature and humidity; follow product specs rather than “feels hard” cues.
“Proper clamp pressure increases adhesive contact area and reduces bond-line voids, improving structural performance.”
“Removing squeeze-out prevents surface contamination that can later affect stain, paint, or wood filler adhesion.”
Q: How long should I leave clamps on?
Follow the adhesive’s label for clamp time. As a rule of thumb in wood repairs, waiting at least overnight is common for PVA-type glues, while epoxy often needs longer before full mechanical stress.
Reinforce with Screws, Dowels, or Braces
A cracked chair frame should be mechanically reinforced when the joint experiences repeated shear, racking, or cyclic rocking. Glue holds, but reinforcement prevents the crack from acting like a hinge under load.
Screws/Bolts: lock the joint in place
For many corner joints, drilling pilot holes and adding screws or bolts is the fastest, most predictable reinforcement. Pilot holes prevent splitting and ensure fasteners pull the joint tight instead of prying it open.
Dowels/Splines: add surface area and load distribution
Dowels (cylindrical pegs) or splines (thin strips) increase surface area and help distribute stress across more wood fibers. I prefer splines in certain chair rails because they provide broader contact and can be aligned to the direction of the crack.
– Drill aligned holes with a jig if possible.
– Dry-fit dowels/splines first.
– Use adhesive in the holes and on mating surfaces so the dowel becomes part of the load path, not just a locator.
Corner braces/internal splints: stop racking
When cracks return, it’s often because the chair rocks and the load path continues to apply torsional stress. A corner brace or internal splint reduces movement and spreads forces away from the crack.
In my own repair work, I’ve found that braces are especially effective for chairs used by multiple occupants (office, meeting rooms, break areas) because vibration and repeated side-loading intensify racking stresses.
“Pilot holes reduce the likelihood of creating a new split when driving screws into wood near an existing crack.”
“Corner braces reduce rocking by stiffening the joint, lowering peak stress at the crack location.”
“Dowel reinforcement improves load transfer by increasing the effective bonded and bearing area across the fracture zone.”
Q: Should I always add dowels to a cracked leg?
No. For tight, small splits, glue + clamps can be enough. Add dowels when the crack is long, the joint has movement, or the leg is taking bending loads.
Fill, Sand, and Finish for a Smooth Repair
A cracked chair frame repair becomes “invisible” (and durable) only after you fill minor voids, sand correctly, and refinish the area. The finishing stage isn’t cosmetic fluff—it protects exposed fibers and ensures the repair remains stable.
After adhesive curing:
1. Inspect the crack line for chips or minor gaps.
2. Apply wood filler (or an appropriate filler for the chair’s material) to level the surface.
3. Let filler cure fully, then sand progressively (e.g., start medium grit, then fine grit) to make the repaired area flush.
When refinishing, match the existing sheen and color approach:
– For stained chairs, test stain color on a hidden area first.
– For painted chairs, use compatible primer/paint systems to prevent peeling over time.
– Seal repaired areas to protect against moisture cycling, which can cause swelling and re-stressing.
From experience, the biggest finishing mistake is sanding too aggressively through the repaired glue line before the joint is fully cured or before reinforcement has stabilized the structure. Finish after the chair passes stability testing (next section).
“Sanding progression (coarse to fine) reduces ridges and prevents uneven absorption that can cause blotchy staining.”
“Sealing repaired wood surfaces helps mitigate moisture-driven movement, a common trigger for re-cracking.”
Test Stability and Prevent Future Cracks
A cracked chair frame must be tested gradually before full use, because the repair’s real job is withstanding load cycles. Testing also reveals whether the original cause—racking, looseness, or overload—still exists.
Test in stages:
– Initial check: gently press and wiggle the repaired area while unloaded. The crack line should not separate or shift.
– Controlled load: place weight gradually, increasing in steps rather than jumping straight to full use.
– Rock test: apply controlled side pressure (light racking) to see if the chair flexes at the repaired joint.
Then re-check fasteners and joints after a few days. Wood can settle slightly as adhesives cure fully and as the chair acclimates.
Prevent future cracks by addressing the root cause:
– Avoid overloading the chair (especially on one leg or arm).
– Keep the chair on a level surface; uneven flooring increases rocking stresses.
– Make sure legs are snug and replace missing glides/caps that allow wobble.
If the chair is used in a commercial setting, consider implementing a periodic inspection checklist—cracks often return first as “play” in joints before visible failure.
“Incremental load testing identifies weak joints before they fail catastrophically under full user weight.”
“Re-checking fasteners after cure helps ensure the reinforcement remains tight as the chair stabilizes.”
Q: What’s the fastest way to make sure I won’t see a crack reopen?
Ensure the joint is aligned and square during cure, then test for racking/rocking and add a brace or spline if the chair still shifts under side load.
When to Call a Professional (or Replace)
A cracked chair frame should be replaced or professionally assessed when the damage is extensive, the material is rotted, or the structure can’t hold alignment after reinforcement. If you see signs of failure beyond a single crack, the safest path is expert evaluation or replacement.
Replace or call a pro if:
– There is severe rot or extensive soft/crumbly wood around the crack.
– There are multiple cracks across different load paths (legs and rails), suggesting a broader structural issue.
– The repair can’t maintain alignment (crack keeps reopening during clamping and testing).
– It’s an antique or high-value piece where irreversible modification would reduce value—especially if joinery should be restored with traditional methods.
From a safety perspective, treat “structural failure” differently than cosmetic damage. A chair that collapses is a hazard; glue alone is not a safety engineering system. A professional repairer can evaluate load distribution, recommend appropriate bracing strategies, and—when needed—do refinishing that matches the original workmanship.
“When rot or repeated cracking indicates loss of structural material, adhesives alone can’t restore the original load-bearing capacity.”
“If reinforcement can’t stabilize geometry (alignment won’t hold), the chair likely needs structural redesign, not a cosmetic patch.”
Q: If my chair is antique, should I avoid DIY repairs?
If you can’t preserve original joinery integrity or alignment under reinforcement, yes—seek a professional who can restore both strength and value.
Q: When is replacement the smarter choice?
When the frame has widespread fatigue (multiple cracks), significant rot, or repeated failures after reinforcement—replacement typically costs less than repeated repairs and is safer.
A cracked chair frame can usually be repaired by cleaning and aligning the joint, using the right adhesive, and reinforcing the crack with clamps and—when needed—screws, dowels, or braces. Start by assessing the crack and chair material, then follow a careful prep-to-cure process, and finish with thorough stability testing. If you want the strongest result, take your time with alignment and curing, and address any weak or rotten areas before the chair goes back into service.
Frequently Asked Questions
What’s the best way to repair a cracked chair frame at home?
Start by identifying the material (wood, metal, or plastic) and inspecting whether the crack is in a joint or along the main rail. For wood chair frames, a wood glue plus clamp approach works best, while metal frames usually require epoxy or welding depending on the crack size. Clean the crack thoroughly, apply the correct adhesive or repair compound, then clamp or reinforce with screws/wood brackets so the chair frame can handle load again.
How do you fix a cracked wooden chair frame without replacing it?
Remove the chair cushion and check for movement at the cracked area, then disassemble the joint if possible for better alignment. Glue-only repairs can fail if the crack is stressed, so consider adding dowels, wood splines, or corner braces to reinforce the repair and prevent re-cracking. After applying wood glue in the crack, clamp tightly for the manufacturer’s recommended cure time and avoid using the chair until the glue fully sets.
Why does a chair frame crack even when the wood looks solid?
Chair frame cracks often happen due to repeated load, poor alignment in the frame, loose joints, or seasonal wood movement that changes how the grain expands and contracts. If the crack appears near a corner, mortise, or screw hole, the stress concentration from a weak connection is usually the cause. Addressing loose fasteners, worn joints, and uneven floor contact helps prevent future fractures—not just patching the crack.
Which adhesive or filler should you use for repairing a cracked chair frame?
For wooden chair frame repairs, use a high-quality wood glue or epoxy designed for wood-to-wood bonding; wood filler is best as a cosmetic finish, not as a structural fix. For metal chair frame cracks, choose a metal epoxy or a two-part structural adhesive that’s rated for structural loads and matches the metal type. For plastic or composite frames, use a plastic-specific epoxy or repair kit; when possible, also add mechanical reinforcement like screws or inserts to improve strength.
How can you reinforce a cracked chair frame so it doesn’t split again?
Reinforce the repair by stabilizing the joint with dowels, pocket screws, corner braces, or splines, especially if the crack runs through a leg, rail, or arm. Use clamps while the adhesive cures to keep the crack line closed and the frame square, then replace any stripped screws or worn hardware. If the chair wobbles due to uneven flooring, add or adjust chair feet so the repaired chair frame doesn’t experience continuous stress.
📅 Last Updated: August 02, 2026 | Topic: How to Fix a Cracked Chair Frame | Content verified for accuracy and freshness.
References
- Wood glue
https://en.wikipedia.org/wiki/Wood_glue - Epoxy
https://en.wikipedia.org/wiki/Epoxy - https://en.wikipedia.org/wiki/Wood_filler
https://en.wikipedia.org/wiki/Wood_filler - Butt joint
https://en.wikipedia.org/wiki/Dowel_joint - Mortise and tenon
https://en.wikipedia.org/wiki/Mortise_and_tenon - Biscuit joiner
https://en.wikipedia.org/wiki/Biscuit_joiner - Wheel clamp
https://en.wikipedia.org/wiki/Clamping - Google Scholar Google Scholar
https://scholar.google.com/scholar?q=repairing+cracked+wood+chair+frame+wood+adhesive+clamping - Google Scholar Google Scholar
https://scholar.google.com/scholar?q=structural+adhesive+wood+repairs+epoxy+wood+furniture - Google Scholar Google Scholar
https://scholar.google.com/scholar?q=wood+joint+repair+dowel+mortise+tenon+wood+glue+technique
