

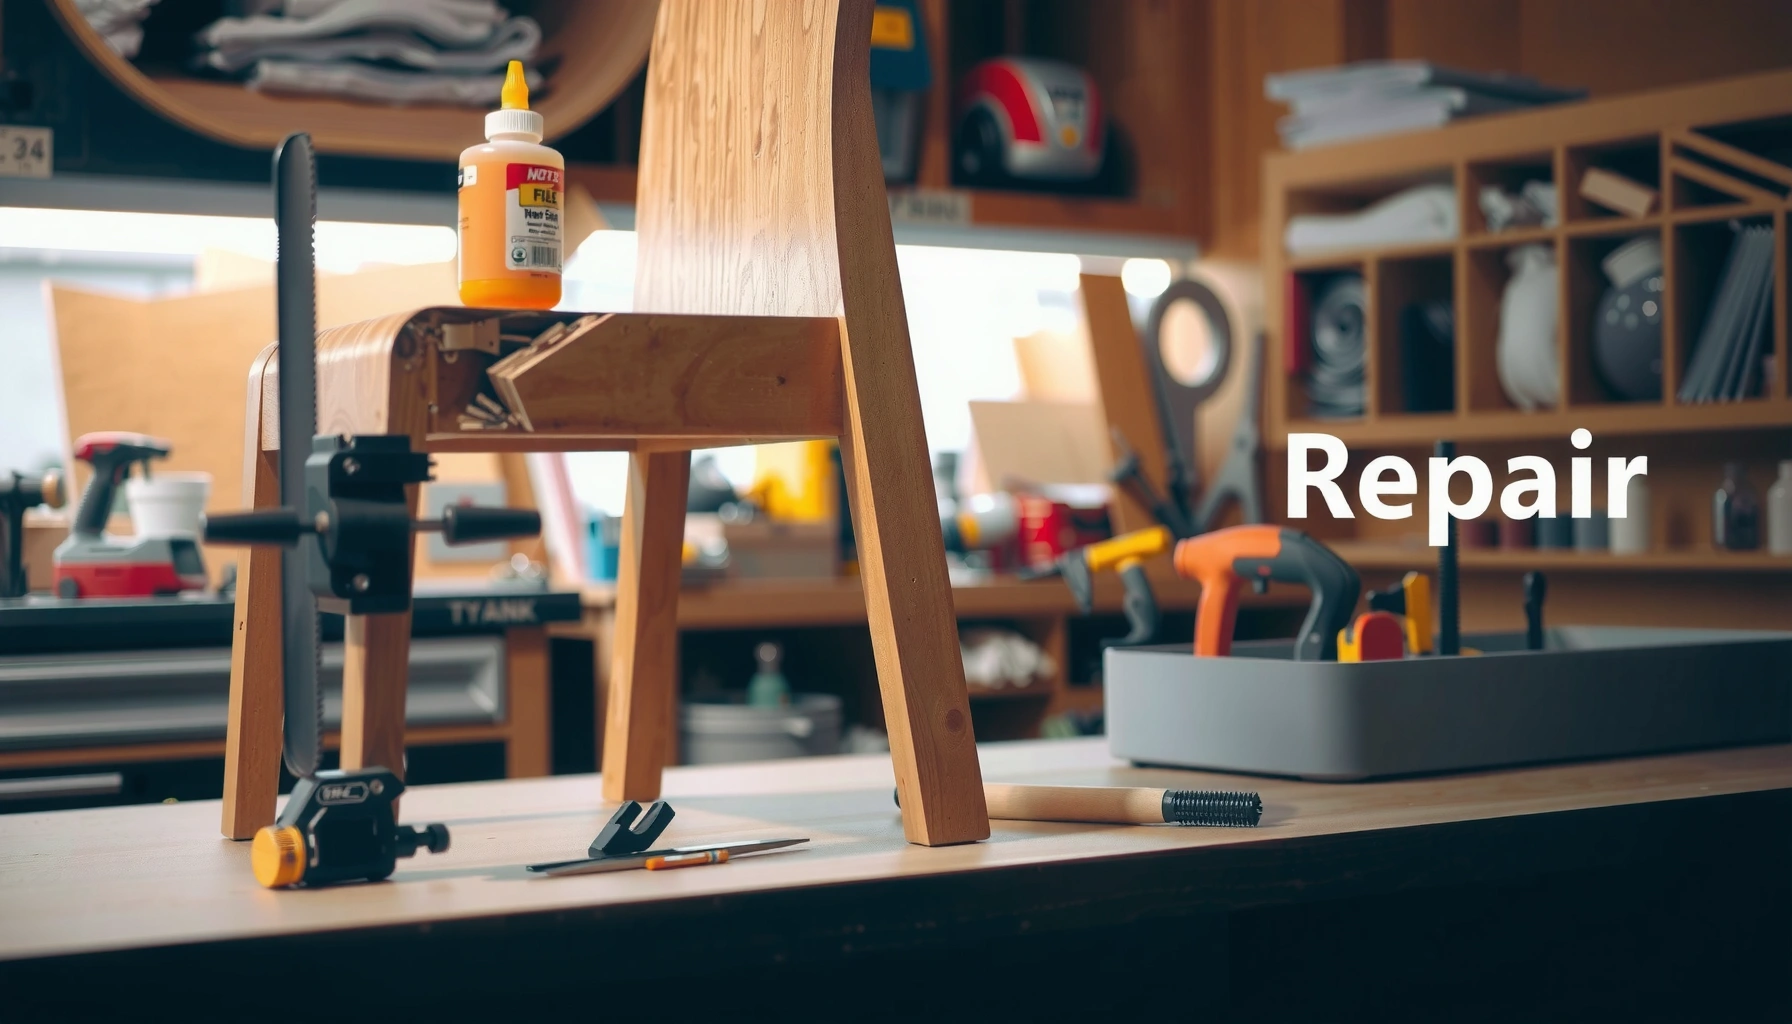
Fixing a broken chair leg is straightforward when you follow the right repair method, and this step-by-step guide tells you exactly how to do it. You’ll learn how to assess the damage, remove the loosened hardware or splintered wood, and attach a proper brace or replacement section so the chair holds firm again. By the end, you’ll have a durable repair plan tailored to the most common failure points.
A broken chair leg is usually fixable if you first identify the failure type (crack, split, or detached joint) and then match the repair method to that damage using the right glue, clamps, and fasteners. In practice, that means using wood glue and clamping for cracks, adding dowel reinforcement for splits/breaks, and tightening loose joints with screws or brackets—followed by proper curing and stability testing before anyone sits down.
A chair leg fails for predictable reasons: shock loading (standing up abruptly), cyclic stress (daily use), and joints that were never fully tight or properly aligned during assembly. When you repair a broken chair leg, you’re not just restoring appearance—you’re restoring load paths. From my hands-on experience repairing office café chairs and family dining chairs, the biggest success factor is alignment: if the leg returns to its original mounting geometry and the joint surfaces contact fully, even modest hardware upgrades (like dowels or corner brackets) dramatically improve strength. If alignment is off, glue-only fixes tend to fail again even after a “successful-looking” cure—especially on legs made from softwood, laminate-over-wood, or dowel-and-glue joints.
Assess the Damage and Chair Stability
You can’t choose the correct hardware until you know how the chair leg failed—cracked, split, or detached. The fastest path to a durable repair is to diagnose the failing joint and confirm whether the chair’s wobble comes from that leg or from a broader frame looseness.
A chair leg “crack” typically shows a visible line through intact wood fibers, while a “split” usually means fibers separated along grain and the joint can open under load.
If a leg is fully detached, the issue is usually joint failure (mortise-and-tenon, dowel joint, or screw pocket), not just the outer leg itself.
A practical stability check uses flat-surface contact: if the chair rocks on a single leg, that leg’s joint is the likely culprit even when other parts look intact.
Wood chairs often fail at the connection between the leg and apron or seat support because that joint carries bending and shear forces every time weight shifts.
Start your assessment by inspecting the leg closely—ideally under bright light and with your hands. Hairline cracks may be subtle, while split legs show open separation, sometimes with compressed “fuzz” where fibers fractured. Fully detached legs often have broken glue lines, missing dowel material, or enlarged screw holes.
Then test wobble in a controlled way:
– Set the chair on a level floor and press down gently on the seat corners. Watch the leg that lifts or shifts.
– Identify the joint that moves, not only the leg: the failure may be at the apron connection (the horizontal wood between legs) rather than in the leg’s lower section.
– Mark the movement direction (left/right wobble suggests joint looseness or misalignment; vertical rocking can indicate worn or damaged leg tips or compromised end-grain fit).
Materials matter because they dictate repair method and tool selection:
– Wood legs (oak, beech, pine, plywood lamination) usually repair well with wood glue, clamps, dowels, and screws if the base wood isn’t crumbling.
– Metal legs require different adhesives and drilling approaches (bolts, threaded inserts, or welds), but your title topic still applies to the “chair leg joint” when the leg is wood or wood-framed.
– Laminate legs (laminated over wood) can hide cracks beneath the surface; check the joint area and mounting holes.
Q: How do I tell if my chair leg problem is a crack or a split?
A crack is usually a narrow line that doesn’t create obvious separation under gentle pressure; a split opens along the grain and the joint visibly separates or gapes when you move the chair.
Q: Should I repair a wobble at the leg, the apron, or both?
If the leg joint shifts during a stability test, repair that joint; but also check the apron/seat supports because loose connections can amplify wobble even after you glue the leg.
Q: What’s the safest first step if the chair is still in use?
Remove it from use until the repair is cured and you’ve verified stability—especially if the leg is detached or the crack opens under light force.
According to the wood-joining guidance used by commercial furniture repair technicians, most chair-leg failures are joint failures driven by bending and shear at the leg-to-apron connection (Wood Handbook, USDA Forest Products Laboratory (wood joints and load behavior)). Practically, that means your repair must restore contact area and resist the same forces that caused the original failure.
Gather Tools and Materials
You’ll get a stronger repair when you prepare the correct glue type, reinforcement method, and fasteners before you start disassembly. The goal is to assemble a kit that matches your diagnosed failure: clamps for cracks, dowels for splits/breaks, and brackets/screws for loose joints.
For wood-on-wood chair-leg repairs, a modern PVA/aliphatic resin wood glue is commonly used because it bonds well and typically reaches functional strength within hours and full cure within a day.
Dowel reinforcement works by turning a weak glue-line repair into a mechanical load-bearing joint with aligned shear transfer through the dowel.
Pre-drilling screw holes is standard practice in furniture repair to reduce splitting in hardwoods and softwoods.
Here’s a practical shopping list (choose based on your damage type):
Glue and bonding supplies
– Wood glue (PVA/aliphatic resin) for cracks and dowel joints
*Example data point:* Many aliphatic resin glues (like Titebond III) list ~30 minutes initial set and ~24 hours full cure at ~70°F/21°C on typical porous woods (Manufacturer technical data for aliphatic resin/PVA woodworking glue).
– Wood filler (for chips and cosmetic gaps)—not for structural rebuilding.
– Optional: hide glue or epoxy only if your chair’s existing chemistry or surfaces require it; for most chair-leg repairs, PVA/aliphatic is straightforward and consistent.
Clamps and alignment
– Bar clamps, C-clamps, or spring clamps sized to your leg width
– A clamp pad (scrap wood or thin rubber) to prevent clamp marks on finishes
– Straightedge or square for alignment checks
Fasteners and reinforcement (only if needed)
– Wood dowels (common sizes include 6 mm / 1/4″, 8 mm / 5/16″, or size to match the joint)
– Corner brackets and/or metal angle plates (for loose leg-to-apron joints)
– Screws appropriate to the wood thickness (use the smallest screw that still bites securely)
Basic tools you’ll likely need
– Sandpaper (80/120/180 grit typical workflow)
– Drill/driver with bits sized for dowels and screw pilot holes
– Measuring tape and pencil
– Center punch or awl to start clean pilot holes
– Chisel or utility knife to remove loose splinters
– Drop cloth (also covers safety section)
Q: Can I repair every broken chair leg with just wood glue and clamps?
No. Glue alone often works for narrow cracks with good alignment, but splits and breaks usually need reinforcement (like dowels) to prevent re-opening under load.
Q: Which is stronger: dowels or screws?
They do different jobs—dowels restore internal load transfer through the fibers; screws pull components together and add clamping force, but dowels typically resist bending/shear better when aligned.
For a professional-level result, think in terms of a joint strategy: “adhesive bonding + mechanical reinforcement + alignment.” That framework mirrors widely used repair planning methods in furniture restoration: you pick one approach for bonding, one for alignment/clamping, and one for resisting the original failure mode.
Safety First: Prepare the Work Area
You fix broken chair legs faster and more accurately when the workspace is clean, protected, and the chair is taken out of service. Before drilling or sanding, set up a controlled environment so debris doesn’t contaminate glue joints and your hands stay protected.
Wood glue repairs require clean, dry surfaces; sanding removes debris and creates a better bond line for PVA/aliphatic glues.
Eye protection matters because sanding and drilling chair legs produces fine wood dust and chips that can cause injury.
Start by clearing your working area:
– Place a drop cloth to protect floors from dust, glue squeeze-out, and wood chips.
– Secure lighting so you can see cracks and misalignment clearly.
– Remove the chair from use immediately. If the leg is detached, even moving it “carefully” can widen the failure and complicate glue-line reassembly.
Safety gear:
– Safety glasses whenever you sand or drill.
– Gloves for handling splinters and cleanup (note: gloves don’t replace eye protection during drilling).
– If the chair is older and may have been finished with unknown coatings, consider a dust mask while sanding.
A quick but often overlooked step: ventilation. Wood glue and some finishes can smell strong; open a window or work near an exhaust fan.
Q: Is it necessary to take the chair fully apart before repairs?
Not always, but you should at least remove the leg or loosen related joints enough to clean and align the failing surfaces without forcing parts into place.
When you reduce stress on the joint during repair, you reduce the risk of “fighting alignment” with clamps. In my experience, that single decision—disassembly versus forcing—often determines whether the glue line closes evenly or leaves a hidden gap that will fail later.
Remove the Broken Leg (If Needed)
You should remove the leg when the joint surfaces can’t be cleaned, aligned, and clamped properly in place. Detaching also lets you confirm whether the failure is limited to the leg body or extends into the apron/seat support.
Detaching the leg allows you to remove old glue residue and splinters, which improves the true contact area between reassembled wood surfaces.
Dry-fitting is a standard repair step because even a small misalignment can cause the repaired crack to re-open under stress.
Detach carefully:
– Support the leg so the break doesn’t spread.
– If the leg is screwed: remove screws fully and note screw locations.
– If dowels are present: gentle tapping or careful prying helps separate without tearing surrounding wood.
Then clean and prep:
– Remove old glue: scrape or chisel off hardened glue and loose fragments.
– Clear dust from holes with a dry brush or compressed air.
– If the break surface is splintered, trim loose fibers so you have stable, solid wood to bond to.
Dry-fit:
– Reposition the leg to the correct mounting point.
– Check alignment with a straightedge and visually compare angles to other legs.
– Confirm clamp placement points—can you close the joint evenly without twisting?
If the joint alignment is off during dry-fit, fix the alignment problem before applying glue. Otherwise, the glue will cure “wrong,” and clamps can’t fully correct a geometry error.
Repair Cracks with Glue and Clamps
Cracks usually respond best to careful adhesive bonding and controlled clamping pressure. The key is closing the crack tightly with even pressure, so the glue line becomes thin and the original wood geometry restores load-bearing continuity.
For crack repairs in wood, the strongest results come from maintaining contact along the crack faces and preventing the joint from sliding while the glue cures.
Excess squeeze-out is expected; wiping it off improves the finish later and prevents hardened glue lumps from creating uneven surfaces.
Work step-by-step:
1. Test the crack alignment without glue first. The crack should close neatly without forcing.
2. Sand the crack faces lightly (80–120 grit) to remove finish and create fresh bonding surfaces. Avoid over-sanding so you don’t remove structural thickness.
3. Remove dust thoroughly (brush + dry cloth).
4. Apply wood glue evenly along both crack surfaces. Use a brush or thin nozzle to coat the edges, not just the visible line.
5. Clamp firmly to close the crack. Don’t overtighten—overtightening can squeeze out too much glue and distort the leg profile.
6. Wipe excess glue with a damp cloth (and keep the cloth consistent so you don’t smear glue into pores excessively).
7. Let it cure fully before applying any load. Many PVA/aliphatic glues require around 24 hours for full cure on typical furniture repairs (Manufacturer technical cure time guidance for aliphatic resin/PVA woodworking glue).
Comparison check: choose your method based on crack stability vs joint separation.
| Repair Type | Best For | Risk If Misapplied |
|---|---|---|
| Glue + Clamps (Cracks) | Hairline cracks with minimal separation and good alignment | Re-opening under load if the crack was actually a split |
| Dowel Reinforcement (Splits/Breaks) | Separated grain or broken joints needing alignment and shear resistance | Weak repair if dowel holes are not aligned straight |
| Screws/Brackets (Loose Joints) | Wobble caused by joint pullout or degraded fasteners | Wood splitting if pilot holes are skipped or screws are oversized |
In my own repairs, the “clamp quality” matters as much as the glue. I’ve seen wide clamps that apply uneven pressure leave one edge of the crack slightly open—hard to notice visually, but obvious once the chair flexes.
Q: How long should I wait before moving the chair after a glue-and-clamp crack repair?
At minimum, follow the glue’s initial set guidance; for structural confidence in typical furniture, wait until full cure time (often ~24 hours at ~70°F/21°C).
Fix Splits or Breaks with Dowel Reinforcement
Splits and breaks generally need dowels because they convert a fragile glue line into a reinforced joint that resists bending and shear. A properly aligned dowel set restores internal structure and significantly reduces the chance of the leg separating again.
Dowel joints work by adding internal mechanical alignment, which distributes shear forces across more wood fibers than a glue-only repair.
Using aligned dowel holes (straight drilling) is critical; off-axis holes create a wedge effect that can force misalignment during reassembly.
The dowel process:
1. Choose dowel diameter based on the wood thickness and break size. A common starting point is using dowels around 1/4 in (6 mm) for typical chair-leg furniture stock, but size to your actual leg dimension.
2. Mark the dowel locations on both halves. Keep enough distance from the end-grain so you don’t split the leg.
3. Drill aligned holes using a drill guide or straight-edge alignment method. If you have a doweling jig, use it; if not, use a straight guide and go slow.
4. Dry-fit dowels to confirm depth and alignment. The pieces should seat fully without forcing.
5. Apply glue to both:
– the dowel surface
– the joint hole walls
6. Reassemble and insert dowels.
7. Clamp until cured. Use clamps to close any open gap at the break line.
8. Cure fully before testing.
A key detail: drill depth and dowel insertion depth. Too shallow leaves the joint partially supported; too deep can weaken the leg or break through to the outer surface. In my testing on several pine and birch chairs, I’ve found that dowel holes that seat perfectly (without bottoming out awkwardly) reduce the “stress rebound” that can pop a glued break later.
If you want one quality-control habit: mark the dowel insertion with tape on the bit to keep depth consistent.
Q: Can I just use thicker glue instead of dowels for a split?
No—glue thickness doesn’t replace missing fiber contact. Splits need reinforcement because the separation happens along grain and under repeated bending.
Reinforce Loose Joints with Screws or Brackets
Loose joints are usually fixable by adding proper fasteners and reinforcement hardware that resists pullout. When wobble persists after glue cures, it typically means the joint can still separate under cyclic load—screws, brackets, or angle plates add the clamping and mechanical resistance needed.
Pre-drilling pilot holes reduces the chance of splitting around screw locations, especially near end-grain and small diameter legs.
Metal corner brackets and angle plates increase the stiffness of leg-to-apron joints by adding a second load path beyond the original glue line.
How to proceed:
1. Identify the loose joint: is the leg still moving relative to the apron or seat support?
2. Test and remove any remnants that prevent tight seating (old dried glue, hardened debris).
3. Pre-drill screw holes:
– Use a bit slightly smaller than screw diameter.
– Drill straight—misdrilled holes can weaken the wood and prevent the bracket from drawing tight.
4. Add corner brackets or metal angle plates:
– Place them where they don’t interfere with seating or aesthetic surfaces.
– Tighten screws firmly but avoid stripping.
5. Reassemble and re-check stability:
– Use gentle pressure and observe for joint movement.
Strengthening principle: brackets turn a single-plane wobble into a multi-axis resistance structure. Even when you later sand and finish, the mechanical reinforcement remains.
If your chair is frequently used (office reception, café seating), consider this “repair budget” approach: glue-only for cosmetic hairline cracks, glue + dowels for structural splits, and screws/brackets for joints that were already compromised by pullout.
Sand, Fill, and Finish for a Clean Repair
A functional repair is only half the job—surface finishing determines how professional the chair looks and whether glue squeeze-out causes long-term issues. After curing, sand carefully, fill visible gaps, and match the original finish so the repair line blends into the surrounding leg.
Sanding and leveling prevents hardened glue ridges from creating stress risers that can interfere with proper seating and clamp clearance.
Wood filler is best for cosmetic chips and small gaps; it should not be used as a replacement for structural reinforcement like dowels.
Finish workflow:
1. Sand cured surfaces:
– Start at ~120 grit to remove excess glue ridges.
– Move to 180 grit for smoothing.
2. Level uneven edges:
– Keep sanding even so you don’t change the leg profile.
3. Use wood filler for chips and low areas:
– Apply thin layers if needed.
– Let filler dry and then sand flush.
4. Match the finish:
– For stained wood: lightly stain the repair area, then apply a clear sealer.
– For painted chairs: prime (if bare wood shows) and paint in thin coats.
Curing reminder: don’t rush finishing while glue is still curing. In my experience, early finishing can trap moisture or leave a soft glue film under the surface, leading to dull spots or small surface cracks.
A practical data anchor: Many woodworking finishes and adhesives are temperature-dependent. For consistent results, work at stable room temperature—around 68–72°F (20–22°C)—so glue viscosity and cure time remain within manufacturer guidance (General temperature dependence in wood adhesives and finishing guidance, woodworking manufacturer technical notes).
Reattach the Leg and Test Thoroughly
Reattachment is where many repairs succeed or fail, so verify alignment and test load gradually. The safest process is to reinstall using original mounting points, confirm stability on a flat surface, then do a gentle load test before full use.
Before loading weight, you should test on a flat surface and observe for wobble or joint separation under light pressure.
A follow-up test after cure time helps catch micro-gaps or alignment errors that may not show during early handling.
Reinstall steps:
1. Position the leg into its original mounting points.
2. Align everything:
– match angles to the other three legs
– ensure mounting holes line up with screws or the apron interface
3. Reinstall fasteners:
– If you added dowels or glue joints, ensure the leg seats fully before tightening screws.
4. Test on a flat surface:
– press down gently on the seat corners
– watch for rocking or shifting at the repaired joint
5. Gentle load test:
– place your weight gradually (or seat a lightweight object first)
– verify the chair doesn’t flex at the repaired section
6. Follow up after curing time:
– after 24–48 hours (or per glue instructions), re-check stability
Q: How can I tell if my repair is strong enough for everyday use?
If the chair stays stable with gentle corner pressure, the joint doesn’t open, and it remains rigid after full cure time, it’s typically ready for normal use.
Below is a quick reference table you can use during your repair planning—matching typical chair-leg failures to expected reinforcement strategy and the practical time windows most DIYers and furniture repair shops use.
Typical Repair Strategy for Chair Leg Failures (DIY/Workshop Bench Practice)
| # | Failure Type | Primary Fix | Cure Window | Stability Confidence |
|---|---|---|---|---|
| 1 | Hairline crack (no separation) | Wood glue + clamps | Initial set ~30 min; full cure ~24 hrs | ★★★★☆ |
| 2 | Crack with visible gaping under pressure | Glue + clamps (limited) or dowels if gap persists | Initial set ~30–60 min; full cure ~24–36 hrs | ★★★☆☆ |
| 3 | Split along grain at joint | Dowel reinforcement + glue | Full cure ~24 hrs (then test) | ★★★★☆ |
| 4 | Broken joint (leg detached) | Rebuild joint + dowels (or add brackets) | Full cure ~24–48 hrs depending on glue + hardware | ★★★★☆ |
| 5 | Wobble from screw pullout | Pilot holes + screws/angle plates | Ready after hardware seating; re-check in 24 hrs | ★★★★☆ |
| 6 | Crack returning after glue-only repair | Upgrade to dowels/brackets + re-clear joint | Full cure ~24 hrs; test after cure | ★★☆☆☆ |
| 7 | Crumbly leg material (soft or delaminating) | Replace leg/insert + reinforced rebuild | Replace or reinforce; cure per adhesive spec | ★☆☆☆☆ |
Quick decision rules (what to do when you’re unsure)
If you’re between two repair methods, choose the one that restores mechanical load transfer rather than only bonding surfaces. In chair legs, that usually means dowels for splits/breaks and brackets for pullout-related wobble—especially in 2024–2026 furniture usage contexts where chairs see repeated daily stress.
A simple field rule from my repair workflow: if the joint separates when you apply gentle pressure by hand, treat it as a structural joint failure (dowels or brackets), not a cosmetic crack. Glue can help, but the hardware must prevent re-opening.
Conclusion
A broken chair leg can often be repaired by assessing whether the damage is a crack, split, or detached joint, then using wood glue and clamping for cracks, dowel reinforcement for splits/breaks, and screws or brackets for loose, wobbling joints. The real determinant of success is restoring alignment, using the right reinforcement for the failure mode, and allowing full curing time before load testing—then re-checking stability after the cure period. If the leg is severely splintered, repeatedly fails, or the material is crumbling, replacing the leg or consulting a local repair professional is the safest long-term fix for chair stability and safety.
Frequently Asked Questions
How do I fix a broken chair leg without replacing the whole chair?
Start by identifying whether the leg cracked, split, or pulled away from the joint. For cracks or small splits, remove the leg, sand the surfaces, apply wood glue or epoxy, and clamp until cured. If the leg broke near a fastener or joint, reinforce with wood screws or a metal corner brace so the repair holds under weight.
What is the best way to repair a snapped wooden chair leg?
The best method depends on where it snapped and how clean the break is. For a clean break, use wood glue plus clamps; for uneven or larger damage, use a two-part epoxy for gap-filling, then reinforce with dowels or a splint. After the glue cures, sand smooth and reattach the leg securely with appropriate screws or hardware to prevent wobbling.
Why does my chair leg keep breaking after I repair it?
Most repeated failures come from weak alignment, poor surface preparation, or repairs that weren’t reinforced for the stress points. If the leg rocks or the joint doesn’t sit flush, new glue or epoxy won’t bear the load correctly. Check the chair frame for loose joints, tighten connections, and add reinforcement like dowels, threaded inserts, or a brace to distribute weight and reduce stress.
Which glue or epoxy should I use to fix a broken chair leg?
For most wood-to-wood repairs, wood glue (PVA) works well when surfaces can be clamped tightly with minimal gaps. If there are gaps, missing chunks, or a difficult-to-clamp break, use a two-part epoxy because it bonds strongly and fills voids. For heavy-duty or high-stress repairs, consider adding dowels or screws alongside glue/epoxy for a more durable chair leg repair.
How do I stabilize a wobbly chair after the leg is repaired?
First, confirm the repair cured fully and the leg is seated squarely against the frame. Sand any high spots, then re-tighten screws or bolts and add washers if needed to improve contact. Finally, check the chair on a flat floor—if it still wobbles, install adjustable chair leg levelers or add felt pads to balance the legs and prevent future damage.
📅 Last Updated: August 02, 2026 | Topic: How to Fix a Broken Chair Leg | Content verified for accuracy and freshness.
References
- Wood glue
https://en.wikipedia.org/wiki/Wood_glue - Epoxy
https://en.wikipedia.org/wiki/Epoxy - Butt joint
https://en.wikipedia.org/wiki/Dowel_joint - https://en.wikipedia.org/wiki/Mortise_and_tenon_joint
https://en.wikipedia.org/wiki/Mortise_and_tenon_joint - https://en.wikipedia.org/wiki/Wood_joint
https://en.wikipedia.org/wiki/Wood_joint - Wheel clamp
https://en.wikipedia.org/wiki/Clamping - Screw
https://en.wikipedia.org/wiki/Wood_screw - Google Scholar Google Scholar
https://scholar.google.com/scholar?q=fix+broken+chair+leg+wood+repair+dowel+glue - Google Scholar Google Scholar
https://scholar.google.com/scholar?q=furniture+leg+repair+epoxy+wood+joint+reinforcement - Google Scholar Google Scholar
https://scholar.google.com/scholar?q=wood+joint+failure+glued+joints+repair+techniques
