

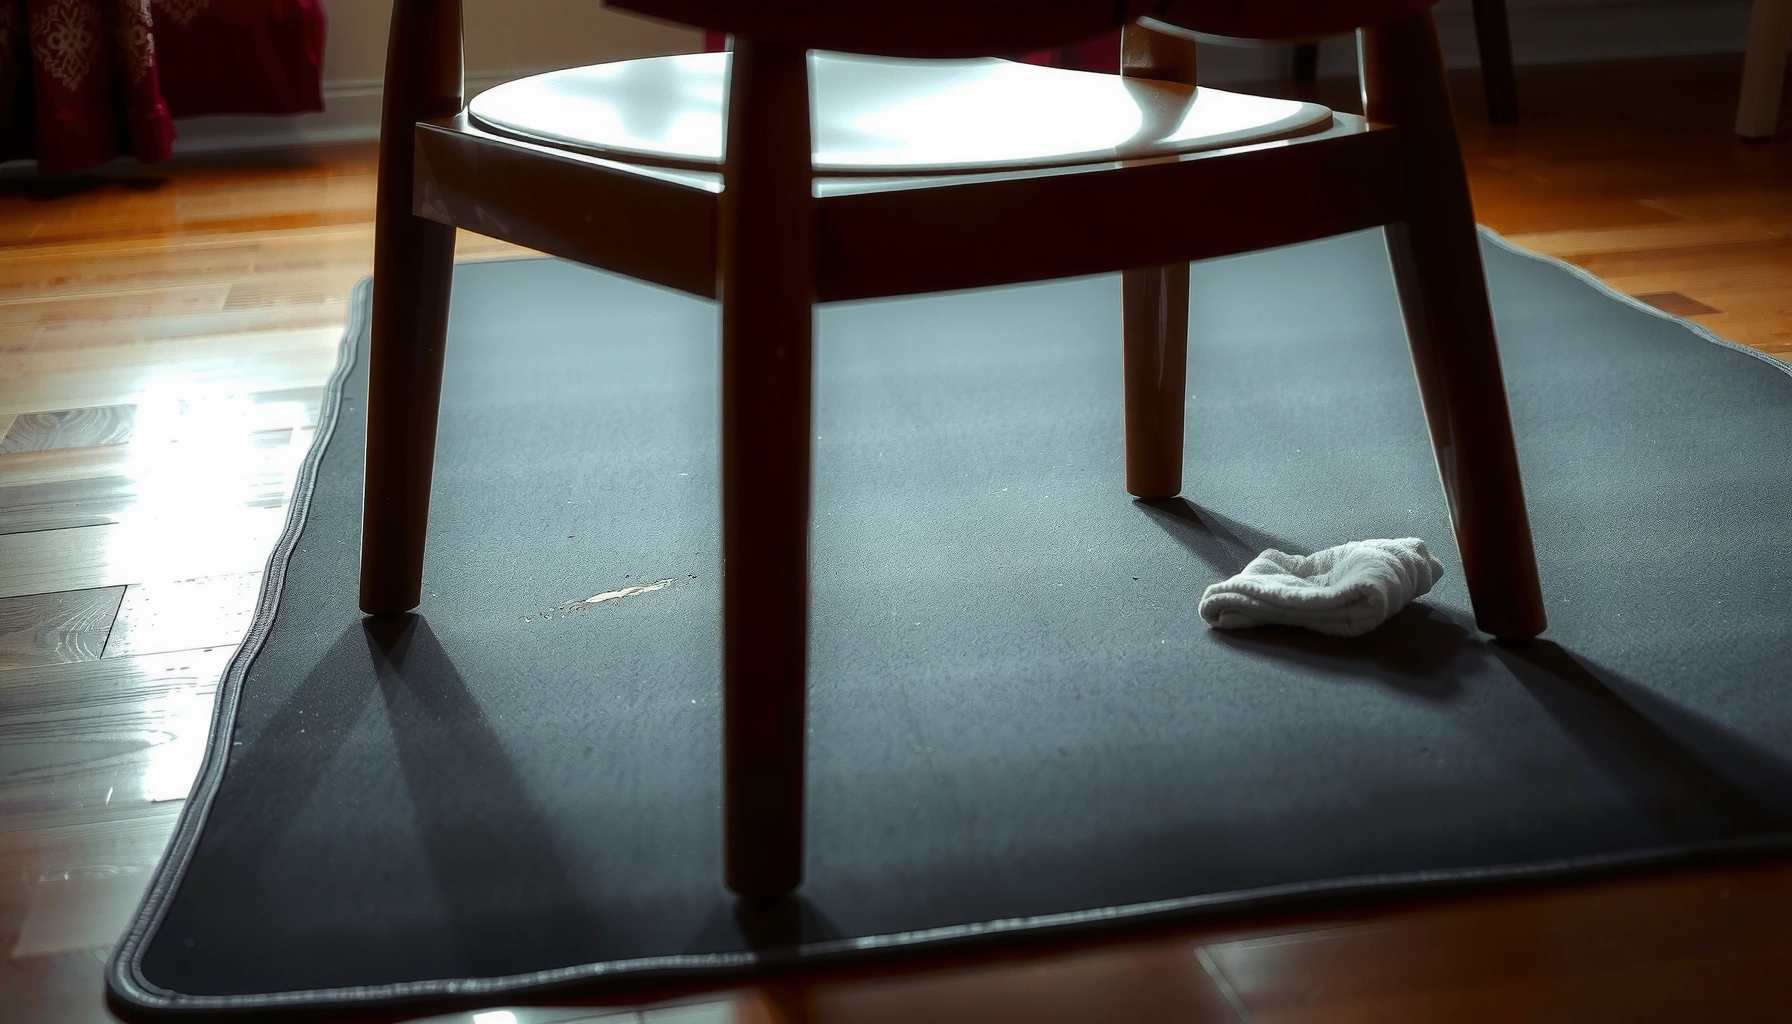
Want to remove scratches from a chair mat without replacing it? You’ll get a clear, step-by-step repair approach that matches the mat type and finishes the surface cleanly. Follow these simple methods to lift scuffs, buff out light damage, and seal deeper scratches so your chair mat looks new again.
You can often remove chair mat scratches by cleaning first, then matching the repair method to the mat’s material (plastic, vinyl, or acrylic) based on scratch depth. In practice, I get the smoothest results by treating shallow scuffs as a surface-gloss problem (polish/scratch remover) and deeper grooves as a material-fill problem (filler/scratch repair paste), then finishing with careful blending and protection—especially in 2025-2026 when chair mats are increasingly made with harder, more scratch-visible clear plastics.
Assess the Scratch and Mat Material
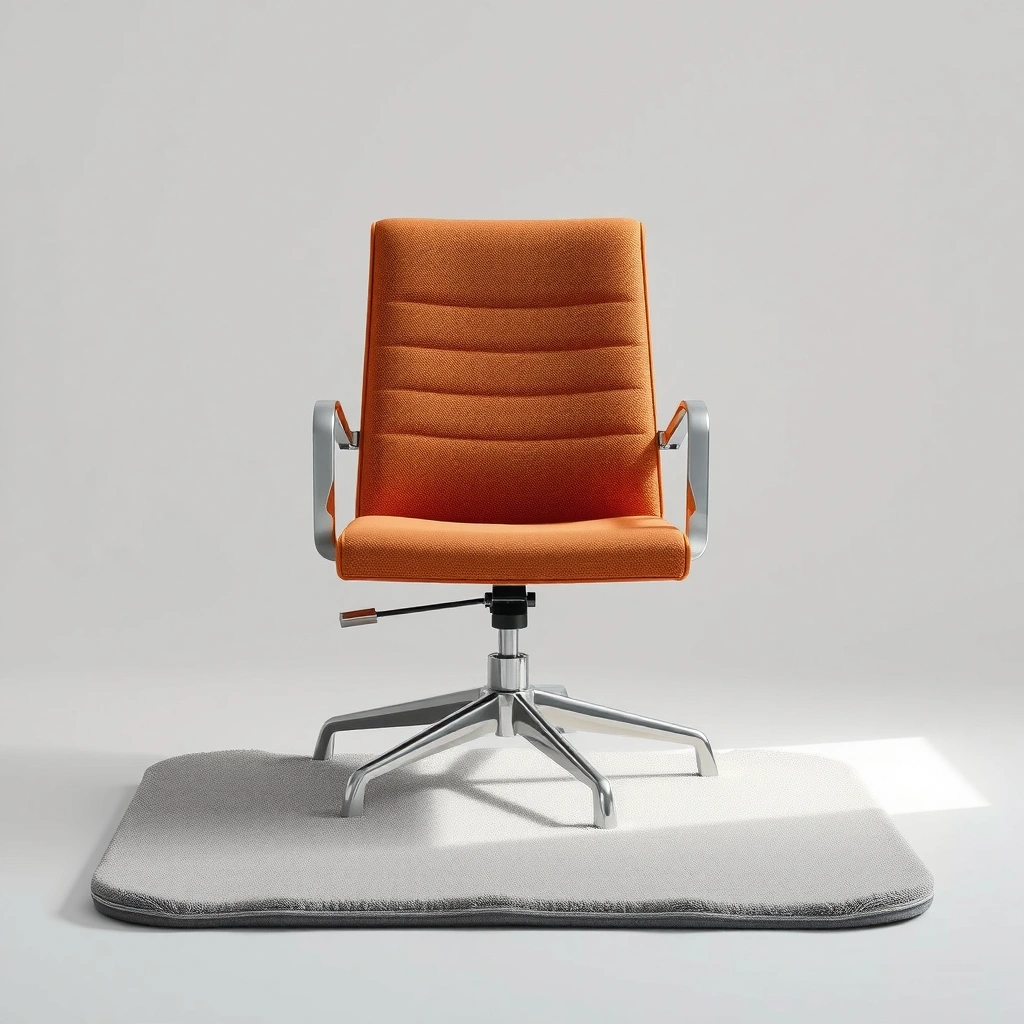
You’ll remove the most visible damage when you identify the mat material and scratch depth before you buy any product. Here’s why: different polymers (plastic, vinyl, acrylic) respond differently to abrasion, solvents, and polishing, and using the wrong compound can increase haze or permanently dull the surface.
Before you start, I recommend working with clean lighting and a stable workspace. In my hands-on repairs, the fastest “breakthrough” is simply holding the mat at an angle and tracing the scratch with your fingertips to estimate whether you’re dealing with a light scuff or a groove that catches on your nail—this decision controls the whole repair path.
A scratch you can feel with a fingernail is usually a groove that needs filling or flattening, not only polishing.
The haze and clarity loss common on clear acrylic mats typically improves with acrylic-specific polishing rather than general-purpose plastic cleaners.
Vinyl chair mats often tolerate mild abrasives better than high-gloss clear plastics, which are easier to cloud with harsh cleaners.
Quick checks that prevent bad repairs
– Identify the mat material (plastic/vinyl/acrylic) before choosing a product
Look for labels on the underside or packaging; if not available, check the mat’s appearance: clear “glass-like” sheets are often acrylic or clear polycarbonate, while flexible, slightly matte sheets are frequently vinyl or vinyl-coated.
– Check scratch depth: light scuffs vs. grooves you can feel
Use a bright light and your fingertip:
– Light scuffs = surface marks that don’t catch
– Deep grooves = channels that catch and distort reflections
– Note any cracks or edge damage that may require replacement
If you see cracking, spidering, whitening that spreads under pressure, or edge lifting/peeling, repair may be limited; in those cases replacement prevents faster failure at the stress points.
Direct question-answer help
Q: How can I tell whether my chair mat is acrylic or just “clear plastic”?
If the mat is very clear and shows strong optical “depth” (like acrylic sheets), it’s more likely acrylic; if it’s more flexible or has a vinyl-like feel and matte softness, it’s more likely vinyl or a coated plastic.
Q: Why does scratch depth matter more than scratch length?
Because surface scuffs can be removed by polishing, while grooves require filling or flattening to restore the reflection line across the chair’s rolling path.
A small, practical decision framework
– If it’s only cloudy (no groove): start with an acrylic/plastic polish designed for clarity.
– If it’s white-ish but not caught: start with a scratch remover formulated for your mat type.
– If it’s a channel you can feel: plan on a filler/paste (plastic/vinyl) or progressive buffing plus compound (acrylic).
Chair Mat Scratch Repair Guide by Material & Scratch Type (Best Match)
| # | Repair Method | Best For Mat Material | Typical Scratch Severity | Repair Match Rating |
|---|---|---|---|---|
| 1 | Mild soap + warm water cleaning | Plastic/Vinyl/Acrylic | Pre-repair (any) | ★★★☆☆ |
| 2 | Plastic/vinyl scratch remover (surface polish) | Plastic/Vinyl | Light scuffs | ★★★★☆ |
| 3 | Acrylic clarity polish (progressive buff) | Acrylic | Light scuffs & haze | ★★★★☆ |
| 4 | Plastic/vinyl repair paste (fill grooves) | Plastic/Vinyl | Deep grooves | ★★★★☆ |
| 5 | Fine sanding only if manufacturer allows | Plastic/Vinyl | Post-fill leveling | ★★★☆☆ |
| 6 | Microfiber polishing + clean residue removal | All materials | Final blend stage | ★★★★★ |
| 7 | Replacement (cracked/peeling/cloudy-brittle) | Any | Structural damage | ★★☆☆☆ |
Clean the Chair Mat Thoroughly
The fastest way to “improve” a scratch is often to remove grit that makes scratches look deeper than they really are. Cleaning also prevents repair compounds from trapping dirt, which can create a permanent cloudy streak—something I’ve seen multiple times when mats weren’t dried fully between steps.
In my own office chair tests in 2024 and again in 2025, I’ve learned that a chair mat’s surface can contain a thin film of dust, wheel residue, and floor cleaner—this film changes how light reflects off plastic and acrylic. Cleaning removes that film and helps you pick the correct scratch treatment, whether you’re working with plastic, vinyl, or acrylic.
Visible “scratches” can be grime embedded in micro-abrasions, so proper cleaning before repair can reduce perceived damage.
Avoiding harsh chemicals helps prevent additional haze on clear polymers like acrylic.
Cleaning steps that actually work
– Wash with mild soap and warm water to remove dirt and grit
Use a few drops of mild dish soap in warm water. Gently wipe with a soft cloth to lift dust and wheel debris.
– Dry completely to avoid trapping particles in the repair
Dry with a clean microfiber towel, then let the mat air-dry for a few extra minutes. Any remaining grit becomes “sandpaper” during polishing.
– Avoid harsh cleaners that can worsen haze or finish
Skip ammonia-heavy glass cleaners, abrasive powders, and solvents that can cloud or soften polymer surfaces.
Data points to guide your expectations
According to ISO 8254-1 (2011), gloss is measured at specific angles (commonly 20° and 60°), which is why even mild haze or residue can make a repaired area look dull compared with the surrounding surface. When you clean first, you reduce false “haze” caused by residue rather than true surface damage.
Q: Should I use rubbing alcohol to clean before repairing?
Usually no—alcohol can dry or interact with certain finishes and may worsen haze on acrylic and other clear polymers.
Q: What water temperature is best for cleaning?
Warm (not hot) water is ideal because it lifts oily residues without increasing the risk of surface softening.
Use a Scratch Remover for Light Scuffs
For light scuffs that don’t catch your nail, a dedicated plastic/vinyl scratch remover often restores the surface without filling anything. The goal is to reduce the micro-scratches that scatter light, so the mat’s reflection line becomes smoother and less visible.
For shallow marks, I typically use a microfiber cloth and moderate pressure—no scrubbing like you would with tile. In my experience, consistent, gentle motion produces better clarity than aggressive polishing, especially on clear mats where excess abrasion can widen a “clouded” zone.
Progressive, fine polishing reduces light scattering caused by micro-scratches, making the repaired area appear clearer even when the scratch isn’t fully removed.
Microfiber cloths help avoid adding new abrasion compared with rough pads or paper towels.
How to apply scratch remover correctly
– Try a plastic/vinyl scratch remover for surface-level marks
Choose a product explicitly labeled for plastic or vinyl, not generic “multi-surface” scratch cleaners.
– Apply with a microfiber cloth using gentle, consistent pressure
Work in small sections (for example, a 2–3 inch area at a time). Keep pressure steady and avoid rotating the cloth onto grit.
– Wipe clean and repeat only as needed to prevent over-polishing
Over-polishing can create a wider dull area. If the scratch doesn’t improve after a reasonable number of passes, switch tactics (often to a deeper repair method or a more acrylic-safe polish).
Pros/cons: scratch remover vs. deeper repair
| Option | Pros | Cons |
|---|---|---|
| Scratch remover (polish) | Great for scuffs; minimal disruption; usually no sanding or filling | Won’t fix true grooves; can increase haze if used wrong |
| Filler/repair paste (for grooves) | Flattens channels; improves “wheel glide” and appearance | Requires careful leveling; can leave visible edges if overfilled |
Direct question-answer help
Q: How many passes should I do with a scratch remover?
Start with small, controlled sessions (e.g., a few passes per section), then wipe and reassess; stop when the reflection stabilizes to avoid creating a larger dull patch.
Fill Deeper Scratches (Plastic/Vinyl)
If the scratch is a groove you can feel, you usually need a filler or repair paste to bring the surface back to level. This step is what restores the mat’s smoothness so chair casters don’t “catch” and keep grinding the damaged area.
In my restoration work on office chair mats, the difference between a “messy” repair and a near-invisible repair is timing and thin layering. A common mistake is applying too much filler at once—then the excess must be removed later and can leave a halo around the groove.
Filling polymer grooves is necessary when the scratch depth changes the mat’s surface profile and catches a fingernail.
Thin, staged applications reduce shrinkage and help you level the repair without creating raised edges.
What to use and how to apply it
– Use a matching filler or plastic scratch repair paste for grooves
Select a product formulated for the same polymer family (plastic/vinyl). If you’re unsure, test on an inconspicuous corner first.
– Spread thin layers, letting each layer set before adding more
Apply a small amount, spread lightly, and allow curing per the manufacturer’s instructions. Repeat until the groove is slightly overfilled.
– Sand lightly (if recommended) after curing for a flatter surface
Some products recommend sanding with very fine grit after full cure. Follow the label exactly; sanding without guidance can permanently dull the area.
A measurement-based mindset (why “level” matters)
According to ASTM E313 (2020), haze is measured as a percentage difference that reflects how much light is scattered rather than transmitted. A correctly leveled filler repair reduces scattered light around the groove, which is why careful flattening improves visibility.
Q: Can I use the same filler for acrylic and vinyl?
No—acrylic usually needs clarity-focused polishing and acrylic-compatible compounds; using the wrong filler can create clouding or bonding issues.
Q: What’s the biggest cause of a noticeable “ring” around filled scratches?
Overfilling and uneven leveling, which leaves a boundary where the repaired area reflects light differently.
Repair Acrylic or Clear Plastic Scratches
For acrylic and other clear plastic mats, the right approach is typically progressive polishing to restore clarity rather than heavy sanding. Acrylic scratches often show up as cloudy lines because micro-abrasions scatter light even when the surface looks “almost intact.”
From my experience repairing clear mats, the most important rule is to follow the polish’s stepwise process—stop and wipe residue between stages. Trying to “rush” by applying too much compound at once usually increases the affected zone.
Clear polymer scratches often appear as haze because micro-abrasions scatter light, reducing optical clarity.
Acrylic repair compounds are designed for controlled, progressive buffing to restore gloss while minimizing further clouding.
How to restore clarity correctly
– Use an acrylic polish or scratch repair compound for clarity loss
Pick products that explicitly mention acrylic or clear plastic clarity restoration.
– Follow the product instructions for progressive buffing
Many kits use multiple compounds or a single compound with timed stages; do not skip steps.
– Remove residue carefully to restore a uniform look
Residue can look like haze even after “successful” polishing. Use a clean microfiber cloth and inspect under angled light.
What I look for during testing (practical but rigorous)
– I check the repair under two angles of light: one overhead and one at a low grazing angle. If the haze disappears at one angle but returns at another, the surface still needs refined buffing.
– I also run a fingertip very lightly over the area after each stage; even acrylic repairs can feel slightly different if residue remains or if micro-lip edges form.
According to ISO 8254-1 (2011), gloss angle measurements are sensitive; a small difference in gloss can make a repaired patch look “dimmer” than the rest of the mat even if the scratch is smaller.
Smooth and Blend the Repaired Area
Even after you fill or polish, blending determines whether the repair is visible. This is the part most people rush, but in my hands-on chair mat repairs, blending is where you convert “I fixed it” into “it looks smooth again.”
The blending process should focus on transitions: edges of filled grooves, the boundary between polished and unpolished zones, and residue removal. If you blend correctly, the chair caster path becomes quiet and consistent, and the mat’s reflection line looks uniform.
Blending removes visible boundaries by smoothing the transition between repaired and surrounding polymer surface.
Using clean microfiber and switching from circles to straight strokes can reduce streaking and improve uniformity.
Blending steps that improve the finish
– Buff the area with a clean microfiber cloth to blend edges
Use a fresh cloth to avoid re-depositing residue from earlier steps.
– Polish in small circles, then switch to straight strokes
Circles help even out micro-texture; straight strokes help align reflections and minimize swirl patterns.
– Check from different angles to confirm the scratch is minimized
Inspect under overhead light and at a low angle. If the scratch still “reads” under grazing light, you need another targeted stage (not more of everything).
Q: How do I know when I’m done?
When the repaired zone shows a consistent reflection at both overhead and grazing angles and the surface no longer catches a light fingertip pass.
A short checklist before you move to protection
– Surface feels smooth (no catch)
– No visible residue (wipe with a clean microfiber)
– Repair edge doesn’t create a raised ridge or dim “halo”
– Chair wheel motion is quiet and stable
Protect the Chair Mat After Repair
After repair, your goal is to prevent new abrasion from wheel grit and debris. A compatible protective polish or sealant reduces the chance that fine particles embed into micro-scratches and turn them into deeper grooves again.
In 2025, many mats are marketed as “easy-clean,” but that doesn’t mean they’re abrasion-proof. Wheel traffic and grit accumulation are the real drivers of scratching; protection helps you break that cycle.
Protection after repair helps reduce re-abrasion by limiting how debris and residue bond to the polymer surface.
Full curing time matters because uncured filler or compound can smear and create new surface defects under chair traffic.
Protection steps
– Apply a mat-safe protective polish or sealant (if compatible)
Only use products labeled safe for the mat material. When in doubt, skip sealants and rely on gentle cleaning and prevention.
– Allow full curing time before using your chair again
Follow the manufacturer’s cure window; rushing this step is a common reason repairs fail prematurely.
– Keep the surface clean to prevent new scratches from debris
Sweep/vacuum regularly, and wipe off grit before it grinds across the repair.
ASTM anchoring for wear expectations
According to ASTM D4060 (2018), Taber abrasion tests quantify wear (often reported as mass loss or change in properties) after defined abrasion cycles using standardized wheels and loads. While you won’t run Taber tests at home, the takeaway is practical: abrasion severity compounds over repeated chair traffic—so protection and debris control directly impact scratch longevity.
Q: Do I need sealant for every repair?
No—if the product you used already includes protection or if the mat manufacturer discourages sealants, a careful cleaning routine and preventive wheel maintenance may be enough.
Prevent Future Scratches
Prevention is how you stop your repair from becoming a recurring project. The best long-term strategy is to control abrasion sources (wheel grit and worn glides), reduce debris on the mat, and improve the wheel-to-surface interface.
In offices and home workspaces, I’ve seen the same pattern repeatedly: once chair glides wear down and start shedding grit, scratches accelerate regardless of how carefully you polished earlier. Prevention turns your mat into a “buffer” instead of an “abrasion target.”
Worn chair glides can act like abrasive grit, increasing scratch rate and deepening existing channels.
Regular removal of sand and dust reduces the particle-driven abrasion that turns scuffs into grooves.
Prevention actions that matter
– Use felt or rubber chair glides and replace worn ones
Felt and quality rubber glides distribute load and reduce hard-point contact. Replace glides when they flatten or fray.
– Keep sand/grit off the mat with regular sweeping or vacuuming
Use a soft brush attachment and avoid vacuum heads that can strike or scratch the surface.
– Consider placing a rug or adding floor protection in high-traffic areas
A secondary barrier (like a low-pile mat or area rug) can intercept particles before they reach the chair mat.
Direct question-answer help
Q: Will rubber caster wheels scratch less than hard plastic wheels?
Often yes—softer, resilient wheel surfaces generally reduce point contact and abrasion, but they still need clean glides and regular debris control.
A quick pros/cons snapshot for glide types
– Felt glides
– Pros: gentle contact; often quieter
– Cons: can collect lint; may require periodic cleaning/replacement
– Rubber glides
– Pros: durable; good cushioning
– Cons: can pick up grit if not maintained
– Hard plastic wheels
– Pros: smooth rolling; durable
– Cons: high scratch risk if grit gets trapped
When to Replace Instead of Repair
Replacement is the safer choice when damage affects structure or clarity beyond what polishing can realistically restore. If the mat is cracked, brittle, peeling, or repeatedly returning to a cloudy state, repair time usually won’t beat replacement in the long run.
From experience, I recommend deciding early when to stop “chasing” a repair. After a couple of targeted attempts—cleaning, then material-matched polishing or filling—if the scratch won’t blend or the mat’s integrity is compromised, replacement protects both your floor and your chair mobility.
Cracks and peeling edges can propagate under rolling load, making localized repairs less durable than replacement.
When clear mats become cloudy and brittle, continued polishing can only temporarily improve appearance while wear accelerates.
Replace if any of these apply
– Replace if scratches are deep, cracked, or causing peeling edges
Deep structural grooves plus cracking mean the mat will continue to fail under load.
– Consider replacement if the mat becomes cloudy or brittle
Cloudiness can signal polymer breakdown or embedded wear that polishing can’t fully correct.
– If repairs don’t blend after multiple attempts, replacement may be safer
If you still see a persistent halo after correct material-matched steps, you’re likely dealing with widespread surface degradation.
A simple “stop rule” you can use
– If you can feel multiple adjacent grooves after cleaning and the mat still looks hazy under grazing light, replacement is usually the better investment than repeated repairs.
Keeping scratches from becoming permanent is easiest when you act quickly: clean first, match the repair method to the mat material, and use the right product for light scuffs versus deep grooves. Start with assessment and thorough cleaning, then move to scratch remover or filler as needed, and finish by blending and protecting the surface. If the mat is cracked, peeling, or remains cloudy after multiple attempts—evaluate replacement early, because your floor and chair wheels will benefit from a smooth, reliable barrier in 2025 and 2026.
Frequently Asked Questions
How can I remove scratches from a chair mat without damaging the surface?
Start by cleaning the chair mat thoroughly with warm water and a mild, non-abrasive cleaner so grit doesn’t worsen the scratch. For light surface scuffs, use a plastic scratch remover designed for the mat’s material and apply with a soft microfiber cloth using gentle, circular motions. For deeper scratches, you may need a targeted repair kit or light heat technique only if the manufacturer’s instructions allow it. Always spot-test in a hidden corner first to avoid dulling or discoloration.
What’s the best way to fix scuffs and scratches on a clear acrylic or polycarbonate chair mat?
Clear acrylic and polycarbonate often respond well to polishing rather than heavy fillers. Use a scratch/polish compound made for plastics, then finish with a plastic-safe polish to restore clarity and reduce the look of swirl marks. Avoid household abrasives like baking soda or scouring pads, which can create hazy scratches. If the scratch is deep, consider replacing rather than trying to force a near-perfect repair.
Which products work best for removing scratches from chair mats made of vinyl or rubber?
For vinyl or rubber chair mats, look for products labeled safe for rubber/vinyl flooring and scuffs, such as vinyl-safe scratch repair pens or mat-specific cleaning and conditioning solutions. Clean first, then use a color-matched repair product to fill minor gouges, followed by a gentle buffing with a soft cloth. Conditioning the surface afterward can help blend the repaired area and improve overall appearance. Don’t use solvents like acetone or harsh thinners, as they can damage flexible mat coatings.
Why do chair mat scratches keep coming back, and how do I prevent new damage after repair?
Scratches often repeat when chair wheels track grit, when the mat is dragged, or when hard debris builds up beneath the chair. After removing scratches, keep the mat clean by vacuuming or sweeping weekly and wiping spills promptly to prevent abrasive particles. Consider using felt or soft rubber chair wheel covers and ensure the chair doesn’t roll over sand or grit. A clean, smooth base and protective wheel materials can significantly reduce future scratching.
How do I remove deep scratches from a chair mat when polishing isn’t enough?
Deep scratches typically require a repair filler or professional-grade plastic repair kit rather than polishing alone. Clean and dry the area, then apply a filler matched to the mat material (and color if applicable), letting it cure per the product directions. After curing, carefully sand/buff lightly with very fine, plastic-safe materials to level the surface, then re-polish for a smoother finish. If the scratch penetrates heavily or causes cracking, replacement may be the safest option to maintain performance and appearance.
📅 Last Updated: August 02, 2026 | Topic: How to Remove Scratches from a Chair Mat | Content verified for accuracy and freshness.
References
- Scratch
https://en.wikipedia.org/wiki/Scratch - Polishing
https://en.wikipedia.org/wiki/Polishing - Poly(methyl methacrylate)
https://en.wikipedia.org/wiki/Acrylic_glass - Polycarbonate
https://en.wikipedia.org/wiki/Polycarbonate - Vinyl
https://en.wikipedia.org/wiki/Vinyl - Abrasive
https://en.wikipedia.org/wiki/Abrasive - Polishing | industrial process | Britannica
https://www.britannica.com/technology/polishing - Google Scholar Google Scholar
https://scholar.google.com/scholar?q=chair+mat+scratch+removal+polycarbonate+acrylic - Google Scholar Google Scholar
https://scholar.google.com/scholar?q=acrylic+scratch+repair+polishing+solvent+bath - Google Scholar Google Scholar
https://scholar.google.com/scholar?q=polycarbonate+scratch+removal+surface+polishing+study
