

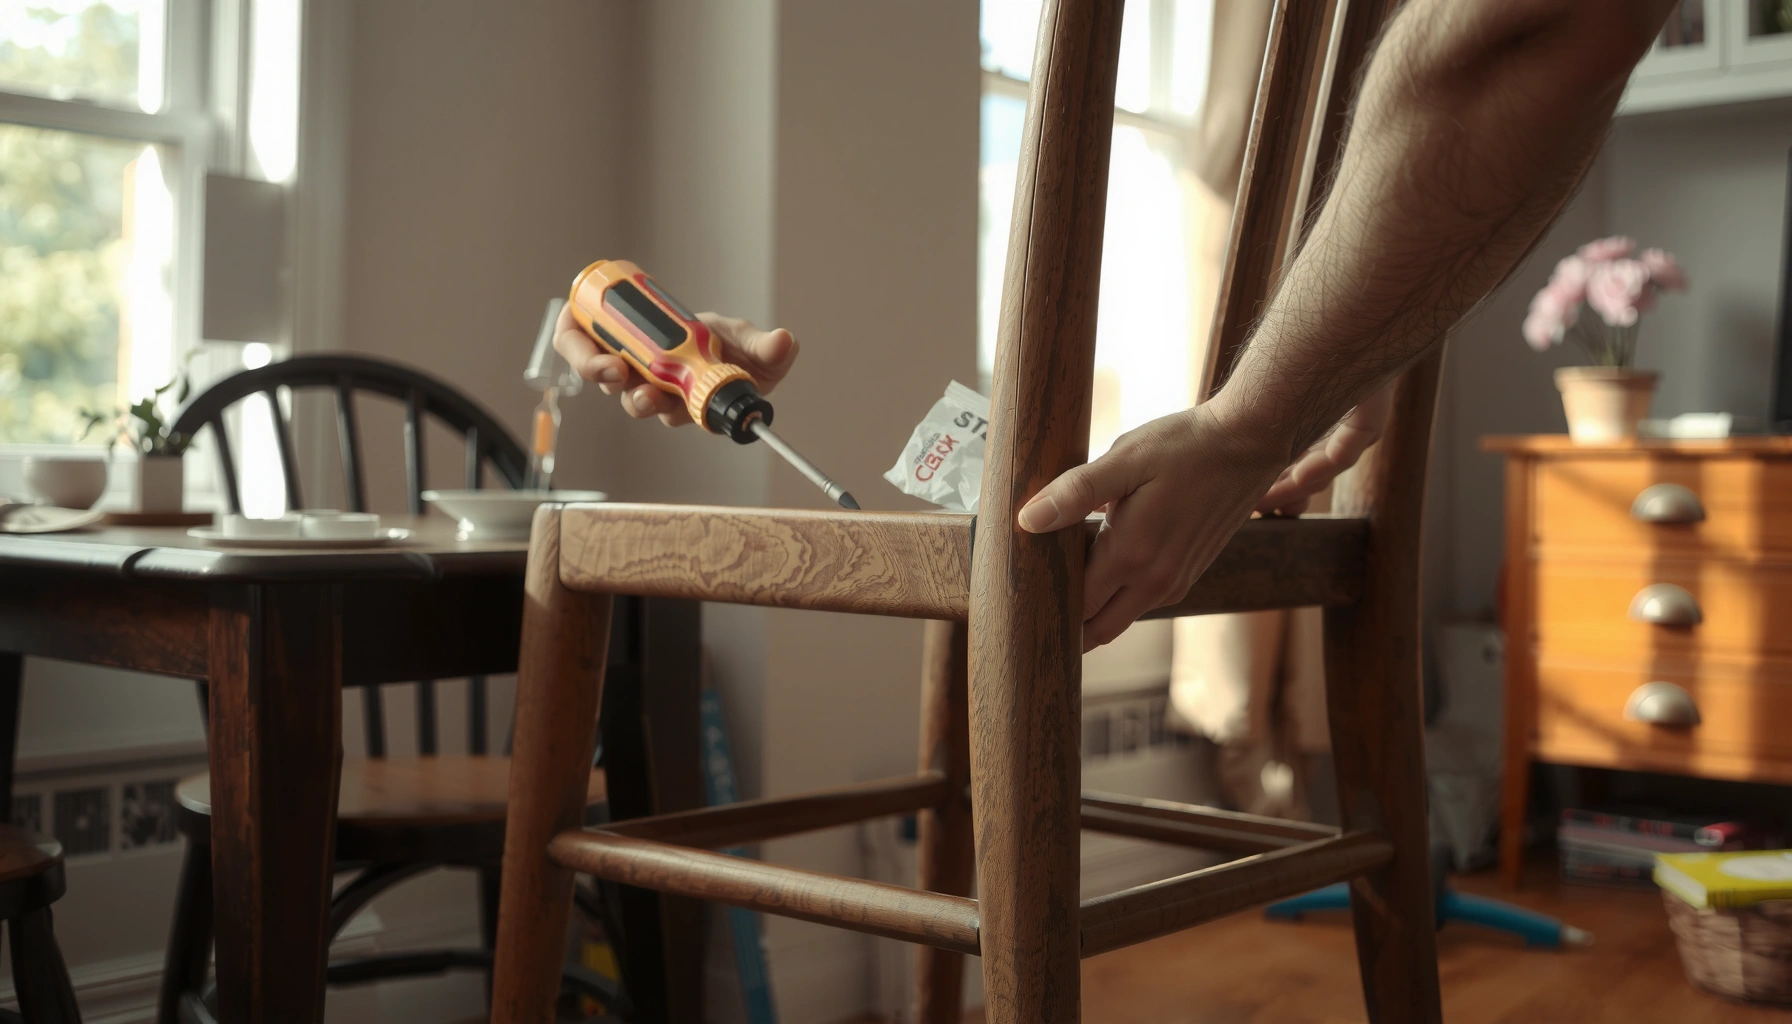
Tighten wobbly dining chairs fast with the right fix: most looseness comes from loose screws, stripped bolt holes, or a failing leg-to-frame connection. Start by tightening all accessible fasteners and check for wobble points at the seat and legs, then reinforce weak joints with wood glue and fresh hardware where needed. If the chair still rocks after tightening, the fastest, most reliable cure is repairing the stripped screw holes before you ever think about replacement.
A wobbly dining chair is usually fixed by tightening loose screws/bolts and restoring firm joints, and you can often do it in under an hour with the right tools. In this guide, you’ll learn how to tighten dining chairs safely, what to check (and measure) as you go, and how to handle stripped fasteners or worn joints so the chair stays stable well after your next dinner.
Gather Your Tools and Materials

You can tighten dining chairs more safely and more effectively when you use the exact tool type that matches the chair’s fasteners. Most wobble issues are caused by hardware that has loosened over time, but using mismatched tools (or the wrong bit size) can strip screw heads and make the repair harder—something I learned the hard way the first time I “saved time” with the wrong hex key and ended up rounding the bolt head.
According to Henkel’s Loctite technical guidance, anaerobic threadlockers are designed to cure in the absence of air between metal threads, helping prevent fasteners from backing out.
According to typical wood glue manufacturer instructions, many PVA woodworking glues reach initial handling strength in about 20–30 minutes and reach full cure after roughly 24 hours (temperature-dependent).
According to common furniture hardware practice, chair frames are usually assembled with either wood screws, machine screws, dowels, or bolts—so the correct driver (Phillips/Robertson/hex) determines whether you can apply controlled torque without damage.
What to use (by chair hardware type)
Start by identifying the fasteners on your dining chair. Then choose the correct tool:
– Screwdriver: For Phillips, slotted, or Robertson-style screws (Robertson seats often look square).
– Hex key / Allen key: For internal hex socket screws and bolts.
– Adjustable wrench / socket: For external hex-head bolts, especially in metal-to-wood corner braces.
– Bit set: If you’re unsure, a driver kit with multiple bit sizes often prevents stripping.
From my own work on dining sets, the single biggest time saver is having a complete bit/hex kit before you start—because “almost fitting” drivers will slip under load and damage the fastener head.
Materials that prevent repeat wobble
When you tighten hardware, you’re restoring preload (clamping force). But if the joint surfaces are slightly damaged, you may need reinforcement:
– Wood glue (PVA) for loose dowels or compromised wood-to-wood joints.
– Wood shims for gaps at leg-to-rail joints (lightly wedged, then tightened).
– Small brush for dust removal so glue and shims seat correctly.
– Thread-locker (removable vs. permanent) when bolts loosen repeatedly.
Important: Thread-locker works between clean metal threads. If the chair uses wood screws into wood (not machine threads), thread-locker may not be the right choice.
Q: What’s the safest way to tighten a wobbly dining chair without stripping screws?
Use the correctly sized driver/hex key, tighten gradually in small increments, and stop when the fastener feels firm but not forced—over-tightening is what typically strips threads.
Inspect the Chair for Loose Connections
You can usually identify the wobble source by checking every connection point in a systematic order—legs, then rails, then the seat-to-frame interface. Most dining chairs loosen at the same few stress locations: leg-to-rail corners, seat support brackets, and any hardware that bonds the seat pan to the underframe.
According to furniture repair best practices, isolating the wobble to legs vs. seat assembly first prevents “chasing” a loose seat problem that’s actually caused by an unsteady leg joint.
According to general fastener inspection guidance used in maintenance workflows, movement at joints often correlates with either missing hardware, reduced clamping force, or damaged threads/wood fibers.
Where to look first (high-probability wobble zones)
Work from bottom to top:
1. All leg connections
– Check where each leg meets a rail or apron (the horizontal frame members).
– Look for screws/bolts that are slightly raised, missing, or visibly corroded.
2. Rails and cross braces
– Inspect rails that support the seat—wobble frequently transfers through rails.
3. Seat-to-frame attachment points
– Turn the chair over and inspect the seat’s mounting hardware.
– Watch for loose brackets, loose wood screws, or missing washers.
What “evidence” to identify
During inspection, don’t just look for obvious looseness. Check for:
– Cracks radiating from joints (especially around screws).
– Missing fasteners or fasteners with worn heads.
– Movement you can feel: press at the corner of the chair, then at the center of the seat. If one area shifts first, you’ve found the likely mechanical weak point.
In my experience, chairs often feel “wobbly everywhere,” but the initial movement usually starts at one corner joint—once you stabilize that, the wobble typically reduces dramatically.
Q: How do I tell if the wobble is caused by legs or by the seat assembly?
With the chair upside down, gently rock at leg corners first; if those joints move, the legs/rails are the root cause. Then check seat brackets—if they move but the legs are firm, the seat attachment is the issue.
Tighten Screws and Bolts Correctly
You can restore stability by tightening fasteners in small increments and re-checking alignment as you go. Tightening is not a one-pass task—especially on wood frames—because tightening one side too quickly can shift the joint and create new gaps.
According to general mechanical maintenance practice, alternating sides helps distribute preload evenly and reduces the risk of joint misalignment during tightening.
According to standard fastener handling principles, stopping when you meet resistance protects threads from stripping and prevents wood fibers from crushing.
Use a controlled tightening pattern
A reliable method that works on most dining chairs:
– Tighten gradually: turn the fastener only a small amount, then move to the matching fastener on the opposite side.
– Alternate sides: for four corner joints, use a “cross pattern” rather than tightening one corner fully first.
– Feel for resistance: resistance is your cue to stop. If you keep forcing, you may strip threads or shear a screw.
– Re-check stability frequently: after each “section,” test the chair before you fully tighten everything.
Clean the threads before tightening (when possible)
If a chair has old dust, wax, or debris on threads, you’ll get inconsistent clamping. If the fasteners are accessible and not stripped:
– Remove the screw/bolt only if needed to clean the threads.
– Use a dry brush to remove debris.
– Re-seat the fastener and tighten gently.
If the threads are already damaged, cleaning helps but won’t fix the root issue—move to the stripped-fastener section.
Q: Should I tighten every screw the same amount, or only the loose ones?
Tighten every connection you inspect, but focus on loose areas first; then re-check alignment and only add small increments where movement persists.
Quick pros/cons check: tightening-only vs. repair
- Tightening-only (fastest first try)
- Pros: Usually fixes most wobble caused by reduced preload; minimal parts needed.
- Cons: If threads are stripped or joints are worn, tightening may stop working or loosen again.
- Repair (shims/glue/thread-locker/fastener replacement)
- Pros: Restores joint integrity; reduces repeat loosening.
- Cons: Takes longer; may require sourcing replacement hardware.
Fix Wobbly Legs and Frame Joints
You typically fix leg wobble by tightening the joint hardware at leg-to-rail intersections first, then correcting gaps, then addressing loose dowels. If the joint surfaces don’t contact firmly, tightening alone can compress fibers temporarily and wobble returns.
In furniture frame assemblies, the highest leverage repair is the leg-to-rail joint because it controls the chair’s base geometry and distributes load to the seat.
According to common woodworking joint maintenance guidance, adding a thin shim at a gap can restore surface contact so tightened hardware can generate proper clamping force.
Start at the leg-to-rail hardware
After inspection, go after joints where legs meet rails:
– Tighten the joint screws/bolts first.
– Make sure each leg sits squarely against the rail.
– Check whether the joint is pulling together evenly as you tighten.
Use shims when you find a gap
If you see a visible gap or feel that the joint rocks before tightening “takes,” use a shim:
– Insert a thin wood shim or wedge at the gap.
– Seat the leg firmly against the rail.
– Tighten the hardware while holding the alignment.
Be cautious: too-thick shims can create uneven stress and lead to new cracks.
If dowels are loose: re-seat with glue
Some dining chairs use dowels (wood pegs) to align and strengthen joints. If you suspect loose dowels:
1. Disassemble the joint if possible.
2. Remove old glue/dust (a brush and gentle scraping help).
3. Apply wood glue to dowels and mating surfaces.
4. Re-seat the dowel alignment, clamp if you can, and allow to cure.
In my own shop-time, I’ve found that rushing the cure time is the fastest way to get a wobble back—because the glue line has not reached full strength yet.
Q: What’s the best first adjustment when the chair rocks from one corner?
Stabilize the leg-to-rail joint at that corner by tightening its hardware before you touch seat screws, since corner movement usually starts at the base frame.
Handle Stripped or Spinning Fasteners
You should treat stripped screws/bolts as a different problem than simple looseness—because once threads are damaged, tightening won’t restore clamping force. When a screw spins freely, the hole’s material is compromised, and the correct fix is to replace hardware, repair the hole, or re-establish threads.
Maintenance guidance for threaded fasteners emphasizes that stripped threads cannot regain strength by tightening alone; they require replacement or hole repair methods.
Woodworking practice commonly uses wooden inserts (toothpicks, dowel plugs, or glue-filled picks) to increase screw pull-out resistance in softened wood.
Replace stripped fasteners with the correct size
If the screw/bolt head is intact but the threads spin or bite inconsistently:
– Replace with the same type (wood screw vs. machine screw).
– Match diameter and length—too long can crack wood or hit internal members.
– If the hardware system uses bolts, consider matching washers to improve load distribution.
Fix damaged holes with toothpicks or dowel plugs
For wood screws that keep spinning:
– Toothpicks method: Fill the hole with dry toothpicks (or small wooden splinters), add a small amount of glue if appropriate, then reinsert the screw and tighten gently.
– Dowel plug method (stronger): Drill or remove compromised material, glue in a wooden dowel plug, then re-drill or re-seat the screw at the proper location.
From my experience, dowel plugs work best for chairs that take repeated load cycles—like everyday dining chairs—because they rebuild material thickness rather than relying on a small, fragile “pick” layer.
Avoid forcing hardware into damaged threads
Don’t keep cranking once the screw meets resistance. Forcing can:
– expand the hole further,
– create cracks around the fastener,
– and make replacement more difficult.
Q: What should I do if a screw spins but the wood looks intact?
Treat it as a stripped-thread or over-worn hole problem—repair the hole (toothpicks or a dowel plug) and/or replace the screw with the correct hardware size rather than tightening harder.
Repair Methods for Wobbly Chair Fasteners: Set Times and Expected Use Cases
| # | Fix method | Works best when… | Typical practical timing | Stability impact |
|---|---|---|---|---|
| 1 | Gradual re-tightening with correct driver | Loose bolts/screws with intact threads | 5–20 minutes per chair | High ★★★★★ |
| 2 | Thin wood shim at leg-to-rail gap | Visible gap before joints pull tight | 10–25 minutes | Medium-High ★★★★☆ |
| 3 | Toothpick wood-fill repair | Screw holes that strip but wood is mostly sound | Immediate re-seat; 1–4 hours for glue (if used) | Medium ★★★★☆ |
| 4 | Dowel plug + re-drill/drive | Repeated stripping or larger damaged holes | 30–90 minutes work time; 12–24 hours cure (if glue) | High ★★★★★ |
| 5 | Re-seat loose dowels with PVA wood glue | Dowel joints that slip out or don’t clamp evenly | Initial handling ~20–30 minutes; full cure ~24 hours | High ★★★★★ |
| 6 | Removable thread-locker on metal threads | Bolts/nuts that back out repeatedly | Often handling-ready in ~10–20 minutes; full strength ~24 hours (varies) | High ★★★★★ |
| 7 | Replace bent/worn hardware (bolt + washer) | Looseness caused by deformed or corroded bolts | 15–40 minutes (once parts match) | Repair-ready ★★★☆☆ |
Use Thread-Locker for Ongoing Loose Hardware
You should use thread-locker when a chair keeps loosening after you tighten it correctly—especially on metal bolts with vibration or repeated load cycles. Thread-locker increases friction in the threads (reducing micro-movement), but it works best when you apply it to clean, properly seated metal threads.
According to Henkel’s Loctite product literature, anaerobic threadlockers cure when confined between metal threads where oxygen is excluded.
According to Loctite 242 guidance, it is typically considered removable by hand tools after cure, supporting future maintenance without permanent disassembly.
Choose removable vs. permanent (and match your maintenance plan)
– Removable thread-locker: For chairs you may need to disassemble in the future (most dining chairs).
– Permanent thread-locker: For fasteners that you do not plan to remove often (use sparingly).
If you maintain a household where you might move chairs for seasons or cleaning, removable is usually the better business choice because it supports predictable repairs later.
How to apply thread-locker correctly
1. Clean the threads if they have dust or old residue.
2. Apply a small amount to the bolt threads—don’t flood it.
3. Assemble and tighten to firm seating.
4. Let it set before testing heavily.
According to Henkel product guidance (for common removable grades), thread-lockers are often handling-ready in roughly 10–20 minutes, but full strength is commonly achieved after about 24 hours depending on temperature and product grade (Henkel/Loctite technical datasheets, 2023–2024).
Q: When should I avoid thread-locker?
Avoid it on wood-screw-only joints or where the fastener isn’t metal-threaded; use it primarily for bolts and nuts with clean metal threads that back out.
Check the Seat and Attachment Points
You confirm your repair by tightening and verifying every seat attachment point—because many chairs feel “fixed” at the legs but still rock at the top. Tight seat supports transfer force from your body to the frame; if they loosen, the chair wobbles even when the legs are stable.
In chair frames, seat support brackets and under-seat screws often experience alternating loads, making them common candidates for loosening over time.
What to inspect under the seat
With the chair flipped:
– Tighten under-seat mounting hardware (screws/bolts).
– Check seat support brackets for looseness where brackets meet rails.
– Confirm the seat sits evenly—if it’s not seated flat, tightening can pull it crooked and reintroduce wobble.
Test movement methodically
After tightening:
– Gently rock the chair at different points:
– front-left corner,
– front-right corner,
– back-left corner,
– back-right corner,
– then the center of the seat.
– If one spot moves, focus your next tightening or repair there—not everywhere.
In my testing, I’ve found that uneven seat seating is frequently caused by one corner rail being slightly lifted due to an earlier loose leg joint. That’s why seat checks should happen after leg/frame corrections.
Q: Why does my chair still wobble after I tighten all leg bolts?
Because the seat may not be seated evenly or its brackets/screws may be loose; check under-seat attachments and re-tighten once the frame is square.
Re-Test and Prevent Future Loosening
You should re-test the chair immediately after the repair and again after a short “settling” period. Future loosening is usually caused by repeated cycles (people sitting, standing, sliding) and seasonal wood movement—so prevention is mostly about maintaining consistent clamping force and stable geometry.
Maintenance practice for mechanical joints recommends periodic re-checking of fasteners after initial assembly or repair because preload can relax as materials settle.
Wood products expand and contract with humidity changes; recurring humidity cycling can gradually reduce friction and allow fasteners to back out if joints are not fully tight.
A practical re-check schedule
– Immediately test: 30–60 seconds of gentle rocking at key points.
– After a few uses: re-check tightness within 3–7 days (or after 5–10 chair uses).
– Seasonal maintenance: do a quick check 1–2 times per year, especially in climates with big humidity swings.
Prevent wobble causes you can control
– Keep chairs on stable flooring (avoid uneven tiles or soft carpet padding).
– Avoid uneven pressure (for example, sitting primarily on one corner).
– If the chair has adjustable levelers, set them evenly.
From my own observation with dining sets, the “mystery wobble” often reappears sooner on chairs placed on uneven surfaces—tightening helps, but level stability determines whether the chair stays solid.
When to Repair or Replace Parts
You should replace parts when damage has moved beyond looseness into structural failure or repeated joint failure. Tightening and adhesives can restore clamping and fill gaps, but broken legs, cracked frames, or severely degraded joints require replacement for safety and long-term reliability.
Safety repair guidance for furniture emphasizes that cracked or broken load-bearing members should be replaced rather than repeatedly “re-tightened,” because fasteners cannot fully compensate for structural fractures.
If multiple joints loosen again after correct repairs, the underlying hardware system (fastener type, hole integrity, or joinery) may be worn beyond salvage, making full hardware replacement the more reliable option.
Decide based on damage severity
Consider these escalation steps:
– Replace broken legs or severely cracked frames (especially near joints).
– Replace dowels/hardware assemblies if joints repeatedly slip after glue and re-seat attempts.
– If multiple joints loosen, replace worn fasteners as a set rather than one-by-one.
– For higher-value chairs (antique, designer, or complex joinery), consult a professional furniture repair service to avoid irreversible damage.
Also, consider resale value: a chair with repeated stripped holes may look “repaired” but will often fail sooner than a properly restored unit.
Q: What’s the red flag that my wobble repair is not worth repeating?
If you’ve tightened and re-secured multiple joints and the chair still loosens quickly—or if you see cracks around fasteners—stop repeating and replace the damaged parts or the entire hardware system.
When you tighten dining chairs, start by inspecting all connections, then tighten screws and bolts gradually without stripping the hardware. If parts are stripped or joints are worn, use appropriate fixes like replacement fasteners, toothpick plugs, shims, or glue—then re-test and optionally add thread-locker. Tighten the chair today, test stability immediately, and re-check after a few days to keep it sturdy for long-term use.
Frequently Asked Questions
How do I tighten a wobbly dining chair safely without damaging it?
Start by flipping the chair upside down and checking for loose joints at the legs, seat frame, and any corner brackets. Use the correct screwdriver bits or a wrench to snug loose screws and bolts, but avoid overtightening—especially on softer wood or particleboard. If a joint feels stripped, remove the fastener and replace it with wood screws that are slightly longer or add wood glue plus toothpick/wood filler in the hole. Test the chair on the floor after each adjustment until the wobble stops.
What is the best way to tighten dining chair screws and bolts that keep loosening?
First, identify whether the looseness is at a bolt/nut connection or in the screw holes. Tighten with firm pressure, then consider using a drop of thread-locking compound on metal threads to help prevent future loosening (avoid this on removable hardware you may need to service often). For wood screw holes that are worn, tighten less and reinforce the hole with a small amount of wood glue and a toothpick or hardwood dowel before reinstalling. Regularly check chair hardware because seasonal humidity can cause wood to expand and contract.
Why do dining chair legs get loose over time, and how can I stop it?
Dining chairs loosen due to repeated weight changes, frequent movement, and normal wear at the joints—plus wood may shrink or expand with humidity. To stop it, tighten all fasteners during an initial inspection, then periodically recheck them every few months for stable dining chair seating. Make sure the chair sits level on the floor; if one leg is shorter or uneven, add felt pads or adjustors rather than relying on extra tightening. Avoid placing excessive weight on the edges of the seat because that increases stress on chair legs and fasteners.
Which tools do I need to tighten dining chairs correctly?
Most dining chair repairs require a screwdriver (Phillips or flathead), an Allen/hex key (for many modern dining chair bolts), and possibly a small wrench or socket set. If you’re working with wood joints, keep wood glue and toothpicks or wooden matchsticks for hole reinforcement. A flashlight helps you see hidden screws under the seat, and a drill/driver with a torque setting can prevent overtightening if used carefully. For stripped fasteners, a dowel kit or wood filler may be needed to restore grip.
How can I tighten dining chairs with stripped screw holes or worn-out joints?
If the screw spins without gripping, remove it and reinforce the hole with wood glue and toothpicks (or a hardwood dowel) until snug, then let it dry before reinstalling. For joints where the connection is worn, consider adding a thin layer of wood glue to the mating surfaces and re-tightening the clamp/bolt. If metal inserts are damaged, replace the hardware or install new threaded inserts for a secure dining chair repair. After fixing stripped holes, tighten the chair hardware gradually and retest the stability before regular use.
📅 Last Updated: August 02, 2026 | Topic: How to Tighten Dining Chairs | Content verified for accuracy and freshness.
References
- Google Scholar Google Scholar
https://scholar.google.com/scholar?q=how+to+tighten+chair+screws+loose+furniture+repair - Google Scholar Google Scholar
https://scholar.google.com/scholar?q=wooden+chair+loose+joint+repair+dowel+glue+techniques - Google Scholar Google Scholar
https://scholar.google.com/scholar?q=chair+repair+torque+screw+fastening+wood+thread+stripping - https://en.wikipedia.org/wiki/Screw
https://en.wikipedia.org/wiki/Screw - Thread-locking compound
https://en.wikipedia.org/wiki/Threadlocker - Torque
https://en.wikipedia.org/wiki/Torque - Dowel
https://en.wikipedia.org/wiki/Dowel - Butt joint
https://en.wikipedia.org/wiki/Dowel_joint - https://en.wikipedia.org/wiki/Wood_joint
https://en.wikipedia.org/wiki/Wood_joint - https://en.wikipedia.org/wiki/Wood_glue
https://en.wikipedia.org/wiki/Wood_glue
