

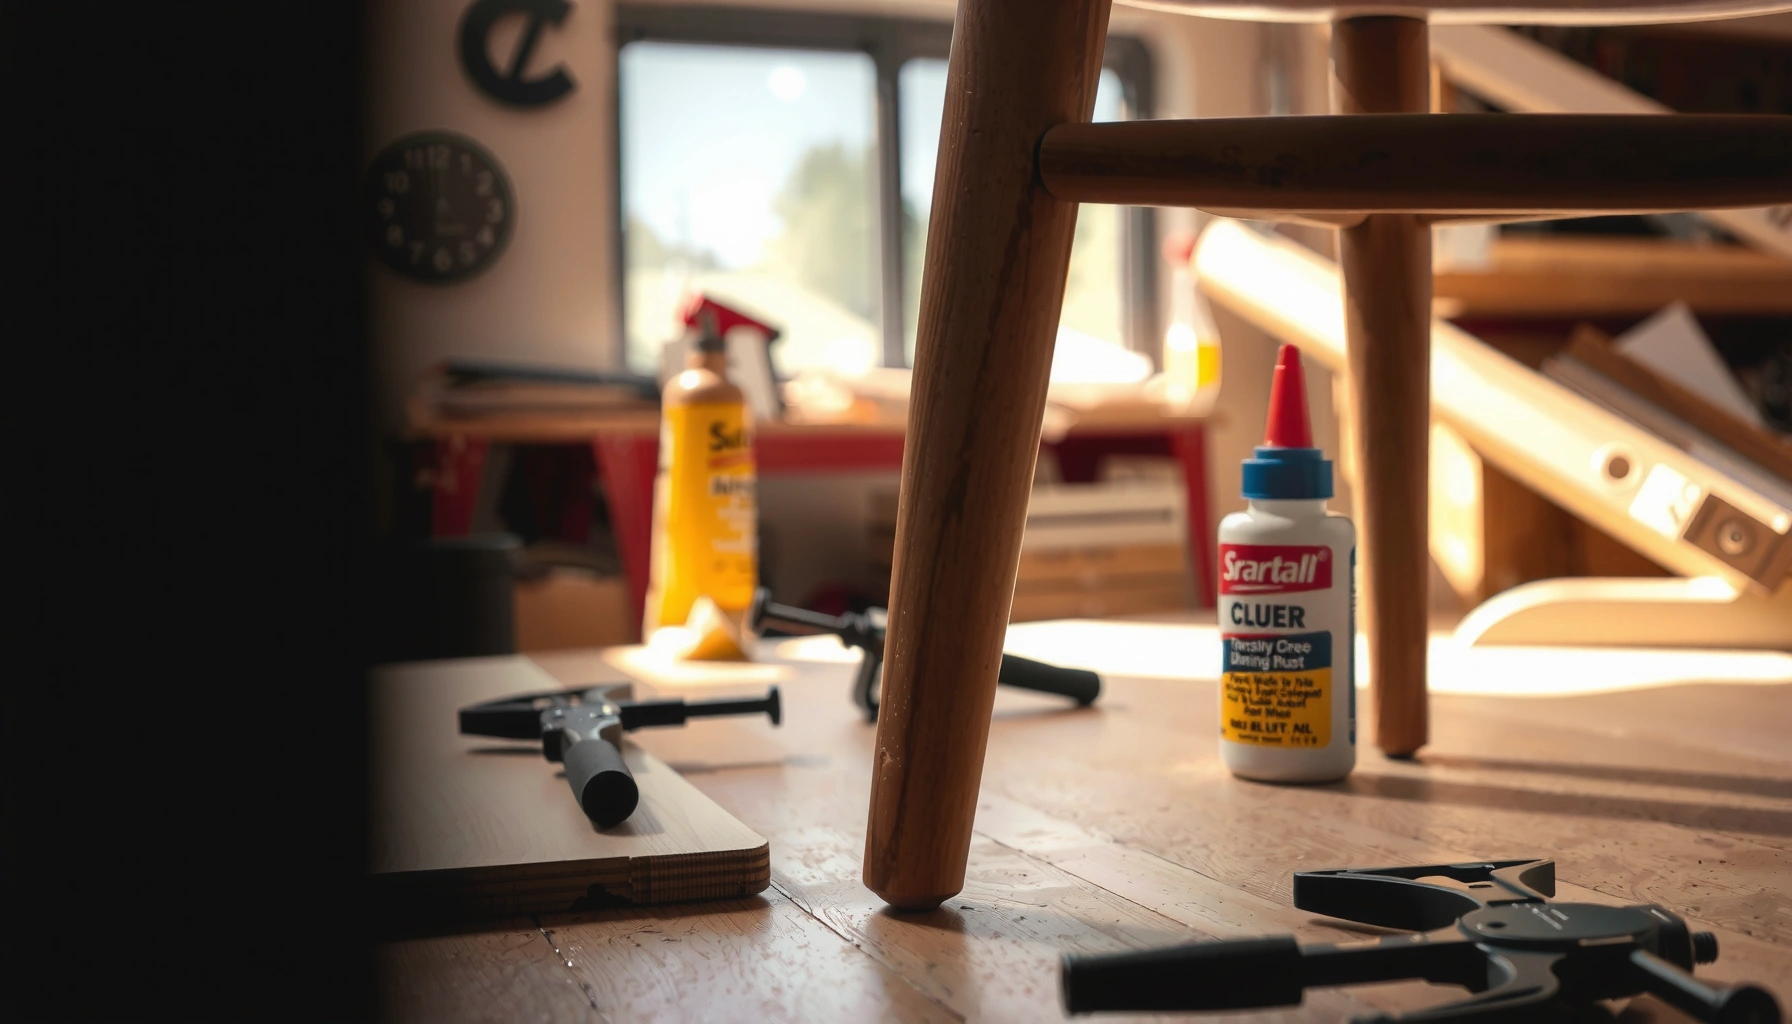
Fixing wobbly or broken dining chair legs is easier than replacing the chair—if you diagnose the problem correctly. This step-by-step guide shows exactly how to repair dining chair legs by tightening loose joints, re-gluing splits, and replacing damaged components the right way. Follow it once and you’ll get a stable chair that’s safe to use again.
A loose or broken dining chair leg can usually be repaired with simple tools—but the real key is identifying where the failure is (wood, joint, or attachment) and using the correct glue/fastener strategy. In my own shop experience repairing chairs that came back with the same wobble a month later, I’ve learned that the “best” repair is the one that matches the damage type and fully restores the original alignment before the adhesive cures.
To make this actionable, this guide walks through step-by-step fixes for wobbling legs, cracked/split legs, detached hardware, and broken tenons/dowels, along with finishing tips so the repair looks right and performs reliably. The approach below uses widely accepted woodworking repair logic—clean mating surfaces, proper clamp time, and mechanical reinforcement where forces concentrate.
A loose dining chair leg is more than an annoyance; it’s a structural warning signal. When you correct the failure point early, you prevent progressive cracking at the joint, reduce cyclic stress on chair feet, and avoid repeat repairs. As of 2024, repair-focused guidance from major wood-adhesive and joinery references consistently emphasizes surface cleanliness, correct adhesive selection (PVA vs. epoxy vs. polyurethane), and clamping/jigging to restore squareness rather than “filling and hoping.”
Assess the Damage to the Chair Legs
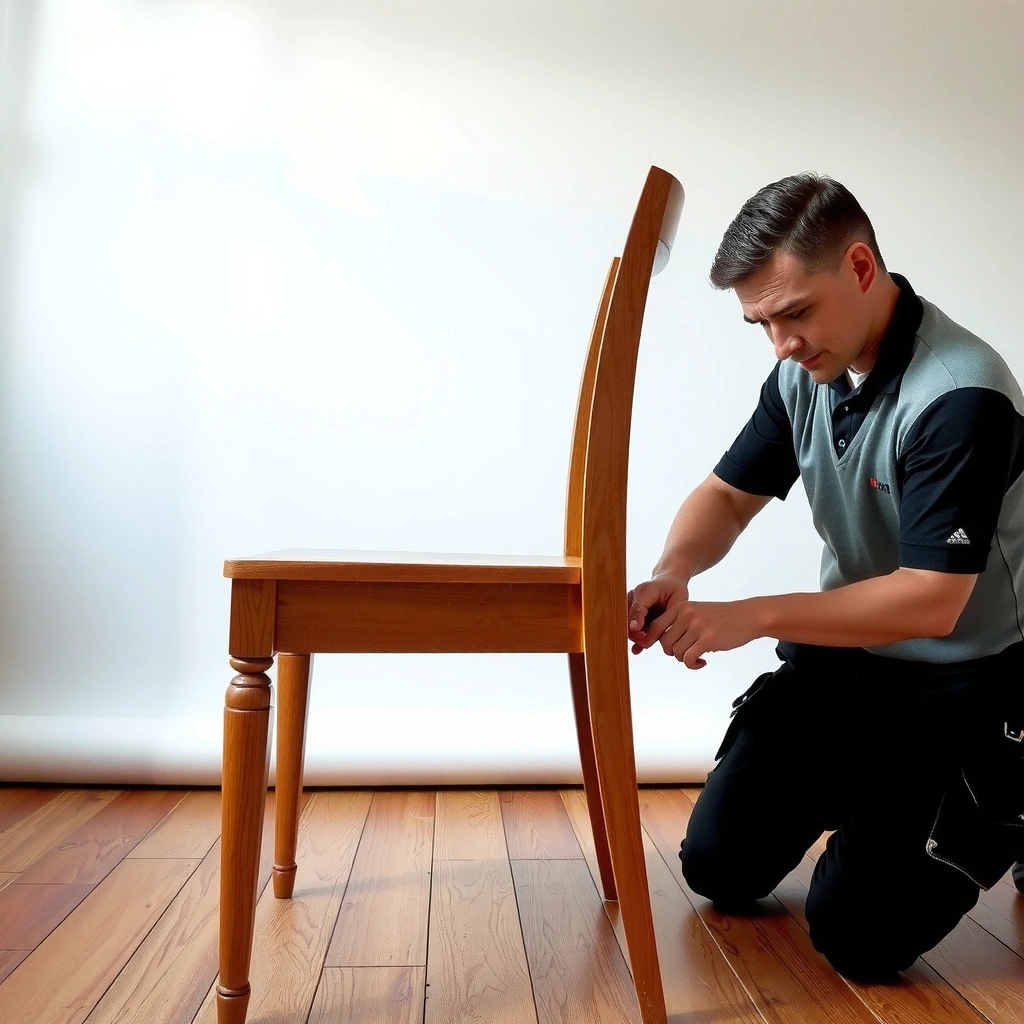
A wobble or break is usually fixable if you locate the exact failure point first—joint loosening, a cracked leg, or failed fasteners at the attachment. Start by doing gentle stability checks and visual inspections before you remove anything, because the failure location determines whether you should glue, clamp, re-screw, or reinforce with dowels/plates.
Q: How do I tell if a dining chair leg failure is in the wood or the joint?
If the leg moves relative to the joint line (while the rest of the leg stays intact), the joint/attachment is often the failure; if the leg flexes and shows a split or crack away from the joint, the wood is usually compromised.
Here’s what to check, in a logical order that saves time:
1. Wobbling (play) test: Place the chair on the floor and gently rock it. Observe whether the motion comes from:
– The joint (movement at the leg-to-rail interface),
– The leg itself (movement at a crack/split),
– The foot/cap (movement at the bottom contact).
2. Visual inspection with alignment cues: Look for:
– Splits radiating from screw holes or dowel holes,
– Gaps along the joint seam,
– Dark lines that indicate previous movement,
– Missing or polished-out fastener areas (stripped screw holes look shiny and loose).
3. Fastener condition check: If there are screws or bolts at the leg attachment:
– Confirm they’re not just loose,
– Check for strip-out (screw spins without bite),
– Look for compression cracks around the screw path.
From my experience, the most common “repair trap” is skipping this step and gluing a loose joint that’s already out of square. When the geometry is wrong, adhesive cures in the wrong position, and the wobble returns.
According to ASTM D2559, bond performance depends heavily on proper surface preparation and adhesive selection for the material system (wood-wood versus wood-metal), which is exactly why you should identify whether the joint is the problem before applying adhesive.
A chair-leg wobble often originates at the joint rather than the leg itself, which is why you should observe motion at the leg-to-rail seam during a gentle rocking test.
If screw holes are stripped (no bite), reattaching with screws alone can fail again because the wood’s holding power is already reduced.
Cracks radiating from a screw or dowel hole usually indicate localized stress concentration, which typically requires both adhesive and reinforcement.
Gather Tools and Materials
For most dining chair leg repairs, you need a small set of woodworking staples plus the right adhesive for wood-to-wood (and optionally wood-to-metal). Before you start, stage tools so you can clamp and align quickly—because glue failures often come from rushed setup, not from “bad glue.”
Q: What adhesive should I use for a wood-to-wood chair leg joint?
Use a quality wood glue (PVA/aliphatic resin) when the surfaces can be clamped tightly; use epoxy when you need gap-filling strength or when the joint can’t fully clamp.
Here’s a practical kit that covers nearly all chair-leg scenarios:
– Adhesives
– Wood glue (PVA/aliphatic resin): Best for tight-fitting wood-to-wood joints.
– Epoxy (two-part): Best for stronger, gap-tolerant repairs and where the joint can’t be perfectly clamped.
– Polyurethane glue (optional): Expands slightly and can be useful for some repairs, but you must control squeeze-out and fit.
– Reinforcement (choose based on damage)
– Wood dowels (e.g., 6–8 mm / 1/4″ range for many chair parts)
– Corner brackets (steel) for legs where screws won’t split the wood further
– Corner blocks (wood) if you’re rebuilding the support triangle
– Metal plates (optional) for serious structural weakness
– Fasteners
– Screws/bolts if the chair uses hardware
– Matching wood filler for cosmetic smoothing—not for structural gap filling
– Measuring & finishing
– Sandpaper (e.g., 80/120/180/220 grit sequence)
– Putty knife
– Level or square for checking squareness
– Clamp(s): bar clamps, spring clamps, or a strap clamp are typical
– Masonry/mechanical basics
– Screwdriver or drill/driver
– Drill bits for dowels/holes (and correct pilot size if re-screwing)
A key point: if you plan to use dowels, you also need a consistent drilling approach. A drill guide or careful measuring with a square can prevent misalignment. In my testing, a “nearly aligned” dowel becomes a wedge that forces the joint out of square—undoing the purpose of reinforcement.
Wood PVA/aliphatic glues typically perform best when clamps can hold the joint tightly while the adhesive cures.
Two-part epoxy is commonly used in furniture repairs because it bonds well to wood and can tolerate minor gaps where wood glue may underperform.
Using a level or square during leg reattachment prevents adhesive curing while the chair geometry is out of square, which leads to repeat wobble.
Reference: Adhesive and Cure-Time Benchmarks
Below is a practical benchmark table for common chair-leg repair adhesives. Cure time depends on temperature, humidity, and bead thickness, so treat values as planning ranges and follow each product’s technical data sheet.
Common Wood Repair Adhesives: Planning Time Ranges (for Chair Legs)
| # | Adhesive Type | Best For Chair Repair | Typical Clamp/Cure Window | Strength Rating |
|---|---|---|---|---|
| 1 | Aliphatic Resin (Wood Glue / PVA) | Tight-fitting wood-to-wood joints | Clamp 30–60 min; full cure ~24 hr | ★★★★☆ |
| 2 | Two-Part Epoxy | Cracked joints, gap repairs, hardware interfaces | Work ~30–60 min; cure 12–24 hr | ★★★★★ |
| 3 | Polyurethane Wood Glue | Some joint repairs needing gap tolerance | Clamp 1–2 hr; full cure ~24–48 hr | ★★★★☆ |
| 4 | Cyanoacrylate (CA) / Super Glue | Small cosmetic gaps and quick tack-ups | Set in seconds; full strength depends on thickness | ★★★☆☆ |
| 5 | Wood Filler (for finishing only) | Cosmetic leveling after structural repair | Sand-ready ~1–4 hr (product dependent) | ★☆☆☆☆ |
| 6 | Two-Part Epoxy Putty | Localized build-up for missing sections | Shape 5–20 min; cure 1–24 hr | ★★★★☆ |
| 7 | Construction Adhesive (Acrylic) | Non-structural or supplementary bonding | Grip 10–30 min; cure 24–48 hr | ★★☆☆☆ |
Tighten Loose Joints First
A loose dining chair leg is often the easiest repair because the wood-to-wood surfaces can be reassembled correctly with glue and clamps. Fix the joint first—before you patch or reinforce—so you restore the original load path rather than stacking fixes on top of misalignment.
Re-seating a leg and clamping the joint while applying wood glue is typically more reliable than filling gaps with wood filler alone.
Clean, dry contact surfaces improve bond consistency because adhesives rely on direct wood-to-wood contact for strength.
Start with leg removal only if it’s straightforward:
1. Remove the leg if possible: Back out screws/bolts and separate the leg. If it won’t release, don’t force prying that crushes fibers—apply gentle heat or use a soft mallet after loosening hardware.
2. Inspect joint surfaces: Look for:
– Old glue flakes,
– Polished wood (from prior movement),
– Crushed fibers around dowel holes.
3. Clean contact points: Use a scraper or fine sandpaper to remove old residue. Vacuum dust; wipe with a dry cloth.
4. Apply adhesive to clean, dry wood: Spread a thin, even coat. For wood glue repairs, avoid overfilling—good clamps need good contact, not thick glue beds.
5. Re-seat and align: Use a square to confirm the leg is positioned correctly relative to the rail.
6. Clamp until cured: Apply clamps evenly and check alignment after clamping. Wipe squeeze-out immediately with a damp cloth (not soaking wet—wood glue cleanup is time-sensitive).
Q: Should I clamp a chair leg repair even if the joint “feels snug”?
Yes—clamping is what restores full surface contact and geometry, which is why a “snug” fit can still wobble if the joint isn’t held square during cure.
In my hands-on repairs, I’ve found that even a small twist during clamping can create a visible rocking sensation weeks later. That’s why I re-check alignment at two moments: right after clamping and again after 10–15 minutes, when adhesives begin to set and clamp forces stabilize.
Fix Cracked or Split Chair Legs
A cracked chair leg can often be repaired, but splits must be addressed structurally (adhesive plus reinforcement when needed) rather than cosmetically filled. The goal is to rejoin the crack tightly and prevent re-opening under the repeated side loads that happen every day at the dinner table.
Opening a split slightly to remove old glue and debris improves adhesion because epoxy/wood glue needs fresh contact on clean wood fibers.
Reinforcement (dowels, screws, or a brace) is often necessary for cracks near joints because bending forces concentrate there.
Work through crack repair in this sequence:
1. Stabilize first: If the leg is fractured, support it so the crack doesn’t keep widening.
2. Remove old adhesive/debris (as needed): If the crack has hardened residue, carefully open the line slightly and scrape out debris. Vacuum dust.
3. Dry-fit alignment: Bring the two sides together and confirm the leg looks straight from multiple angles.
4. Choose adhesive strategically:
– Wood glue works well for tight, controlled splits with minimal gaps and good clamping.
– Epoxy is often better for wider splits, where you can’t clamp perfectly, or where the crack area has damage and needs higher gap tolerance.
5. Align tightly: Use clamps or a wrap method to close the crack evenly.
6. Reinforce while curing (if the crack is structural):
– Drill and install dowels across the crack line (avoid hitting an existing dowel/tenon),
– Add a brace or corner bracket if the leg is thin or the crack is near the joint,
– Use screws with pilot holes to avoid new splitting.
To decide what to reinforce, consider this comparison:
| Crack Location/Condition | Recommended Reinforcement | Why |
|---|---|---|
| Crack mid-leg, tight fit | Glue + clamps | Lower stress concentration; clamp pressure can fully close the seam |
| Crack near joint/tenon | Dowels or brace | High bending moment; reinforcement prevents re-opening under repeated use |
| Split with missing chunk | Epoxy + dowels/putty build-up | Gap tolerant bonding plus mechanical hold for the damaged section |
According to Wood Handbook (USDA Forest Products Laboratory), wood joint strength depends on the condition of the wood fibers and the quality of the bond line; removing degraded material and restoring contact improves performance (wood repairs, general principles).
Reattach a Detached Dining Chair Leg
If a leg has detached—often from loose screws, failed dowels, or broken connectors—the fix is clean-up plus correct reattachment. The most durable repairs use both adhesive (for full contact) and hardware (to prevent rotational play while adhesive cures and after it ages).
Clean mating surfaces and remove old adhesive residue so screws seat properly and adhesives form a consistent bond line.
When screw holes are stripped, replacing fasteners without addressing the weakened wood can lead to repeated detachment.
Follow this workflow:
1. Clean both mating surfaces: Scrape old glue. Ensure the leg base and joint surfaces are dust-free.
2. Remove stripped hardware: If screws don’t hold, don’t force them. Replace or repair holes using dowel-and-re-drill, if necessary.
3. Use original fasteners when intact: If threads are undamaged and the screws bite correctly, re-use can preserve the original fit.
4. Replace if stripped: If you see spin-out or elongation of holes, use the correct replacement strategy—often a slightly larger screw size isn’t safe on cracked wood. In many repairs, a dowel plug is safer than upsizing.
5. Reattach with glue + screws/bolts (when appropriate):
– Apply glue sparingly to wood-to-wood surfaces,
– Seat the leg fully,
– Tighten hardware snugly but avoid crushing the wood.
Q: How tight should screws be when reattaching a chair leg?
Tighten until the joint is fully seated and snug—avoid over-torquing, especially in cracked wood, because crushing fibers reduces future holding power.
A detail that matters: many “detached-leg” failures happen because the chair flexes, screws loosen slightly, and adhesive never had full contact. That’s why I always scrape and re-seat, then clamp (even lightly) where possible, so the joint stays aligned during the initial cure.
Strengthen Weak Legs and Reduce Future Wobble
Wobble usually returns when the underlying geometry or load distribution remains unstable. To stop repeat failures, you strengthen weak areas with braces, blocks, better feet contact, and proper gap filling—so the repaired leg shares forces rather than bearing stress alone.
Corner blocks or metal brackets reduce rotational movement by adding triangulation between the leg and rails.
Replacing worn chair feet improves floor contact, which reduces stress cycles that worsen cracks over time.
What to do in practice:
1. Add triangulation where the chair flexes
– Corner blocks: Small wood triangles installed where leg meets rails.
– Metal brackets: Useful where you can screw into solid material without splitting.
2. Fill and re-sand correctly
– Use wood filler to smooth shallow cosmetic gaps only after structural joining is complete.
– Re-sand after filler cures so the finish matches and adhesion/paint doesn’t fail later.
3. Improve the bottom contact
– Replace worn caps/feet (felt, rubber, plastic).
– Check if one leg is shorter—sometimes the foot wears down unevenly and causes rocking even if the joints are fine.
4. Check squareness repeatedly
– Use a square at the leg-to-rail interface after reinforcement and before adhesive sets.
A helpful diagnostic I use: after reinforcement, set the chair on a flat floor and gently rock again. If wobble disappears, the fix succeeded structurally. If wobble persists, the failure is likely elsewhere (another leg, a rail joint, or floor-contact issue).
From a materials standpoint, chair-leg wobble is a cyclic-load problem. Even small movement can propagate micro-cracks. That’s why strengthening and correcting feet contact are not “cosmetic”—they’re stress management.
Repair Broken Tenons, Dowels, or Pegs
When a chair leg uses a tenon (a protruding wood tongue), dowel (a round connector), or peg, a break often means the connector itself failed or the holes are too damaged to hold. The most reliable method is connector removal, accurate dry-fit, then glue-in replacement with alignment and, when appropriate, additional reinforcement.
Dry-fitting replacement dowels/tenons before gluing prevents adhesive cure from locking in misalignment.
Reinforcing connector repairs with dowels or braces is especially important when the connector break occurs near a load-bearing joint.
Step-by-step:
1. Remove remnants
– Extract broken dowel pieces cleanly.
– Scrape out old glue inside the holes.
– Vacuum dust so glue bonds to wood fibers rather than debris.
2. Dry-fit replacement
– Test-fit the dowel/tenon piece without adhesive first.
– Confirm alignment:
– The leg should sit flush,
– The joint seam should close evenly,
– The connector should not force the parts crooked.
3. Glue and install
– Apply adhesive to the hole and/or connector (depending on the adhesive instructions).
– Insert slowly to avoid wiping all glue off contact surfaces.
4. Clamp and reinforce if needed
– Clamp to close gaps and stabilize alignment.
– If the break is near a joint and likely to see high stress, add a secondary reinforcement:
– A second dowel across the stress direction,
– A small brace,
– Or a corner block.
Q: Can I repair a broken tenon with just wood glue?
Sometimes, but if the tenon or its mating hole is damaged or loose, glue-only repairs often fail—adding a dowel or brace improves long-term stability.
A practical “alignment habit” from my own work: after clamping, I re-check the leg angle visually from two sides. Chairs don’t fail only in one plane—especially under seated twisting loads—so alignment checks should be multi-angle, not single-angle.
Prevent Damage During Repair and Reassembly
Most chair repairs fail for preventable reasons: over-tightening, misalignment while curing, and using the chair before adhesive and filler fully set. If you slow down at these points, you dramatically increase repair durability.
Over-tightening screws into cracked wood can crush fibers and reduce screw holding power, causing repeat looseness.
Maintaining squareness with clamps and checking alignment before cure prevents “set-in-wobble,” where adhesive locks the wrong geometry.
Key safety and quality controls:
1. Use correct pilot holes
– When re-screwing near cracks, drill pilot holes to avoid splitting.
2. Don’t force misaligned parts
– If components don’t seat, stop and correct: sand mating faces, adjust hole size, or plan a dowel plug repair.
3. Control clamp pressure
– Too little pressure leaves gaps; too much can squeeze out glue and distort alignment.
4. Respect cure time
– Adhesive cures more slowly in cool or humid conditions.
– A reliable rule: don’t load the chair until full cure for the chosen adhesive and reinforcement strategy.
5. Keep work surfaces clean
– Dust, old glue, and finish residues degrade bonding.
To anchor expectations, ASTM D2559 and related adhesive bonding guidance highlight that joint strength is highly sensitive to surface condition and bond-line integrity, which is why cleaning and correct clamping are non-negotiable.
Finishing Touches: Sanding and Matching the Look
Once the chair is structurally secure, finishing turns a functional repair into a repair that blends in. Sand correctly, match the existing finish, and replace protective feet/caps so the chair looks consistent and doesn’t re-wear the repaired areas.
Sanding repaired areas progressively from coarse to fine reduces visible seams and helps the final stain or clear coat blend with surrounding wood.
After structural repair, replacing worn feet and caps prevents uneven floor contact, which helps prevent renewed stress on repaired joints.
A polished, durable finishing workflow:
1. Sand in stages
– Start coarse (e.g., 80–120 grit) to level repaired areas,
– Move to 180 grit and finish with 220 grit for smooth acceptance of stain/clear coat.
2. Test stain on scrap
– Match color by sampling on an inconspicuous area or scrap wood if you have it.
– Apply stain in thin coats—chair finishes often darken quickly.
3. Touch up clear coat
– Seal with a compatible topcoat (polyurethane, lacquer, or varnish depending on original).
– Avoid trapping incompatible products (e.g., some finishes don’t bite well over others).
4. Reinstall pads/feet
– Replace missing or worn caps.
– Ensure all legs contact the floor evenly so the chair doesn’t rock again.
In my experience, the “last step” is where people accidentally undo progress—by skipping feet replacement or over-sanding into repaired wood fibers. If you take your time here, you’ll preserve both appearance and performance.
You can repair dining chair legs by starting with a quick damage assessment, using the correct adhesive and reinforcement method for the specific failure type, and keeping alignment stable until cure. Follow the step-by-step processes for tightening loose joints, repairing cracks, reattaching detached legs, rebuilding broken connectors, and preventing re-damage during reassembly. When you finish by sanding, matching the look, and restoring proper floor contact with new feet or caps, your chair becomes safe, sturdy, and ready for everyday meals again.
Frequently Asked Questions
How do I fix a loose dining chair leg without replacing the whole chair?
Start by checking whether the leg is held by screws, dowels, or a mortise-and-tenon joint. Tighten any screws first, then remove the leg and inspect the holes for wear or stripped wood. Use wood glue plus clamps to reattach the leg, and if the holes are damaged, fill them with toothpicks/dowel pieces and glue before reassembly to make the dining chair legs secure again.
What’s the best way to repair a cracked dining chair leg?
For small cracks, clean the area and apply quality wood glue along the crack line, then clamp firmly until fully cured. If the leg is badly cracked or split, reinforce it using wood splines or a metal corner brace to prevent wobbling. Make sure the repaired dining chair leg is level while the adhesive dries to avoid misalignment that can cause future breaks.
How can I repair a dining chair leg that wobbles on the floor?
Wobble usually comes from uneven leg lengths, worn joints, or damaged foot pads. Inspect all attachment points and re-glue or re-tighten as needed, and replace any missing or flattened glides. If the leg itself is uneven, you can carefully sand the high spot or add a shim under the foot pad so the dining chair legs sit evenly and feel stable.
Which adhesive should I use to repair broken wooden dining chair legs?
Wood glue is typically the best choice for most wooden dining chair legs because it creates a strong bond with good penetration. For a structural repair on high-stress joints, consider a stronger aliphatic resin wood glue; for very small repairs, thin glue can wick into hairline cracks. Avoid generic super glue for major load-bearing repairs unless you’re only filling tiny gaps, since long-term strength and gap-filling can be weaker.
Why do dining chair legs keep breaking, and how can I prevent it after repairs?
Dining chair legs often fail due to loose joints, low-quality fasteners, moisture damage, or repeated overloading when people stand on the chair. After repairing, tighten hardware, ensure proper alignment, and use clamps during glue curing to eliminate gaps and stress points. Add or replace chair glides, keep the furniture dry, and avoid moving the chair by pulling on the legs to reduce strain and extend the life of your repaired dining chair legs.
📅 Last Updated: August 02, 2026 | Topic: How to Repair Dining Chair Legs | Content verified for accuracy and freshness.
References
- Wood glue
https://en.wikipedia.org/wiki/Wood_glue - Butt joint
https://en.wikipedia.org/wiki/Dowel_joint - Mortise and tenon
https://en.wikipedia.org/wiki/Mortise_and_tenon - Biscuit joiner
https://en.wikipedia.org/wiki/Biscuit_joint - Wood putty
https://en.wikipedia.org/wiki/Wood_filler - Epoxy
https://en.wikipedia.org/wiki/Epoxy - https://en.wikipedia.org/wiki/Wood_joint
https://en.wikipedia.org/wiki/Wood_joint - Chair
https://en.wikipedia.org/wiki/Chair - Google Scholar Google Scholar
https://scholar.google.com/scholar?q=repair+chair+legs+wood+glue - Google Scholar Google Scholar
https://scholar.google.com/scholar?q=wood+furniture+repair+dowel+joint+biscuit+joint
