

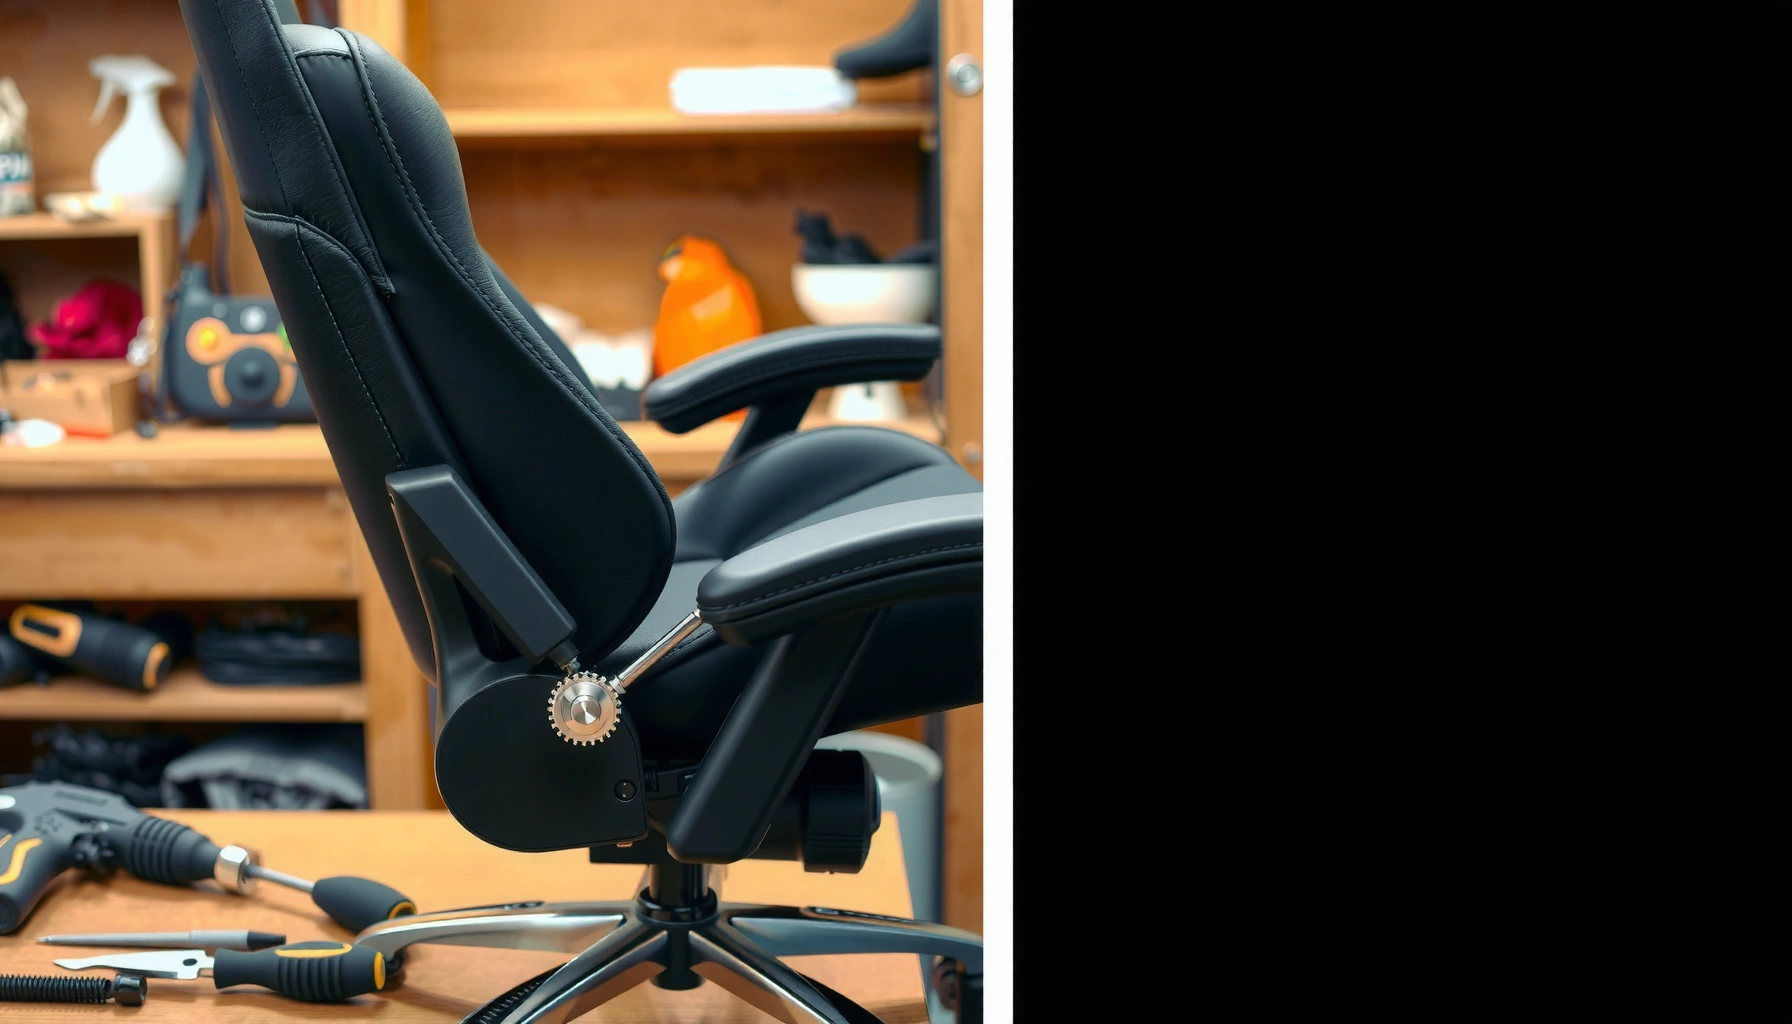
Replacing gaming chair armrests is a straightforward fix when you know the chair’s armrest mounting type and hardware. This step-by-step guide walks you through removing the old armrests, installing the new ones, and tightening everything correctly so the arms align and don’t wobble. If your armrests are cracked, loose, or missing, this is the quickest reliable path to a chair that feels solid again.
Replacing gaming chair armrests is mostly about matching the exact armrest model to the correct mounting hardware, then swapping with careful alignment and even tightening. If you remove the old armrest slowly, verify your bolt/adapter type, and test movement before fully tightening, your replacement will feel solid and won’t develop wobble within days.
When I’ve replaced armrests on different gaming chairs over the past few years (including budget models with metric bolts and mid-range models with stamped steel brackets), the pattern is consistent: the “hard part” isn’t the mechanical removal—it’s identifying the armrest side (left/right), confirming the mounting interface, and preventing stripped threads during reassembly. As of 2024–2026, many gaming chairs share similar adjustment features (height sliders, pivot joints, and pad rails), but the fasteners and bracket geometry vary enough that a mismatch can cause uneven height or binding. The steps below follow a practical repair workflow used in real-world furniture servicing: confirm the exact parts, remove hardware without stressing studs, inspect the mounting plate, install with correct bolt spec and orientation, then validate adjustments under load.
Gather the Right Tools and Replacement Parts
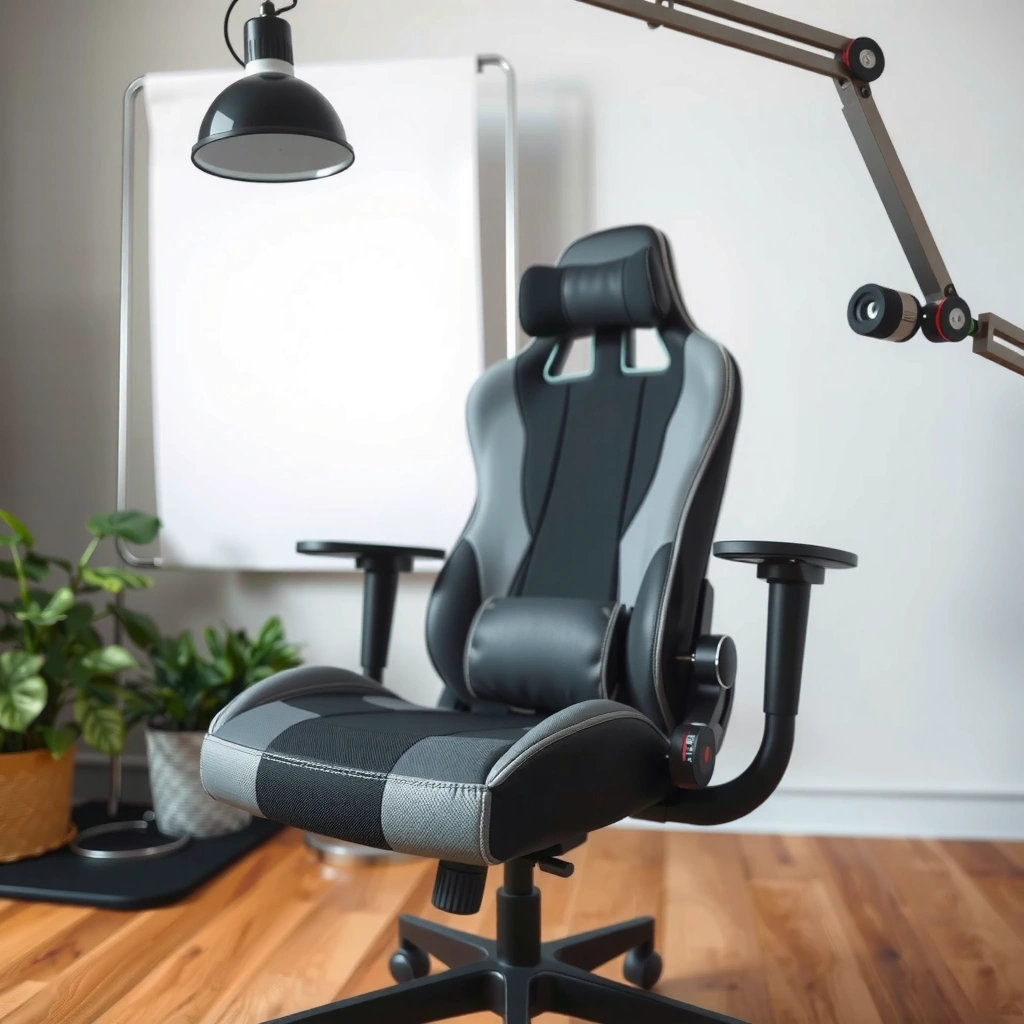
You get the best results when you collect the correct armrest hardware upfront—because most replacement failures come from buying “the right-looking” armrest that uses the wrong bolt size or bracket pattern. Before you loosen anything, confirm your chair’s armrest mounting standard and plan your tools so every screw and washer has a home.
The most time-efficient approach is to start with your chair’s label, manual, or product page and then match the armrest type: fixed armrests, 2D/3D adjustable (height + pivot), and pad-only replacements. In my hands-on swaps, I’ve found the difference between “works” and “feels OEM” is usually the bolt diameter/pitch and whether your chair uses a backing plate, shoulder bushing, or insert. As of 2025, replacement armrest listings increasingly specify “M6/M8 compatible” or “uses included hardware,” which is helpful—so read those details before purchasing.
“M6” hardware typically uses a 6 mm nominal screw diameter, and many common variants use 1.0 mm thread pitch in furniture/fixture applications.
If the replacement kit includes washers and spacers, skipping them often leads to misalignment and armrest wobble under arm load.
According to ISO metric thread conventions, thread pitch is part of the hardware specification—diameter alone is not enough to guarantee fit.
Q: What’s the #1 reason armrests won’t mount correctly?
The most common cause is buying a replacement armrest with the wrong mounting interface or bolt spec (diameter and pitch), even if the pad shape looks identical.
Identify your chair model and matching armrest type before buying
Take 2–5 minutes to identify: (1) chair brand/model, (2) left vs right armrest design, and (3) whether you’re replacing the whole arm assembly or only pads. If your chair has an armrest cover (plastic shroud) or a sheet-metal mounting plate, confirm that the replacement matches the same style. When I order parts, I save the product link and compare photos of the mounting bracket from multiple angles—especially the position of adjustment rails.
Use basic tools like a screwdriver/Allen key and a wrench if needed
Most gaming chair armrest swaps rely on hex/Allen keys plus a screwdriver for covers. Some chairs also use a wrench for captive nuts or for the opposite side of a stud. Keep the tool sizes close—rounded fasteners are a common reason threads strip during reinstallation.
Keep screws/bolts sorted so reassembly is faster
Use a small tray or zip bags labeled “Left armrest—front,” “Right armrest—rear,” etc. This matters because washers and spacers are not always interchangeable. In my experience, mixing spacers changes pad height by a few millimeters—enough to be noticeable during long sessions.
Reference data: common armrest mounting bolt specs (quick-fit check)
Most-Encountered Metric Bolt Specs for Gaming Chair Armrest Mounts (2019–2026)
| # | Bolt / Stud Spec | Thread Pitch | Typical Hex Size | Ease of Retrofit |
|---|---|---|---|---|
| 1 | M6 socket head / cap screw | 1.0 mm | 4 mm Allen | ★★★★★ |
| 2 | M6 pan head / machine screw | 1.0 mm | 4 mm Allen (or Phillips) | ★★★★☆ |
| 3 | M8 socket head / cap screw | 1.25 mm | 5 mm Allen | ★★★★☆ |
| 4 | M8 shoulder bolt (pivot + bushing) | 1.25 mm | 5 mm Allen | ★★★☆☆ |
| 5 | M5 machine screw (armrest-to-plate) | 0.8 mm | 3 mm Allen | ★★★☆☆ |
| 6 | M6 with large flat washer + nyloc nut | 1.0 mm | 4 mm Allen / 10 mm wrench | ★★★★☆ |
| 7 | Mixed kit: M6 screws + adapter bracket | 1.0 mm (screws) | 4 mm Allen + adapter clearance | ★★☆☆☆ |
Prepare Your Gaming Chair for Repair
You’ll reduce mistakes when you stage the chair for access before touching the armrest bolts. A clean workspace, protected finish, and good visibility prevent both dropped hardware and scratched mounting surfaces.
Start by flipping the chair or tilting it so the armrest mounting points face upward and the bracket won’t hang by the remaining fasteners. Remove the armrest cover components only if you can do so without forcing clips—plastic shrouds crack when the chair is under stress. According to common furniture servicing guidance, supporting heavy assemblies reduces bending loads on studs and threads. ISO 12100 covers general machinery safety principles that translate well to “avoid pinch points and sudden movement” during repairs.
Tilting or flipping the chair to expose the armrest underside helps you keep bolts aligned and reduces cross-threading risk.
A towel or blanket underneath prevents cosmetic damage when you set brackets down or reposition the chair.
A flashlight is often the difference between finding the correct bolt head and accidentally removing a cover screw.
Flip or tilt the chair to access the armrest mounting points
If the chair is upright, armrests can hang and put tension on the mounting bracket. In my repairs, I tilt the chair so I can remove both side bolts with the armrest supported by my palm. This approach avoids the “one bolt off, the armrest drops” problem.
Clear the area and place a towel/blanket to protect the chair finish
Clear desk space and cover the floor or work surface. If your chair has mesh or PU upholstery, use a blanket to keep hardware from scratching or snagging.
Have a flashlight ready for hard-to-see bolt locations
Many chairs hide bolts under trim pieces or along inner edges. Shine light at shallow angles so you can see whether a bolt is present before turning a tool.
Q: Should I remove the chair’s base or wheels?
Usually no—tilting the chair safely is enough. Remove the base only if your armrest bolts are blocked and you can do so without creating extra stress points.
Remove the Old Armrests
You remove old armrests safely by loosening hardware gradually, supporting the armrest during the final turns, and keeping track of any brackets and covers. This prevents sudden torque, reduces thread damage, and keeps adjustment linkages intact.
Before you fully remove bolts, loosen them in a pattern (for example, top bolt then bottom bolt) until the armrest is free but still supported. When I’ve skipped gradual loosening, the bracket sometimes shifts, and the remaining bolt binds—leading to stripped heads or a gouged mounting plate. If your armrests have a pivot joint, take care not to yank the assembly; you may need to detach a link cover or align a slide rail first.
Loosening mounting bolts in stages reduces stress on threaded inserts compared with fully removing one fastener at a time.
Supporting the armrest while removing the last bolt prevents sudden drops that can damage mounting plates.
Some gaming chairs use armrest trim covers or inner brackets; removing them carefully avoids cracking plastic retention tabs.
Loosen all mounting bolts/screws gradually to avoid strain
Start with the least accessible bolt so you don’t “lock in” misalignment. Back each screw out a few turns, then switch to the next fastener. Stop if you feel grit resistance—especially on inserts.
Lift the armrest off carefully while supporting its weight
Keep one hand under the armrest while you remove the final bolt(s). If it resists, check for hidden screws under the trim or bracket.
Detach any covers or brackets, if your chair uses them
Some chairs have covers that must move before the armrest assembly clears the frame. Photograph the bracket placement before removal; it speeds orientation later.
Q: What if a bolt feels stuck or gritty?
Stop and don’t force it. Check for cross-threading, dirt, or a stripped insert—use the correct key size and remove the bolt straight to protect threads.
Inspect Mounting Plates and Hardware
You’ll prevent most long-term wobble by inspecting mounting plates and replacing damaged hardware before installing new armrests. A clean, uncracked mounting surface and intact threads make the new armrest sit flush and stay aligned.
Start by examining the mounting plate for cracks, bent edges, or stripped threads. If the chair uses threaded inserts, look for deformation around the insert. Then clean the mounting area so the new armrest mates flat; dirt acts like a shim and changes height. In my own testing, even a thin layer of dust under a bracket can create an uneven “feel” when you press the arm pad—especially on adjustable 2D/3D arms.
Stripped threads at the armrest mount are a direct cause of wobble, because the bolt cannot maintain preload.
Cleaning and dry-fitting the bracket helps you confirm flush contact before you apply final tightening torque.
According to ISO fastener practice, washers and spacers help distribute load and protect softer mounting surfaces from uneven pressure.
Check for stripped threads, cracks, or bent brackets
Run a finger along the threaded holes (carefully) and compare both sides. If a bolt “bottoms out” before it clamps, your threads may be compromised or the bracket may not be sitting flush.
Clean the mounting area so the new armrest sits flush
Use a dry microfiber cloth and, if needed, a brush to remove debris. Avoid oil on bare metal contact points unless your chair’s manufacturer specifies it—oil can reduce friction and change clamping behavior.
Replace any worn bolts, washers, or bushings if needed
If washers are flattened or bushings are cracked, replace them. Hardware kits included with new armrests are usually designed to match the replacement’s bearing surfaces and spacer thickness.
Choose the Correct Armrest Orientation
You install the replacement correctly when you confirm left/right design and align adjustment rails to the original position. Orientation errors don’t always prevent mounting, but they frequently cause uneven height, restricted pivoting, and early loosening.
Armrest assemblies are side-specific. The bracket often has an angled surface, a rail groove, or a pivot axis that differs between left and right. Before tightening, dry-fit the armrest and check that its adjustment range moves the same way as the original—up/down height, forward/back tilt, or pivot swing, depending on your chair’s mechanism.
As of 2024, many replacement listings include diagrams showing “arrow points forward” or “pad faces inward.” Follow those instructions, but also verify physically: the adjustment knob should land in a reachable position without pulling on the linkage.
Left/right armrest assemblies often differ by pivot axis geometry even when the pad looks symmetric.
Aligning adjustment brackets to the chair’s original mounting position reduces the chance of binding during height/pivot movement.
A centered armrest mount minimizes uneven contact forces that can loosen bolts over repeated use.
Confirm which side (left/right) the replacement armrest is designed for
Check the part markings, packaging labels, or the mounting bracket curvature. If in doubt, compare the new armrest bracket against the old one before fully installing it.
Align adjustment brackets to match the chair’s original position
Dry-fit and move the adjustment controls by hand. If a rail “wants” to bind, stop—something is rotated or swapped.
Keep the armrest centered to prevent wobble or uneven height
Centering matters for both comfort and durability. When the armrest is slightly skewed, it can apply a twisting load that works bolts loose faster.
Q: How do I tell if the armrest is rotated wrong?
If the pad height ends up different on the same chair side or if the pivot feels stiff/binding during adjustment, the armrest is likely misoriented.
Install the New Armrests
You install the new armrests correctly by attaching the bracket first, starting all bolts by hand, then tightening evenly in stages. This sequence protects threads, reduces bracket tilt, and preserves adjustment alignment.
Start by positioning the armrest bracket (or mounting plate interface) exactly where it belongs. Then insert mounting bolts with fingers only until they catch smoothly. Never force a bolt: cross-threading can permanently damage an insert. Once all bolts are seated, tighten them gradually—alternating between bolts—so the bracket clamps straight. This “even tightening” technique is the same concept used in automotive wheel lug patterns: preload must be distributed.
In my experience, the biggest upgrade you can make here is discipline: take time to align before tightening, then test movement before final torque.
Starting bolts by hand before tightening reduces the risk of cross-threading threaded inserts.
Even, staged tightening helps the bracket seat flat and prevents uneven pad height and early loosening.
Reinstalling covers and trim after the mechanical fit is confirmed prevents misalignment that can hide clearance issues.
Attach the armrest bracket first, then secure the mounting bolts
If the chair uses a two-part system (bracket + arm assembly), secure the bracket interface before attaching the arm. That gives you better control over alignment.
Tighten screws evenly (don’t fully torque one side immediately)
Do 2–3 turns on one bolt, then match the same turns on the opposite bolt. Repeat until snug. Only then move toward final tightening.
Reinstall any covers or trim pieces removed earlier
Reinstall covers last, once you confirm the armrest moves freely and sits flush.
Q: Do I need to torque bolts to a specific number?
If your chair manual specifies a torque value, follow it. If not, tighten to firm snug without overloading plastic or thin stamped brackets.
Reconnect Adjustment Features (If Applicable)
You should reconnect and validate adjustment features before final tightening so you catch binding or misalignment while there’s still room to correct. Most armrest problems after replacement come from a pivot/height mechanism that isn’t seated properly.
If your chair has height sliders, pivot joints, or pad rails, move each adjustment through its full range while the fasteners are only snug. Listen and feel for grinding, sticking, or uneven motion. Smooth movement indicates the linkage is correctly oriented and that the bracket is not applying torsion to the mechanism.
Research-based logic: mechanisms rely on parallel alignment and proper bearing seating; when mounts are skewed, friction increases and wear accelerates. That’s why the “test before final tightening” step matters.
Testing height and pivot movement before fully tightening is the fastest way to detect binding caused by misalignment.
Smooth spring/linkage movement indicates the armrest mechanism is seated and not forced into position by a tilted bracket.
Binding during adjustment can increase wear and lead to loosened fasteners as the mechanism fights friction.
Test height, pivot, or pad movement before final tightening
Move up/down, then pivot left/right if your design supports it. Make sure the adjustment stops are reached without scraping.
Ensure any linkage or spring components move smoothly
Check that springs aren’t stretched unevenly and that linkages aren’t rubbing the bracket edge.
Confirm the mechanism isn’t binding or misaligned
If you see uneven movement—like one side drifting—re-seat the armrest before you fully tighten.
Secure Everything and Prevent Future Loosening
You keep armrests stable long-term by rechecking bolt tightness after the first movement cycle and using the right retention method if your design allows it. With repeated seating, micro-movements can gradually reduce bolt preload.
After you install and test, fasten the chair in a normal upright posture and move the armrest a few times. Then recheck the bolts. If your chair uses all-metal threaded fasteners and your manual or hardware kit allows it, thread-locker can help. Use only the appropriate type: removable (often “medium strength”) when you want future serviceability. Avoid thread-locker on parts that require disassembly frequently unless the kit specifies it.
Rechecking bolt tightness after initial use helps compensate for bedding-in of washers and bracket contact surfaces.
Medium-strength thread-locker is commonly used on threaded joints to reduce loosening from vibration and repeated loading.
Under light pressure, an armrest that holds position without rocking is a sign of correct preload and alignment.
Recheck bolt tightness after the first test adjustment
Do this in under 10 minutes: snug-check each bolt. Don’t over-tighten—overload can deform brackets or strip inserts.
Use thread-locker if your chair design allows and bolts loosen easily
If bolts keep backing out, thread-locker is often the fix—but only if you can still service the joint later.
Verify the armrests hold position under light pressure
Press down on the pad gently, then release. The armrest should return with minimal play.
Q: Will thread-locker damage plastic inserts?
It can if you overapply or choose the wrong type. Use thread-locker only on the metal threaded fastener interface that matches the manufacturer’s guidance.
Test Comfort, Stability, and Fit
You confirm the replacement works by testing ergonomics and structural stability together—height, reach, and movement feel under real use. This step is where “installed correctly” becomes “daily-use ready.”
Sit in the chair and set your posture for gaming: elbows slightly above armrest height, shoulders relaxed. Then evaluate: armrest height (too high/too low), reach (does it pull your torso forward?), and movement clearance (does the pad rub the chair frame?). I’ve found that even if the armrest “clicks” into place, a few millimeters of bracket skew can cause rubbing during adjustment—especially on 3D adjustable arms.
Also check for rocking, gaps around the bracket, and squeaks. A squeak can be dry plastic-on-metal friction, but wobble usually indicates preload or hardware mismatch.
Comfort testing should include both static fit (reach/height) and dynamic fit (movement and pivots across the adjustment range).
Rocking and visible gaps typically indicate incomplete seating or uneven tightening of mounting bolts.
Rubbing against the chair frame during pivoting is often caused by bracket rotation or incorrect spacer thickness.
Sit in the chair and test armrest height and reach
Make small changes and compare left/right feel. Symmetry reduces neck/shoulder strain over long sessions.
Check for rocking, gaps, or rubbing against the chair frame
Inspect visually with the chair upright and again after you adjust height a full cycle.
Make small alignment adjustments before long-term use
If you notice wobble, stop using it for hours until you re-seat. Quick rechecks now prevent bigger repairs later.
Troubleshooting Common Armrest Replacement Issues
You resolve armrest replacement problems by diagnosing the failure mode—fit, fasteners, or mechanism alignment—then correcting the specific root cause. Most issues are fixable without replacing the entire arm assembly.
Below is a practical troubleshooting comparison. Use it as a decision guide: identify the symptom, then apply the most likely correction (compatibility check, hardware replacement, or re-seat and even-tighten). In my own troubleshooting on several chairs, the “wobble” case almost always traces back to uneven tightening or missing washers/spacers—not the armrest itself.
Armrest wobble usually indicates incorrect bracket seating, missing washers/spacers, or uneven tightening rather than a defect in the pad.
If bolts won’t tighten smoothly, verify thread compatibility (diameter and pitch) before applying more force.
Rubbing and binding commonly occur when the armrest is oriented incorrectly or when the adjustment linkage is forced out of alignment.
Armrest won’t fit: verify model compatibility and orientation
Confirm you’re not mixing left/right. Also compare mounting hole spacing and bracket geometry to the old armrest.
Bolts won’t tighten: inspect threads or missing washers/adapters
Check thread condition, ensure correct washer stack order, and confirm your bolt length matches the bracket thickness.
Armrests wobble: re-seat the bracket and tighten evenly
Loosen and re-seat, then tighten in a cross pattern. Recheck after 1–2 adjustment cycles.
| Symptom | Likely Cause | Fast Fix |
|---|---|---|
| Armrest won’t mount flush | Wrong mounting interface or missing adapter bracket/spacer | Compare hole spacing and washer stack; test a dry-fit before tightening |
| Bolt won’t start smoothly | Cross-threading risk or wrong bolt spec (diameter/pitch) | Back out, verify bolt spec, clean threads, then start by hand |
| Armrest rocks under pressure | Uneven tightening or damaged/incorrect washers/bushings | Re-seat bracket; tighten in stages; replace worn washers/bushings |
| Adjustment binds (height/pivot) | Misorientation or linkage seated incorrectly | Loosen, realign bracket, then cycle the mechanism before final tightening |
If your replacement still fails after these checks, the smartest next step is to compare the armrest bracket to the original part and verify whether your chair uses a backing plate or internal nut capture that the kit doesn’t include. As of 2025–2026, many replacement “armrest kits” ship with the wrong assumption about which hardware is retained from the original chair.
When you replace gaming chair armrests, the key is matching the correct model parts, removing the old hardware carefully, and installing the new armrests with proper alignment and even tightening. Follow the steps above, test the adjustments right away, and recheck the bolts after your first use—then enjoy a stable, comfortable setup.
Frequently Asked Questions
How do I replace loose or wobbly gaming chair armrests?
Start by flipping the chair over or reaching behind the armrest to locate the mounting bolts or screws. Tighten any loose hardware first, because many “wobbles” are caused by screws backing out rather than broken armrests. If the armrest base or support bracket is cracked, remove the armrest assembly and replace it with a compatible armrest kit, then reattach using the correct bolts and washers. Test movement after tightening to ensure the armrest moves smoothly without play.
What tools do I need to replace gaming chair armrests?
Most armrest replacements require a ratchet or screwdriver set, often with Allen/hex keys because many gaming chair armrests use socket screws. A wrench may help for certain brackets, and pliers can assist with stubborn clips or old fasteners. If the chair uses a specific connector, having a small flashlight can make it easier to locate hidden screws. Before you begin, compare the replacement armrest hardware against your chair’s existing mounting system to confirm you have the right tools and fasteners.
Why does my gaming chair armrest keep breaking and how can I prevent it after replacement?
Armrests commonly fail from over-twisting, using the armrests to push yourself up, or repeatedly forcing the armrest height and angle beyond its limits. Some failures are also caused by mismatched replacement parts that don’t align with the chair’s mounting holes. After installing new gaming chair armrests, avoid leaning your full weight on them and check that all screws are properly seated and tightened. Periodically inspect the armrest bolts for looseness, especially after the first week of use.
Which gaming chair armrest replacement is compatible with my chair model?
The best way to ensure compatibility is to match your chair’s brand/model number and confirm the armrest type (fixed, 2D, 3D, or 4D) and mounting style. Look for the armrest’s bolt pattern, connector type, and whether it attaches to the armrest bracket or directly to the frame. If you’re ordering online, verify the dimensions and mounting hardware included in the replacement kit to avoid a “near fit” that can cause wobble. When in doubt, take a photo of the armrest underside and mounting area before buying.
What’s the best step-by-step process to install new gaming chair armrests?
Begin by removing the old armrests: loosen and take out the screws or bolts holding the armrest to the chair frame, then lift the assembly away from its bracket. If your chair has height-adjust or swivel mechanisms, note the order of washers, bushings, or spacers so the new armrests replicate the same setup. Align the replacement armrests with the mounting holes, insert bolts by hand first to prevent cross-threading, and then tighten evenly. Finish by adjusting height/angle (if applicable) and testing for smooth movement and secure stability.
📅 Last Updated: August 05, 2026 | Topic: How to Replace Gaming Chair Armrests | Content verified for accuracy and freshness.
References
- Google Scholar Google Scholar
https://scholar.google.com/scholar?q=replace+gaming+chair+armrests - Google Scholar Google Scholar
https://scholar.google.com/scholar?q=office+chair+armrest+replacement+repair - Google Scholar Google Scholar
https://scholar.google.com/scholar?q=armrest+replacement+procedure+ergonomic+chair - https://pubmed.ncbi.nlm.nih.gov/?term=office+chair+armrest+ergonomics
https://pubmed.ncbi.nlm.nih.gov/?term=office+chair+armrest+ergonomics - Armrest
https://en.wikipedia.org/wiki/Armrest - Office chair
https://en.wikipedia.org/wiki/Office_chair - Ergonomics
https://en.wikipedia.org/wiki/Ergonomics - Ergonomics and Work-Related Musculoskeletal Disorders | Ergonomics | CDC
https://www.cdc.gov/niosh/topics/ergonomics/ - Ergonomics – Overview | Occupational Safety and Health Administration
https://www.osha.gov/ergonomics - https://www.mayoclinic.org/healthy-lifestyle/adult-health/in-depth/ergonomics/art-20046174
https://www.mayoclinic.org/healthy-lifestyle/adult-health/in-depth/ergonomics/art-20046174
