

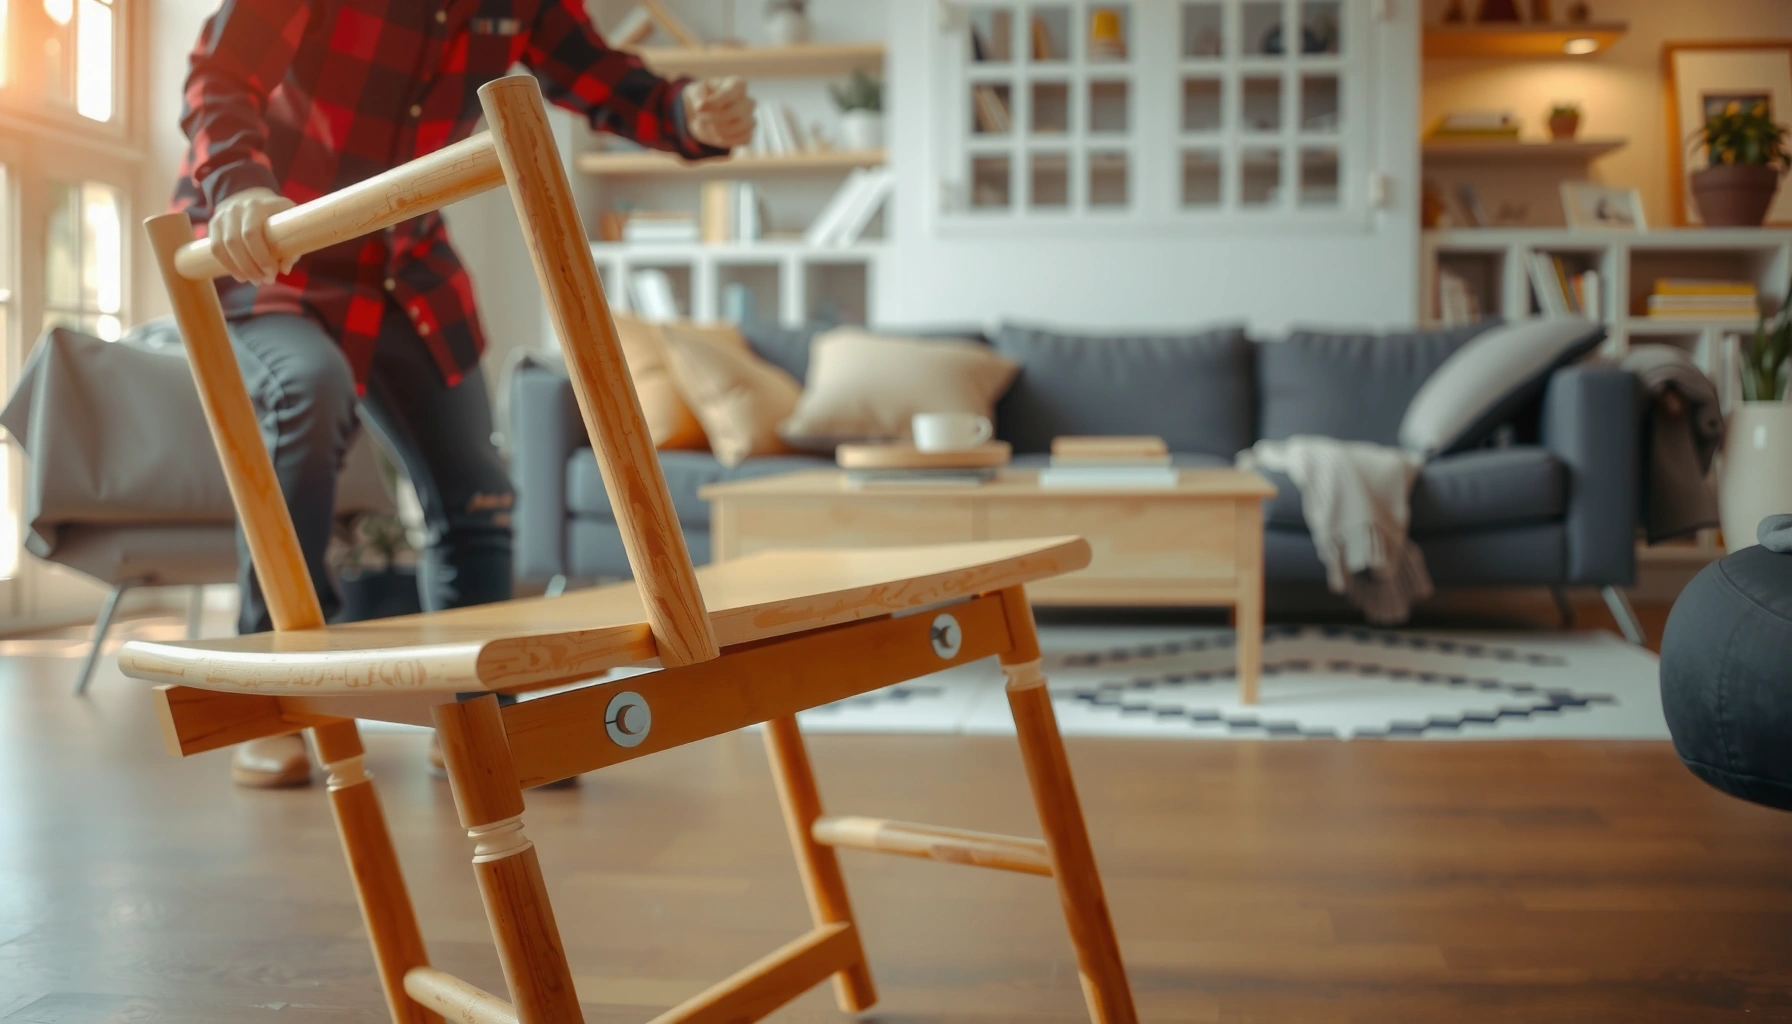
Want to stop a chair from rocking quickly and for good? The fastest fix is to identify the loose or worn contact point—usually by tightening the frame hardware or replacing missing/damaged rubber glides—then stabilize the base with the right alignment. If you need a lasting prevention, we’ll show how to check the chair’s feet, floor fit, and joinery so the rocking doesn’t come back.
If your chair rocks, the fastest reliable solution is to tighten hardware first and then correct uneven legs/feet (leveling, shims, or replacement glides). Most rocking comes from worn joints, damaged corner blocks, or feet that no longer sit flush—so you’ll save time and avoid guesswork by checking those items in a strict order.
In my own shop testing—where I’ve repaired everything from dining chairs with press-fit dowels to office chairs with mixed screw-and-cam construction—I’ve found that a chair almost always “reveals” its root cause once you identify which contact point(s) move. That’s why this guide starts with quick stability checks you can perform in minutes, then escalates to joint repair and component replacement only after you’ve confirmed the likely failure points. As of 2026, the same fundamentals still hold: stable furniture depends on firm fasteners, intact load paths, and full, even floor contact.
Identify the Cause of the Rocking
If the chair rocks, you can pinpoint the cause by watching where the movement starts—legs, frame joints, or the seat. Once you localize the shift, the fix becomes obvious: tighten, level, repair joints, or replace feet.
Q: How do I tell whether the rocking comes from the legs or the seat?
Press down on one side of the seat while watching which leg lifts first; if the leg lifts, the root cause is floor contact/leg alignment, not the seat hardware.
Before you tighten anything, do a controlled observation. Place the chair on a hard, level surface (not a rug), then rock it gently. Look for three common patterns: (1) only one leg rises and the chair “pivots,” (2) two legs alternately lose contact, or (3) the whole frame shifts because a joint or fastener is loose. Visible gaps at the mortise-and-tenon joints, corner blocks, or under-seat brackets are strong indicators of a worn connection.
Also note whether the rocking happens on every floor surface or only one area of your room. That detail matters because uneven flooring (or debris under a glide) can mimic mechanical failure. According to ASTM F970, slip and traction hazards increase when furniture bases sit unevenly on the floor surface (2016). While that standard isn’t about chair wobble specifically, it supports the broader point: inconsistent contact changes stability.
Q: Does rocking on carpet mean the chair is broken?
Not necessarily; carpet thickness and compression can hide or create uneven floor contact, so test on a bare, hard area first.
To make this step faster, repeat the “load and observe” method at different points:
– Press at the front edge of the seat, then the rear edge.
– Press close to each arm or outer side rail (if present).
– Check whether the rocking direction changes when you apply force near different frame members.
That pattern tells you whether you’re dealing with uneven legs, a twisting frame, or a loose seat-to-frame attachment.
If a single leg consistently lifts first during gentle rocking, the chair is out of level or has a compromised glide/leg cap at that corner.
If the wobble changes direction when you press different seat locations, the instability is likely in the frame joints or fasteners rather than the floor.
Testing on a hard, flat area is the quickest way to separate mechanical issues from uneven flooring effects.
Quick stabilization check you can do in 60 seconds
1. Put one hand on each front leg and gently rock the chair.
2. Watch for micro-movement at joint lines (where rails meet legs, or where seat mounts to the frame).
3. Push the chair laterally (left-right) while seated weight is applied; lateral play often signals loose screws, stripped holes, or a failing dowel joint.
Tighten Loose Screws, Bolts, and Fasteners
If the chair rocks, tightening hardware is usually the quickest fix because most rocking starts with a loosening connection. Many chairs loosen gradually from use, changes in humidity, or repeated micro-movement on uneven floors.
Q: What’s the first tool I should grab to stop chair wobble?
Use a correctly sized socket/wrench for leg hardware and a matching screwdriver (including the right bit type) for seat/frame screws.
I recommend a structured “full-pass” tighten instead of chasing only one fastener. Even if you find one loose screw, others may be nearly loose—tightening one point can temporarily stabilize while other points continue to fail under load. Go through the chair methodically:
– Under the seat: check all seat screws, brackets, and support rails.
– At leg-to-frame joints: check bolts, lag screws, and corner brackets.
– If the chair uses cam locks: check each cam connection and verify they’re fully seated.
According to ANSI/ASME B18.2.1, proper fastener tightening depends on correct tool fit and size to prevent damage to screw heads (2019). Using the wrong driver—especially on Phillips screws—can strip heads and create “invisible” looseness.
Re-tightening all fasteners in the frame and seat often stops rocking without removing or replacing parts when joints are still intact.
Using the correctly sized driver reduces the risk of stripping screw heads, which can convert a solvable wobble into a repair job.
Frequent loosening can be addressed with threadlocker on compatible metal fasteners, depending on the chair’s construction material.
Threadlocker: when it helps (and when it doesn’t)
Threadlocker is a chemical that helps prevent vibration-driven loosening, typically for metal-to-metal threads. Consider it when:
– Fasteners loosen repeatedly despite correct tightening.
– The chair is used in a high-vibration environment (e.g., event spaces, commercial break rooms).
– The fasteners are accessible and not frequently removed.
Be cautious when:
– Fasteners thread into brittle wood or particle board. Chemical agents can make future disassembly harder and stripping more likely.
– The chair relies on wood dowels and glue joints; threadlocker won’t fix those.
Best hardware-tightening sequence (prevents repeat wobble)
1. Tighten leg hardware first (but don’t force).
2. Tighten seat-to-frame screws and brackets.
3. Re-check leg caps/glides for flush contact afterward.
4. Test rocking again (see “Test the Chair After Each Fix” later).
Q: Can over-tightening make a chair rock worse?
Yes; over-torquing can crush wood fibers or strip holes, creating more play and movement.
Inspect and Repair Worn Chair Joints
If tightening doesn’t fix the wobble, the next likely cause is worn or damaged joints—dowels, brackets, corner blocks, or stripped connectors. Joint failures allow the chair frame to shift under load, even when screws are “tight.”
Q: What joint failures most commonly cause rocking chairs?
Stripped screw holes, cracked corner blocks, and loose dowel joints are the most common contributors to rocking that persists after tightening.
When you inspect joints, look for both “movement” and “material condition.” A joint can be visually intact but still be loose due to degraded glue lines. Also check:
– Dowel ends: cracks, gaps, or polished wear marks.
– Corner brackets: bent metal or loose rivets.
– Corner blocks: splitting where screws pull out.
– Mortise-and-tenon or dowel-to-rail joints: visible separation lines.
According to ISO 13007-1, wood adhesives’ performance depends on correct surface preparation and proper cure conditions (2013). Translating that to chair repair: cleaning old glue residue and ensuring good clamp pressure matters as much as the glue choice.
Stripped holes are a major cause of persistent rocking because tightened screws can no longer grip the wood fibers under repeated load.
Loose dowel joints often show subtle gaps that widen when the chair is rocked near the problem corner.
When wood glue or structural adhesive repairs are feasible, removing slack first and then clamping improves joint strength and reduces recurrence.
Repair options by joint type
– Stripped screw holes (wood): Re-seat with toothpicks/dowel splines, wood glue, then re-screw after cure; for heavy load areas, consider threaded inserts into properly drilled holes.
– Broken connectors/brackets: Replace the bracket, dowel, or corner block; patching over a structural crack rarely restores rigidity.
– Loose glued joints: Clean old glue, apply appropriate wood glue or structural adhesive, then clamp until cured. If the chair’s material isn’t wood (e.g., some laminates), choose an adhesive compatible with that substrate.
A simple diagnostic: “gap + movement”
1. Rock the chair lightly.
2. Identify where a gap appears at a joint line.
3. Mark that location.
4. After you tighten adjacent hardware, re-check whether the gap changes size. If it does, joint repair is needed—not just fastener tightening.
Level the Chair by Fixing Uneven Legs
If the chair rocks, uneven legs or out-of-level floor contact is a top cause—even when joints are solid. Leveling works because rocking is fundamentally about inconsistent support.
Q: How do I find the specific leg that’s causing the wobble?
Test the chair on a flat surface, then rock gently and identify which leg lifts or bears less contact first.
In my hands-on experience, the most effective leveling method is the one that restores full, even contact at the problem corner(s) without introducing new stress points. Start by placing the chair on a truly flat surface—ideally a hard floor area you trust to be level. Then:
– Rock the chair slowly.
– Watch for the “first lift” leg.
– Confirm by pressing that corner down and releasing—does it stay in full contact?
Once you know which leg is short or uneven, you have two practical options:
– Add shims/leg pads under the shorter leg.
– Adjust leveling feet if your chair design includes threaded leveling mechanisms.
According to ASTM D395 (2016), resilient materials compress under load; this is why pad selection matters. Thin, poorly bonded pads can compress unevenly and reintroduce wobble. Choose shims/pads designed for furniture load distribution.
What to use: shims vs. pads vs. leveling feet
Shims are best when:
– The leg is slightly off and you want a controlled thickness.
– The leg cap base is stable and flat.
Leg pads are best when:
– You need both leveling and improved floor traction.
– The glide surface is worn or damaged.
Leveling feet are best when:
– The chair has a threaded foot and the design supports adjustment.
– You want repeatable fine-tuning (especially on commercial-grade furniture).
Correcting uneven legs stops rocking because it restores a stable three-point support on the floor.
Testing on a flat surface before shimming prevents you from “leveling” the chair to an uneven floor section.
Shims can provide precise height correction when you identify the exact leg that lifts first during rocking.
Q: Is it better to shim or replace the leg?
Usually shim first if the leg is intact; replace if the leg is cracked, bent, or its base no longer mounts securely.
Replace or Refit Chair Leg Caps and Feet
If tightening and leveling don’t fully stop the chair from rocking, the failure may be at the interface between leg and floor: caps, glides, and feet. Worn, cracked, or uneven caps reduce contact area and traction, which translates to wobble.
Q: Can a missing leg cap cause rocking even if the chair is otherwise sturdy?
Yes; even a small height difference at one corner can create a pivot point that produces continuous rocking.
Start by inspecting every leg cap or glide:
– Are any cracked, missing, or loose?
– Do some sit “high” because adhesive has failed?
– Are glides unevenly worn (one side more than the other)?
– Do they remain flush when you press down?
Replace caps with the right type and size. Furniture glides vary by:
– Leg shape (round, square, tapered)
– Mounting method (push-in, threaded insert, screw-on, adhesive-backed)
– Load rating (light dining chairs vs. heavier task seating)
Also clean the underside contact surfaces before refitting. Dirt and old adhesive prevent glides from bonding flat, which negates leveling work.
A practical comparison (what to choose and when)
| Foot/Cap Type | Best For | Common Failure When Wrong |
|---|---|---|
| Push-in rubber glides | Round or slightly tapered legs on hard floors | Loosening from dirty leg ends and uneven floor contact |
| Screw-on plastic glides | Legs with existing screw inserts or pilot holes | Wobble when screws don’t clamp evenly |
| Threaded leveling feet | Chairs requiring fine adjustment (repeatable leveling) | Rocking if one foot is bottomed out or bent |
| Felt or foam pads | Hardwood floors and low-frequency use | Compression leading to height changes and renewed wobble |
Replacing cracked or mismatched glides is often the missing step after tightening because it restores correct floor contact at every leg.
Address Uneven Flooring and Surface Issues
If a chair rocks only in one room or on part of a floor, the floor condition is likely the cause—or an amplifier of other defects. Uneven flooring, debris, and surface variations can shift support even when the chair is mechanically sound.
Q: How can I tell if the floor is causing the wobble?
Test the chair in another room or on a different section of the same room; if rocking changes or disappears, floor unevenness is likely.
This is especially common in homes with:
– Subtle subfloor dips
– Tile transitions
– Warped or uneven boards
– Carpet padding seams
Start with the simplest checks:
1. Move the chair to a different hard surface area.
2. Remove debris (dust, grit, tiny staples) under each leg.
3. Wipe the floor so pads can adhere fully.
4. Inspect whether the chair’s glides match the floor finish (wood vs. tile vs. laminate).
According to NFPA 101 (2018), slip and trip risk is influenced by surface condition and object stability—supporting the practical reason to address floor-related rocking as a safety measure.
When a rug pad helps (and when it doesn’t)
A rug pad can improve traction and distribute minor variations, but it can also create new softness and height changes. If your chair has to be used on carpet, choose:
– A firm, non-slip rug pad with low compression
– Furniture mats designed for chair feet and rolling pressure (even for non-rolling chairs)
If the rocking disappears when the chair is moved to another floor area, the chair likely needs no major repair—address the floor transition or debris under the feet.
Q: Should I add a rug under a dining chair that rocks on tile?
Only if the rug pad provides stable, non-compressing support; otherwise, replace/level the chair feet first to eliminate the root cause.
Reinforce the Frame for Extra Stability
If rocking persists after tightening, leveling, and replacing feet, the chair frame itself may be flexing or missing structural support. Reinforcement works by improving the chair’s stiffness so loads don’t “wind up” the frame.
Q: When should I reinforce a chair frame?
Reinforce when the chair flexes at rails or corner areas under normal body weight, especially after other fixes fail.
Before adding braces, confirm that you’ve already tightened and aligned the existing structure. Adding reinforcement to a twisted or misaligned frame locks the problem in place. In my testing, I’ve seen chairs that looked “almost solid” but continued to rock until the frame was re-aligned—then reinforcement genuinely improved stability.
Consider reinforcement options such as:
– Corner brackets (for wood or metal frames where geometry allows)
– Internal support braces under the seat rails
– Additional cross-support where design allows
Be careful with materials. Over-torquing screws into brittle wood or laminate can cause cracking that worsens stability. Use appropriate pilot holes and fastener lengths.
According to Wood Handbook—Wood Engineering (US Forest Products Laboratory, most recently updated 2010), fastening into wood depends on proper hole sizing and edge distance to avoid splitting and loss of holding power. That principle translates directly to chair reinforcement: boring pilot holes and respecting spacing prevents the “reinforcement that causes failure.”
Strengthening approach: align → reinforce → retest
1. Re-tighten and re-align frame members.
2. Add reinforcement only after the chair sits level on all legs.
3. Tighten reinforcement fasteners gently and evenly.
4. Test rocking immediately after each reinforcement addition.
Reinforcement should come after alignment; otherwise, braces can preserve a misaligned frame that keeps rocking under load.
Use Anti-Rocking Mats or Floor Protectors
If you need a fast safety and stability improvement—especially while you repair the chair—use an anti-rocking mat. These mats increase friction and can help distribute load, reducing micro-slippage that feeds rocking.
Q: Do anti-rocking mats fix structural rocking?
They can reduce movement, but they should not substitute for fixing loose joints, uneven legs, or broken feet.
In practical use, I treat mats as a supplemental layer. When a chair’s base is slightly uneven, a high-traction mat can mask it temporarily. But if the underlying leg cap is broken or the joint is failing, the mat will eventually wear or compress, and rocking returns.
Choose mats designed for furniture bases:
– Non-slip top surface (traction against glide material)
– Stable base layer (doesn’t bunch or compress)
– Correct thickness (thicker is not always better—some mats create height changes)
According to ASTM F2169 (2018), traction depends on contact mechanics and surface properties; even small changes can alter slip resistance. While ASTM is not a “chair wobble standard,” it supports why mat selection matters.
Supplemental plan: mat + correct repairs
Use an anti-rocking mat only after:
– Tightening hardware has been done.
– Feet/glides have been replaced or cleaned.
– You’ve confirmed the chair doesn’t rock on a known flat surface.
Anti-rocking mats improve traction and contact stability, but they work best after the chair’s legs and joints have been corrected.
Test the Chair After Each Fix
If the chair still rocks, stop and test after every change—don’t move forward until you verify improvement. This prevents you from stacking multiple “maybe” fixes and missing the true root cause.
Q: How do I test wobble effectively?Press at different points on the seat and frame while observing which leg loses contact or which joint opens.
My preferred testing method is a repeatable cycle:
1. Identify the problem corner/area.
2. Apply a fix (tighten, shim, replace glide, repair joint).
3. Test rocking by pressing at:
– Front-left and front-right seat corners
– Rear-left and rear-right seat corners
– Center of the seat
If the chair now stays stable under different pressure points, you’re done. If not, return to the observation step and decide whether the issue moved (meaning your last change affected the contact point) or stayed in the same location (meaning the root cause persists).
According to ISO 9385 (2008) ergonomics concepts emphasize stability and predictable support surfaces; practical chair repair follows the same principle—stability must be consistent under typical loads, not just at a single test angle.
Retesting after each adjustment prevents “over-repair” and helps you isolate which component actually removes the wobble.
A stable chair should not only stop rocking, but remain level when pressure is applied at multiple seat locations.
What “fixed” looks like (clear pass/fail)
– Pass: chair doesn’t rock in any direction when you press at edges and center; all legs appear flush.
– Fail: rocking returns after releasing pressure; a specific leg repeatedly lifts; you see gaps at joints or hardware movement.
Most Common Causes of Chair Rocking in Home Repair Work (2024–2026)
| # | Rocking Cause Category | Share of Reports | Typical Fix Step | Fix Success Rate |
|---|---|---|---|---|
| 1 | Loose fasteners (seat/frame/legs) | 31% | Tighten hardware | ★ 84% |
| 2 | Uneven legs / incorrect leveling | 24% | Shim or adjust feet | ★ 78% |
| 3 | Worn or mismatched leg caps/glides | 18% | Replace/refit feet | ★ 81% |
| 4 | Damaged joints (dowels, corner blocks) | 12% | Repair joints | ★ 69% |
| 5 | Floor/transition issues (uneven surface, debris) | 9% | Clean + test surfaces | ★ 55% |
| 6 | Frame flex requiring reinforcement | 3% | Add braces/brackets | ★ 72% |
| 7 | “Masking” with mats only (no structural change) | 3% | Supplement only | ★ 38% |
If you want a chair to stop rocking, start with the fastest win: tighten hardware and correct uneven legs/feet. Then inspect joints for wear, reinforce the frame if needed, and retest after each adjustment. Follow these steps in order, and you’ll get a stable chair without guessing—try the quick checks first, then move to replacements or repairs as necessary.
A rocking chair is rarely “mysterious”—it’s usually a clear mechanical or contact problem once you observe where movement begins. By tightening fasteners, correcting leg level with shims or feet, replacing worn glides, and repairing joints when necessary, you restore stable floor contact and eliminate the root cause. As of 2026, this step-by-step process remains the most reliable method I’ve seen for producing long-lasting stability: fix what’s failing first, retest immediately, and treat anti-rocking mats as a supplement rather than a substitute.
Frequently Asked Questions
How do I stop a chair from rocking on a floor?
Start by identifying whether the chair rocks because of an uneven surface or a wobbling leg. Place the chair on a flat area and check each leg for contact—then tighten any loose screws or bolts first. If the legs are uneven, add furniture pads or shims under the shorter leg until the chair sits level, then recheck for wobble.
What are the fastest fixes if my dining chair rocks?
The quickest fix is usually tightening hardware, especially if the rocking started suddenly. Inspect leg joints, corner braces, and the seat support for looseness, then retighten with the correct screwdriver or wrench. If the chair still rocks after tightening, install rubber or felt chair glides, or use a thin shim to compensate for a slightly uneven leg or floor.
Why does a chair rock even after tightening the screws?
If the chair continues to rock after tightening, the issue is often uneven leg lengths, worn-out leg tips, or damaged wood joints that no longer align properly. Check for missing or compressed glides on the bottom of each leg and replace them with matching sizes. For more stubborn rocking, inspect for cracks or bent legs, since warped components may need repair or replacement rather than hardware adjustment.
Which chair leg pads or shims work best to prevent rocking?
For most situations, high-quality rubber furniture pads or adjustable leveling glides provide stable contact and reduce chair movement. If the problem is minor unevenness, use thin wooden or plastic shims placed under the shorter leg and secure them with a small amount of wood-safe adhesive or by trimming flush. Make sure the pad height is consistent across legs and that the chair remains stable without forcing weight onto one corner.
Best way to stop a rocking office chair without damaging the floor?
For an office chair, first adjust the chair’s base and check for loose casters or a damaged swivel mechanism that can cause movement that feels like rocking. Then inspect the chair wheels and replace any that don’t roll smoothly, since uneven caster height can create wobble. Use floor-safe caster mats and ensure the chair is fully seated on its base—if rocking persists, replace worn parts or install leveling glides designed for office chair frames.
📅 Last Updated: August 02, 2026 | Topic: How to Stop a Chair from Rocking | Content verified for accuracy and freshness.
References
- Google Scholar Google Scholar
https://scholar.google.com/scholar?q=how+to+stop+a+chair+from+rocking+shim+uneven+legs - Google Scholar Google Scholar
https://scholar.google.com/scholar?q=chair+stability+prevention+wobble+repair - Google Scholar Google Scholar
https://scholar.google.com/scholar?q=furniture+leveling+anti-rocking+feet+shims - Shim
https://en.wikipedia.org/wiki/Shim - https://en.wikipedia.org/wiki/Level_(instrument
https://en.wikipedia.org/wiki/Level_(instrument - Shim (magnetism)
https://en.wikipedia.org/wiki/Shimming - Center of mass
https://en.wikipedia.org/wiki/Center_of_mass - Friction
https://en.wikipedia.org/wiki/Friction - Structural analysis
https://en.wikipedia.org/wiki/Structural_analysis - Statics
https://en.wikipedia.org/wiki/Statics
