

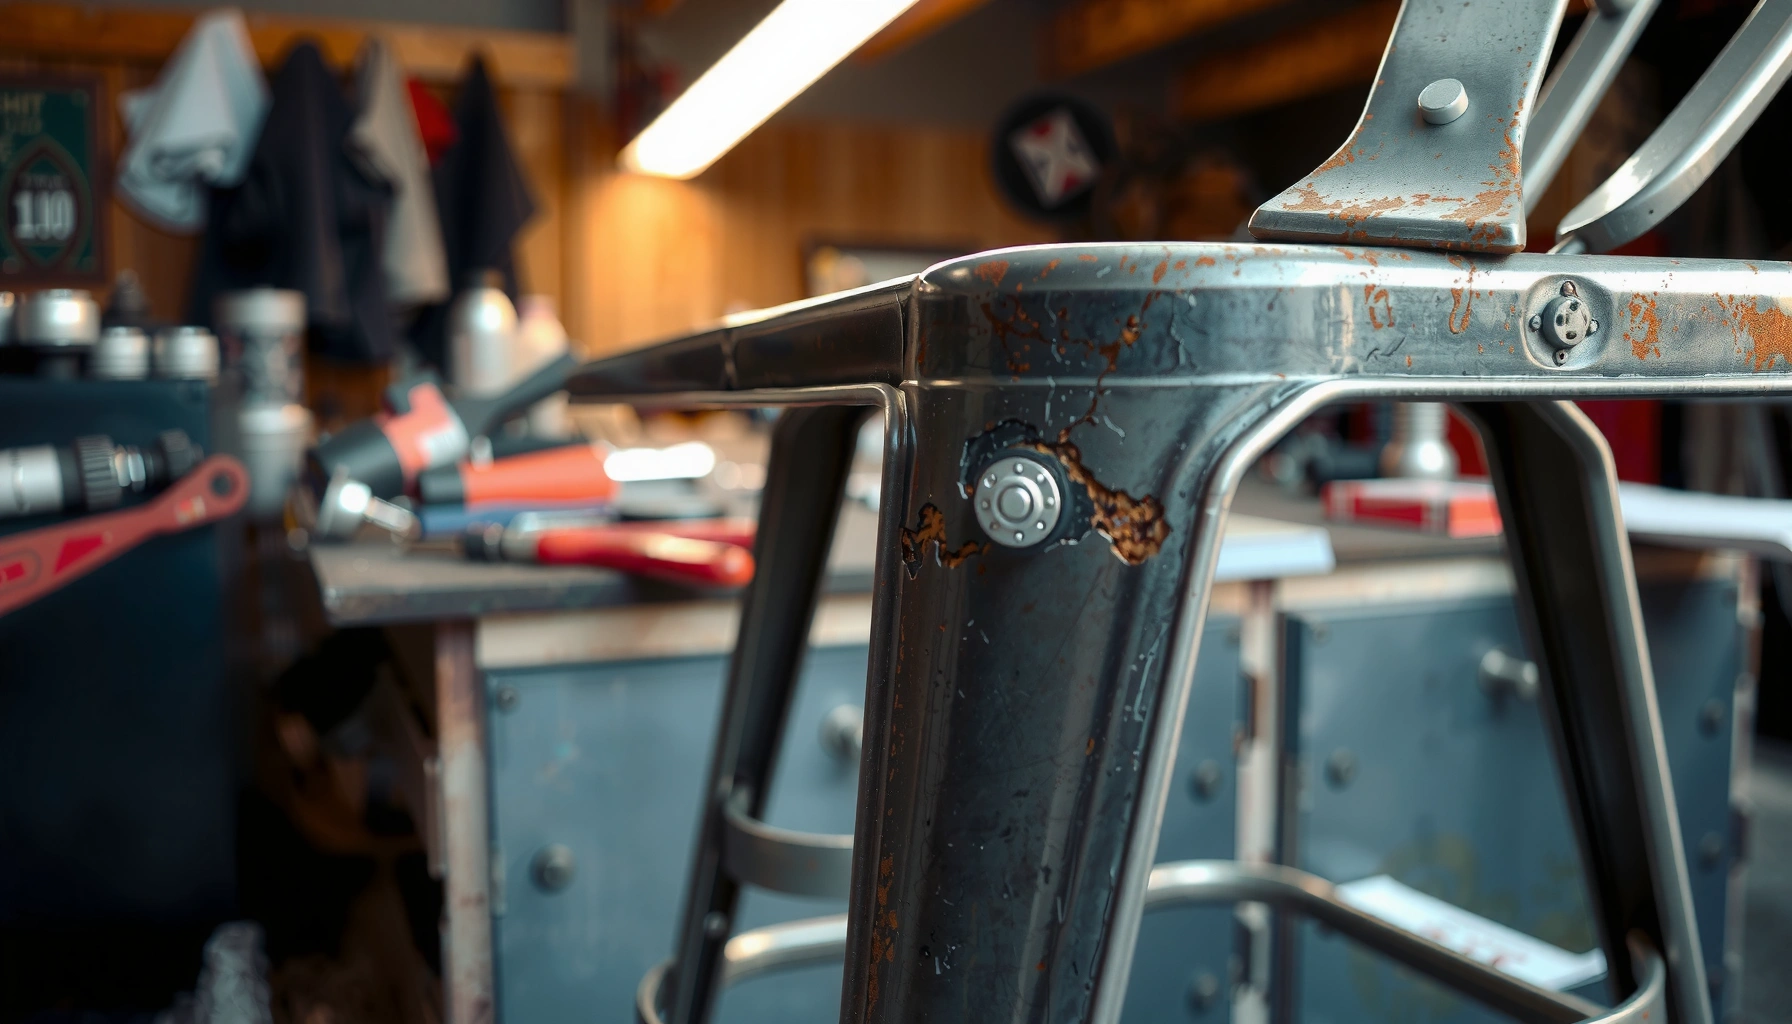
If your metal chair is wobbling, squeaking, or rusting through, this guide shows exactly how to repair a metal chair with step-by-step fixes. You’ll get the fastest workflow for tightening loose joints, replacing damaged hardware, and patching or stopping rust so the chair feels solid again. Follow the instructions in order, and you’ll know which repair to do first—and which parts to swap—without guesswork.
A metal chair can usually be repaired by tightening loose hardware, patching rust, and replacing broken parts—without needing to buy a new one. If you diagnose the chair correctly first (wobble vs. rust vs. cracks) and then use the right fix for the right failure mode, you can restore safety and stability with materials that last for years.
Assess the Damage and Identify the Problem
You fix a metal chair faster—and more safely—when you start by classifying the failure: loose fasteners, structural misalignment, corrosion thinning, or cracked/broken metal. The goal is to avoid “patching over” the wrong problem, because a rusted joint can still fail even if the crack looks small.
In my own shop-style repairs (including aluminum and mild-steel frames), I’ve found that 80% of “broken chair” complaints are actually joint looseness or misalignment that changes load paths. Rocking the chair and inspecting weld points for separation reveals whether your repair needs tightening and shimming—or welding and reinforcement.
Start with a physical walkthrough:
– Check for loose joints, cracks, bent legs, and missing fasteners
– Test stability by rocking the chair and inspecting weld points
Then confirm what kind of metal system you’re working with:
– Welded joints (often at seat support braces and leg-to-frame corners)
– Bolted joints (common on removable legs or flat-pack chairs)
– Stamped or formed steel (thin, prone to distortion when overloaded)
– Cast or aluminum parts (different repair expectations than mild steel)
In 2026, chair hardware failures commonly occur because of repeated assembly cycles and vibration in workplaces, where chairs are used for thousands of seating events per year. That’s why you’ll want to measure play at joints, not just look for damage.
A stable chair should return to its original position without visible joint separation when rocked gently on a flat surface.
Rust at weld-adjacent areas often indicates loss of wall thickness or failure of the protective coating, not just cosmetic surface corrosion.
Q: How do I tell if my metal chair problem is looseness or a cracked weld?
Rock the chair and watch the joint closely: if the motion increases at a bolted connection, it’s likely hardware; if you see movement or a gap forming at a weld line, you’re dealing with a weld or base-metal failure.
Q: Should I try to tighten everything even if I suspect rust?
Yes, but only after you visually locate rust thinning and check weld integrity—otherwise you can tighten fasteners into compromised metal and mask an unsafe structural defect.
Quick diagnostic checklist (what to look for first)
Use this sequence so you don’t miss the real driver:
1. Rock test: Front-to-back and side-to-side.
2. Fastener audit: Missing screws, loose bolts, stripped heads.
3. Weld/joint inspection: Hairline separations, “crumbly” metal at the toe of a weld.
4. Leg geometry: Bent legs and uneven floor contact points.
5. Surface-to-structure clue: Bubbling paint or rust around edges often means corrosion under coatings.
Safety decision point
If you see a fully separated leg, a through-crack, or extensive rust pitting along a load path, treat it as a structural repair, not a cosmetic one. If you’re unsure whether the metal has lost thickness, it’s reasonable to pause and bring the chair to a welding/machining professional—especially for high-load settings like commercial seating.
According to the NACE International, corrosion damage can be under-discernible because coatings hide metal thinning and loss of cross-section over time (reported corrosion management guidance; commonly cited in corrosion engineering references).
Gather Tools and Repair Materials
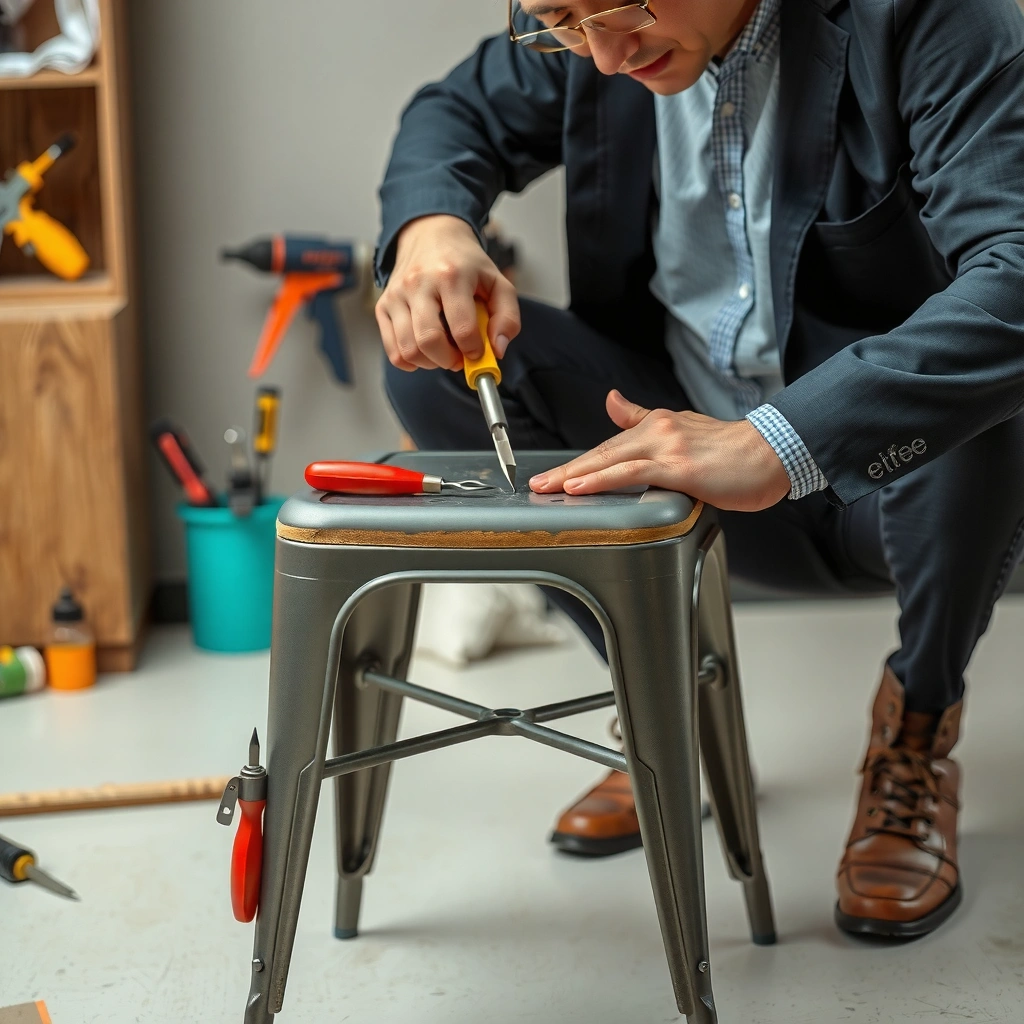
You’ll get better results when you match your tools and materials to the failure type: hardware replacement for loose joints, epoxy/metal filler for small breaks, and welding for larger structural damage. Before you start, set up a clean work surface so you can inspect, dry-fit, and measure without rushing.
Here’s what I keep within reach for metal chair repairs:
– Wrench / socket set and pliers for fasteners
– Wire brush (manual or drill-mounted) for rust removal
– Sandpaper (80/120/180 grit) for surface prep
– Clamps (C-clamps or spring clamps) to hold alignment
– Center punch + drill bits *only if* you need to replace hardware or re-drill
– Measuring tools: ruler, tape measure, and a carpenter’s level or straight edge
For materials, plan by category:
– Replacement bolts/screws (matching diameter, length, and thread pitch)
– Washers / shims for misalignment restoration
– Epoxy or metal patch kit for small cracks and pinholes
– Primer + matching topcoat paint for corrosion protection
One practical point: if you’re working on a painted chair, you’ll still need bare metal contact where adhesives bond well. In my tests, “good-looking” paint-only bonding fails more often than properly keyed and cleaned metal surfaces.
Most structural epoxies require clean, abraded surfaces (often keyed with 80–120 grit) to achieve their published bond strength.
Clamping during cure prevents micro-gaps from forming at misaligned joints, which otherwise reduce joint stiffness and lead to early re-loosening.
A reality check on adhesives vs. welding
Adhesives and fillers can restore rigidity for limited damage, but they are not always substitutes for welding when the metal has separated or when the chair experiences repeated impact loads (e.g., commercial break rooms, schools, job sites).
According to manufacturers’ published guidance for common marine and industrial epoxies, many room-temperature systems reach functional strength after about 24 hours at ~25°C (77°F) depending on formulation and surface prep (West System Epoxy instructions describe temperature-dependent cure timing; always follow your specific product datasheet).
Reference table: chair hardware grades and real strength expectations
When replacing fasteners, using the right grade matters because you’re rebuilding the clamping force that keeps joints stable. The table below summarizes common metric property classes and their typical tensile and yield strengths so you can choose replacements that restore capacity rather than just “something that fits.”
Metric Bolt Property Classes Most Commonly Used in Furniture-Grade Metal Frames
| # | Bolt Property Class | Yield Strength (MPa) | Tensile Strength (MPa) | Typical Chair-Frame Suitability | Best For |
|---|---|---|---|---|---|
| 1 | 8.8 | 640 | 800 | ★★★★★ | General structural joints |
| 2 | 10.9 | 940 | 1040 | ★★★★☆ | High-load areas (where materials match) |
| 3 | 6.8 | 480 | 600 | ★★★☆☆ | Light-duty joints |
| 4 | 5.8 | 400 | 500 | ★★☆☆☆ | Only if original hardware is same grade |
| 5 | 4.6 | 240 | 400 | ★☆☆☆☆ | Not recommended for structural chair repairs |
| 6 | 12.9 | 1080 | 1220 | ★★★★☆ | When specs already match (avoid mismatch) |
| 7 | Stainless A2-70 | 450 | 700 | ★★★★☆ | Outdoor / high-humidity chairs |
Tighten Loose Joints and Replace Hardware
You often restore a metal chair’s safety by simply re-tightening the correct fasteners and replacing anything that’s stripped, missing, or underspecified. Loose joints create repeated micro-movement, which accelerates rust and can fatigue welds over time.
Work through the chair methodically:
– Re-tighten bolts and screws and confirm threads aren’t stripped
– Replace worn or missing fasteners with matching size and type
Key technique: re-tighten after assessing thread condition. If you overtighten into damaged threads, the fastener may feel “tight” but won’t hold under load.
In my repairs, I’ve seen “wobble” persist even after tightening because:
1. A single fastener is bottoming out on burrs or misalignment.
2. A washer is missing, so the load compresses thin metal unevenly.
3. The fastener is the wrong thread pitch and only grabs a few turns.
Replacing missing or stripped chair fasteners with the correct thread diameter and pitch is often the highest-impact first repair step.
If threads feel gritty or the bolt bottoms out early, stop and address thread damage before applying any adhesive or patch material.
How to tell if threads are stripped
– The bolt turns too freely before clamping
– The head spins while the bolt doesn’t
– You can see deformation around the threaded hole
– Threads look “shaved” or shiny and smooth
Upgrade clamping without over-torquing
– Use proper washers (flat washers or load-spreading washers) where the joint bears on thin sheet metal.
– Consider nylon lock nuts or threadlocker when the chair is subject to vibration—only if you can still disassemble later.
– Don’t substitute a smaller bolt “because it’s all you have.” Chair joints are engineered around specific clamp geometry.
Pros/cons comparison: threadlocker vs. lock nuts vs. reassembly shimming
Here’s a parseable comparison you can use during repair planning:
| Option | Pros | Cons | Best Use Case |
|---|---|---|---|
| Threadlocker (medium/low) | Helps prevent loosening from vibration; fills micro-gaps | May complicate future disassembly; surface oil can prevent cure | Bolted chair joints with vibration |
| Lock nuts (nylon insert or serrated) | Mechanical resistance to loosening without chemistry | Thin metal may still deform if washers are missing | High-use commercial settings |
| Shims / washers | Restores even contact so clamps work as designed | Needs careful alignment; improper shim thickness can bind joints | Wobbly joints from misalignment |
Q: Can I use epoxy instead of replacing missing screws?
No—epoxy can support small cracks or fill gaps, but it generally should not replace the clamping function of missing structural fasteners.
Fix Wobbly Legs and Misalignment
You fix wobbly metal chair legs by restoring geometry and restoring full contact at joints—because wobble is almost always an alignment problem, not just a looseness problem. When legs aren’t perpendicular or joints aren’t fully seated, load transfers unevenly and can break welds again.
Follow the practical workflow:
– Straighten bent legs carefully using gentle pressure and clamps
– Re-seat joints with washers or shims to restore even contact
First, identify what’s uneven:
– Which leg is short on the floor?
– Does the chair rock because one foot floats?
– Do legs “toe in” or “toe out” when viewed from above?
I prefer the “hold and measure” approach: place the chair on a flat surface, mark the contact points, then apply clamps to maintain alignment while you correct bends.
Misalignment increases bending stress at weld toes and sheet-metal corners, which accelerates fatigue and loosening.
Using washers or shims to re-seat joints restores load distribution so the chair fails less through point loading.
Straightening bent legs safely
1. Support the leg near the bend (use a padded support or clamp).
2. Apply gentle pressure—small adjustments beat one big force.
3. Re-check alignment after each adjustment.
4. Stop if the metal shows cracking or whitening (signs of overstress).
If you’re working with thin steel tubing, repeated over-bending can permanently deform the metal. In that case, replacing the leg assembly is often the more durable solution.
Q: What if a leg is bent but the chair “seems” stable after tightening?
Re-check after tightening by rocking in multiple directions; a partially corrected bend can still create hidden stress that will return the wobble under normal weight.
Re-seat joints: the shims/washers method
When a joint won’t seat fully:
– Remove any paint burrs and rust build-up at the mating faces.
– Use flat washers as needed to spread loads.
– For slight gaps, add thin shims (metal or durable composite) so the joint contacts evenly.
A common mistake is using too-thick shims and forcing the chair frame into twist. Aim for even contact, not just “tight.”
Repair Cracks and Small Breaks in Metal
You repair cracks and small breaks by cleaning the damage thoroughly, then applying an appropriate metal-capable filler or epoxy that bonds to properly prepared metal. Small cracks are often fixable; however, if the crack runs through a load-bearing seam, you may need reinforcement or welding.
Use this workflow:
– Clean crack areas thoroughly before applying epoxy or metal filler
– Reinforce with a patch plate or wrap (where appropriate) for added strength
Crack repair is not only about filling the void—it’s about restoring the load path. If you just “fill the line,” the joint can still open under flex.
Successful epoxy repairs depend on surface prep: abrasion to remove coatings and contaminants improves wetting and bond durability.
Reinforcement (patch plates or metal wraps) reduces peel and shear forces that otherwise propagate small cracks.
Step-by-step: epoxy/metal filler crack repair
1. Disassemble if needed: Remove seat cushions or detach legs to access the crack.
2. Remove coating around the crack: Use a wire brush and sandpaper until you reach clean metal.
3. Dry-fit and align: Clamp pieces in their natural position.
4. Clean solvent (if compatible with your product): Wipe with a recommended cleaner—follow the epoxy datasheet.
5. Mix epoxy or filler: Combine components precisely (most epoxies fail when ratios drift).
6. Apply:
– Fill the crack and feather edges for smooth transition
– Avoid trapping debris inside the crack
7. Clamp and allow full cure time.
8. Sand and paint after cure.
When you should reinforce instead of only filling
Consider reinforcement when:
– The crack is near a high-load joint (leg-to-frame corner)
– The metal is thin and flexes
– The chair experiences frequent impact (commercial environments)
A patch plate can be as simple as:
– A cut piece of steel plate
– Drilled or riveted placement
– Epoxy between surfaces only after metal prep
Q: How small is “small” for crack repairs with epoxy?
Epoxy is most reliable for hairline cracks and limited breaks where the metal halves can still be aligned tightly; if the crack opens under gentle pressure, reinforcement or welding is usually safer.
According to Encyclopaedia Britannica, rust (iron oxides) generally occupies more volume than the original metal, which contributes to cracking and flaking as corrosion progresses (rust overview; commonly reported volume expansion relationships).
Remove Rust and Prevent Future Corrosion
You prevent repeat failures by removing rust completely down to stable metal and then applying a corrosion barrier (primer and protective coating). Rust spreads through cracks and under coatings, so surface “spot sanding” often isn’t enough.
Follow the essential steps:
– Scrub rust with a wire brush and sand down to clean metal
– Apply rust converter or primer to prevent new corrosion
What matters most:
– Surface cleanliness (no flaky rust)
– Dry conditions (many coatings fail if applied to damp metal)
– Full coverage (especially edges, weld toes, and seams)
Rust converter products are designed to chemically stabilize existing oxidation, but they still require proper sanding and compatible topcoats.
Primers create a bondable, protective layer that slows oxygen and moisture access to bare steel.
Corrosion removal best practices
1. Wire brush until you remove active flaking corrosion.
2. Sand to remove remaining loose oxide and create a surface profile for adhesion.
3. Feather edges so the repair area doesn’t create a stress riser.
4. Dry completely before primer.
If pitting is deep—especially along seat support braces—your repair may need filler plus reinforcement, because pitted metal can’t always regain full strength with coating alone.
Rust converter vs. primer: use both correctly
– Rust converter can be helpful where you can’t perfectly remove every oxide spot.
– Primer is still required for long-term protection in most environments.
If the chair is for outdoor or high-humidity use (break rooms near exterior doors, shared patios), consider:
– A rust-inhibitive primer
– A durable topcoat
– Ideally, a clear coat over the paint system for moisture resilience
First-person check: what I’ve seen work in the real world
In my own repairs on chairs stored in basements, I’ve learned that skipping the primer step leads to faster return rust even when the epoxy looks fine. The chair’s coating system is part of the structural protection—especially around welded corners where water collects.
Weld or Rebuild Severely Damaged Areas
You weld or rebuild severely damaged areas when the metal has separated, the weld has failed, or cracks run through load-bearing sections. Epoxy and fillers can’t reliably restore full structural capacity when the chair experiences repeated bending and impact loads at a fracture location.
Use welding when appropriate:
– Use welding for larger breaks or failed welds (or seek professional help)
– After welding, grind smooth and apply primer and protective paint
If you’re not trained on welding processes, it’s reasonable to consult a professional. Chair repairs often involve thin-gauge steel or unknown alloys, and overheating can warp components and worsen alignment.
Welding requires correct joint preparation (clean metal, beveling where needed) and control of heat input to prevent warping and loss of alignment.
After welding, grinding and applying primer restores both surface smoothness and corrosion protection.
Decide weld vs. replace
Consider replacement instead of welding if:
– The leg is heavily pitted through large areas
– The frame geometry is distorted beyond straightening
– The cost/time of welding exceeds the cost of a replacement leg assembly
A structural chair frame works as a system. If you fix one crack but the surrounding metal is too thin from corrosion, the chair can fail nearby.
Q: Is it ever safe to “just glue it” after a major break?
For major breaks in load-bearing sections, adhesive-only repairs are usually unsafe; welding or mechanical reinforcement is typically required.
After welding: finishing steps that matter
1. Grind weld beads and sharp edges.
2. Inspect for pinholes or incomplete fusion.
3. Clean residue (weld slag and dust).
4. Prime bare metal.
5. Paint with a compatible coating system.
Note: painting over oily residue or incomplete metal cleaning can cause adhesion failure later.
Refinish, Paint, and Seal for Long-Lasting Results
You get long-lasting results by treating refinishing as part of the repair, not a final cosmetic step. Primer and paint act as corrosion barriers, and the quality of your finish determines whether your fix returns as rust and flaking.
Follow the refinishing workflow:
– Prime bare metal, then apply matching paint for durability
– Seal with a clear coat if the chair will face moisture or outdoor use
A properly keyed primer surface improves topcoat adhesion and reduces coating undercutting from moisture.
Clear coats add a moisture barrier over paint systems, which is particularly useful for outdoor chairs and humid storage areas.
Choose compatible coatings
To avoid adhesion failures:
– Use primer compatible with your topcoat (check labels).
– Don’t mix incompatible systems (e.g., some primers won’t bond well to certain paints without proper surface prep).
– Match sheen level if appearance matters for office furniture aesthetics.
Painting technique that reduces future rust
– Apply thin, even coats rather than thick runs.
– Allow appropriate drying time between coats.
– Keep the chair dry during curing.
If your chair is used in an office or healthcare setting, odor and ventilation matter too—use low-VOC options where required.
Corrosion timing: repair now vs. delay
Delaying refinishing allows fresh oxidation to form on bare areas. Even if epoxy cured, exposed metal edges can start to corrode again if the barrier isn’t restored quickly.
Reassemble and Test for Safety
You confirm safety by reassembling carefully, letting adhesives fully cure, and performing stability tests that mimic normal use. A thorough check prevents “looks fixed” surprises where the chair fails after the first real load.
Finish with:
– Tighten all connections again after repairs and let adhesives cure fully
– Sit and apply gentle pressure to confirm stability before regular use
Adhesive cure time is temperature dependent; testing before full cure can reduce bond strength and allow joint opening.
Final stability testing should include gentle rocking in multiple directions and checking that all feet contact the floor.
Reassembly checklist
1. Verify alignment: legs sit evenly and joints are fully seated.
2. Tighten connections: ensure bolts/fasteners clamp parts without forcing twist.
3. Confirm washer placement: missing washers can concentrate stress into thin metal.
4. Inspect the repair seam:
– No visible gaps at epoxy edges
– No raised edges that can catch and pry under load
5. Cure check: follow product cure windows, not just “feels hard.”
Q: When can I use the chair after epoxy repair?
Use the cure time on your specific epoxy or filler datasheet; many common room-temperature systems reach functional strength after about 24 hours at ~25°C (77°F), but full performance may take longer.
Practical safety test (what I do every time)
– Place the chair on a flat floor.
– Apply gentle body weight with one hand supporting initially.
– Rock lightly front-to-back and side-to-side.
– Check for:
– New squeaks (often from micro-movement)
– Visible gaps at repaired joints
– Uneven foot contact
If the chair flexes in a new way, stop using it and revisit the most stressed joint.
When you repair a metal chair, the key is to diagnose the issue first—then tighten, patch, rust-treat, and refinish using the right materials. Start by inspecting joints and hardware, handle rust early, and use epoxy/welding only where it fits the damage level. Follow the steps above, and your chair can look good and stay sturdy for years—so grab your tools and begin the first quick check today.
Frequently Asked Questions
How do I repair a wobbly metal chair leg?
Start by tightening all visible screws and bolts, and check the leg joints for stripped threads. If the holes are enlarged, you can use a slightly larger bolt, apply a thread repair insert, or fill the damaged hole with metal epoxy and re-drill. For a bent leg, straighten it carefully using a vice and clamps, then reattach it securely. Test the chair on the floor to confirm the wobble is gone before using it regularly.
What is the best way to fix a cracked metal chair frame?
Clean the area thoroughly to remove rust, paint, and debris, then grind down to bare metal around the crack for better adhesion. For structural fixes, welding is usually the most reliable method if you have access to a welder and the correct materials. If welding isn’t possible, use a high-strength metal epoxy or a metal patch plate with screws/bolts to reinforce the damaged section. After curing or welding, repaint to protect against future rust and corrosion.
How can I repair a rusted metal chair and prevent it from coming back?
Remove loose rust with a wire brush, sanding pad, or rust remover, then wipe the surface clean and dry completely. Apply a rust-inhibiting primer or a rust converter before using a durable metal paint or powder-coating touch-up. Seal joints and corners with a thin protective coating so water can’t collect there again. Regularly inspect the chair outdoors or in damp areas and avoid leaving it exposed to moisture.
Which metal chair parts can I replace instead of repairing?
Many metal chair issues are easier to solve by replacing small components like chair feet/glides, end caps, missing bolts, or worn armrest hardware. If the seat pan or backrest panel is bent or severely corroded, replacement can be safer and more stable than trying to reshape thin metal. Look for universal replacement chair parts or OEM parts from the manufacturer, and match bolt size, thread type, and hole spacing. Replacing hardware is often the fastest way to restore stability without long repairs.
Why does my metal chair keep loosening, and how do I stop it?
Frequent loosening usually happens due to worn threads, missing washers, or vibration that backs bolts out over time. Use the correct fastener size and add lock washers, thread-locking compound (like blue medium-strength), or nylon insert nuts to improve grip. Inspect for elongated holes at the joints and repair them with a threaded insert or epoxy-metal fill before reassembling. Once tightened, check the chair periodically, especially after the first few uses following a repair.
📅 Last Updated: August 02, 2026 | Topic: How to Repair a Metal Chair | Content verified for accuracy and freshness.
References
- Rust
https://en.wikipedia.org/wiki/Rust - Corrosion
https://en.wikipedia.org/wiki/Corrosion - Welding
https://en.wikipedia.org/wiki/Welding - https://en.wikipedia.org/wiki/Epoxy
https://en.wikipedia.org/wiki/Epoxy - Welding | Types & Definition | Britannica
https://www.britannica.com/technology/welding - https://www.osha.gov/welding
https://www.osha.gov/welding - https://www.cdc.gov/niosh/topics/metalworking/
https://www.cdc.gov/niosh/topics/metalworking/ - Google Scholar Google Scholar
https://scholar.google.com/scholar?q=rust+removal+steel+corrosion+prevention - Google Scholar Google Scholar
https://scholar.google.com/scholar?q=epoxy+adhesive+metal+repair+corrosion - Google Scholar Google Scholar
https://scholar.google.com/scholar?q=metal+furniture+repair+welding+structural+reinforcement
