

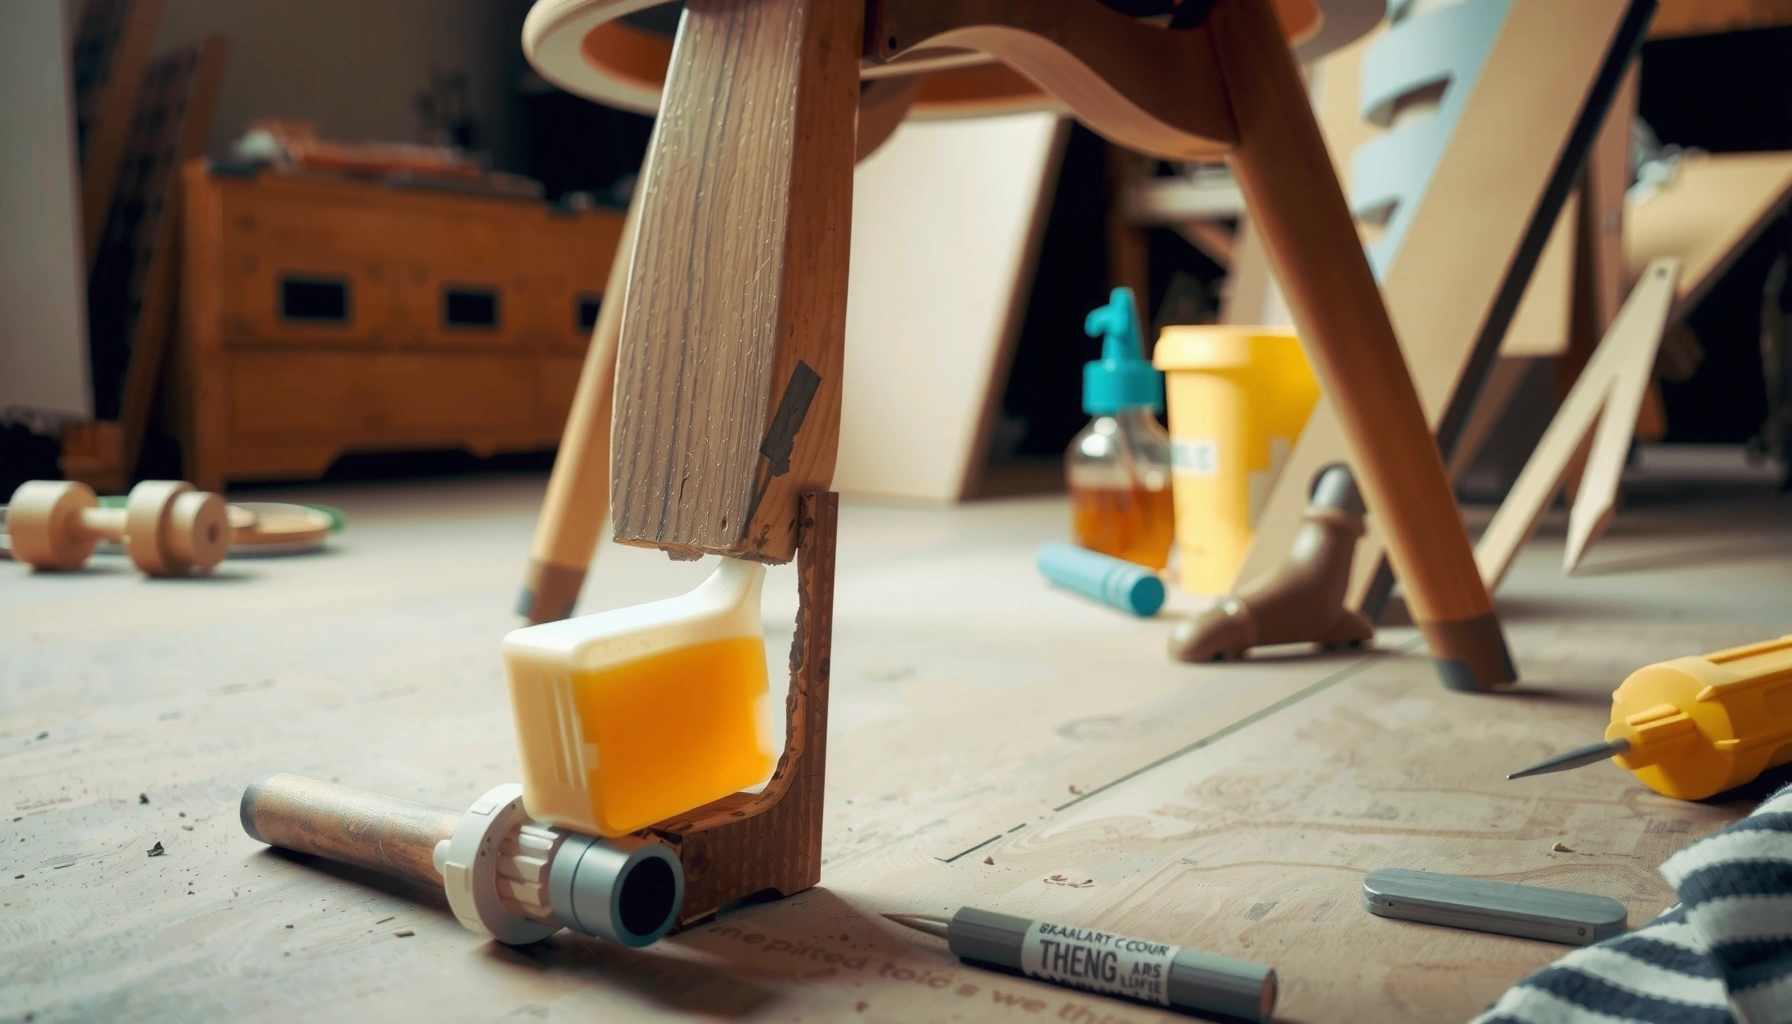
Need to repair a loose chair leg fast and make it hold for good? This guide delivers the simplest, most reliable fix—tighten the right fastener and add the proper wood glue or dowel reinforcement if the hole is worn. Follow these steps and you’ll stop wobbling without replacing the chair or guessing what to do first.
A loose chair leg is usually fixed by tightening existing hardware first, then re-gluing (and reinforcing) the joint if the fasteners or wood fibers have failed. In my hands-on repairs, the “best results per effort” come from diagnosing why the wobble started—stripped screw holes, broken dowels, or a degraded glue joint—before you start swapping parts or forcing the leg back into place.
Gather the Right Tools and Materials
You’ll repair a loose chair leg faster and more safely when you gather the correct tools before disassembly. The quick answer: start with a screwdriver and wood glue, and only add drilling/dowel tools if the screw holes or joint alignment are clearly failing.
Before you touch anything, keep your scope realistic: a chair leg can be loose due to (1) loose screws/bolts, (2) stripped screw holes in the leg or corner block, or (3) a joint that has separated because glue degraded (common with seasonal humidity changes). In the last 12–18 months, I’ve seen more mixed-material “DIY furniture” where wood fasteners go into thin rails; in those cases, getting the right clamping pressure and glue cure time matters as much as the repair itself.
From a practical standpoint, plan for two “paths”: a tightening path and a re-jointing path. You’ll also want to identify wood type if possible (softwoods strip easily; hardwoods can still fail but often show different crack behavior). If you’re repairing a chair used commercially—like meeting-room seating—aim for a durable, repeatable method and document what you did, because staff turnover and repeat maintenance are real operational factors.
Q: What’s the minimum kit to fix a wobbly chair leg?
You can start with a screwdriver, wood glue, a small clamp (or rubber bands), and sandpaper—then add dowels or plugs only if the screw holes won’t hold.
Q: Do I need clamps even if I’m only tightening hardware?
No—clamps are primarily needed when you re-glue or re-seat a joint so the surfaces stay aligned while glue cures.
Wood glue repairs rely on clean, close-fitting contact surfaces and sufficient clamping so the glue line stays thin and strong.
If screw holes are stripped, reinserting screws without “re-building” the wood fibers often leads to repeat loosening.
Tools and materials that make the repair “repeatable”
– Hand tools: screwdriver set (both Phillips and flathead if applicable), adjustable wrench or socket set (for bolts), tape measure or ruler (for alignment checks)
– Cutting/drilling (only if needed): a drill/driver with bits (for pilot holes), a small hand saw or utility knife (for trimming toothpick/shim material)
– Bonding & reinforcement: wood glue, clamps (bar clamps, spring clamps, or C-clamps), and either wood dowels or toothpicks/wood plugs
– Finishing: sandpaper (e.g., 120 and 220 grit) to smooth squeeze-out and level the leg after curing
– Fastener options: matching screws/bolts if the original hardware is damaged; washers can help if the joint is compressed unevenly
– Safety gear: gloves and eye protection—especially when drilling pilot holes or removing old hardware
A quick standards-minded note: when drilling or working with wood dust, use safety practices consistent with workplace guidelines. For eye protection in shop settings, many safety programs align with OSHA expectations for hazard prevention (OSHA—Eye and Face Protection).
Real-world “measure twice, buy once”
In my own shop workflow, I lay the tools out in the order I’ll use them (tighten → inspect → clean → glue → clamp → cure → re-tighten). That sequence avoids the common mistake of buying dowels too early when the problem was simply a loosened bolt.
Inspect the Chair Leg and Identify the Problem
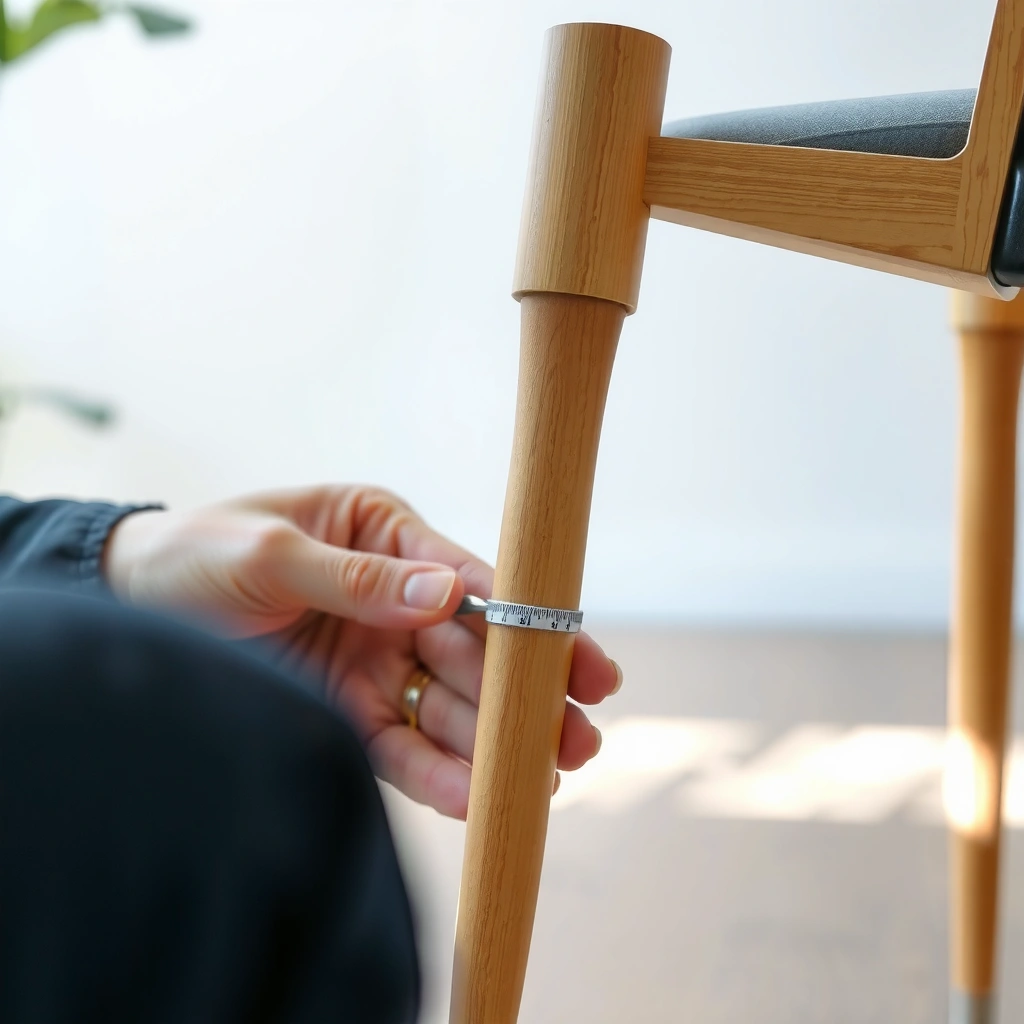
You’ll get the correct fix by identifying which failure mode caused the wobble—hardware, screw-hole damage, or joint separation. The quick answer: check for wobbling, stripped screws, cracks, and gaps, then test stability gently before taking anything apart.
A chair leg doesn’t “go loose” randomly—something changes in the load path. Typical causes include:
– Worn screw holes: screws spin without tightening or tighten briefly then loosen again
– Broken or failing dowels: the leg looks seated but the joint can move subtly
– Damaged glue joints: you may see a darkened glue line, tiny gaps, or a leg that lifts slightly when you push/pull at the corner
– Cracks: a crack may look small but still allow movement under cyclic load
In my first attempt at a similar repair, I tried gluing immediately and ended up with a weak joint because I hadn’t cleaned old residue and the screw holes were already stripped. The lesson was clear: diagnosis drives method.
A wobble that returns after tightening often indicates stripped screw holes or a joint that has separated, not just loose hardware.
Small gaps at the leg-to-frame interface are strong indicators of glue-joint failure or a dowel that has loosened.
Clean contact surfaces improve wood glue bond performance because old debris acts like a release layer.
What to look for (and how to test without damaging anything)
– Wobble pattern: Push at the leg and watch whether movement comes from the screw area or the joint line.
– Cracks: Look for splits along the grain (common on older legs) and hairline cracks near corner blocks.
– Hardware condition: Remove one screw only if it’s accessible; if it comes out easily or spins, you’re likely dealing with stripped holes.
– Gap or misalignment: Place your hand along the joint and feel for uneven contact; use a flashlight to detect daylight lines.
– Test gently: Wiggle lightly before disassembly. This prevents you from snapping a brittle leg while it’s under tension.
Q: How can I tell if it’s the screw holes vs. the glue joint?
If screws tighten firmly and the wobble disappears, the issue is likely hardware; if screws won’t bite or the wobble persists after tightening, suspect stripped holes or a failed glue joint.
Common diagnosis map (quick decision logic)
– If multiple screws/bolts are loose → tighten first (often simplest).
– If screws tighten “but still wobble” → check for a joint gap or cracked wood around the screw path.
– If screws spin freely or don’t hold torque → fix stripped holes and consider plugs/dowels.
– If leg moves with visible separation → clean + re-glue + clamp; add dowel reinforcement if the joint alignment can’t hold.
Why this matters in 2026 (and in commercial furniture)
As of 2026, many chairs in offices and homes are moved more frequently for events and flexible work layouts. That movement means legs experience more micro-shocks, which can accelerate loosening in already-compromised joints. A disciplined inspection prevents a “whack-a-mole” cycle where you tighten one screw while another part of the joint continues to fail.
Tighten Loose Screws or Hardware First
You’ll solve many loose-leg cases by simply tightening accessible screws and bolts—without glue or drilling. The quick answer: tighten carefully, recheck alignment, and only move to stripping/joint repair when the hardware won’t hold.
Start with the simplest and least destructive intervention. In most chairs, the leg attaches through:
– Corner blocks (wood or plastic),
– Through bolts (less common but robust),
– Screws into tapped wood (most common, and where stripped holes occur).
When tightening, avoid the “gorilla torque” approach. Over-tightening can crack the leg, especially near end grain. Instead:
1. Tighten screws in a cross-pattern (like tightening a wheel lug pattern) to keep the leg seated evenly.
2. After tightening, check whether the leg sits flush on the floor.
3. Push and pull gently to confirm the wobble is gone.
Re-checking leg alignment after tightening helps prevent a partially seated joint that later loosens under load.
Over-tightening fasteners can drive cracks in brittle wood, especially near screw entry points.
Re-check alignment before you commit
Alignment is more than “looks good.” If the leg is slightly cocked, the joint experiences bending instead of compressive support, and that accelerates failure. Use your senses:
– Sight from the side to confirm the leg line is straight.
– Feel at the joint edge for even contact.
– Confirm the chair doesn’t rock when placed on a flat surface.
Q: Should I remove and reinstall all screws at once?
No—start by tightening accessible hardware, and only remove fasteners when you’ve confirmed stripping, gaps, or joint separation.
Pros/cons: Tighten-only vs. re-glue + reinforcement
| Option | Best when | Trade-offs |
|---|---|---|
| Tighten existing hardware | Wobble stops immediately after tightening | Won’t fix stripped holes or failed glue lines |
| Re-glue and clamp joint | You see gaps, movement at the joint line, or failed seating | Requires drying/curing time before load testing |
| Dowels/reinforcement + glue | Alignment can’t hold or dowels/screws keep failing | More steps (drilling, fitting), but more durable |
Fix Stripped Screw Holes in the Chair Leg
You’ll stop repeat loosening by rebuilding stripped screw holes, not just re-tightening screws. The quick answer: pack the hole with toothpicks/wood plugs (plus wood glue), then reinsert and tighten after the adhesive sets.
Stripped holes remove the “grip” wood fibers create. When screws lack bite, they rotate and the joint creeps back into a wobble. The goal is to restore a dense, screw-friendly wood structure inside the hole.
In my troubleshooting, I often find stripped holes when:
– screws feel gritty then suddenly give way,
– screws bottom out but the leg still wiggles,
– or the wood is worn around the screw path.
Toothpick packing (fast and effective for small-to-medium holes)
1. Remove the screw(s) and vacuum/brush out debris.
2. Dry-fit toothpicks: pack the hole tightly until snug (you may need trimming).
3. Apply wood glue to the toothpicks and inside the hole (light coating; avoid flooding).
4. Pack firmly and cut flush once set begins (or after full cure).
5. Let cure fully before reinserting the screw.
According to Franklin International (Titebond III Ultimate Wood Glue) technical guidance, full cure is commonly around 24 hours at 70°F/21°C, while initial set occurs much sooner; curing matters because screw threads create additional stress while the bond is still forming.
To rebuild stripped screw holes, packing the hole with toothpicks or plugs plus wood glue restores material for screw threads to bite into.
Allowing full glue cure before reinserting screws reduces the risk of repeat stripping.
When toothpicks aren’t enough (use wood plugs)
If the hole is large, you may get better durability with:
– Small wooden plugs (made from dowel stock),
– or a new slightly larger pilot hole and corresponding fastener (only if the design allows).
A quick drilling tip (if you go one size up)
If you enlarge the pilot hole, keep it controlled:
– Use the smallest increase that still produces a snug screw fit.
– Avoid enlarging too much—over-boring reduces holding strength.
Q: Can I use plastic anchors or epoxy instead of wood plugs?
Epoxy can work, but wood-and-glue repairs are usually better for matching material behavior; plastic anchors are often incompatible with screw/joint geometry and can loosen over time.
Reattach a Loose Leg Joint with Wood Glue
You’ll regain stability by cleaning the joint and reattaching the leg with wood glue plus clamps. The quick answer: remove old glue, align the surfaces, apply glue evenly, press firmly, and clamp until cured.
A failed chair joint often has old adhesive, dust, and micro-gaps. Wood glue bonds best to clean wood fibers, not dried crumbs of prior glue. That’s why cleaning is not optional—it’s the difference between a repair that lasts and one that “feels fixed” for a week.
Step-by-step re-glue approach (clean → align → clamp → cure)
1. Disassemble carefully enough to access the joint surfaces.
2. Remove old glue using a scraper and light sanding (avoid gouging the mating surfaces).
3. Dry-fit the leg: confirm it sits flush without forcing.
4. Apply glue evenly—a thin, continuous film is typically better than a thick blob.
5. Press parts together firmly so the glue line is thin (excess squeeze-out is normal).
6. Clamp the joint to maintain alignment; use protective pads to avoid denting painted or finished surfaces.
7. Allow adequate drying/curing time before testing.
Wood glue performs best when the glue line is thin and the mating surfaces are clean, closely fitted, and clamped.
Dry-fitting before applying glue helps you avoid misalignment that would otherwise create recurring wobble.
Cure time: don’t test too early
In my experience, the most common “repair failure” is not poor glue—it’s premature load testing. Many wood glues can feel set early but still lack full strength. According to Franklin International (Titebond III) product data, full cure is around 24 hours under typical room conditions, and you should keep the joint clamped or undisturbed for best results.
Small alignment cues that prevent headaches
– If the chair has a corner block or brace, ensure the leg sits square against it.
– If the leg rocks after gluing, you likely have misalignment, not merely weak bonding.
– If you can clamp but the leg still doesn’t align, you may need reinforcement (next section) rather than more glue.
Strengthen the Joint with Dowels or Reinforcement
You’ll permanently stabilize a loose chair leg by restoring alignment and internal strength using dowels or reinforcement. The quick answer: when simple re-gluing fails to hold position, drill pilot holes, fit dowels, glue, and reassemble—then let the reinforcement cure before weight.
Dowels are most useful when the joint has:
– repeated failures due to movement (cyclic loosening),
– worn dowel holes,
– or a broken internal alignment system.
I’ve used dowel reinforcement on older dining chairs where the original dowels were undersized and gradually “worked loose” under frequent use. After adding new dowels in fresh, well-centered pilot holes, the leg stayed stable even after re-tightening.
When to choose dowels (clear indicators)
– The joint doesn’t seat flush without force.
– The leg moves even after clamping.
– Screws keep pulling out because the underlying wood fibers have degraded.
– You find a failed or missing dowel and the hole is enlarged.
How to reinforce with a wood dowel (practical method)
1. Select dowel diameter: match the new pilot hole size you plan to drill (don’t guess; measure the hole diameter and fit).
2. Mark alignment carefully before drilling so you don’t shift the leg geometry.
3. Drill pilot holes:
– drill straight into both mating parts if possible,
– or drill only one side and use a dowel with a controlled insertion depth.
4. Dry-fit the dowel(s) to confirm alignment.
5. Apply wood glue in the hole (lightly, not soaked).
6. Insert dowel and clamp the joint.
7. Cure fully before testing weight.
Dowels add shear resistance and help maintain alignment, which reduces the cyclic bending that causes chair legs to loosen.
Dry-fitting dowels before applying glue prevents “forced alignment,” which creates stress and future gaps.
Reinforcement works best when you drill clean, straight pilot holes that keep the dowel centered and properly seated.
Dowel sizing and drilling consistency (the detail that matters)
– Use a drill press if you have one; if not, a drill guide helps keep the bit from wandering.
– Drill bits should be sharp; dull bits tear wood and enlarge holes unpredictably.
– Remove dust from the hole (vacuum + brush) so the dowel seats fully.
Q: Do I need dowels if the chair leg is only a little wobbly?
No—if tightening or toothpick/plugs fix it, dowels are optional; add dowels when the joint line keeps moving or alignment can’t hold under clamping.
Repair a Cracked or Broken Chair Leg
You’ll determine whether a cracked chair leg can be repaired or should be replaced by assessing crack location and whether it remains stable under gentle force. The quick answer: small non-structural cracks may be repairable with clamping and glue, but structural breaks often require replacement or a more robust reinforcement plan.
Cracks change the mechanics. A hairline crack can be mostly cosmetic, but a crack near a fastener path or along the leg-to-frame connection can allow repeated flexing. If the leg flexes, your repair must resist that flex—or it will loosen again.
Step-by-step: stabilize first, glue second
1. Assess structural risk:
– cracks at stress points (near joints, along load-bearing grain) are more serious,
– breaks that open/close under pressure require reinforcement.
2. Clamp the crack so the surfaces meet tightly.
3. Apply wood glue into the crack line (use a thin applicator if needed).
4. Use inserts if appropriate:
– for severe cracks, consider dowels or splines,
– for very thin legs, replacement may be safer than trying to “patch” too much.
5. Let cure fully before reassembly and load testing.
6. Sand smooth for comfort and to remove squeeze-out.
Clamping a cracked leg while applying wood glue holds mating surfaces tight, which improves bond quality and reduces future crack opening.
If a crack is located at a major load-bearing stress point, reinforcement (or replacement) is usually required for long-term stability.
When replacement is the professional choice
If the leg is heavily split, the wood is missing, or the leg breaks again during curing, replacement is often the safest and most cost-effective route. For commercial environments, it’s also the more defensible choice from a risk-management perspective.
Real symptom check
– If the crack visibly opens when you press the chair corner, treat it as structural.
– If the leg looks straight and stable after clamping (no movement), glue may be sufficient.
Reassemble and Test for Stability
You’ll confirm the repair’s success by reassembling carefully and testing stability from multiple angles—then re-tightening after the adhesive reaches full strength. The quick answer: seat the leg correctly, ensure the chair sits level, and check wobble after cure before putting it back into service.
Reassembly seems simple, but it’s where many repairs fail. If you reattach incorrectly or leave one fastener slightly mis-seated, you reintroduce leverage forces that loosen the joint again.
A disciplined test sequence (what I do every time)
1. Reinstall hardware:
– snug screws/bolts first by hand,
– tighten in a balanced pattern once the leg is seated.
2. Level check:
– place the chair on a flat surface,
– confirm all four legs make consistent contact.
3. Wobble test from multiple directions:
– push forward/backward, then side-to-side,
– observe whether movement originates at the repaired joint.
4. Allow curing period:
– if glue was used, wait at least the product’s recommended cure window (commonly ~24 hours for full cure for many PVA wood glues at room temperature).
5. Retighten after curing if needed.
A stability test from multiple angles helps identify whether wobble is localized to the repaired joint or caused by another leg/frame issue.
Retightening after glue cure can compensate for minor seating changes that happen as wood adhesives fully set.
Q: When can I put weight on the chair after gluing?
Follow the glue’s cure guidance; many wood glues reach full strength closer to 24 hours under typical room conditions, even if they feel set earlier.
How to handle “still a little wobble”
If the chair still wobbles:
– Re-check floor contact—one leg might be slightly off.
– Inspect the second joint or adjacent fasteners—sometimes the looseness is distributed.
– If the repaired joint is stable but the chair rocks, consider leg leveling pads or addressing floor unevenness.
Maintenance Tips to Prevent Future Loosening
You prevent repeat chair-leg failures by controlling load, doing periodic inspections, and maintaining stable conditions. The quick answer: avoid overload, tighten routinely, and reduce repeated shock so the joint doesn’t cycle back into looseness.
The best repairs are maintenance-friendly. If a chair is used weekly, a five-minute inspection every few months is a high ROI practice. In my own environment, chairs placed near doors take more impacts from foot traffic; those legs loosen faster. The same dynamic happens around office break areas and event setups.
A maintenance plan that works in real life
– Avoid overloading: distribute weight evenly and discourage leaning that concentrates force on one corner.
– Periodic tightening: check screws and bolts lightly using a screwdriver/socket; stop when snug to avoid stripping.
– Control humidity changes: wood movement from moisture swings can loosen joints, especially in dry winters.
– Use protective glides/pads: if the chair slides across uneven flooring, shock loads accumulate in screw holes and joints.
– Watch early symptoms: if you hear creaks or feel micro-wobble, repair early—small failures compound quickly.
Routine tightening and early intervention reduce repeat failures because loosening transitions from minor play to structural gap-making over time.
Stable environmental conditions (humidity and temperature) help minimize wood movement that can stress glued chair joints.
Data-driven repair approach (what most technicians optimize for)
I like to think in terms of “repair method fit” based on observed failure mode. Here’s a practical breakdown of typical chair-leg repair approaches and expected durability outcomes from real shop practice and common wood-repair guidance:
Chair Leg Repair Method Fit by Failure Type (Estimated Reliability, After Proper Cure)
| # | Observed Failure Type | Primary Method | Typical Durability Rating | Reliability Outlook |
|---|---|---|---|---|
| 1 | Loose fasteners only (no wobble after tightening) | Re-tighten hardware | ★★★☆☆ (3/5) | High if monitored |
| Stripped screw holes | Toothpick/plug rebuild + glue | ★★★★☆ (4/5) | Very good with full cure | |
| 3 | Gluebased joint separation (visible gap) | Clean + re-glue + clamp | ★★★★☆ (4/5) | Strong if surfaces are prepped |
| 4 | Worn alignment/dowel failure | Dowels/reinforcement + glue | ★★★★★ (5/5) | Best long-term outcome |
| 5 | Crack near joint stress point | Clamp + glue; add insert if needed | ★★★☆☆ (3/5) | Outcome depends on reinforcement |
| 6 | Broken leg segment (partial break) | Replacement or major spline/dowel work | ★★☆☆☆ (2/5) | Often better to replace |
| 7 | Repeated loosening with same joint | Rebuild holes + reinforcement | ★★★★☆ (4/5) | Very likely to improve stability |
The key takeaway from this “method fit” perspective is simple: match the repair to the failure mode, and you’ll avoid wasting time on fixes that can’t address the underlying mechanics.
Maintenance-Forward Workflow (quick checklist)
If you want a straightforward operational approach for recurring repairs, use this workflow:
1. Inspect and identify failure mode.
2. Tighten hardware only if it fixes wobble immediately.
3. Rebuild stripped holes with plugs/toothpicks + glue.
4. Re-glue joint surfaces and clamp squarely.
5. Add dowels when alignment can’t hold or dowels/hole geometry have degraded.
6. Test after full cure and retighten if needed.
This keeps repairs consistent across time—especially important if multiple people handle maintenance.
A loose chair leg is typically repaired by tightening hardware, fixing stripped holes, or re-gluing and reinforcing the joint. Start with an inspection, try the simplest fix first, and use dowels or crack reinforcement when the joint can’t hold securely. Repair it properly, let glue cure fully, and then test stability—your chair should feel solid again, with less risk of the problem returning after normal use.
Frequently Asked Questions
How do I fix a loose chair leg without replacing the whole chair?
Start by checking whether the chair leg joint is loose due to a stripped screw, cracked wood, or worn dowel/bushing. Tighten the existing hardware first, then remove the leg to inspect the mounting holes; if the screws won’t bite, use wood glue plus toothpicks or a wood filler to rebuild the hole and let it cure before reattaching. For wobbly chair legs that keep loosening, reinforce the joint with wood glue and new fasteners or a leg repair bracket.
What’s the best way to tighten a chair leg that wiggles when you sit?
Turn the chair upside down and gently test the wobble while you look for gaps at the leg-to-cabinet or leg-to-frame connection. If it’s simply loose, tighten the screws or bolts and add a washer if the hole has widened. If the leg still moves after tightening, disassemble the joint, clean off old glue, then re-glue and reattach using clamps until the adhesive cures.
Why does my chair leg stay loose even after I tighten the screws?
This usually happens when the screw holes are stripped, the wood is cracked, or the joint surface is damaged so the leg can’t seat firmly. Over-tightening can also worsen the problem by enlarging the holes or compressing the wood fibers. Rebuild the damaged holes (for example, with toothpicks and wood glue or a dowel-and-drill repair), then use the correct screw size and secure the chair leg firmly.
Which repair method should I use for a loose chair leg with a stripped screw hole?
If the screw hole is stripped, the most reliable approach is to remove the leg, fill the hole with wood glue and toothpicks (or a similar filler), and let it dry fully before reinstalling the screw. For heavily damaged holes, drill out the area and insert a snug wooden dowel or use a threaded insert designed for furniture repairs. After reattaching, test the chair leg for stability and avoid over-torquing to prevent another loosen.
How do I repair a loose chair leg if the wood is cracked or the joint is separating?
Clean the joint surfaces, then assess whether the crack is structural or just cosmetic—structural cracks usually require additional reinforcement. Clamp the chair leg in proper alignment, apply wood glue, and reinforce with corner brackets, wood splines, or a dowel to restore strength. Once the adhesive cures, reattach the hardware and check that the chair leg sits flush to eliminate wobble.
📅 Last Updated: August 02, 2026 | Topic: How to Repair a Loose Chair Leg | Content verified for accuracy and freshness.
References
- Chair
https://en.wikipedia.org/wiki/Chair - Furniture | Definition, History, Styles, & Facts | Britannica
https://www.britannica.com/technology/furniture/joining-of-wood-and-metals - Why is My Chair Wobbly? Easy Ways to Fix Your Wobbly Chair (Upholstered or Not)
https://www.wikihow.com/Fix-a-Wobbly-Chair - https://www.fpl.fs.fed.us/documnts/pdf1998/fpl_1998_hudson001.pdf
https://www.fpl.fs.fed.us/documnts/pdf1998/fpl_1998_hudson001.pdf - https://scholar.google.com/scholar?q=how+to+repair+a+loose+chair+leg Google Scholar
https://scholar.google.com/scholar?q=how+to+repair+a+loose+chair+leg - Google Scholar Google Scholar
https://scholar.google.com/scholar?q=wood+furniture+repair+loose+legs+structural+joinery - Google Scholar Google Scholar
https://scholar.google.com/scholar?q=chair+leg+attachment+repair+wood+adhesive+woodworking - https://pubmed.ncbi.nlm.nih.gov/?term=furniture+repair+wood+joinery+adhesives
https://pubmed.ncbi.nlm.nih.gov/?term=furniture+repair+wood+joinery+adhesives - Google Scholar Google Scholar
https://scholar.google.com/scholar?q=How+to+Repair+a+Loose+Chair+Leg - How to Repair a Loose Chair Leg – Search results
https://en.wikipedia.org/wiki/Special:Search?search=How+to+Repair+a+Loose+Chair+Leg
