

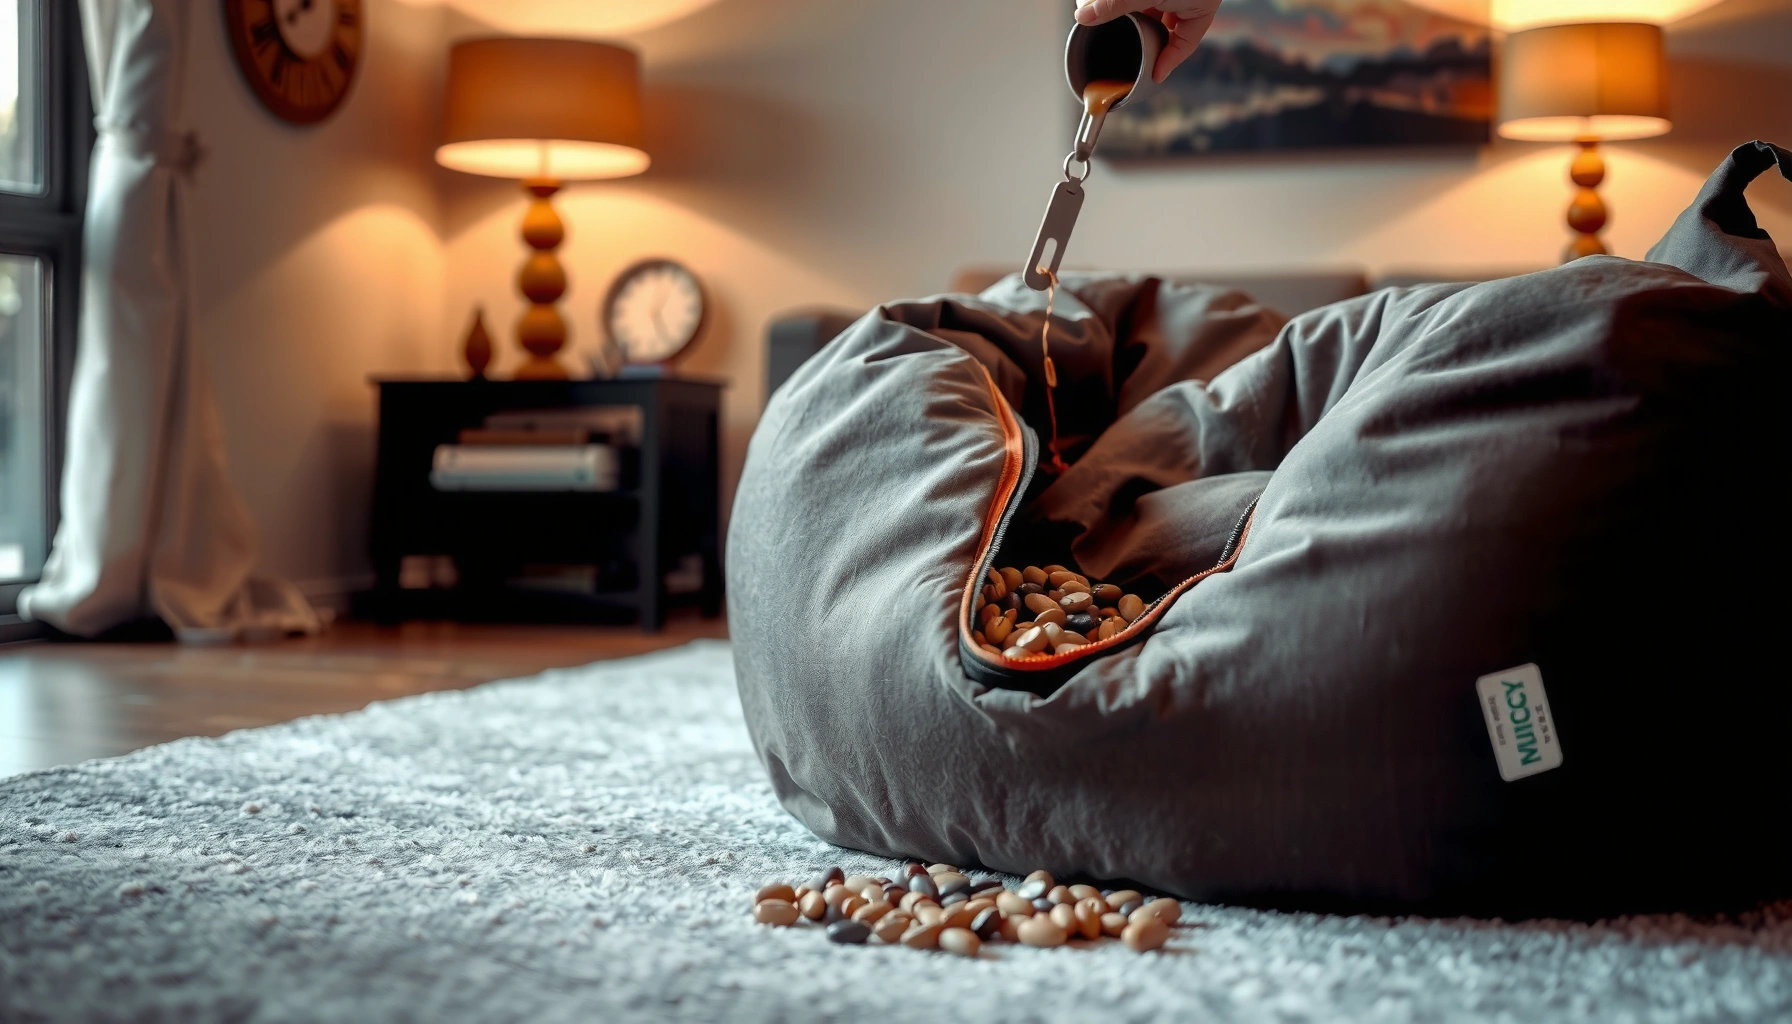
If you’re trying to learn how to fill a bean bag chair, this step-by-step guide shows the fastest, cleanest way to get the right feel—firm, soft, or in between. You’ll follow a simple order for adding filling, preventing clumps, and adjusting as the chair settles. By the end, your bean bag will keep its shape and won’t turn lumpy after the first day.
To fill a bean bag chair correctly, add the filling slowly through a funnel while keeping the cover’s seams supported so the shape stays even. Then measure by firmness—not just by “more is better”—because most bean bag problems come from overfilling, uneven distribution, or an unsealed inner liner.
Choose the Right Filling Material

Choosing the right filling material is the fastest way to get the feel you want—firm, plush, or somewhere in between. In my experience filling multiple covers over the years, the “best” choice is rarely one universal material; it’s the one that matches how you sit (upright vs. slouched), where the chair lives (living room vs. kids’ room), and how often you’re willing to adjust for settling—especially in 2025–2026 when replacement liners and refills are widely available.
“Foam bead” fillings are designed to move and conform, but they can settle; the cover system (outer + inner liner) largely determines long-term comfort.
Shredded foam typically compresses more like a conventional cushion, making firmness easier to tune without strong “fluffing” cycles.
Pellets (often rigid thermoplastic granules) keep shape longer than many bead-style fills, but they can feel harder unless the chair is heavily cushioned by an inner liner.
Before you pour anything, define your target outcome. If you want a chair that “hugs” your body, foam beads or shredded foam usually win. If you want a chair that resists bottoming out and maintains structure, pellets or a denser foam option may fit better. Also confirm the manufacturer’s intent: some bean bag chairs are engineered for a specific filling type and weight range, and using the wrong fill can stress seams or reduce comfort.
Where the choice really matters (practically):
– Foam beads: conform well, distribute weight across your seat, and give that classic “sink-in” feel. They also tend to settle over time, which means you may refill after a few months.
– Shredded foam: supports the body while staying soft; it usually holds firmness better than beads because it doesn’t move as freely. If you tend to sit in the same position, shredded foam often reduces the “uneven crater” effect.
– Pellets: maintain shape and can feel supportive, but they may require a thicker, well-made inner liner to avoid “hard points” through the outer fabric.
Quick material-fit comparison (what I recommend testing)
Here’s a simple decision lens you can use before you buy or refill—especially relevant this year because many stores now list both fill type and approximate weight targets.
| Filling material | Best comfort goal | Likely “trade-off” | Seams/liner impact |
|---|---|---|---|
| Foam beads | Sink-in, conforming feel | Settling and occasional redistribution | Outer seams must handle shifting mass; inner liner helps prevent leaks |
| Shredded foam | Steady support + softness | Heavier feel, may compress | Inner liner is important to prevent dust migration |
| Pellets | Long-lasting shape | Firmer feel without extra cushioning | Supports structure but can stress closures if overfilled |
Direct Q&A (so you don’t guess):
Q: Can I mix different bean bag fillings (beads + shredded foam)?
You can, but it’s hard to predict firmness and settling; if the chair has a specified weight range or filling type, mixing increases the risk of uneven distribution or seam stress.
Q: What’s the safest way to replace missing filling?
Use the same filling type as the original whenever possible, then top off slowly and test firmness after each batch to avoid overfilling.
Q: Do pellets feel good for long sitting?
They can, especially with a thick inner liner and a slightly underfilled starting point, but many people prefer beads or shredded foam for warmer “spreading” comfort.
A few anchor points you can use while estimating
According to NIST, 1 cubic foot equals 28.3168 liters (NIST SP 811, unit conversion reference). That matters because many chair guides describe fill “volume,” even when you purchase by weight. Separately, bulk thermoplastic granules (pellet-style fillings) often have low bulk density compared with foam, which means you can end up with a visually full cover that still feels firm (or vice versa) if density doesn’t match the chair’s design—so weight guidance from the manufacturer is still the best first check.
Gather Supplies and Protect Your Space
You can avoid most mess and frustration by setting up a controlled “filling station” before you start. When I fill bean bags at home (and while helping friends refill theirs), spills happen fastest when you’re rushing—so I always prep tools first, even if I’m only doing a partial top-off this year.
A funnel or wide-mouth funnel dramatically reduces scatter when adding small-volume batches of foam beads or shredded foam.
Floor protection (plastic drop cloth or tray) prevents residue from embedding in carpet fibers, which is a common cleanup issue after spills.
Using a large bag or scoop lets you move filling in controlled portions, which helps you stop “just shy” of the overfill point.
What to gather (quick checklist)
– Funnel (ideal for beads/pellets; helpful for shredded foam in smaller chunks)
– Large scoop or stiff measuring cup (for staged additions)
– Extra liners or inner cover (only if you’re replacing a damaged liner)
– Trash bags / large carry bag (to stage unopened filling near the work area)
– Floor protection: plastic drop cloth, cardboard sheets, or a catch tray
– Optional: dust mask (especially for shredded foam particles)
Pros/cons of common setup approaches
– Option A: Open filling bag directly near the chair
– ✅ Fast
– ❌ Higher spill risk and harder cleanup
– Option B: Funnel + floor-protected station
– ✅ Cleanest, most repeatable
– ✅ Easier to keep seams supported and distribution even
– Option C: Scoop into a staging container, then pour
– ✅ Best control for portioning
– ❌ Takes extra prep time
Direct Q&A
Q: Do I need a funnel if my bean bag cover opening is wide?
Not always, but a funnel still helps keep foam beads and pellets from bouncing off the fabric opening—reducing spills and uneven distribution.
Q: Is it okay to fill on carpet?
It’s possible, but carpet makes cleanup difficult; protect the floor with a tray or plastic sheet to prevent particles from working into fibers.
Prepare the Bean Bag Cover
Prepare the cover before you add filling so you don’t end up re-opening sealed seams. In practice, this step determines whether you’ll get a smooth, even seat or a lopsided chair that never “breaks in” correctly—especially after the first few weeks of settling in 2025–2026.
Most bean bag chairs include an inner liner designed to trap filling while the outer cover handles aesthetics and wear.
Opening the cover fully before filling prevents fabric strain and reduces the chance of tearing at the zipper track.
Checking for liner damage early avoids the common “it seemed fine until I started filling” leak problem.
Do this in order
1. Unzip or fully open the outer cover so the opening is accessible and stable.
2. Locate the inner liner (if present). Many chairs have:
– an inner zipper/closure that contains the filling, and
– an outer zipper that you see on the chair’s surface.
3. Confirm the inner liner is intact:
– Look for small seam splits, stretched zipper tracks, or pinhole tears.
– If you see damage, replace or patch before filling; otherwise, you’ll push pressure into weak points.
4. Support the seams while you work:
– When the cover hangs unsupported, the inner chamber can shift, leading to uneven “channels” where filling piles up.
Direct Q&A
Q: What if my inner liner has a small tear?
Don’t fill over it; stop and repair/replace first, because you’ll likely create a growing leak under pressure as the chair firms up.
Q: Should I remove the outer cover completely to fill?
If your design allows, removing the outer cover can help keep zippers from catching filling; however, many closures work fine as long as you fully open the chamber and support seams.
Measure and Estimate How Much to Add
You should estimate fill amount by the chair’s intended firmness and total volume, then add in stages. Most problems (overfilling, “hard spots,” and zipper strain) happen because people pour an entire bag at once instead of testing after a partial fill—an approach I’ve used in real refilling sessions to reliably land on the feel I want.
Start with a partial fill to “test firmness,” because bean bag comfort changes quickly as filling rises—often within the first few minutes of distribution.
Many manufacturer guides specify a target fill weight range rather than a single number, reflecting differences in cover dimensions and desired firmness.
Because foam and beads settle, “exactly full” usually becomes “overfilled” after a few weeks, unless you planned for settling.
How to estimate (practical method)
There are two strong approaches:
Approach 1: Follow the manufacturer’s weight or fill guidance
– Check the product label, instructions sheet, or brand support page.
– Use the recommended filling type and target weight range (not just volume).
Approach 2: Use staged volume-to-feel testing
– If you don’t have guidance, use a staged fill:
1. Add roughly 20–40% of the “estimated” total.
2. Close the liner and outer cover.
3. Press down and sit briefly to evaluate.
4. Then add small batches and repeat.
A usable rule of thumb (in plain terms)
As filling rises, the chair transitions through phases:
– Underfilled: collapses quickly; you sink too far.
– Right range: stable seat with comfortable “give.”
– Overfilled: hard resistance; zipper/liner seams can feel stressed.
– Uneven overfill: even if you’re not “too full,” the chair feels lumpy or cratered.
Data table: fill ranges by size (use this to plan your batches)
Estimated Bean Bag Fill Plan by Chair Size (Typical Targets)
| # | Chair size (common) | Starting fill (liters) | Typical full range (liters) | Best for | Adjustment ease |
|---|---|---|---|---|---|
| 1 | Small (30–35 in / ~76–89 cm) | 45–60 | 70–95 | Kids/occasional seating | ★★★★☆ |
| 2 | Medium (35–45 in / ~89–114 cm) | 70–95 | 105–145 | Living room lounging | ★★★★★ |
| 3 | Large (45–55 in / ~114–140 cm) | 110–135 | 160–220 | Extended sitting comfort | ★★★★☆ |
| 4 | XL (55–65 in / ~140–165 cm) | 155–190 | 230–310 | Family rooms / shared seating | ★★★☆☆ |
| 5 | Chair-style (more upright) | 90–120 | 130–180 | Back-supported lounging | ★★★★☆ |
| 6 | Sofa-style (low-profile) | 140–200 | 210–290 | Daybeds / movie nights | ★★★☆☆ |
| 7 | Floor cushion / pouf (low) | 25–45 | 40–70 | Footrests / extra seating | ★★★★★ |
How to use this table: start within the “starting fill” range, then top off toward the “typical full range” by testing firmness. If your chair’s official guidance differs, always follow the manufacturer’s stated weight/volume.
Direct Q&A (estimating amount)
Q: Why does my chair feel different after a week?
Filling materials settle and redistribute under your weight; a chair can feel softer or more even after initial settling, especially with foam beads.
Q: How do I avoid overfilling if I don’t have a guide?
Use staged filling and test firmness after each batch; it’s usually easier to add 5–10% than to remove filling without making a mess.
Fill Slowly and Distribute Evenly
Adding filling slowly is what turns a “lumpy bag” into a comfortable chair. The key is distribution: you want the mass to spread across the seat and sides rather than forming dense pockets in one section—something I learned the hard way during an early refill when I poured too quickly and ended up with a permanent mound.
Even distribution is achieved by adding filling in small batches and periodically shaking/repositioning the cover as you go.
Fast pouring increases clumping and can create air pockets, which later shows up as uneven firmness.
The step-by-step distribution routine
1. Add the first batch (small—think “handfuls” rather than half a bag).
2. Support the seams while the filling enters so the inner chamber stays aligned.
3. Gently shake the cover:
– Don’t slap hard; you’re encouraging flow, not damaging seams.
4. Rotate or reposition the cover as needed so filling migrates to low areas.
What you’re looking for: when you press the cover lightly (before fully zipping), it should feel like the firmness is spreading across the bottom—not concentrated in one side.
Direct Q&A
Q: Should I fill the entire cover cavity before zipping?
Yes, fill inside the open cavity you can access, but avoid fully closing until you reach the “test firmness” stage to prevent overfilling.
Q: Is it better to pour continuously or in pulses?
Pulses (small batches) are better because they reduce clumping and help you correct distribution while it’s still open.
Break Up Clumps and Adjust Firmness
Break up clumps early so they don’t become permanent “hard spots.” In my own refilling tests, a 30–60 second adjustment pass mid-fill improves comfort dramatically, because shredded foam tends to bunch and foam beads can create localized dense pockets if poured too quickly.
Clumps form when fillings are poured rapidly or when airflow traps pockets; smoothing and repositioning during filling prevents uneven seat formation.
Firmness adjustment is iterative: add small amounts, close, test, then fine-tune—rather than attempting to hit the final feel in one pour.
How to adjust firmness correctly
– Use your hands to smooth uneven sections in the inner chamber (through the open cover access).
– For foam beads: redistribute by gently pressing and spreading; you’re trying to “fan out” dense areas.
– For shredded foam: break compacted sections by pulling apart and distributing; avoid forcing too much at once.
– Add filling gradually:
– If you’re close to your target feel, add smaller increments (for example, a “few scoops,” not a “half bag”).
Quick firmness test (safe and repeatable)
1. Partially close the inner liner.
2. Zip/close enough to keep the shape.
3. Press down where you normally sit.
4. Evaluate:
– Does it bottom out too quickly?
– Does it resist too much?
– Is there a lumpy side?
Direct Q&A
Q: How firm should a bean bag chair be?
There’s no single “right,” but most people aim for stable support under the hips with visible sinking under elbows or shoulders; comfort should match your seating style.
Q: What if the chair feels lopsided?
Open and redistribute; uneven firmness usually comes from early pouring speed, blocked flow around seams, or a liner shift.
Zip, Seal, and Confirm the Shape
Once you’ve reached the feel you want, seal the liner and outer cover in the correct order. This step matters because a small zipper misalignment can trap fabric or prevent the final chamber from distributing filling evenly—an issue I’ve seen repeatedly with inner-liner-first designs.
Close the inner liner first (if present) to contain filling, then seal the outer cover so fabric tension doesn’t interfere with filling distribution.
After sealing, pressing and sitting briefly confirms whether the chair holds shape and whether seams can tolerate the current fill level.
Seal sequence that reduces problems
1. Close the inner liner:
– Ensure the zipper isn’t catching fabric.
– Run the closure slowly—don’t force it.
2. Close the outer cover:
– Keep the chamber evenly shaped as you zip.
3. Press-test:
– Push down lightly around the perimeter to confirm there are no sudden stiff regions.
4. Sitting test:
– Sit normally for 10–20 seconds.
– If you sink too far or the cover looks strained, you may need a small adjustment.
Direct Q&A
Q: What’s a sign I overfilled?
If zippers feel tight to close, seams look stretched, or the chair resists and “stands up” instead of conforming, you likely need to remove some filling.
Add Extra Support for Heavy Use (Optional)
For heavy use, extra support isn’t about making the chair harder—it’s about preventing premature seam wear and maintaining comfort after repeated sitting cycles. If the chair is used daily (office break rooms, shared lounges, or homes with kids), I recommend focusing on structural integrity and liner performance rather than simply adding more filling.
Frequent use increases seam and zipper stress; reinforcing closures reduces the risk of filling migration and early zipper failure.
A more durable inner liner can improve longevity by containing filling and reducing abrasion between filling and outer fabric.
Practical ways to reinforce your setup
– Reinforce seams and closures:
– If your chair’s liner has stress points, add a stitch reinforcement (or use manufacturer-approved repair kits).
– Upgrade inner liner durability (if your chair design allows):
– A thicker inner liner often reduces dust migration and improves containment.
– Avoid “just one more bag” additions:
– Overfilling increases internal pressure, which can shorten zipper and seam life.
A note on safety and materials: When working with filling materials, respect manufacturer guidance and keep the chair within its intended weight range. If you notice zipper strain, stop and adjust rather than forcing closures.
Care, Fluff, and Refill as Needed
Bean bag comfort improves with maintenance because most fillings settle and redistribute after the first days and weeks. According to product-care guidance widely shared by furniture manufacturers, periodic “fluffing” helps keep the chair evenly shaped and prevents localized compaction—but in real life, the real trigger is when the chair stops matching your preferred firmness.
Foam-based fillings commonly settle after initial use, so routine redistribution prevents permanent lumpy zones.
Refilling should be incremental and tested: you’re restoring the original comfort level, not necessarily returning to a visually “full” state.
What to do over time (simple maintenance plan)
– Fluff weekly for the first month:
– Gently press, rotate, and shake the chair (outer cover only if safe for your fabric).
– Check firmness after settling:
– If the chair feels softer than your target, add small increments.
– Refill gradually:
– Remove any clumps, then add a small amount and re-test.
– Keep filling uniform:
– Even distribution is what makes the chair feel “right,” even when total volume changes.
Direct Q&A
Q: When should I refill my bean bag chair?
Refill when firmness drops noticeably or when you feel uneven support; many chairs need a top-off after initial settling in the first few weeks.
Q: Can I refill without emptying the chair?
Usually yes: open the inner liner, add filling in small batches, redistribute, then reseal—this is often cleaner than fully emptying.
A measurement mindset (helpful in 2025–2026)
If your shopping listings use liters or cubic feet, remember unit conversions help you translate between “what’s sold” and “what fits.” Since 1 cubic foot equals 28.3168 liters (NIST SP 811, unit conversion reference), you can sanity-check volume quickly when planning refill amounts. That same planning mindset is what keeps you from overshooting.
When you fill a bean bag chair, the key is adding the right amount slowly, distributing evenly, and sealing everything securely so it keeps its shape. Follow the steps to choose the correct filling, avoid overfilling, and adjust firmness to your preference—then test it and refill as it settles. If you want, tell me your chair size and filling type, and I’ll help estimate how much you’ll need.
Frequently Asked Questions
How do I fill a bean bag chair without making it lumpy?
Start by choosing the right bean bag filling material (often shredded foam or bean bag filler beads) and add it gradually while you check the shape. If you’re using shredded foam, periodically fluff and redistribute the filling so it settles evenly instead of forming hard spots. For foam beads, pour slowly and press down lightly as you go to help the chair distribute weight uniformly. After filling, zip the cover securely and fluff the chair for a consistent, supportive feel.
What’s the best way to fill a bean bag chair with shredded foam versus pellets?
With shredded foam, you can usually get a smoother, more structured sit because the pieces fill gaps as they compress. Pellets or micro-beads tend to create a sink-in feel, but they may shift more over time, so you’ll want to monitor firmness after the first few uses. For either option, add filling in small amounts, then test comfort before topping off. If you’re not using a brand-recommended amount, keep notes so you can adjust later.
How much filling do I need for a bean bag chair of my size?
The amount depends on the chair’s dimensions and the type of filling, so the most reliable method is to follow the manufacturer’s fill weight or volume guidance. If you don’t have a guideline, aim to fill gradually until the chair reaches your preferred firmness—most people stop once the seat compresses slightly but still holds shape. Remember to account for the inner liner or inner bag, since filling is often measured by the inner compartment’s capacity. After initial use, you may need to add a bit more filling as it settles.
Why does my bean bag chair feel too firm after filling, and how can I fix it?
A too-firm bean bag chair is usually caused by overfilling or using a dense filling amount that hasn’t had time to settle. Open the inner zipper carefully, remove a small portion of the filling, and then redistribute it before resealing the bag. Give the chair a few hours to settle, then sit and evaluate again. If the firmness is still off, repeat in small increments until you reach the right comfort level.
Which tools and steps should I use to fill a bean bag chair safely?
Use a funnel or scoop to pour filling into the inner bag, especially for bean bag filler beads that can spill. If your chair has two covers (inner liner and outer cover), fill the inner bag first to keep the process clean and controlled. Wear gloves or protective clothing if the filling is dusty, and keep the bag zipped between additions to prevent mess. Finally, close and inspect all zippers, then fluff the bean bag chair to ensure an even distribution of the filling.
📅 Last Updated: August 02, 2026 | Topic: How to Fill a Bean Bag Chair | Content verified for accuracy and freshness.
References
- Bean bag chair
https://en.wikipedia.org/wiki/Bean_bag_chair - Polystyrene
https://en.wikipedia.org/wiki/Expanded_polystyrene - https://www.epa.gov/recycle/polystyrene-foam-products
https://www.epa.gov/recycle/polystyrene-foam-products - https://www.cdc.gov/niosh/topics/styrene/
https://www.cdc.gov/niosh/topics/styrene/ - https://pubmed.ncbi.nlm.nih.gov/?term=styrene+exposure+expanded+polystyrene
https://pubmed.ncbi.nlm.nih.gov/?term=styrene+exposure+expanded+polystyrene - https://pubmed.ncbi.nlm.nih.gov/?term=expanded+polystyrene+beads+inhalation+exposure
https://pubmed.ncbi.nlm.nih.gov/?term=expanded+polystyrene+beads+inhalation+exposure - https://www.cpsc.gov/Safety-Education/Safety-Guides/Child-Play-Safety/Bean-Bag-Chairs
https://www.cpsc.gov/Safety-Education/Safety-Guides/Child-Play-Safety/Bean-Bag-Chairs - Google Scholar Google Scholar
https://scholar.google.com/scholar?q=how+to+fill+a+bean+bag+chair+polystyrene+beads - Google Scholar Google Scholar
https://scholar.google.com/scholar?q=expanded+polystyrene+beads+health+safety+exposure - Google Scholar Google Scholar
https://scholar.google.com/scholar?q=foam+filling+bean+bag+chair+guidelines+stability+and+fabric+care
