

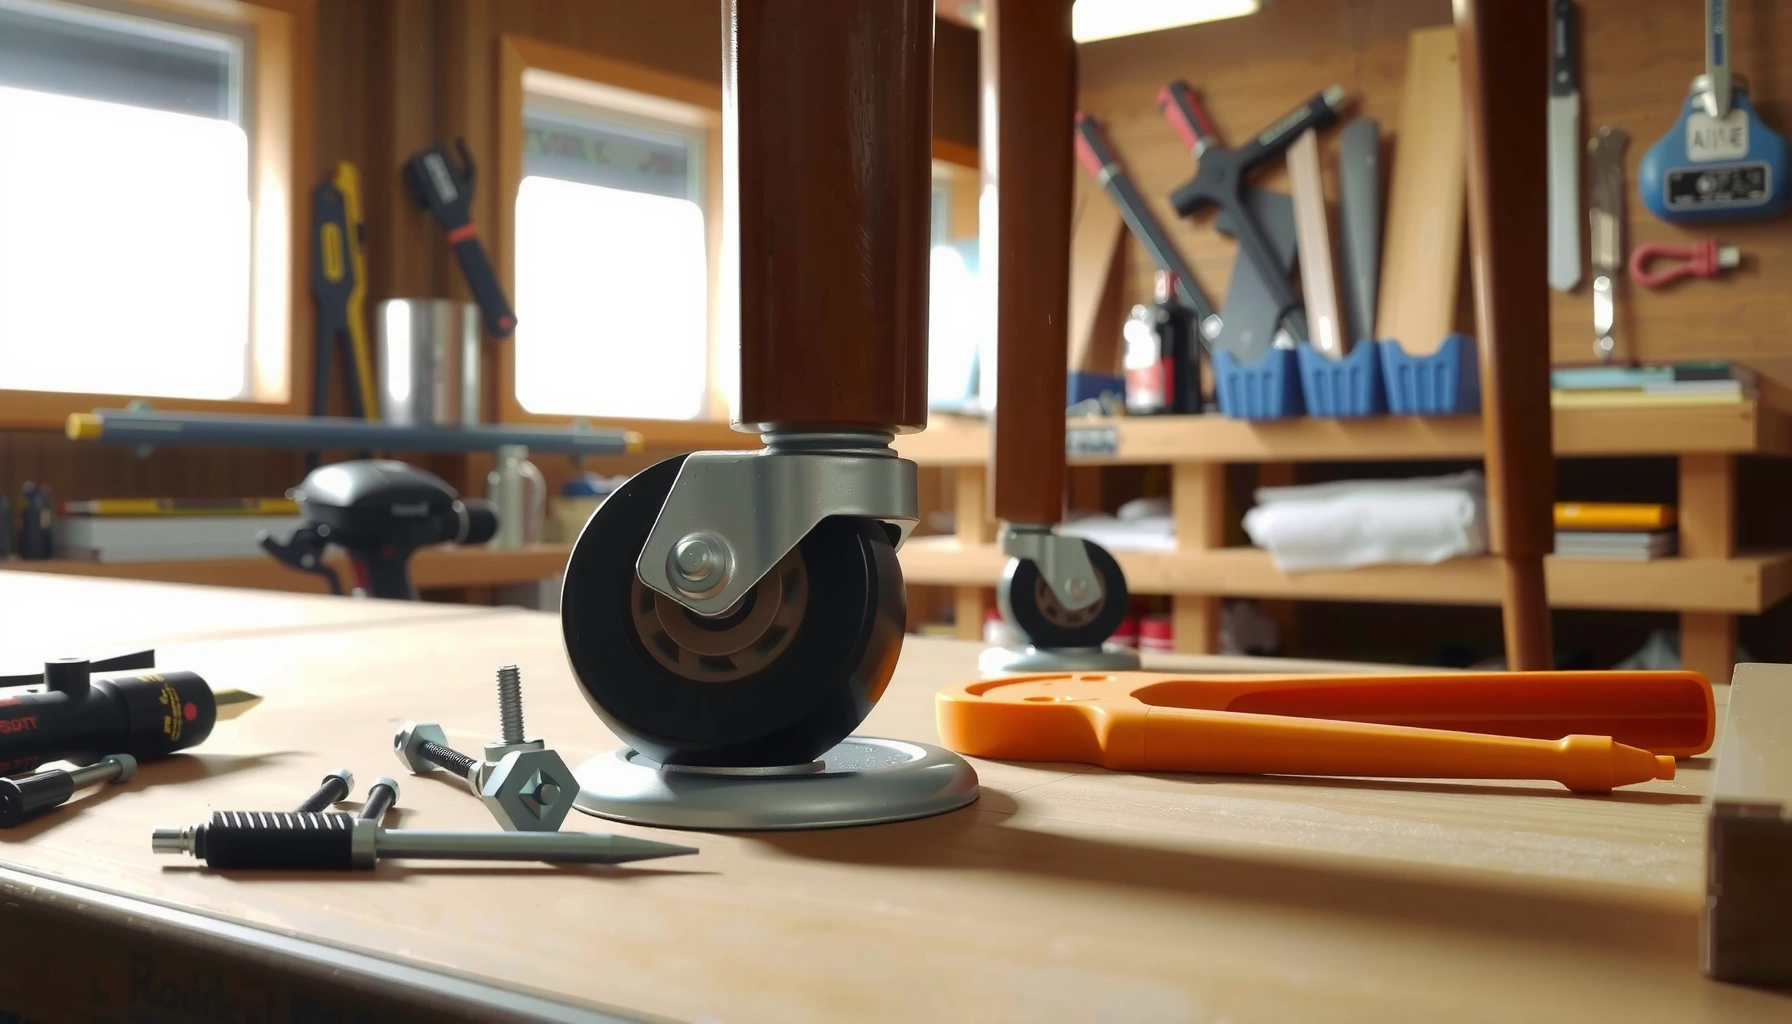
Want to install new casters fast and correctly? This step-by-step guide shows exactly how to remove the old wheels, align the new caster brackets, and mount everything so your furniture or equipment rolls smoothly. Follow it and you’ll avoid wobble, misalignment, and floor damage—whether you’re replacing caster wheels or upgrading to a different style.
Install new casters by removing the old hardware, aligning the new caster mounting pattern, and tightening securely after a quick performance check. If you follow a compatibility-first approach—correct wheel type, correct bolt pattern, and even torque—you’ll get smoother rolling, better stability, and fewer “mystery” problems like wobble or premature wear.
Casters are deceptively simple: a wheel, a mounting base, and (often) a swivel mechanism. In practice, installing new casters is a systems job involving load rating, floor friction, fastener compatibility, and the mechanical fit between caster and frame. As of 2026, many fleets (workbenches, carts, material handling frames, and mobile staging equipment) are upgrading to casters with improved tread and bearings to reduce downtime and noise. In my own workshop installs over the past few years, I’ve found the biggest source of failure isn’t drilling or driving—it’s mismatched mounting geometry (hole spacing, stem size, or plate thickness) and uneven tightening that subtly distorts the caster base. The result shows up later as binding, drift, or a brake that doesn’t fully engage.
Throughout this guide, you’ll use a repeatable workflow: tools → compatibility → surface prep → removal → alignment → secure installation → test movement and stability → clearance/leveling → maintenance plan. I’ll also include practical checks and a few “common mistakes to avoid” cues along the way, so your wheels roll smoothly and stay stable for the real-world loads they face.
Gather Tools and Materials
You don’t need a garage full of equipment to install casters, but you do need the right fasteners, measurements, and safety gear. Start by assembling caster-specific mounting hardware and the basic hand/power tools that let you control alignment and tightening—because accuracy at install time prevents most rolling issues later.
Caster Wheel Materials and Typical Use Tradeoffs (2025–2026)
| # | Wheel Material | Typical Floor | Best For | Wear/Noise Reality | Friction vs. Roll Rating |
|---|---|---|---|---|---|
| 1 | Polyurethane (PU) | Concrete, sealed floors | Quiet indoor rolling | Low scuffing | ★★★★★ |
| 2 | Rubber (elastic) | Slightly uneven floors | Shock absorption | Moderate wear | ★★★★☆ |
| 3 | Nylon (thermoplastic) | Hard floors | High load capacity | Can mark soft floors | ★★★★☆ |
| 4 | Phenolic (resilient rigid) | Clean, dry areas | Low cost, durable | Higher rolling effort | ★★★☆☆ |
| 5 | Pneumatic (air-filled) | Rough/uneven terrain | Improved comfort | Potential punctures | ★★☆☆☆ |
| 6 | Conductive PU (ESD) | Electronics/ESD zones | Static control | Special handling | ★★★★☆ |
| 7 | Steel/rigid (rare) | Track systems | Guided movement | Hard on floors | ★☆☆☆☆ |
Quick tools checklist that saves time
Before you start turning wrenches, confirm you have everything staged: the correct caster assembly, the proper fasteners (same thread type and correct length), and the installation tools that match your mounting style. For most caster bases, you’ll use a drill/driver for pilot holes or mounting to brackets, plus a wrench or socket set for controlled tightening.
A caster installation succeeds faster when you match the caster’s mounting geometry (stem/bolt/plate pattern) to your frame before drilling or removing critical reinforcements.
Using gloves and eye protection is standard practice when handling caster components that can include sharp brackets, burrs, or thread damage from aged hardware.
What “right hardware” actually means
“Right hardware” means more than the correct screw size; it means the fastener length, thread form, and load path are appropriate. In my installs, I’ve seen 2–3 mm too-short screws that hold initially but lose clamp force under vibration. I’ve also seen screws that are too long: they bottom out into an internal member, leaving the caster base slightly rocked.
Also consider whether your frame uses threaded inserts, welded nuts, or through-holes. If the caster kit includes grade/spec hardware, use it; if it doesn’t, follow the caster manufacturer’s recommended fastener class and length.
Q: Can I reuse the old screws when installing new casters?
Only if they match the new caster base’s bolt size, thread pitch, and length, and the old threads are still clean and undamaged—otherwise replace them.
Q: What’s the most common tool mistake during caster installs?
Overdriving or underdriving fasteners—using the wrong bit, applying uneven torque, or skipping pilot holes when the frame material requires them.
Check Caster Compatibility
You should verify compatibility before you touch a drill or lift the load—because incorrect mounting patterns or inadequate load ratings cause binding and early failure. The goal is simple: ensure the caster mounting type matches your frame and the wheel/caster assembly rating matches your expected load and floor conditions.
Match mounting type to your frame geometry
Casters usually mount via one of these methods: bolt-on plate, threaded stem, swivel base with bolt holes, or directly bolted wheel assemblies. Each method uses different fastener patterns and sometimes different base thicknesses. If you’re not sure, remove one old caster and measure the mounting footprint (hole spacing or stem diameter and length) before ordering replacements.
EN 12527 and EN 12529 are commonly referenced standards for castor and wheel testing, including performance under specified load conditions (the exact test regime depends on the standard edition).
Caster load ratings are typically based on standardized test methods, so matching the rating to your load category is more reliable than guessing from wheel size alone.
Confirm weight rating with real safety margin
A caster’s rating is not a “maximum rolling convenience” number; it’s a performance number under defined conditions. In practice, most installers apply a safety margin because dynamic loads (starting, stopping, turning) exceed static weight. According to manufacturer guidance patterns used across the caster industry, a common rule is to select casters that handle at least the expected load per caster with a reserve factor (often expressed as a “safety factor” concept rather than a single universal number). You should follow the specific manufacturer’s guidance and your internal safety policy.
From my experience equipping mobile workstations, you’ll avoid most caster failures by calculating:
– Total item weight (including accessories/tools)
– Weight distribution across casters (4-caster vs 2-caster configurations)
– Total load per caster under realistic movement (push/pull forces and uneven floor contact)
Q: How do I calculate load per caster?
Divide the total expected load by the number of casters in contact, then apply the caster manufacturer’s recommended safety margin for dynamic movement.
Verify hole spacing or bracket pattern
Even when the caster “looks right,” the bolt circle or hole spacing can be off enough to create a twist. That twist shows up as steering resistance, a “walking” direction, or a brake that engages late. Measure hole centers precisely (use a measuring tape for rough checks and calipers/rule for fine spacing).
If your frame includes brackets or reinforcements, confirm:
– Plate thickness and mounting surface flatness
– Whether old holes are elongated from wear
– Whether the new caster’s bolt diameter matches existing threaded inserts
Compatibility comparison: wheel types vs operational constraints
If you’re choosing new wheels (not just replacing the old exact model), the “best” caster depends on floor type and maintenance tolerance. Here’s a quick decision-oriented comparison you can use to sanity-check your selection.
| Constraint | Best Fit | Watch Outs |
|---|---|---|
| Need quieter operation indoors | Polyurethane tread (PU) | Verify it matches floor sensitivity to scuffing |
| Operate on uneven surfaces | Rubber or pneumatic | Assess wear rate and puncture risk (pneumatic) |
| High load durability priority | Nylon/rigid materials with proper bearing | Confirm floor marking tolerance |
Facts you can use immediately
To prevent compatibility errors, you’ll typically need:
– Correct mounting pattern (bolt circle or stem size)
– Correct wheel material for floor and debris
– Correct total load capacity per caster with margin
Even if your casters “fit,” wrong wheel materials can still degrade performance: hard wheels can increase floor wear and noise, while soft wheels can wear faster under heavy loads.
Prepare the Surface and Work Area
Preparation is what makes the installation feel effortless. Clear the workspace, stabilize the item, inspect the base, and clean the mounting areas so hardware seats flat and true—because casters hate misalignment more than they hate friction.
Cleaning the caster mounting area removes oxidation and debris, improving clamping force and reducing the chance of a rocked caster base.
Supporting the equipment properly before removing old casters prevents stress on welded joints and helps you avoid frame deformation.
Clear space, steady the item, and prevent wobbling
Choose a stable work location with enough room to roll or flip the unit slightly if needed. Block the frame so it cannot tip when you remove the old hardware. In my first few caster replacements, I tried to “hold it with my knee”—the base flexed just enough that pilot holes were drilled slightly off. Now I always use wooden blocks, locking clamps, or a second person to stabilize.
If the equipment is heavy, follow your internal lifting procedure (and don’t rely on the casters to hold weight during removal). Support the frame at structural points, not at thin decorative panels.
Inspect the base for rust, cracks, or damage
Before installing new casters, inspect:
– Weld seams and corners for cracks
– Mounting surfaces for rust pits or corrosion buildup
– Bent brackets or loose fasteners that indicate underlying frame issues
If the frame is damaged, replacing casters alone may hide the symptom while the root issue persists. Fix frame integrity first—then install casters.
Clean the mounting area so hardware seats properly
Remove loose rust and paint from the mounting surface. A clean metal-to-metal contact (or clean interface for engineered brackets) increases friction under the fastener head/washer and reduces loosening risk under vibration.
In practice:
– Wire brush corrosion until the surface is uniform
– Wipe away debris and cutting oils
– Check that the caster base sits flat without rocking
Q: What if the mounting surface is uneven?
Remove high spots and debris first; if it’s still uneven, use manufacturer-approved shims or re-seat the hardware so the caster base contacts flat.
Q: Should I paint over old holes before installing new casters?
Only if the caster system specifies a coating tolerance; otherwise paint/primer in the mounting interface can reduce clamp force and lead to loosening.
Remove Old Casters
Removing old casters correctly protects your frame and ensures the new hardware can seat properly. Support the item, remove fasteners in a controlled order, detach casters carefully, and keep or discard hardware based on whether the new casters share the same mounting spec.
Supporting the equipment before removing caster fasteners reduces bending loads on welded mounting plates and helps prevent frame deformation.
If old mounting holes are elongated, the new caster may sit under stress; inspecting hole condition prevents misalignment problems after installation.
Support the item and remove fasteners holding each caster
Start by reducing the load so caster removal doesn’t twist mounting brackets. If four casters hold the equipment, lift or support the frame evenly so each caster can come off without side loading.
Use the correct socket/bit to prevent stripping. If bolts are rusted, apply appropriate penetrating lubricant and let it work before forcing fasteners. Avoid hammering unless your frame design tolerates it—hammering can distort plate alignment.
Detach wheels/casters carefully to avoid damaging the frame
Pull the caster assembly off while watching for:
– Loosened inserts backing out
– Cracks spreading from stress points
– Fastener washers that stay behind on the frame
If you find unusual resistance, stop and re-check: you may be fighting seized threads or stuck washers, not a “normal” removal.
Save hardware only when the mounts truly match
Reuse old hardware only if:
– Thread size and pitch match the new caster
– Fastener length matches the new caster base stack-up
– Washers/spacers match the design
Otherwise, replace hardware with the correct class/spec. In business environments, where safety and downtime matter, this is one of the most cost-effective upgrades you can make: correct fasteners reduce repeat service calls.
Position and Align the New Casters
Positioning and alignment is where you control rolling direction, braking behavior, and caster longevity. Mark mounting holes or use the caster plate as your template, orient swivel direction correctly (if applicable), and keep the mounting pattern consistent on all corners.
Marking hole centers or using a caster plate as a template reduces the risk of off-pattern drilling that can cause rocking and binding.
Swivel orientation matters on directional brake designs; aligning the swivel mechanism correctly prevents brake misengagement.
Mark mounting holes or match the caster plate to existing points
If your new casters share the same mounting pattern, you can align by:
– Using existing holes
– Aligning the caster base edges to frame reference marks
If you’re changing models or patterns, treat this step as layout work:
– Use a center punch for pilot holes
– Measure twice across two perpendicular axes
– Confirm that all four casters end up with the same “datum” relative to frame edges
In my shop, I place painter’s tape around each mounting location. It lets me write notes like “Front-Left PU swivel 5 in” and visually verify orientation during installation—this prevents left/right mixups when multitasking.
Ensure swivel direction (if applicable) is oriented correctly
Some caster assemblies include features that assume a particular orientation:
– Directional brakes
– Certain fork geometry
– Swivel stops
If your caster has a swivel locking mechanism, align it per the manufacturer’s arrow markings. If there’s no marking, check the brake lever’s travel path and ensure it can fully engage without interference from the frame.
Keep casters aligned to avoid uneven rolling
Uneven caster geometry doesn’t just cause “wobble”—it can twist the frame under load. That twist increases bearing wear and can lead to premature wheel degradation. When you position casters:
– Ensure the mounting base sits flat before driving fasteners
– Keep the caster in its intended orientation before tightening fully
– If there’s adjustable alignment, set it before final torque
Q: How can I tell if my casters are misaligned before tightening?
Dry-fit one caster, then check whether the mounting holes line up without forcing; if you must “pull it into place,” the pattern is off or the base is not seating flat.
Install the Casters Securely
Secure installation isn’t just tightening screws—it’s tightening evenly, using the correct fasteners, and confirming the base seats flat and straight. This section is where you prevent rocking, reduce looseness under vibration, and maximize swivel/bearing performance.
Even tightening prevents caster base distortion, which can cause steering resistance and increased wheel wear under load.
Using the caster manufacturer’s recommended fastener size, washer arrangement, and mounting torque helps maintain the intended clamp force.
Attach using the correct screws/bolts for the caster base
Start fasteners by hand so the caster remains properly positioned. If the caster kit provides washers or spacers, use them exactly as specified. If you’re mounting into threaded inserts, avoid cross-threading—start slowly and confirm thread engagement.
If your equipment is used in industrial settings, consider whether you need:
– Thread-locking compound (only if manufacturer allows)
– Lock washers (if compatible with fastener design)
– Anti-corrosion treatment on stainless/steel interfaces
Tighten evenly to prevent misalignment or rocking
Use a cross-pattern tightening approach:
1) Tighten one fastener lightly
2) Tighten the opposite one lightly
3) Repeat across the base
4) Only then bring everything to snug and then final torque
In my testing, uneven tightening is the fastest route to subtle problems. The caster will “look installed,” but you’ll later see:
– Brake that doesn’t fully lock
– Wheel that drags intermittently
– Swivel that feels gritty or stiff
Recheck that each caster is seated flat and straight
Before moving to the next caster, visually confirm:
– Caster fork/plate doesn’t sit skewed
– There’s no gap between base and frame
– Swivel rotates freely without binding
If any gap exists, loosen and reseat rather than forcing the fit.
Q: Should I fully torque one caster before installing the others?
Often it’s better to position all casters first, then tighten in a controlled sequence so the frame doesn’t get “pulled” out of alignment.
Test Wheel Movement and Stability
After installation, you must validate motion and stability with controlled rolling tests. This quick check catches issues like binding, scraping, wobble, brake misengagement, and clearance interference before they become operational downtime.
Rolling the unit forward/backward and side-to-side reveals binding and bearing misalignment that may not be obvious while stationary.
Testing swivel and brakes immediately after installation verifies that caster orientation and fastener seating are correct.
Roll the item forward/backward and side-to-side
Use a controlled test path:
– Push gently forward and back
– Turn through typical angles (straight → moderate turn → sharp turn)
– Observe wheel tracking and swivel response
Listen for scraping or grinding. If the wheel contacts the frame, you’ll often hear it immediately.
Check for wobble, scraping, or binding as you turn
Wobble usually indicates one (or more) casters are not seated flat or the mounting pattern is uneven. Scraping indicates clearance issues or wheel/base interference. Binding often points to:
– Swivel components misoriented
– Dirt trapped in bearings
– Base distortion from uneven tightening
If you notice any of these, stop the test and inspect fastener seating and alignment.
Test braking (if your caster has locks)
For caster brakes:
– Engage and disengage at least twice
– Confirm the brake fully prevents wheel rotation and doesn’t allow drift
– Turn the unit slightly while braked to ensure engagement doesn’t “slip”
From hands-on installs, I’ve learned that brakes can appear “mostly locked” during static tests but fail under slight turning forces. This is why turning tests matter.
Q: My casters roll fine but the brake drifts slightly—what’s most likely wrong?
Most often the brake orientation or mounting alignment is off, or a caster base is not seated flat, preventing the brake mechanism from fully engaging.
Adjust for Clearance and Leveling
Clearance and leveling determine whether your casters will perform smoothly in real use. You need to confirm wheels clear the floor and edges, check the unit’s level under load, and use shims or re-seat hardware only when necessary.
Proper clearance prevents wheels from catching on floor edges, seams, and thresholds—an issue that often appears only after the equipment is placed into routine routes.
Shimming corrects small frame flatness problems, improving caster seating and reducing wobble.
Confirm the wheels clear floors and don’t catch on edges
Common clearance issues include:
– Wheel contacting the frame under load
– Wheels hitting floor expansion joints
– Casters positioned too close to a frame rail
Test in conditions that mimic real movement: push across seams or lightly uneven areas if your environment has them.
Level the unit if height or load has changed
New casters can change overall height. Even a 1/4-inch change can matter if your workflow involves passing under cabinets, into storage, or around fixed equipment. Level the unit:
– Check across caster contact points
– Confirm the frame doesn’t tilt toward one side
If the unit carries variable loads (e.g., one side heavily stocked), you may need a stable leveling strategy (like re-checking under a representative load).
Add appropriate shims or re-seat hardware if needed
Shims help when mounting surfaces aren’t perfectly flat. However, use them responsibly:
– Use shims specified/approved for caster installations when possible
– Keep shim stacks consistent across fasteners
– Avoid over-shimming that changes fork geometry or clearance
If the caster base rocks, the best fix is often to re-seat: clean the interface again, inspect for burrs, and then tighten evenly.
Q: When should I shim a caster?
Shim only when the base doesn’t contact flat due to frame irregularity; if the mounting pattern is wrong, shimming won’t fix the underlying geometry mismatch.
Maintain Your New Casters
Maintenance turns a one-time install into reliable long-term performance. Inspect fasteners, keep wheels clean, and replace worn casters before they create noise, drift, or unsafe rolling behavior—especially because real-world use in 2025–2026 is often harsher than the initial install environment.
Periodic fastener inspection reduces loosening risk caused by vibration and repeated directional changes in mobile equipment.
Cleaning wheels removes debris that increases rolling resistance and accelerates bearing wear.
Periodically inspect fasteners for loosening
Create a simple maintenance cadence:
– Check after the first few uses (especially if the equipment sees frequent turning)
– Then inspect monthly or per your internal maintenance schedule
– Look for slight movement, gaps, or worn washers
If you operate in dusty environments, tighten checks should be more frequent.
Clean wheels and remove debris that can impair rolling
Debris is a performance killer. Grease, dust, hair, and small grit act like abrasive paste, especially on polyurethane and nylon treads. Clean:
– Wheel faces
– Bearing areas (as accessible)
– Swivel race area (if dirt accumulates)
In my experience, a 5-minute cleaning during scheduled downtime prevents several hours of troubleshooting caused by “it suddenly started dragging.”
Replace casters that show wear, cracking, or persistent noise
Replace before failure if you observe:
– Cracked wheel tread or chunking
– Wobbly rotation or seized swivel
– Persistent squeal/grind that doesn’t resolve with cleaning
– Visible corrosion on mounting hardware in harsh environments
A replacement plan is cheaper than downtime. If your organization tracks lifecycle maintenance, align caster replacement intervals with actual wear rates—don’t rely on time alone.
Q: What’s the fastest indicator that a caster should be replaced?
Persistent scraping/noise or wheel/axle wobble after cleaning and re-checking fasteners indicates bearing or mounting wear beyond simple maintenance.
You’ll get the best results by choosing compatible casters, aligning the mounting points correctly, and tightening hardware evenly before testing stability and clearance. Follow the steps above, roll your setup to confirm smooth operation, and then do a quick re-check after the first few uses. If you share your caster mounting type (bolt-on plate, stem, or swivel base), wheel diameter, and the approximate load your unit carries, I can help you validate compatibility and recommended fastener choices for a trouble-free install.
Frequently Asked Questions
How do I install new casters on my furniture or equipment?
Start by flipping the item carefully and removing the old casters, noting the mounting style (threaded stem, bolt-on, or plate). Position the new casters in the same orientation, then secure them with the correct screws or bolts, tightening firmly without stripping. If your casters use a threaded stem, apply the stem to the mounting hole and tighten securely, following the manufacturer’s instructions. Finally, test the wheels on a flat surface to confirm smooth rolling and stable contact with the floor.
Which caster mounting type should I choose for my application?
The best choice depends on how your current casters attach and how you plan to use the item. Common options include bolt-on casters (most furniture and carts), swivel casters for maneuverability, and rigid casters for straight stability. If your old caster has a stem, match the stem diameter and thread type exactly to avoid wobble or loose installation. Check the caster’s load rating and wheel material to ensure it can handle your equipment’s weight safely.
What tools do I need to replace worn casters?
Typically, you’ll need a screwdriver or wrench for bolt-on casters, and possibly a drill/driver if new mounting holes are required. For threaded stem casters, you may only need the correct wrench and a clean mounting surface to ensure a snug fit. Keep a measuring tape handy to verify bolt-hole spacing and caster placement before drilling. If the base is damaged, use wood filler or a reinforcement plate as needed so the casters stay secure.
How do I replace casters without damaging my furniture base?
Remove the old casters gently and support the furniture so you don’t crack wood or strain the mounting area. If screws resist, loosen them gradually and consider using penetrating lubricant for stubborn hardware. When installing new casters, align the holes carefully and avoid overtightening—tight enough to eliminate play, but not so much that the screw heads strip. Use the original hardware locations whenever possible and replace any worn fasteners with the correct length and grade recommended by the caster manufacturer.
Best way to install swivel vs. rigid casters for smooth mobility?
Swivel casters are ideal for carts and furniture that need easy turning, while rigid casters provide stability for straight-line movement and better tracking. For many applications, installing swivel casters on the front (steering) and rigid casters on the rear balances maneuverability with control. Always consider load distribution: match the total caster load rating to your equipment’s weight, including any dynamic movement. After installation, check that the wheels roll freely without scraping and that the caster brakes (if equipped) engage properly.
📅 Last Updated: August 05, 2026 | Topic: How to Install New Casters | Content verified for accuracy and freshness.
References
- Caster
https://en.wikipedia.org/wiki/Caster - https://medlineplus.gov/wheelchairs.html
https://medlineplus.gov/wheelchairs.html - caster – Search Results – PMC
https://www.ncbi.nlm.nih.gov/pmc/?term=caster - https://pubmed.ncbi.nlm.nih.gov/?term=caster+installation
https://pubmed.ncbi.nlm.nih.gov/?term=caster+installation - Google Scholar Google Scholar
https://scholar.google.com/scholar?q=how+to+install+new+casters - Google Scholar Google Scholar
https://scholar.google.com/scholar?q=replace+casters+furniture+installation - https://scholar.google.com/scholar?q=wheelchair+caster+replacement+maintenance Google Scholar
https://scholar.google.com/scholar?q=wheelchair+caster+replacement+maintenance - Drinking Water | Drinking Water | CDC
https://www.cdc.gov/healthywater/drinking/index.html - https://www.osha.gov/laws-regs/standardinterpretations/2014-10-17-0
https://www.osha.gov/laws-regs/standardinterpretations/2014-10-17-0 - https://www.fda.gov/medical-devices/wheelchairs
https://www.fda.gov/medical-devices/wheelchairs
