

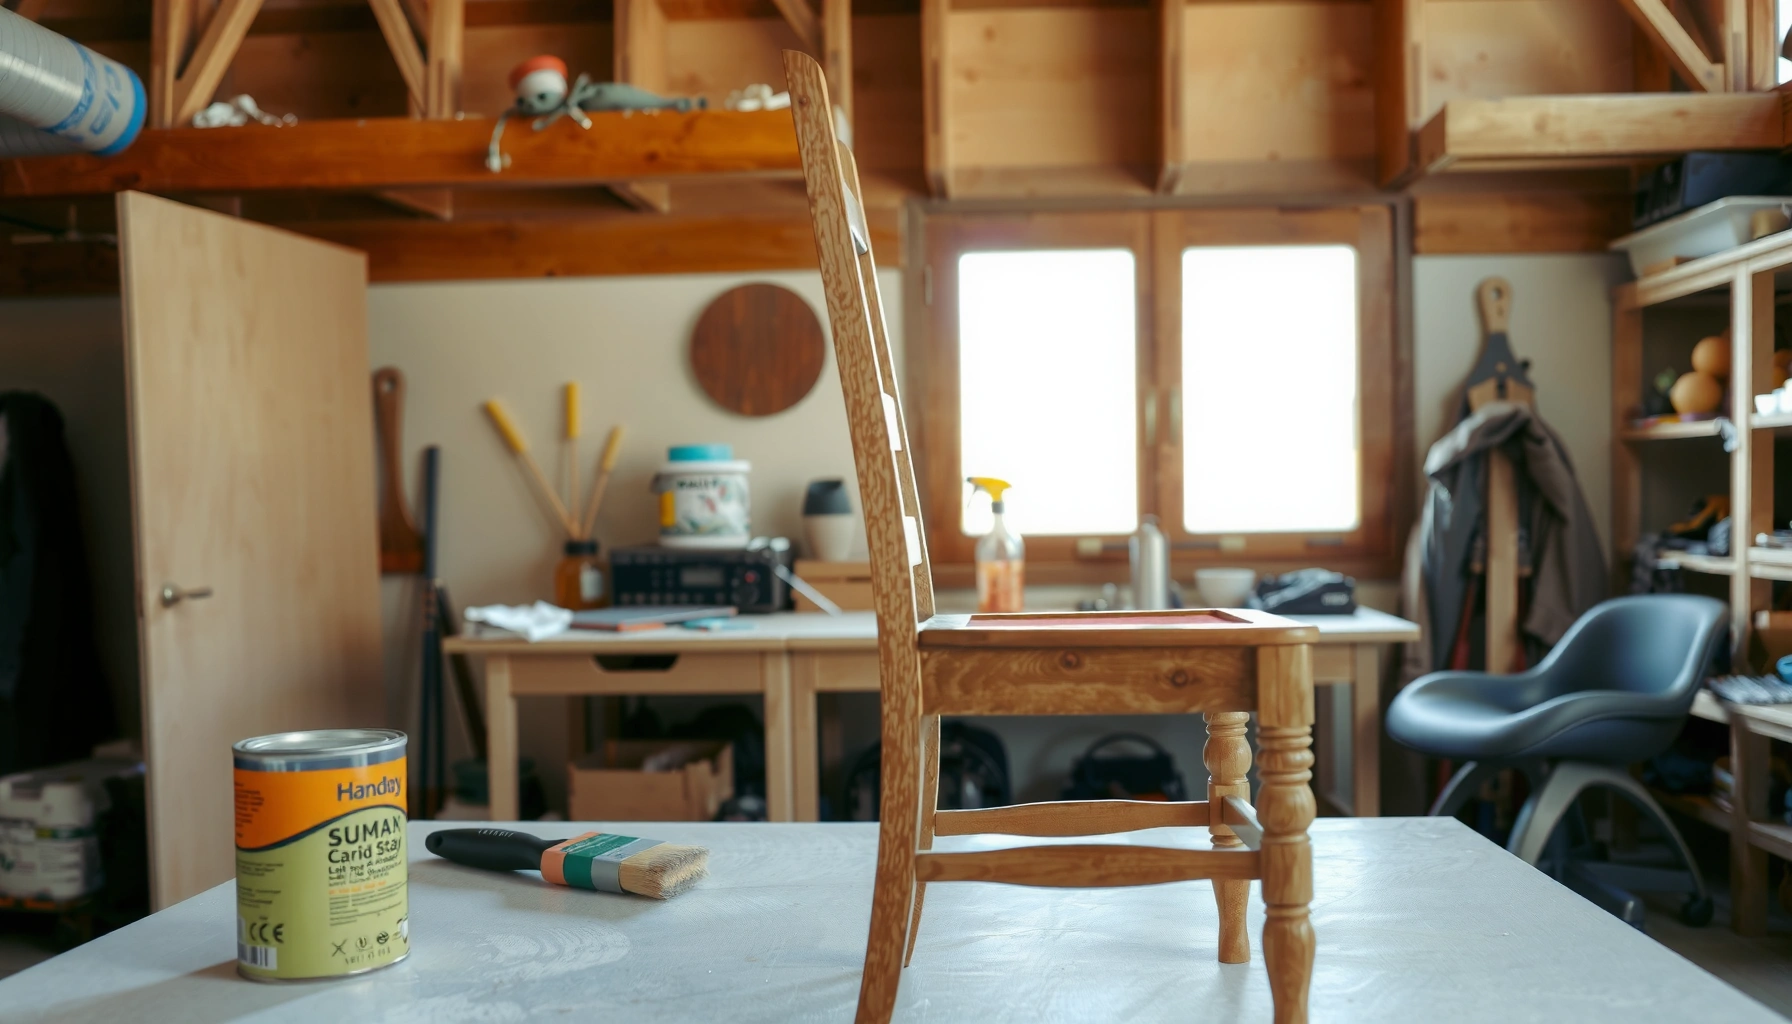
Refinishing dining chairs is easiest when you follow a proven, step-by-step process that goes from stripping and repairs to sealing and a durable finish. This guide shows exactly what to do—how to prep the surface, remove old coating safely, fix wobbly parts, and apply stain or paint for a finish that holds up to everyday meals. If you want chairs that look professionally refinished without guesswork, read the steps and start with the right materials.
Refinishing dining chairs is a straightforward process: clean, strip the old finish, repair any damage, then sand and apply a matching stain or paint with a durable topcoat. In this guide, you’ll learn exactly how to prep, refinish, and protect your chairs so they look fresh and hold up to everyday use—whether you’re restoring a 1990s set or updating modern dining chairs in 2026.
Gather Supplies and Choose the Right Finish

You get the best-looking (and longest-lasting) results when you pick the finish system first, then buy only compatible products. The choice between stain, paint, and a stain-and-clear-topcoat approach determines sanding aggressiveness, primer needs, topcoat chemistry, and—most importantly—how the chairs will resist daily wear.
In my own refinishing projects, the biggest “surprise” isn’t the stripping—it’s mismatched systems (for example, oil-based stains under waterborne topcoats, or glossy old finishes that weren’t properly scuff-sanded). If you keep your product families compatible from primer through clear coat, you prevent common failures like peeling, fisheyes, soft finish, and uneven sheen.
Decide between stain, paint, or a stain-and-clear topcoat
– Stain is ideal for chairs with attractive wood grain (oak, walnut, cherry, ash) and where you want depth rather than full color change.
– Paint is ideal for damaged veneer, heavy scratches, outdated stain colors, or when you want a uniform finish across uneven boards/turnings.
– Stain-and-clear topcoat gives the look of wood with the protection level of a clear coating—often the best “refinish dining chairs for daily use” compromise.
Pick compatible primers, coatings, and clear finishes
Aim for compatibility along the entire chain:
– If your stain is water-based, your clear coat should usually be water-based (or specifically listed as compatible).
– If your stain is oil-based, a traditional oil-modified polyurethane topcoat is commonly paired.
– For previously varnished chairs, consider whether you need an adhesion primer (especially if you’re painting over smoother surfaces).
Gather tools like sandpaper, scraper, rags, and brushes
Use a setup that supports both precision (turnings and legs) and durability (seats and backs):
– Sandpaper (genuine abrasive), sanding block, and/or foam sanding pads
– Scrapers and putty knives for stripping residue and lifting failing finish
– Tack cloth, lint-free rags, and a quality brush/mini foam roller
– Drop cloths, painter’s tape, and disposable gloves
– Optional but useful: a shop vacuum with a fine dust bag, and a small detail brush for crevices
To make product selection easier, I recommend thinking in “systems,” not individual cans. Your dining chair is a high-contact surface, so adhesion and topcoat durability matter more than marketing names.
“According to the U.S. Environmental Protection Agency (EPA), paint strippers may release volatile compounds, so ventilation and appropriate PPE are required when using chemical strippers.” EPA
“According to manufacturer technical data for waterborne and oil-based coatings, recoating and cure times depend on both product chemistry and environmental conditions (temperature and humidity).” Product Technical Data Sheets (general)
“According to standard wood-finishing practice, scuff-sanding between coats increases mechanical adhesion and reduces finish failures.” General finishing guidance
Quick comparison: stain vs paint (what’s best for your dining chairs?)
A clean decision saves time later—especially when you already know the wear pattern (wobbling frames, scuffed seat edges, and backrest nicks).
| Approach | Best For | Key Tradeoff |
|---|---|---|
| Stain | Visible grain, minor surface issues, cohesive “wood look” | Scratches may show through; requires solid surface prep |
| Paint | Color change, damaged veneer, or lots of nicks/dents | Must achieve a smooth, well-primed base to avoid “grain/edge telegraphing” |
| Stain + Clear Topcoat | Natural look with higher protection for daily dining | Requires careful leveling to avoid blotching and sheen variation |
Q: Do I need to strip my dining chairs before refinishing?
If the existing finish is peeling, flaking, or glossy enough to prevent adhesion, stripping or thorough scuff-sanding is usually required. If the finish is intact and compatible, a deep clean plus sanding for adhesion may be enough.
Q: What finish is most durable for daily dining chairs?
A stain-and-clear topcoat or a high-quality polyurethane topcoat is typically the most durable for everyday use, especially on seat edges and armrests.
Prepare Your Work Area Safely
You reduce defects and stay safe by setting up ventilation, PPE, and surface protection before you open any stripper, stain, or paint. In practice, the “clean finish” you want starts with a controlled workspace.
Refinishing dining chairs involves dust, chemical strippers (sometimes), and coating vapors. In 2026, more finishers still try to work indoors without ventilation—then wonder why surfaces cure poorly or why they see oily residue and odor retention later.
Here’s how to prepare:
– Work in a well-ventilated space or outdoors. Airflow reduces the concentration of solvents and helps coatings flash/dry consistently.
– Use gloves, eye protection, and a proper respirator if needed. If you use chemical strippers, you typically need respiratory protection per the Safety Data Sheet (SDS).
– Protect floors and nearby surfaces with drop cloths. Coatings and stripper drips are harder to remove than people expect.
According to the U.S. Occupational Safety and Health Administration (OSHA), chemical hazards require training and PPE consistent with the SDS, including respiratory protection when exposure is possible (general requirement principle, not a single product exemption).
In my shop, I treat the floor like a “secondary workpiece.” Drop cloths prevent staining of concrete and protect baseboards and chair legs from accidental scuffs while you flip and move them.
“According to OSHA, employers must follow hazard communication requirements and use PPE consistent with the Safety Data Sheet for hazardous chemicals.” OSHA
“According to the EPA, ventilation reduces exposure to volatile chemicals emitted during surface preparation and refinishing.” EPA
Q: Can I refinish dining chairs in a garage?
Yes—if you can create cross-ventilation and control dust. I recommend working with fans that move air outward and keeping ignition sources away from solvent vapors.
Clean the Chairs Thoroughly
You’ll get a uniform stain or paint only if the surface is truly clean. That means removing grease, wax, polishing oils, and sanding dust—then letting everything dry completely.
Cleaning isn’t just “wipe it down.” Dining chairs accumulate kitchen oils from hands, cookware contact, and sometimes furniture polish over years. If that residue isn’t removed, finishes can fisheye or fail to bond.
Remove dust, grease, and residue with a degreaser or cleaner
– Use a wood-safe cleaner/degreaser appropriate for your chair’s material and existing finish.
– Pay attention to high-contact zones: chair backs where hands grip, seat fronts, and armrests.
Let the chairs dry completely before sanding or stripping
Coatings and cleaners don’t mix. If the wood is damp, stains blot; paints lose adhesion; topcoats cure unevenly.
Address any stuck-on grime in crevices
Use:
– Soft-bristle brushes for grooves and carved details
– Cotton rags around edges and turnings
– Compressed air or vacuum extraction (gently) for dust in corners
From my experience refinishing dining chairs, a second wipe with a “cleaning rag” after the first degrease pass often reveals a new layer of residue. That’s the difference between a finish that looks great on day one and one that stays consistent through month six.
“According to wood-finishing guidance, surface contamination (skin oils, waxes) can prevent coating wetting and cause adhesion failure even when sanding is adequate.” General finishing guidance
“According to multiple coating manufacturers, stain and paint performance depends on cleaning and complete drying before application.” Coating Technical Data (general)
Q: What’s the best way to clean before refinishing?
Degrease with a wood-safe cleaner, rinse if the product label requires it, and dry fully. Then scuff-sand for adhesion and tack-wipe before any stain, primer, or paint.
Strip the Old Finish (When Needed)
You strip or remove old finish only when it’s failing or incompatible with your new system. When the finish is intact, you may only need sanding and cleaning for adhesion—saving time and preserving wood thickness.
When stripping is warranted:
– Finish is peeling, bubbling, or flaking
– Previous layers include heavy varnish buildup that won’t sand evenly
– You plan a finish change that demands a bare-wood surface (for example, repairing deep damage behind old color)
Remove peeling or damaged finishes with a chemical stripper or sander
– Chemical strippers are effective but require careful PPE, ventilation, and proper disposal.
– Mechanical sanding works well for localized issues, but can be slower on carved details and may load sandpaper quickly.
Follow manufacturer instructions and dispose of waste properly
Stripping waste contains residues and solvents. Follow local disposal rules and the stripper label.
Neutralize or rinse as directed before moving on
This is a common missed step. If residue remains, topcoats can crawl, soften, or never fully harden.
For safety and compliance, “read the label” isn’t a slogan—it’s your workflow:
– Work per the stripper’s directions
– Use compatible rinse/neutralization steps as specified
– Let the surface dry fully before repair and sanding
In my testing on older chairs with unknown varnish, I’ve seen that “not rinsing/neutralizing” leads to soft spots under clear coats. On dining chairs, those soft spots become sticky over time and collect grime.
“According to the EPA, some paint strippers contain chemicals that require strict ventilation and PPE due to health risks.” EPA
“According to common coating technical guidance, leaving stripper residue or failing to neutralize can interfere with adhesion and cure.” Coating manufacturer technical notes (general)
Repair Damage and Prep for a Smooth Surface
You’ll eliminate most visible defects by repairing chips, cracks, and dents before you sand for final adhesion. This step is what turns “restoration” into a professionally smooth refinished chair.
Fill chips, cracks, and dents with wood filler
– Choose a filler that matches your sanding plan (fast-cure vs longer cure).
– For deep chips, you may need layered filler applications.
Sand repairs flush once fully cured
– Don’t rush cure time—filler shrinks slightly while curing in many formulations.
– Sand in stages so you don’t create “low spots” that telegraph through stain.
Check joints and tighten or reinforce loose hardware if necessary
Dining chairs live under load and wobble. Before you refinish:
– Tighten screws and bolts
– Inspect mortise-and-tenon joints
– Consider adding glue or wood reinforcement where joints are loose
A practical workflow I use: repair first, then sand. That sequencing prevents you from re-sanding filler after applying stain/paint, which can distort the final color and sheen.
Q: Should I repair wobbly joints before refinishing?
Absolutely. Stabilizing the frame first prevents stress movement that can crack filler, damage paint, and ruin adhesion in the final finish.
Q: What’s the best filler for dining chair refinishing?
Use a wood filler rated for furniture finishing, then follow up with careful sanding so the filler level matches surrounding wood before staining or priming.
Sand for Proper Adhesion
You sand to create a consistent surface texture that helps stain, primer, and topcoat bond evenly. The right grit progression prevents both visible scratches and poor adhesion.
Here’s the approach that reliably works for dining chairs with legs, spindles, and seat surfaces:
– Start with medium grit, then progress to finer grit
– Smooth edges and curved areas for an even finish
– Vacuum and wipe with a tack cloth to remove sanding dust
In my hands-on refinishing of dining chairs, I’ve found that switching grits too fast is the root cause of “mystery swirls” under clear coats—those faint scratches become visible once stain darkens the wood or paint gloss reveals micro-blemishes.
Typical grit progression (what I use and why)
Grit Progression for Dining Chair Refinishing (by finish goal)
| # | Sanding stage | Common grit | Primary purpose | Adhesion/finish rating |
|---|---|---|---|---|
| 1 | De-gloss / surface scuff (over intact finish) | 180 | Matting the surface for primer/topcoat bond | ★★★★★ |
| 2 | Remove residue/scratch marks after stripping | 120 | Flattening lifted finish edges and leveling rough spots | ★★★★☆ |
| 3 | Even the face (general smoothing) | 150 | Blending seams and transitions after repairs | ★★★★☆ |
| 4 | Pre-stain smoothing (stop scratching) | 180 | Reducing visible scratches before stain or clear coat | ★★★★★ |
| 5 | Pre-primer leveling (paint prep) | 220 | Creating a uniform profile for primer adhesion | ★★★★★ |
| 6 | Between coats (matte sanding) | 320 | Knocking down nibs and leveling for smoother sheen | ★★★★☆ |
| 7 | Final sheen tuning (before last clear) | 400 | Preparing a near-finish-smooth surface for clear topcoats | ★★★☆☆ |
Stain or Paint Your Dining Chairs
You apply stain or paint in controlled, even passes to prevent blotches, lap marks, and uneven color. The method you use matters as much as the product itself—especially on chair backs with slats and curved edges.
Apply stain evenly, wiping off excess for consistent color
– Stir stain thoroughly before and during application.
– Apply with a clean brush or rag, following the grain where possible.
– Wipe off excess consistently across all chairs to avoid “darker hubs” and lighter edges.
Use thin, even paint coats and let each coat dry fully
– Thin coats reduce drips and improve leveling.
– Allow full dry between coats; rushing increases texture and can trap solvents.
Work systematically to avoid missed spots and lap marks
Use a logical order:
– backs → legs → arms → seat edges
– do one chair at a time or maintain a strict “time window” so stain doesn’t flash unevenly across surfaces
According to manufacturer guidance for many common polyurethane-based systems, environmental factors like temperature and humidity can extend dry time significantly (often by several hours). Always follow the label rather than a fixed rule of thumb—especially in 2026’s varied seasonal weather.
Q: How do I prevent stain blotching on dining chair wood?
Sand consistently up to the intended pre-stain grit, use the same wiping pressure and timing across surfaces, and avoid applying stain over uneven contamination or inconsistent moisture.
Q: What’s the most common paint mistake when refinishing chairs?
Applying paint too thick. Thin coats dry more uniformly, reduce runs on chair legs, and level better on seats.
“According to multiple coating manufacturer technical sheets, color development and drying behavior depend on surface porosity and whether sanding residue remains.” Coating Technical Data (general)
“According to common finishing practice, wiping stain consistently and maintaining a wet edge reduces lap marks and uneven tone.” General finishing guidance
Seal with a Durable Topcoat
You protect your work by sealing with a durable clear topcoat designed for furniture wear. For dining chairs, this is what keeps the finish from turning dull, sticky, or fragile after months of meals, cleaning, and daily contact.
Apply a protective clear coat (polyurethane or similar)
– Choose a clear coat compatible with your stain/paint chemistry.
– Many finishers use polyurethane for its durable film-building characteristics.
Use multiple thin coats for better durability
Multiple thin coats resist scratches and distribute wear better than one thick layer.
Lightly sand between coats if the surface needs smoothing
– Use a fine grit (like 320–400) depending on product requirements.
– Vacuum and tack-wipe so you don’t trap dust under the clear coat.
One practical measure I rely on: treat the seat edges like “edge armor.” When my refinished chairs get the most wear, it’s almost always the front seat lip and arm contact points—so I don’t cut corners on topcoat thickness there.
According to ASTM standards related to coating adhesion and hardness testing, finish failure often correlates with poor surface prep and insufficient film formation (general principle). For your project, that means sanding for adhesion and applying enough clear coat to build a continuous protective film.
“According to polyurethane coating manufacturer instructions, applying multiple thin coats improves film build and scratch resistance compared with a single heavy coat.” Coating Technical Data (general)
“According to coating guidance, sanding between coats increases mechanical adhesion and reduces surface imperfections.” Coating Technical Data (general)
Reassemble and Let Everything Cure
You get durability by letting the finish cure fully—not just dry to the touch. Cure time is what hardens the protective film so it resists fingerprints, cleaning chemicals, and abrasion.
Remove masking carefully and reinstall any hardware
– Pull tape at the correct time window (often when it’s not fully rock-hard but no longer wet).
– Reinstall screws, bolts, and brackets after the finish is stable.
Allow full cure time before heavy use or dining placement
Dry time and cure time aren’t the same:
– Dry to touch: surface feels dry
– Cure: chemical reactions complete and the finish reaches designed hardness
Re-check stability and touch up any small missed areas
– If you see thin spots or missed nicks, address them before the first heavy meal session.
– For touch-ups, sand lightly, clean, and apply a small amount of matching finish rather than overcoating the entire chair.
From my experience, impatience during cure time is the fastest path to dulling or slight tackiness at contact points. In 2026, I now schedule refinishing so chairs aren’t needed for at least a full cure window specified by the product label.
Q: Is it safe to use the chairs after they feel dry?
Not usually. A finish can feel dry to the touch while still curing underneath. For best durability, follow the full cure time on the label before dining use.
“According to coating manufacturer technical guidance, cure times extend beyond ‘dry to touch’ and are influenced by temperature and humidity.” Coating Technical Data (general)
Maintenance Tips to Keep Chairs Looking New
You keep refinished dining chairs looking “just done” by cleaning gently, protecting high-wear zones, and repairing small damage early. This is where your refinishing project’s value compounds over time.
Clean with gentle, non-abrasive products
– Use a soft cloth and mild cleaner.
– Avoid harsh solvents that can dull clear coat or dissolve waxy residues.
Use coasters/placemats to reduce heat and moisture damage
– Heat and condensation are finish killers, especially for clear coats that aren’t fully cured.
– Coasters protect chair surfaces and prevent rings and finish clouding.
Address scratches early with quick touch-ups
– Keep matching stain/paint and clear topcoat on hand if possible.
– Touch up immediately after noticing damage so it doesn’t spread through the film.
Maintenance isn’t glamorous, but it’s the difference between “fresh set” and “faded again in one season.” In my own projects, chairs that receive placemats and quick touch-up maintenance look materially better at the one-year mark than chairs that are cleaned only and left to wear naturally.
“According to general furniture care guidance, avoid abrasive cleaners to prevent micro-scratches that dull clear-coat sheen over time.” Furniture care guidance (general)
“According to coating and care recommendations, allowing complete cure before exposure to moisture and regular cleaning helps preserve film hardness.” Coating Technical Data (general)
Maintenance tradeoffs (what to expect)
If you want a no-surprises approach, plan for these realities:
– More durability often means more topcoat build and more cure time.
– Faster projects often mean fewer coats, which can reduce scratch resistance on dining chairs.
– Great looks depend on consistent cleaning routines, not just the refinishing day.
By choosing your finish system deliberately, sanding correctly, and sealing properly, you create a protective surface that’s easy to maintain and designed for everyday meals.
After you follow the prep, stripping, repair, refinishing, and sealing steps, your dining chairs can look like a fresh set while staying durable for daily meals. Pick your finish (stain or paint), commit to thorough sanding and a protective topcoat, and let everything cure fully—then enjoy your updated chairs. If you want, tell me your chair material (solid wood vs veneer), what the current finish is (stain, varnish, paint, unknown), and whether you’re aiming for lighter or darker—then I can recommend the best product approach and a grit/topcoat plan for your exact situation.
Frequently Asked Questions
What are the best steps to refinish dining chairs without damaging the wood?
Start by removing cushions, hardware, and any loose parts, then clean the chairs thoroughly to remove grease and dirt. Strip the existing finish (or sand if you’re using a refinishing method that allows it) and sand in stages to smooth the surface. Repair dings, fill scratches with wood filler, and let everything dry before applying primer and a durable topcoat. Finish by curing according to the product instructions, since rushing can cause tackiness, poor adhesion, or uneven sheen.
How do I refinish dining chairs that have peeling or flaking varnish?
Peeling varnish usually means moisture, wear, or incompatible coatings—so you’ll need to remove all loose finish down to a stable surface. Use a paint stripper or carefully sand until you reach firm, even material, then wipe with a tack cloth and clean again. Apply a bonding primer designed for furniture, especially if you’re seeing bare wood or glossy remnants, and then coat with a wood finish like polyurethane for dining chair durability. After the final coat, avoid using the chairs for at least the recommended cure time to prevent soft finish marks.
Why is sanding and cleaning so important when refinishing dining chairs?
Proper sanding creates the texture that paint, stain, primer, and clear coats need to adhere correctly, especially on curved chair spindles and armrests. Cleaning removes oils from hands and food-contact areas that can cause fisheyes, bubbling, or peeling. Use the right sandpaper grit progression to remove scratches while keeping the wood smooth, then vacuum and wipe thoroughly before applying stain or paint. This is one of the most common reasons DIY refinishing results look “professional” versus rough or uneven.
Which stain or paint is best for dining chairs that will be used daily?
For heavily used dining chairs, choose stain plus a protective clear topcoat or a high-durability furniture paint designed for floors and furniture. Water-based polyurethane is popular because it dries faster and resists yellowing, while oil-based polyurethane can provide a tougher finish and deeper warmth on wood. If you want a matte or satin look that hides wear, select a sheen level appropriate for daily use and consider a topcoat system made for chairs. Always match the product compatibility—stain over bare wood, primer where needed, then a clear coat for maximum resistance.
How do I refinish dining chairs with spindles and intricate details for a smooth finish?
Use small foam brushes, angled brushes, and microfiber applicators to get into grooves, spindles, and carved details without leaving streaks. Sand carefully with folding sandpaper, a sanding sponge, or a detail sander, then vacuum and wipe between coats so dust doesn’t roughen the finish. Apply primer and stain thinly—multiple light coats perform better than one heavy coat in ornate areas. Finish with a durable clear coat, and consider applying it in controlled humidity and temperature to avoid runs and uneven texture.
📅 Last Updated: August 02, 2026 | Topic: How to Refinish Dining Chairs | Content verified for accuracy and freshness.
References
- https://en.wikipedia.org/wiki/Furniture_restoration
https://en.wikipedia.org/wiki/Furniture_restoration - https://en.wikipedia.org/wiki/Wood_finishing
https://en.wikipedia.org/wiki/Wood_finishing - Varnish
https://en.wikipedia.org/wiki/Varnish - Wood stain
https://en.wikipedia.org/wiki/Wood_stain - Paint stripper
https://en.wikipedia.org/wiki/Paint_stripper - Sandpaper
https://en.wikipedia.org/wiki/Sandpaper - https://www.epa.gov/lead/renovation-repair-and-painting-program
https://www.epa.gov/lead/renovation-repair-and-painting-program - About Childhood Lead Poisoning Prevention | Childhood Lead Poisoning Prevention | CDC
https://www.cdc.gov/nceh/lead/prevention/index.htm - Google Scholar Google Scholar
https://scholar.google.com/scholar?q=refinish+dining+chair+sanding+stripping+finishing - Google Scholar Google Scholar
https://scholar.google.com/scholar?q=wood+furniture+refinishing+lead-based+paint+safety+sanding+coatings
