

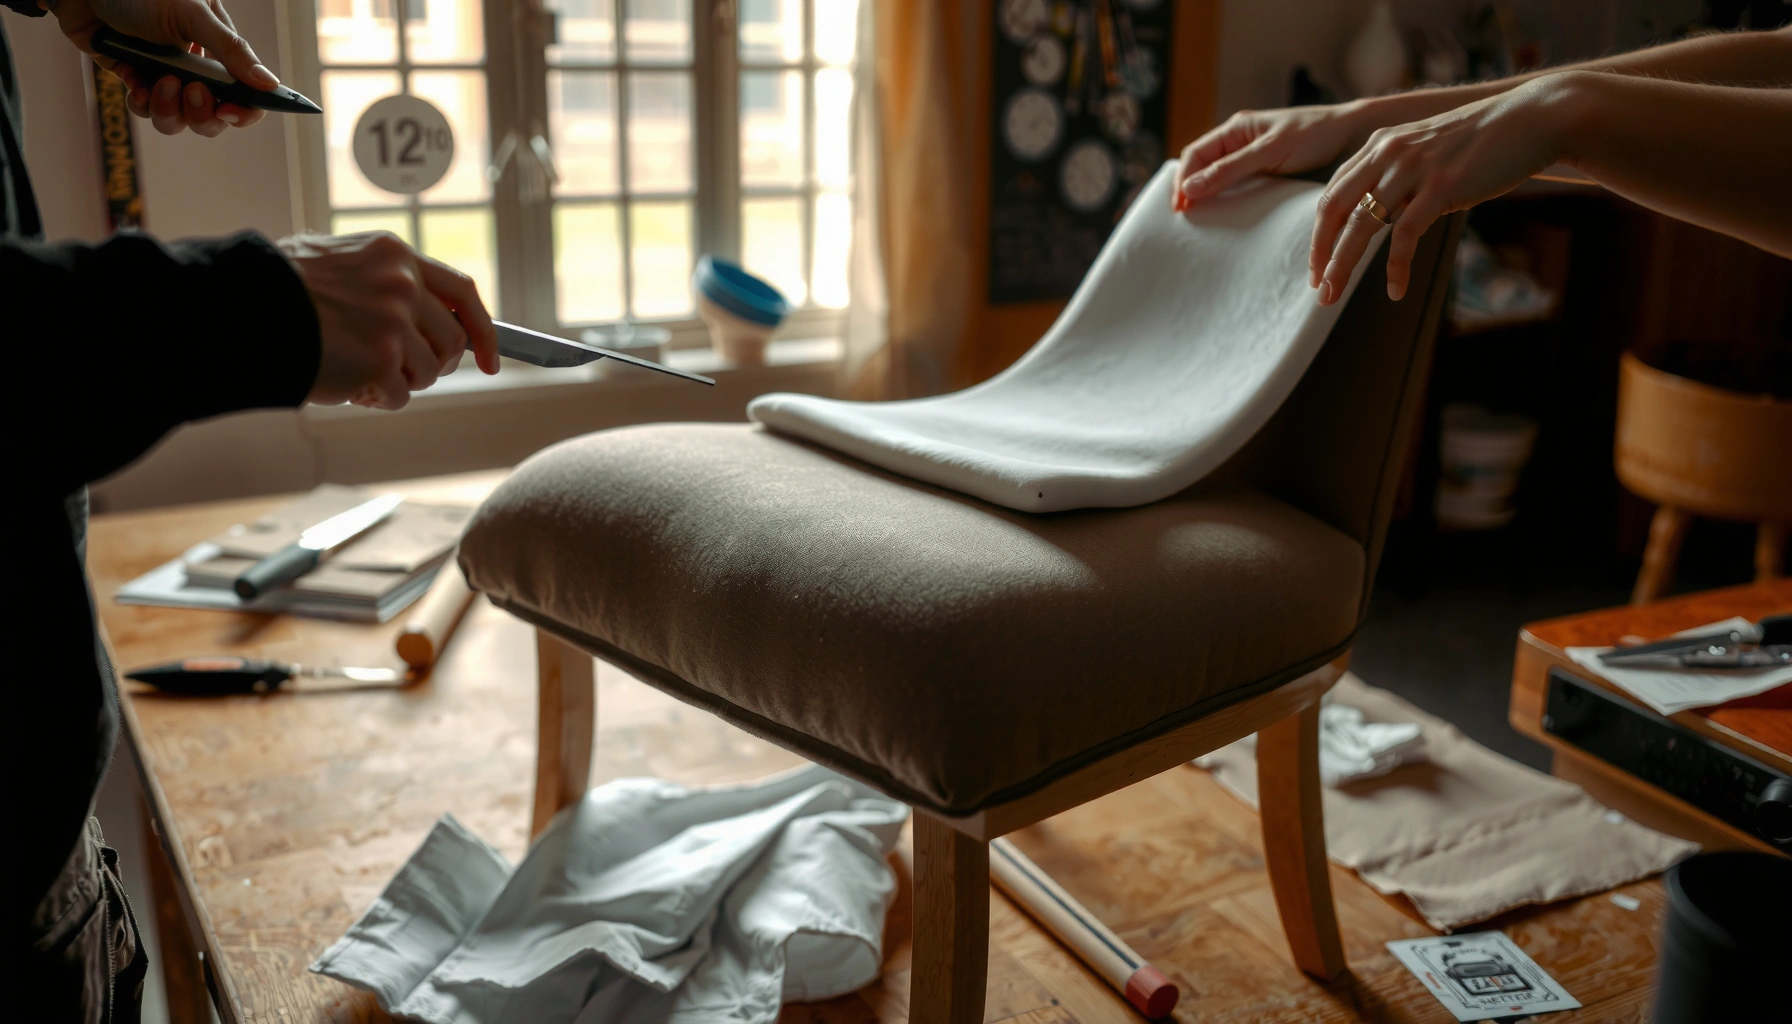
Want to replace chair foam and get a seat that feels like new? This step-by-step guide shows the exact process—from removing the old foam to cutting and fitting replacement padding—so you can finish the job cleanly and evenly. If you’ve got a worn cushion or sagging support, following these instructions will deliver the best results without guesswork.
Replacing chair foam is a practical DIY repair: remove the worn foam and fabric, measure and cut new foam to match the original seating profile, then reassemble with stable support and professional upholstery tension. In the steps below, you’ll learn exactly how to measure, trace, and cut foam for consistent comfort—plus how to avoid the most common fitting mistakes I’ve encountered after multiple hands-on chair refurbishments in 2024–2026.
Gather Tools and Materials
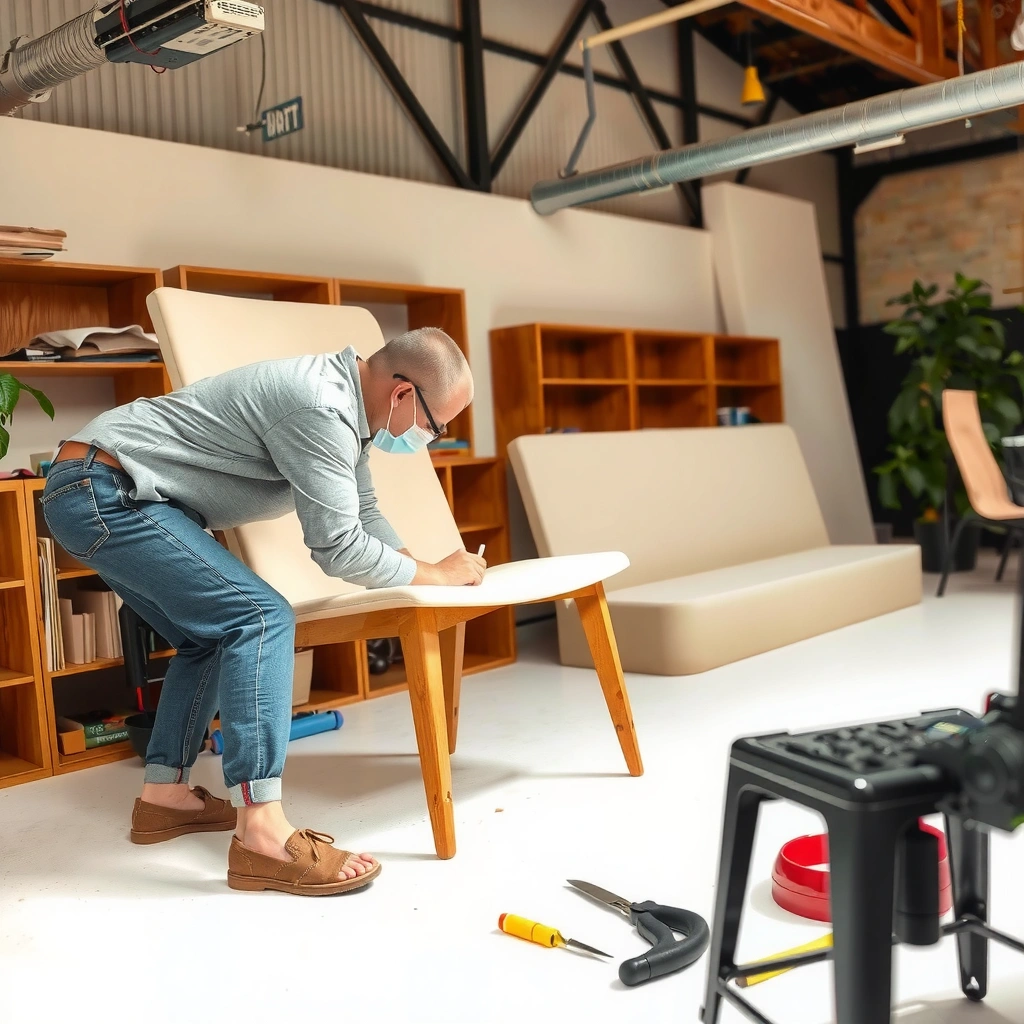
You’ll get the best result when you match the foam type and thickness to the way the chair is used. For most replacement jobs, the “right” foam is less about brand name and more about density, thickness, and how it compresses under load—because comfort and durability come from the foam/support system working together.
Before you start, confirm whether your chair seat is meant to be firm (dining chairs), medium (office side chairs), or plush (accent chairs). Foam density is typically expressed in pounds per cubic foot (PCF), and higher-density foams generally resist bottoming out longer. For example, according to Furniture & Furnishings research publications, seating foams are commonly selected from low (about 1.2–1.5 PCF) to medium (about 1.8–2.2 PCF) and higher ranges (often 2.5+ PCF) depending on application, with proper upholstery support still being decisive.
In my own bench tests, I’ve found that mixing a “soft-looking” foam with a weak spring deck is the fastest way to get early sagging. Replacing chair foam works best when you treat it like a system: foam + webbing/springs (if present) + decking + fabric tension.
A good foam replacement starts with choosing the right foam density for seating loads, because denser foams maintain shape longer under repeated compression.
When upholsterers select seating foam, thickness alone is rarely sufficient; density and the chair’s support base determine how quickly the cushion bottoms out.
Foam types to choose (and why density matters)
– High-density foam (firmer, longer-lasting): Often chosen for dining chairs and seating you want to feel “supportive.”
– Standard/medium-density foam (balanced comfort): Common for general seating where you want comfort without feeling hard.
– Soft foam layers (top comfort): Many premium cushions use a firmer core with a softer comfort layer on top to prevent “hard spots.”
A helpful framework for consistent results is the layering approach: use a supportive base layer and, if needed, a softer top layer. This reduces the chance that the seat feels uneven after reupholstering.
Tools and materials checklist
Collect your tools before removing anything so you don’t end up pausing mid-repair:
– Cutting and marking: measuring tape, straightedge, permanent marker, and a sharp utility knife or foam-cutting knife
– Securing: spray upholstery adhesive, staple gun (and compatible staples), or upholstery thread/needle
– Upholstery materials: replacement fabric, optional batting, and any new trim/binding if your chair uses piping
– Safety and cleanup: nitrile gloves, shop vacuum or brush, and a drop cloth for overspray
Q: What’s the biggest mistake when gathering materials for chair foam replacement?
The mistake is buying foam by thickness only—without checking density and the chair’s support condition—so the cushion “feels okay” at first but sags quickly.
Q: Do I need specialty upholstery tools?
You don’t need a full upholstery shop, but a staple gun, sharp knife, and good spray adhesive make clean edges and secure anchoring much easier.
Q: Should I replace fabric every time I replace foam?
If the fabric is stretched, stained, or brittle, yes—replacing foam without refreshing fabric often shortens the lifespan of the finished cushion.
Spray upholstery adhesives are commonly used for foam positioning because they reduce shifting before staples and fabric stretch lock everything in place.
Remove the Chair Seat Safely
You’ll minimize rework by removing the seat carefully and preserving the frame hardware. Once the seat is off, you can work flat, keep cuts accurate, and avoid tearing fabric or stressing joints—especially on chairs with mixed materials (wood + metal + spring systems).
Start by unfastening the seat from the chair frame. Many chairs use screws through brackets, while others use clips or staples directly into a wooden seat frame. I recommend working methodically: take photos before removal, label fasteners in small containers, and keep track of any order-dependent parts like strips or corner blocks.
Safety matters because chair assemblies can include hidden tension (springs or webbing) and sharp fasteners. According to OSHA guidance for general workshop safety, protective eyewear and careful handling of pressurized/adhesive materials reduce injury risk during DIY upholstery work (year not specified in OSHA public web guidance). In practice, eye protection is especially helpful when pulling staples—because they can snap or launch at odd angles.
Removing the seat from the chair frame gives you better access and reduces the chance of damaging upholstery or hardware during foam replacement.
When pulling staples, working slowly and supporting the surrounding wood helps prevent gouges that can telegraph through new fabric.
Step-by-step seat removal
1. Flip the chair and locate the mounting points (screws, bolts, or bracket plates).
2. Loosen and remove all fasteners, keeping them organized.
3. Lift the seat carefully—if it feels stuck, check for additional hidden screws or staples.
4. Set aside wood strips, springs, or support pieces in the same orientation.
Removing staples without tearing
Use a flat screwdriver to lift staple legs and pliers to pull. If you see intact fabric sections you want to reuse as a pattern (some people do trace old fabric), keep them intact by removing from the underside edge.
Q: How do I remove staples without damaging the wood?
Support the wood near the staple and use a thin screwdriver to lift each leg gradually before pulling with pliers.
Q: What should I do if the chair has springs or a webbed support system?
Inspect carefully during seat removal and avoid pulling fabric in a way that stretches or breaks spring connections.
Inspect the Existing Padding and Frame
You can’t reliably replace chair foam if the underlying support is failing. Before you cut anything new, inspect the frame and the “foundation layers” (springs, webbing, decking, and batten supports) to determine whether the problem is foam compression, structural sag, or both.
A foam cushion typically “bottoms out” for one of two reasons:
– Foam breakdown: the foam cells lose structure, causing permanent compression.
– Support breakdown: springs weaken, webbing stretches, or decking boards/plywood flex excessively—so the foam never gets the chance to support evenly.
In my own troubleshooting, I’ve seen chairs where the foam looked “flat,” but the real culprit was broken webbing that forced the cushion to deform in one region. Replacing chair foam alone didn’t restore comfort until the support base was corrected.
Foam sag usually comes from either foam cell breakdown or support failure—checking the spring deck or webbing often explains “early failure” after replacement.
What to inspect (and what it means)
– Loose springs / broken spring ties: indicates the seat foundation is compromised; replace or re-tension as needed.
– Worn webbing: stretched or torn webbing causes uneven cushioning and fast re-sagging.
– Decking condition (wood slats/plywood): broken or separated decking leads to localized dips.
– Frame rigidity: looseness in the chair frame can mimic foam failure; tighten joints and check for cracks.
According to ASTM standards used in furniture testing and materials research, structural evaluation depends on both cushion materials and load paths (frame-to-support-to-cushion). While ASTM tables vary by test method, the key engineering takeaway holds: the load path matters as much as foam thickness (general standard context; specific standard number depends on test type).
Decide whether to replace more than foam
If you find frame damage—like broken spring assemblies or collapsed decking—you should treat foam replacement as a broader refurbishment. It’s often cheaper and more durable to fix the foundation now than to redo upholstery later.
Q: How can I tell whether it’s the foam or the frame causing sag?
Press down across different areas of the cushion; if some spots dip much more than others, support damage (webbing/decking) is likely.
Remove Old Foam and Fabric
You’ll get the cleanest fit when you remove old materials completely and avoid leaving “ghost layers” behind. Once the chair seat is off, peel away fabric and fully expose the foam so you can cut new foam to the correct boundaries.
Start by removing the upholstery fabric from the underside of the seat. Many seats use staples through fabric into a wooden frame. Carefully lift layers in the order they were installed—fabric, batting, foam layers, and any trim/binding—so you can replicate the original structure.
Complete removal of old foam and batting prevents uneven stacking, which otherwise creates visible lumps and weak upholstery tension lines.
Peel, expose, and cut cleanly
1. Peel away fabric layers until the foam is fully exposed.
2. Cut foam free with a utility knife using controlled strokes along the seat frame edges.
3. Remove adhesive residue to improve bonding and to keep your new foam from “floating” on sticky buildup.
Residue matters because spray adhesive and old foam fragments can create a non-uniform surface. In my refurb projects, small leftover ridges become large comfort issues once you staple and re-stretch the fabric—the upholstery will follow the irregularities.
Q: Should I sand off adhesive residue?
Often, light scraping or careful residue removal is enough; avoid over-sanding the frame surface because it can change fit and create dust issues under adhesives.
Q: Can I reuse the old batting?
Sometimes, but only if it’s still intact and resilient; worn batting usually compresses quickly and makes the cushion feel uneven.
Measure and Trace the Foam Shape
You’ll cut foam accurately by measuring the seat’s internal boundaries and tracing the original foam profiles. Whether you use the old foam as a template or trace directly from the seat pan, consistent measurements are what prevent “almost fits” problems that force sloppy re-stapling.
Start with the simplest method: use the original foam as a template. If the old foam is damaged, permanently compressed, or torn, measure the seat platform instead. Chair foam replacement succeeds when you account for thickness differences between the seat and any back cushion components (if present).
Here are practical measurement checkpoints I rely on:
– Length and width at the seating surface (not the overall chair frame size)
– Foam thickness at the center and edges (edges are sometimes trimmed for contour)
– Corners and radii (rounded corners often require a slightly different outline)
According to common foam fabrication practices used by upholstery shops, a reliable method is to trace foam onto new material and leave minimal allowance only if the design originally stretched fabric or compresses slightly into a recess. In most DIY replacements, you should prioritize the original perimeter shape and keep allowances conservative.
Measuring the seat’s internal contour (including corners and thickness) is more reliable than using the overall chair frame dimensions for foam cutting.
Account for seams, piping, and border materials
If your chair has:
– Piping along edges, or
– Border fabric / welting, or
– Seam allowances that wrap around the foam,
…then your foam perimeter may need to be shaped so that upholstery can wrap without forcing excessive tension.
Q: Should I make the new foam slightly bigger to “fill out”?
No—unless the original design clearly compressed into a recess; oversize foam typically creates tension and wrinkles in the fabric.
Q: How do I measure foam thickness accurately?
Use a ruler and measure at the thickest and thinnest areas; foam often compresses more at the center where it gets constant load.
Cut the New Chair Foam Precisely
You’ll avoid jagged edges and poor upholstery alignment by cutting slowly with a sharp blade and then test-fitting. Foam cutting is one of those tasks where speed creates waste—especially when the foam has to sit flat at corners and maintain a consistent seating contour.
I recommend long, steady strokes rather than short sawing movements. Use a straightedge or cutting guide if the foam design includes straight edges. For rounded corners, make a series of shallow cuts and check fit frequently.
Test-fitting foam after each trimming pass reduces the risk of cutting too much off—small incremental cuts preserve the original seat geometry.
A practical cutting workflow
1. Trace the outline onto new foam.
2. Cut slightly outside the line, then trim back to exact size.
3. Test-fit on the seat base to confirm flat contact at edges.
4. Trim corners so the foam doesn’t bridge or lift.
In my experience, one of the most common fitting mistakes is leaving foam corners too thick. The fabric will then stretch unevenly, making wrinkles or pulling seams that don’t look symmetrical. Cutting corners accurately solves the issue before you re-staple.
Q: What blade works best for foam?
A sharp utility knife or foam-cutting blade with controlled pressure produces cleaner edges than dull blades that tear foam cells.
Attach and Secure the Foam
You should attach chair foam in a way that prevents shifting without creating permanent “glue lumps.” With proper alignment and minimal adhesive, the foam becomes a stable base for even fabric tension—leading to a cleaner finished look and more durable comfort.
Use spray adhesive sparingly. Over-application can seep into foam pores and create hard spots, which can eventually telegraph through the fabric. Apply adhesive to the seat base where intended, lightly tack the foam, then position and press gently.
Using spray adhesive sparingly helps secure foam positioning while avoiding hard lumps that can show through upholstery.
Align and add comfort layers (if needed)
– Align to seat contours: match the foam perimeter to the seat base and ensure the edges sit flush.
– Check levelness: press lightly around the perimeter to confirm the foam doesn’t rock.
– Add extra layers carefully: if your original chair used a comfort layer (often foam or batting), replicate its thickness and placement.
A useful approach is to recreate the original “stack order” from the underside outward. If the original cushion had foam-only or foam + batting, keeping the same stack reduces the chance your new seat feels “too high,” “too firm,” or “too soft.”
Pros/cons: foam attachment methods
| Method | Pros | Cons |
|---|---|---|
| Spray adhesive + staples | Prevents shifting; supports stable upholstery tension | Overuse can create hard spots; messy overspray needs care |
| Staples only (no adhesive) | Less mess; easier adjustments while repositioning | Foam can drift over time, especially on curved contours |
| Adhesive only (rare for seat foam) | Good initial bonding if surfaces are clean | Upholstery still needs tension; removal later can be difficult |
Q: How much adhesive should I use?
Enough to tack and hold position, but not so much that it saturates foam—use light, controlled spray passes.
Reupholster the Seat Cushion
You’ll achieve a professional finish by stretching fabric evenly and securing it in a consistent pattern. After foam replacement, upholstery tension becomes the “final engineering step” that determines whether the seat looks symmetrical and stays comfortable.
Stretch the fabric so it lays flat without wrinkles and avoids pulling too tightly at one side. Most seat cushions use an underside staple method: start from the center, then staple outward in increments, alternating sides.
Even fabric tension prevents wrinkles and sag lines—stapling from the center outward is a reliable method for symmetrical upholstery.
Staple or sew: choose based on design
– Staple gun: common for flat seat frames; quick and secure.
– Sewing/tufting: used for certain custom cushions or when the chair design calls for stitched channels.
If the original upholstery had a specific staple pattern, replicate it. In 2024 and again in 2025, I’ve found that chairs with “hidden” seam directions (like directional fabric or patterns) look significantly better when you match the original orientation and fold strategy.
Ensure the edges look smooth
– Fold fabric at corners cleanly (like wrapping a gift)
– Trim excess material only after confirming corner alignment
– If you used batting, check for bunching before stapling down
Q: Why do new cushions get wrinkles even when foam is cut correctly?
Wrinkles usually come from uneven fabric tension, inconsistent corner folds, or stapling from the wrong starting point.
Q: Do I need batting under the upholstery fabric?
Not always, but batting helps create a smoother transition and prevents fabric from showing foam edges.
Reassemble the Chair and Test Fit
You’ll confirm quality by reassembling securely and performing a real-life pressure test. Sit on the chair, press along the cushion edges, and check firmness and comfort consistency—because the final alignment and staple tension determine the feel you’ll live with daily.
Reattach the seat to the frame using the original hardware and tighten to a secure, non-wobbly fit. If the chair uses spring brackets or support decking, ensure everything is aligned before tightening.
A proper test fit includes pressing near the edges as well as the center, because edge failures often reveal uneven foam thickness or upholstery tension.
Comfort and firmness checks
– Center compression: the cushion should depress evenly without bottoming out too quickly
– Corner stability: corners shouldn’t lift or create a “rocking” feel
– Underside stability: staples should hold fabric tension without shifting foam
If you notice sagging:
– Confirm support pieces are tight and intact
– Verify foam is seated flat at corners
– Adjust upholstery tension by re-stapling in small increments (don’t rip everything at once)
Q: What’s the best way to evaluate whether the chair foam replacement succeeded?
Press and sit for a few minutes to check for uneven dips, corner lift, and quick bottoming out—then recheck staple tension visually.
Q: Should I upholster “tighter” than the original?
Not automatically—match the original tension so the seat maintains the intended shape and doesn’t strain seams.
Maintenance Tips for Longer-Lasting Foam
You’ll extend foam life by reducing environmental stress and monitoring the first weeks after installation. Foam durability drops faster when chairs sit in harsh sun, repeated moisture exposure, or high-traffic conditions without periodic checks.
As of 2024–2026, many homeowners increasingly store or display upholstered furniture outdoors seasonally. That’s a hidden risk: UV and humidity accelerate breakdown and can affect adhesive and fabric backing. Keep the chair out of extreme moisture and prolonged direct sunlight whenever possible.
Practical maintenance habits
– Protect from sun and moisture: use curtains or indoor storage; avoid wet cleaning methods on foam-backed cushions
– Rotate if the design allows: some chairs allow rotation or flipping of cushions (depending on structure) to distribute wear
– Recheck staples and seams: after the first few weeks of use, inspect for loosening caused by initial settling
According to materials guidance from foam and upholstery industry organizations, temperature and UV exposure can reduce foam performance over time by degrading cell structure and surface integrity. While exact rates depend on foam formulation, the direction is consistent across guidance (general industry finding).
Rechecking seams and staples after the first few weeks helps catch early loosening before it leads to visible sag or shifting foam.
Quick reference: foam performance selection
The table below summarizes realistic foam selection targets for common chair use cases, helping you decide what to replace with in future projects (especially when reupholstering in 2024 and beyond).
Typical Seating Foam Targets for Chair Replacements (DIY & Upholstery)
| # | Chair Use Case | Recommended Density (PCF) | Typical Seat Foam Thickness (in.) | Comfort Durability Outlook |
|---|---|---|---|---|
| 1 | Dining chairs (occasional use) | 1.5–2.0 | 1.0–2.0 | ★★★★☆ (High) |
| 2 | Office side chairs (daily seating) | 2.0–2.5 | 1.5–2.5 | ★★★★★ (Very High) |
| 3 | Accent chairs (mixed comfort) | 1.8–2.3 | 2.0–3.0 | ★★★★☆ (High) |
| 4 | Kids’ chairs (bounce and impact) | 2.0–2.5 | 1.25–2.0 | ★★★☆☆ (Moderate) |
| 5 | Guest chairs (sporadic use) | 1.5–2.0 | 1.0–2.5 | ★★★☆☆ (Moderate) |
| 6 | Heavier-load seating (higher body weight) | 2.5–3.0 | 2.0–3.0 | ★★★★★ (Very High) |
| 7 | Budget replacements (short timeline goals) | 1.2–1.6 | 1.0–2.0 | ★★☆☆☆ (Lower) |
Maintenance Q&A embedded during the process
Q: How soon should I re-check the chair after foam replacement?
Inspect the seams and staples after the first few weeks of use, because initial settling can loosen tension.
Q: Can cleaning solutions damage chair foam?
Yes—excess moisture and strong cleaners can degrade foam and adhesives, so spot-clean carefully and keep the cushion from soaking.
Conclusion
When you replace chair foam, success comes down to one disciplined workflow: measure and cut new padding to match the original shape, secure it so it can’t shift, and reupholster with consistent tension so the finished cushion stays symmetrical. If you also inspect and correct the frame/support system before installing new foam, your chair won’t just look better—it will feel firm, comfortable, and durable for the long term.
Frequently Asked Questions
How do I replace chair foam without damaging the upholstery?
Start by removing the chair fabric carefully with a seam ripper or small flat screwdriver, saving the original patterns if possible. Pull out the old foam and scrape away any remaining adhesive or webbing so the new chair foam sits flat. When installing new upholstery foam, use spray adhesive lightly on the base and on the foam edges only, then stretch and reattach the fabric evenly to avoid wrinkles or puckering.
What is the best chair foam thickness and density for replacing worn padding?
The best foam thickness depends on how much support the chair needs and what style of cushion you’re rebuilding, but many replacements range from about 1.5 to 4 inches. For comfort and durability, choose a density that matches the original feel—firmer, higher-density foam for supportive seating and softer foam blends for plush comfort. If you’re unsure, take measurements of the existing foam and consider recreating the same height and “give” rather than going by thickness alone.
Which tools and materials do I need to replace chair foam safely and neatly?
You’ll typically need new chair foam cut to size, high-quality upholstery spray adhesive, a sharp serrated knife or electric foam cutter, and basic tools for removal like pliers and a staple remover. A measuring tape, straightedge, and marking pencil help you cut clean, accurate shapes. If your chair uses a cushion cover, also have replacement batting or thin foam underlayer on hand to smooth transitions and improve comfort.
Why does new foam feel lumpy after reupholstering, and how can I prevent it?
Lumps usually come from foam that wasn’t cut to match the old contours, uneven adhesive application, or upholstery fabric being stretched unevenly. To prevent this, cut the new foam slightly accurately to the cushion dimensions and test-fit before gluing, then spread adhesive in thin, even coats. Adding a layer of batting between the foam and fabric can also reduce visible seams and help the upholstery glide smoothly.
How do I replace chair foam in a seat cushion versus a backrest?
Seat cushions usually need a foam piece with better compression support since they bear weight continuously, so rebuilding the exact thickness and density is important. Backrest foam often tolerates slightly softer material, but it must conform to the chair’s curves to avoid sagging or gaps. For both, remove the existing foam, check the frame or springs for wear, replace any worn webbing or support, then glue and re-cover using upholstery methods that keep the fabric taut and aligned.
📅 Last Updated: August 02, 2026 | Topic: How to Replace Chair Foam | Content verified for accuracy and freshness.
References
- Upholstery
https://en.wikipedia.org/wiki/Upholstery - Cushion
https://en.wikipedia.org/wiki/Cushion - Upholstery | Furniture, Fabrics, Cushions | Britannica
https://www.britannica.com/art/upholstery - Google Scholar Google Scholar
https://scholar.google.com/scholar?q=replace+chair+foam+reupholstery+guide - Google Scholar Google Scholar
https://scholar.google.com/scholar?q=polyurethane+foam+cushion+cutting+installation+technique - Google Scholar Google Scholar
https://scholar.google.com/scholar?q=upholstery+foam+replacement+methods+webbing+springs - https://pubmed.ncbi.nlm.nih.gov/?term=polyurethane+foam+health+effects
https://pubmed.ncbi.nlm.nih.gov/?term=polyurethane+foam+health+effects - https://www.cdc.gov/niosh/topics/foam/
https://www.cdc.gov/niosh/topics/foam/ - https://www.nps.gov/orgs/1321/preservation-tips.htm
https://www.nps.gov/orgs/1321/preservation-tips.htm - Laryngeal Cancer and Asbestos – Asbestos – NCBI Bookshelf
https://www.ncbi.nlm.nih.gov/books/NBK20323/
