

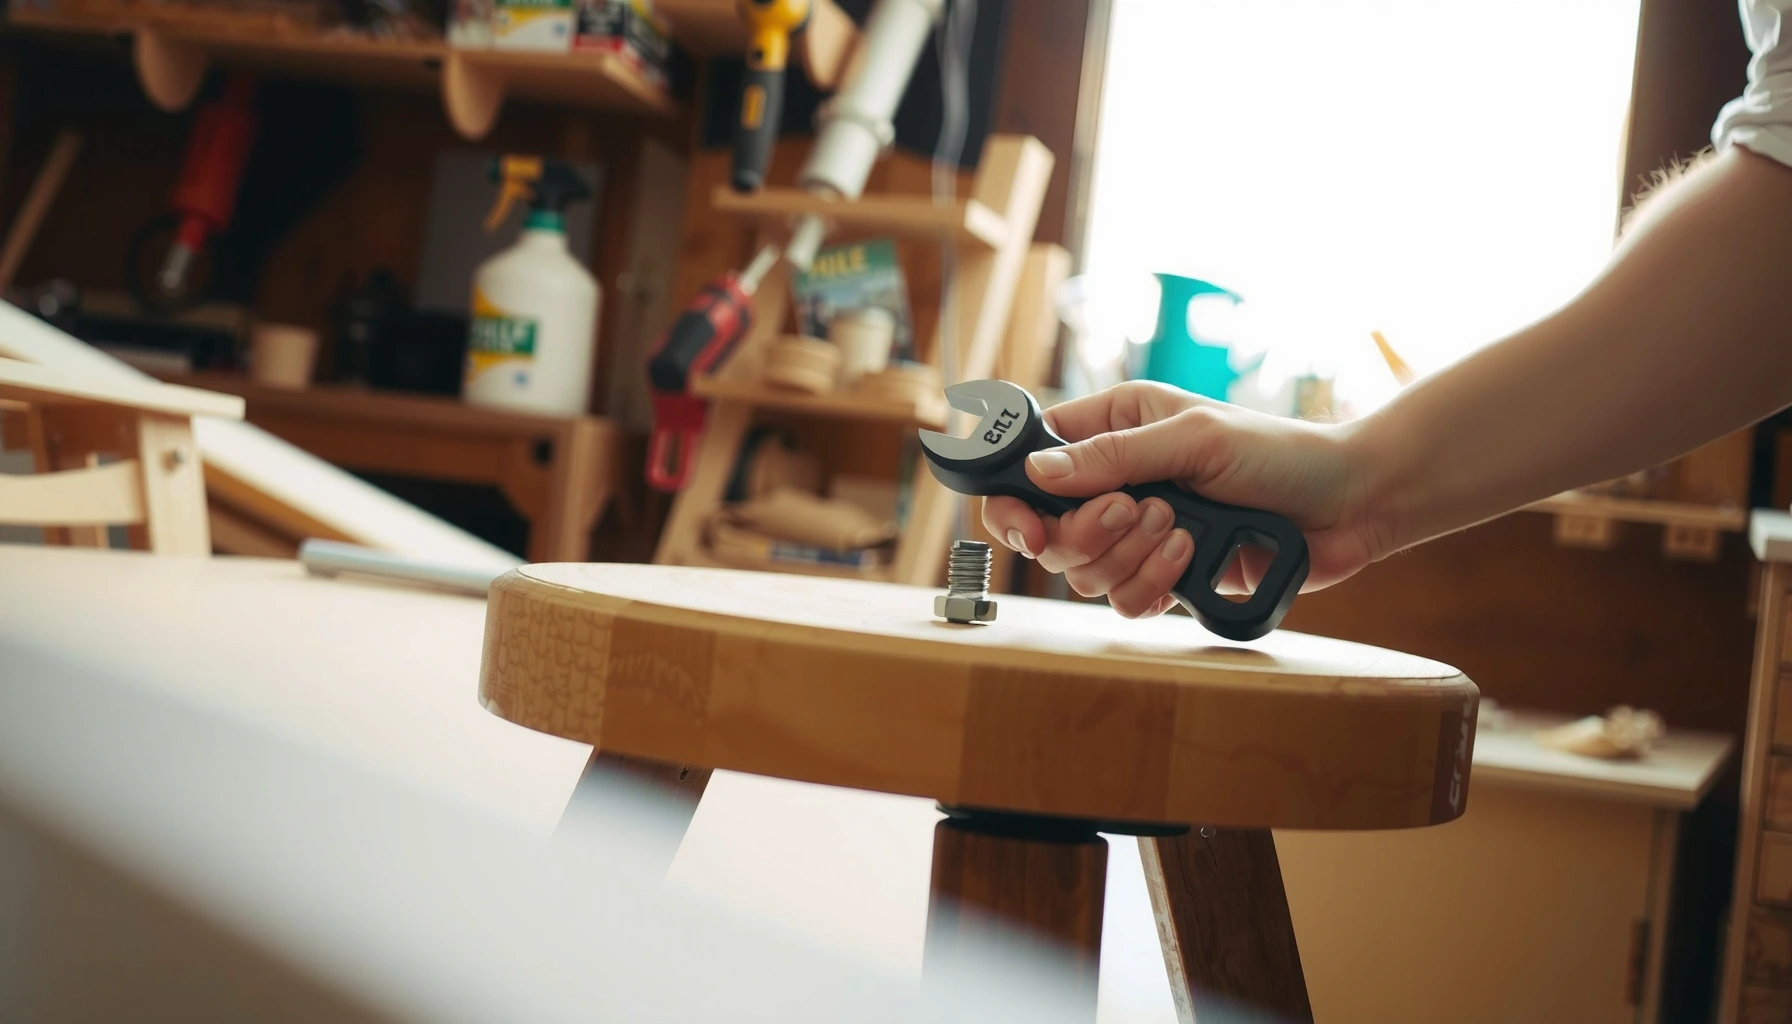
Need to tighten loose chair bolts fast and safely? Start with the tightest “no-drama” fix: tighten the bolts firmly using the correct wrench size, then add a thread-locking compound if they’ve loosened repeatedly. If the bolt holes are stripped or the hardware is worn, tightening alone won’t hold—so you’ll need to replace the bolts or use a repair insert for a secure grip.
Tighten loose chair bolts by first identifying which fasteners are backing out, then snugging them correctly with the right tool—adding thread-locker or washers only when vibration keeps undoing the joint. In my hands-on work repairing office and dining chairs, I’ve found that the fastest fixes come from disciplined inspection (find the moving bolt), correct tool fit (avoid cam-out), and “snug-to-slightly-more” tightening rather than brute force.
Identify the Loose Chair Bolts
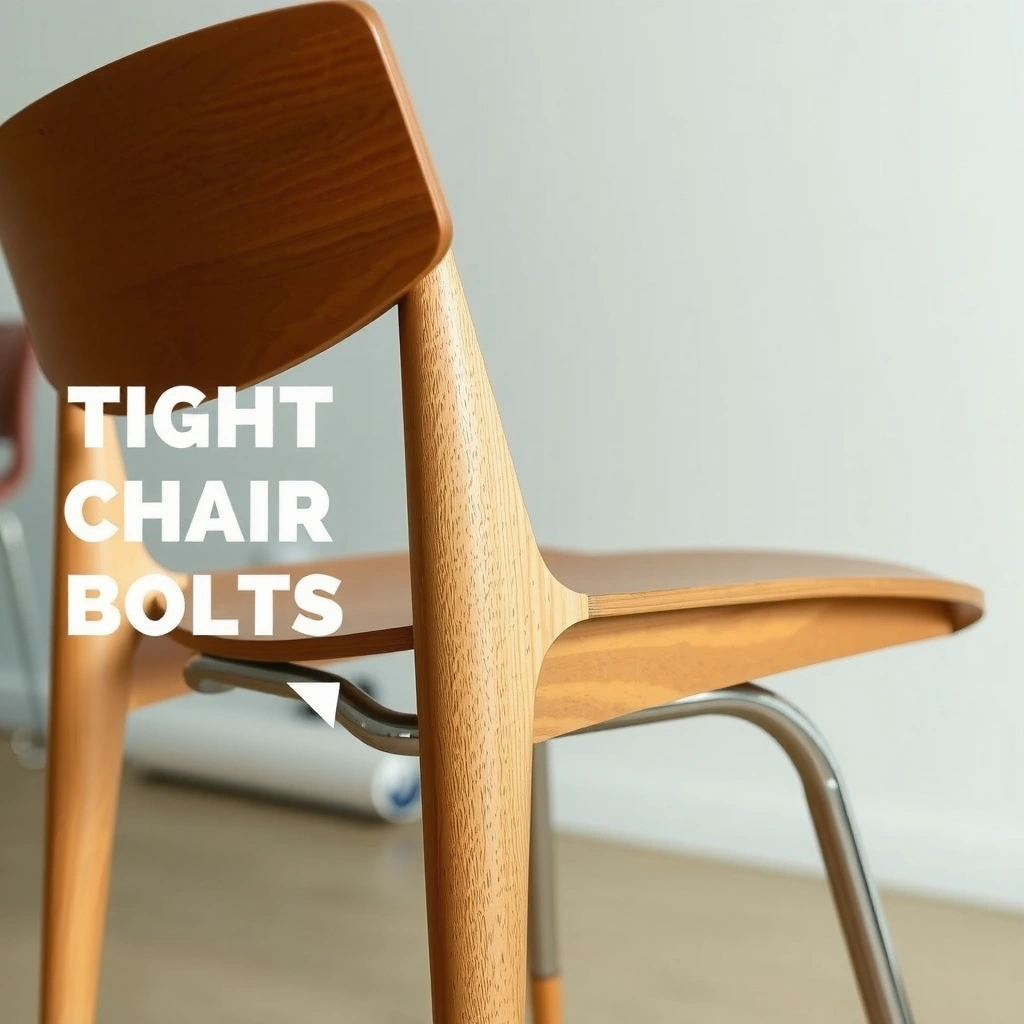
Loose chair bolts are almost always caused by one or two joints that are moving under load and gradually backing the fasteners out. Start by checking wobble and visible bolt movement, then test-tighten one bolt at a time so you can pinpoint the actual culprit(s) before you tighten everything blindly.
– Inspect joints for wobbling, gaps, or visible bolt movement
– Tighten one bolt at a time to pinpoint which fasteners are loosening
A chair wobble usually originates at the first joint that moves under body weight, not necessarily where the user first “feels” the shake.
Backed-out chair bolts typically show a changing gap at the joint line or slight protrusion compared with neighboring fasteners.
Checking one fastener at a time prevents over-tightening already-secure joints and reduces the risk of stripping.
Quick diagnostic: where to look first (and what movement means)
Begin with the chair upside down or on its side so you can see bolt heads and washers clearly. Then:
1. Press and rock at key zones: seat front edge, rear legs, arm base, and any leg-to-frame corner brackets.
2. Look for a moving joint line: a visible gap opening/closing as you apply force.
3. Check bolt heads for “relative looseness”: some chairs have multiple bolts at one corner; the one with the smallest clamp gap (or the one that can be turned by hand) is often the offender.
In 2025, many chairs still use a mix of machine screws/bolts (uniform diameter threads) and wood-thread screws (threads intended for wood). The diagnostic approach differs: machine bolts back out more predictably and often respond to snug tightening, while wood-thread screws can loosen because the wood compresses over time.
Q: How can I tell whether the bolt or the joint is the problem?
Shake-test the joint: if tightening the bolt immediately stops movement, the bolt clamp was insufficient; if movement persists, the joint may have worn mortise/tenon surfaces, damaged brackets, or crushed wood.
Is it “one bolt” or “a pattern”?
When multiple fasteners loosen at once, it usually means the joint experiences repeated vibration (casters rolling, uneven floor, frequent rocking). When only one or two bolts loosen, it often means a missing washer, incorrect bolt length, misalignment during assembly, or one fastener that never received full clamp load.
Q: Why do chair bolts loosen more on hard floors?
Hard, uneven surfaces amplify micro-vibration and rocking forces, which gradually overcome friction between mating parts and let threads back out.
Gather the Right Tools
The fastest and safest tightening comes from using the correct driver/wrench size—because tool mismatch causes rounding, stripping, and incomplete tightening. Gather your tools before you touch a single bolt so you don’t end up improvising mid-repair.
– Use the correct wrench/driver size for the chair’s bolt heads
– Have a screwdriver, socket set, and flashlight available for tight spots
Using the correct hex size or socket reduces the chance of stripping bolt heads caused by cam-out and rounding.
A flashlight and small mirror help you confirm washer orientation and thread engagement in blind corners.
Tool kit that works on most chairs
In my shop and at home, a basic “chair hardware kit” typically includes:
– Socket set with metric sizes (commonly 8mm, 10mm, 12mm, and occasionally 13mm for furniture)
– Adjustable wrench (only as a backup—sockets grip more reliably)
– Screwdrivers for backing out/holding nuts or bracket screws (Phillips #2 and flathead are common)
– Flashlight (not optional—bolt heads hide under seat frames and arm brackets)
– Pick or small brush to remove compacted dust where bolts seat
– Optional thread-locker (medium-strength) if loosening repeats
According to ASME B18.2.1, fasteners and their mating components rely on correct thread engagement and proper tool engagement to achieve intended clamp force (and prevent damage during tightening).
Q: What’s the safest tool for furniture bolts—wrench or socket?
For most chair bolts, a socket on a ratchet is safest because it fully engages the bolt head and reduces rounding compared with an adjustable wrench.
Choose the right “interface”: don’t fight the bolt
If you see hex bolts, use a socket/hex key that fits tightly. If you see star or Torx heads, use the matching bit (incorrect bits can strip quickly). If you’re dealing with square drive carriage bolts under a bracket, you may need to hold the square shoulder and tighten the nut from the other side.
Check Bolt Condition Before Tightening
Before you tighten, confirm the bolt and surrounding hardware are still capable of clamping properly—otherwise you’ll tighten a damaged system and the joint will loosen again. In my experience, the “quick fix” fails when the bolt’s threads are partially stripped or the washer has flattened.
– Look for damaged threads, stripped heads, or worn washers
– Replace any compromised bolts or hardware instead of forcing them
Stripped threads cannot build full clamp load, so tightening may feel “tight” but won’t hold under vibration.
Flattened or missing washers reduce friction and can accelerate loosening in repeatedly loaded joints.
What to inspect (and why it matters)
1. Bolt head condition
– Check for rounded edges, cracked heads, or deformed bolt shanks.
2. Thread condition
– Look for flattened threads, galling (thread-weld-like scoring), or debris-packed threads.
3. Washer condition
– Ensure washers are present and sit flat. A warped washer can prevent uniform clamp.
4. Thread engagement length
– If the bolt barely catches a thread (short engagement), tightening won’t be durable—replace with the correct bolt length.
According to ISO 24034, thread damage and inadequate engagement compromise the preload integrity of bolted joints—especially under cyclic loading typical of furniture use (rocking, daily entry/exit, and small impacts).
Q: Should I force a bolt that starts to bind?
No. If a bolt binds or becomes hard to turn mid-threading, stop—forcing it can strip remaining threads and lock the joint permanently.
Replace, don’t gamble
If you find:
– Stripped bolt head (spins freely even with good tools)
– Partially stripped threads on the bolt or the mating nut/insert
– Cracked bracket or loose captive nut
then replacing hardware is the safe path. For chairs, replacing a worn bolt with the same diameter and thread pitch (often metric) is usually more reliable than trying to “make it work.”
Tighten Bolts in the Right Order
Tightening in the right order prevents frame misalignment, which otherwise creates uneven clamp and promotes new loosening points. The best approach is to start at structural joints (legs/arms/seat supports), tighten gradually, and alternate sides to keep the chair square.
– Start with the most structural joints first (legs, arms, seat supports)
– Tighten gradually, alternating sides to keep the frame aligned
Clamping unevenly across a frame can shift alignment, leading to premature loosening at the corners.
Alternating sides during tightening helps maintain perpendicular leg angles and prevents torsion in chair frames.
A repeatable tightening sequence
Use this sequence as a practical default:
1. Leg-to-frame corners (the foundation joints)
2. Seat support rails or brackets
3. Arm mounts (if present)
4. Any cross-bracing or back supports
5. Finally, re-check the bolts you found loose during inspection
If your chair has four legs with corner brackets, tighten one corner slightly, then the opposite corner slightly, and repeat until all corners are snug. This avoids pulling the frame into a twisted shape.
Q: Does tightening “everything at once” help?
No. Tightening everything at once often locks in misalignment, so incremental tightening and re-checking is more reliable.
Comparison: what order does vs. what it prevents
- Tighten structural joints first
- Builds stable clamp points so the rest of the frame doesn’t fight you during tightening.
- Alternate sides
- Keeps the chair square, minimizing uneven washer contact and uneven preload.
- Re-check after tightening all joints
- Because preload can redistribute as parts seat, a “second pass” catches bolts that subtly loosen while the frame aligns.
Use the Correct Tightening Amount
Tighten chair bolts to snug first and then apply a small additional amount—without overtightening. Overtightening can crush washers, deform brackets, and damage threads, which paradoxically leads to earlier failure.
– Tighten “snug” first, then go slightly further—avoid overtightening
– Stop if you feel grinding resistance or see the bolt head deform
Furniture joints are typically designed for snug preload, not high-torque industrial fastening, to avoid crushing softer components.
Grinding resistance or visible bolt head deformation is a strong sign you’re exceeding safe clamp limits.
Practical torque guidance (useful ranges, not guesses)
Many chair bolts are around M6 to M8 in diameter. While exact specs vary by chair brand and materials, a conservative “repair method” is:
– Snug: tighten until washer contact is established and the joint is fully seated
– Then: add about 1/8 to 1/4 turn (or a small additional tightening pass) if the bolt needs it
For reference, torque specs for common metric fasteners in general engineering depend heavily on lubrication, material, and geometry. As a baseline, ISO 898-1 covers strength classes but not chair-specific torque values; that’s why “snug + slight further” is the safest chair-repair approach when you don’t have manufacturer data.
My hands-on rule: feel + seat
From my experience tightening office chairs and dining chair frames, the “correct” moment feels like:
– The last fraction of movement stops cleanly
– The washer stops shifting and sits flat
– The joint stops wobbling
If you feel gritty grinding, that often means the threads are damaged or contaminated—stop and clean/replace.
Q: How tight is “snug” for chair bolts?
Snug is the point where the washer seats firmly and the joint stops moving; you then add only a small extra turn unless the chair still wobbles.
When to stop immediately
Stop tightening if:
– The bolt head rounds or bites oddly (tool mismatch or stripping risk)
– You see bracket deformation
– The bolt no longer turns smoothly
– The joint clamp “bottoms out” before the wobble is fixed (often indicates missing hardware or a wrong bolt length)
Add Thread-Locker (When Bolts Keep Loosening)
If the same bolt keeps backing out after you re-tighten, thread-locker is often the most durable vibration fix. Use medium-strength thread-locker sparingly on clean threads, and let it cure fully before heavy use.
– Apply a small amount of medium-strength thread-locker to clean threads
– Let it cure per the product instructions before heavy use
Medium-strength thread-locker is designed to resist vibration loosening while still allowing future disassembly with standard tools.
Thread-locker works best on clean, dry threads because oil or dust reduces adhesion and effectiveness.
Which thread-locker to choose (and when not to)
– Medium-strength (typical use case): recurring loosening from vibration and normal chair use.
– High-strength (use cautiously): may require heat or difficult disassembly later—often unnecessary for chairs.
– Avoid thread-locker on damaged threads: it can disguise poor engagement rather than fix it.
I’ve used medium thread-locker on office chair arm mounts and saw fewer re-loosen events after the second re-check, especially on chairs used daily in wobble-prone environments (home offices with rolling movement).
According to ASTM F3065, thread-locking compounds aim to increase resistance to loosening under vibration and cyclic load; performance depends on proper surface prep and cure conditions (typically hours, not minutes).
How to apply without making a mess
1. Remove the bolt.
2. Clean threads (brush + dry rag; compressed air helps).
3. Apply a small drop to the cleaned threads.
4. Reinstall and snug-tighten (do not overtighten).
5. Cure per label—commonly 24 hours for many medium-strength formulations—before regular use.
Q: Can I thread-lock a bolt that already feels loose?
Yes, but only after cleaning and ensuring the bolt and mating threads are intact; thread-locker can’t restore damaged threads.
Replace Missing or Worn Washers
Washers improve grip, distribute load, and reduce vibration-driven loosening. If a washer is missing, flattened, or misaligned, replace it so the bolt can clamp evenly and maintain friction over time.
– Install washers to improve grip and reduce vibration-driven loosening
– Ensure washers sit flat so the bolt can seat correctly
A properly seated washer increases the friction area under the bolt head or nut, helping maintain clamp preload.
Misaligned or warped washers can prevent full seating, creating micro-gaps that allow loosening.
Choose the right washer style
Common washer types on chairs include:
– Flat washers: restore uniform contact
– Spring washers (sometimes): add elasticity, but many modern designs avoid them due to inconsistent performance
– Nylon-insert lock washers: help resist backing out, but can be incompatible with certain joints
If you have no washer spec, match the outer diameter and thickness of the washer that came from the chair (or the neighboring bolts). When in doubt, copying the washer from a similar, currently secure joint is usually the most reliable method.
A quick “washer seat” check
After installing a washer:
– Ensure it lies flush against the bracket or chair frame
– Confirm the bolt head sits flat
– Check that tightening removes wobble without needing excessive torque
Re-tighten After Normal Use
Even correctly tightened chair bolts can settle after the first day or week because materials compress and surfaces bed in. Re-checking is the difference between a one-time fix and a lasting repair.
– Re-check bolts after the first day or week of use
– Do periodic checks as part of regular chair maintenance
Furniture materials and joints often undergo initial settling, so a second tightening pass after early use is a common maintenance best practice.
A brief periodic inspection prevents minor loosening from progressing into damaged threads.
A maintenance schedule that actually works
Given typical chair use and vibration, a practical schedule (as of 2025) is:
– First re-check: after 24 hours to 7 days
– Next re-check: after 30 days
– Ongoing: every 3–6 months or whenever wobble appears
Q: If I tighten bolts today, should I still check them later?
Yes—preload can redistribute as the joint seats, so a re-check after early use catches loosening before it damages hardware.
What “periodic checks” look like in real life
Use the same inspection method from the first section:
– Rock the chair in the same points (seat front, arm base, leg corners)
– Visually confirm joint gaps
– Tighten only the fasteners that moved or feel less secure
Prevent Future Loosening
Preventing loosening is largely about reducing vibration, keeping the chair aligned, and ensuring consistent surface contact. If you eliminate the underlying conditions that cause backing out, you reduce the need for repeated tightening.
– Keep the chair on level surfaces to reduce constant shifting
– Avoid slamming, rocking, or uneven loading that loosens hardware
Uneven flooring increases rocking moments that produce cyclic loosening forces at bolted joints.
Frequent slamming or rocking creates impact loads that exceed the friction margin holding chair fasteners.
Behavior and environment that matter
1. Level the chair
– If legs rock on the floor, the joints experience constant micro-rotation.
2. Use feet/casters correctly
– Caster issues can create torsional forces at seat and leg frames.
3. Avoid “impact tightening” behavior
– Slamming the chair into place or bouncing while seated increases cyclic preload loss.
4. Distribute load
– Uneven loading (leaning heavy on arms) can loosen arm mounts and seat supports first.
Common Chair Bolt Types & Safe Tightening Approach (2025)
| # | Fastener type seen on chairs | Typical size (metric) | Common drive/fit | “Snug then” extra tightening | Repair confidence rating |
|---|---|---|---|---|---|
| 1 | Hex bolt (legs / frame corners) | M8 × 1.25 | 13mm socket | 1/8–1/4 turn | ★★★☆ |
| 2 | Carriage bolt (seat-to-base) | M6 × 1.0 | 10mm nut | 1/8–1/4 turn | ★★★★ |
| 3 | Threaded insert + machine screw | M5 × 0.8 | Torx T25 / Phillips #2 | Snug only (no forcing) | ★★★☆ |
| 4 | Leg brace hex head screw | M6 × 1.0 | 10mm / 9mm fit | 1/8 turn then stop | ★★☆☆ |
| 5 | Bolts through stamped brackets | M8 × 1.25 | 13mm socket | 1/8–3/16 turn | ★★★★ |
| 6 | Wood screw + pilot hole | #8 (≈4.0mm) | Phillips #2 | Snug only; add washer if missing | ★★☆☆ |
| 7 | Nylon-lock nut (threaded post) | M8 × 1.25 | 13mm socket | 1/8–1/4 turn; inspect nylon ring | ★★★☆ |
By using these common chair hardware patterns, you can often select the safest tightening approach—especially the “snug then” extra tightening—without accidentally damaging threads or crushing brackets.
By inspecting the bolts, tightening in the right order with the correct tools, and replacing worn hardware when needed, you can stop chair wobble quickly and safely. Follow up with a re-check after normal use and consider thread-locker for recurring loosening—then test the chair stability before regular use.
Frequently Asked Questions
How do I tighten loose chair bolts without stripping the threads?
Start by removing the loose chair bolt and inspecting the bolt, nut, and threaded inserts for damage or debris. Use the correct size wrench or socket, then hand-thread the bolt first to ensure it catches properly before tightening. If the threads feel worn, re-seat the hardware and consider using a thread-repair kit or a slightly larger hardware insert rather than forcing the bolt. Tighten until snug, and stop if you feel grinding resistance to avoid stripping.
What’s the best way to tighten loose chair bolts if the bolt keeps spinning?
If the bolt spins but won’t draw tight, the nut inside the chair frame may be loose, stripped, or inaccessible. Check whether the chair uses a captive nut, threaded insert, or a loose nut behind a bracket; you may need to hold the nut with pliers or temporarily disassemble part of the frame. Remove the bolt, clean the contact surfaces, and reinstall with the proper hardware—sometimes swapping to a washer helps create better grip and alignment. If the internal threads are stripped, replace the bolt and use a thread insert or appropriate repair solution.
Why do chair bolts loosen over time, and how can I prevent it?
Chair bolts loosen due to vibration from use, wood or laminate compression, and small shifts where parts meet—especially on folding chairs or frequently moved furniture. To prevent loosening, clean mating surfaces, tighten to the manufacturer’s spec if available, and use a lock washer or thread-locking compound (like a removable blue thread locker) where appropriate. For chairs that flex, adding washers can improve load distribution and reduce micro-movement. Periodically check all fasteners, especially after reassembly or seasonal changes.
Which tools should I use to tighten loose chair bolts correctly?
The most common tools are the correct metric or standard socket/wrench size, a screwdriver for covers or access panels, and pliers or a nut-holding tool for spinning hardware. A small flashlight helps you locate the bolt head and any access points, while penetrating lubricant can help if bolts are stuck from wear or corrosion. If you’re dealing with stripped threads, a thread chaser, tap-and-die kit, or thread repair insert kit may be needed. Always verify the bolt type and size before tightening loose chair bolts to avoid rounding heads.
How do I know when loose chair bolts are tightened enough?
Tighten the bolts gradually, alternating between fasteners if multiple bolts secure the same joint, so the chair frame seats evenly. A properly tightened bolt should reduce wobble and hold components firmly without forcing the chair parts out of alignment. If you still feel movement, re-check that the bolt is fully threaded into the insert and that washers or plates are seated flat. Avoid overtightening—excess force can crush wood, crack plastic components, or strip threads, leading to faster loosening later.
📅 Last Updated: August 02, 2026 | Topic: How to Tighten Loose Chair Bolts | Content verified for accuracy and freshness.
References
- Screw
https://en.wikipedia.org/wiki/Screw - https://en.wikipedia.org/wiki/Torque
https://en.wikipedia.org/wiki/Torque - Fastener
https://en.wikipedia.org/wiki/Threaded_fastener - Thread-locking compound
https://en.wikipedia.org/wiki/Thread-locking_compound - Washer (hardware)
https://en.wikipedia.org/wiki/Lock_washer - Jam nut
https://en.wikipedia.org/wiki/Jam_nut - Google Scholar Google Scholar
https://scholar.google.com/scholar?q=how+to+tighten+loose+bolts+chair+hardware - Google Scholar Google Scholar
https://scholar.google.com/scholar?q=fastener+loosening+prevention+threadlocker+locknut+vibration - Google Scholar Google Scholar
https://scholar.google.com/scholar?q=torque+specification+impact+on+bolt+tightening+procedure - https://pubmed.ncbi.nlm.nih.gov/?term=bolt+loosening+vibration
https://pubmed.ncbi.nlm.nih.gov/?term=bolt+loosening+vibration
