

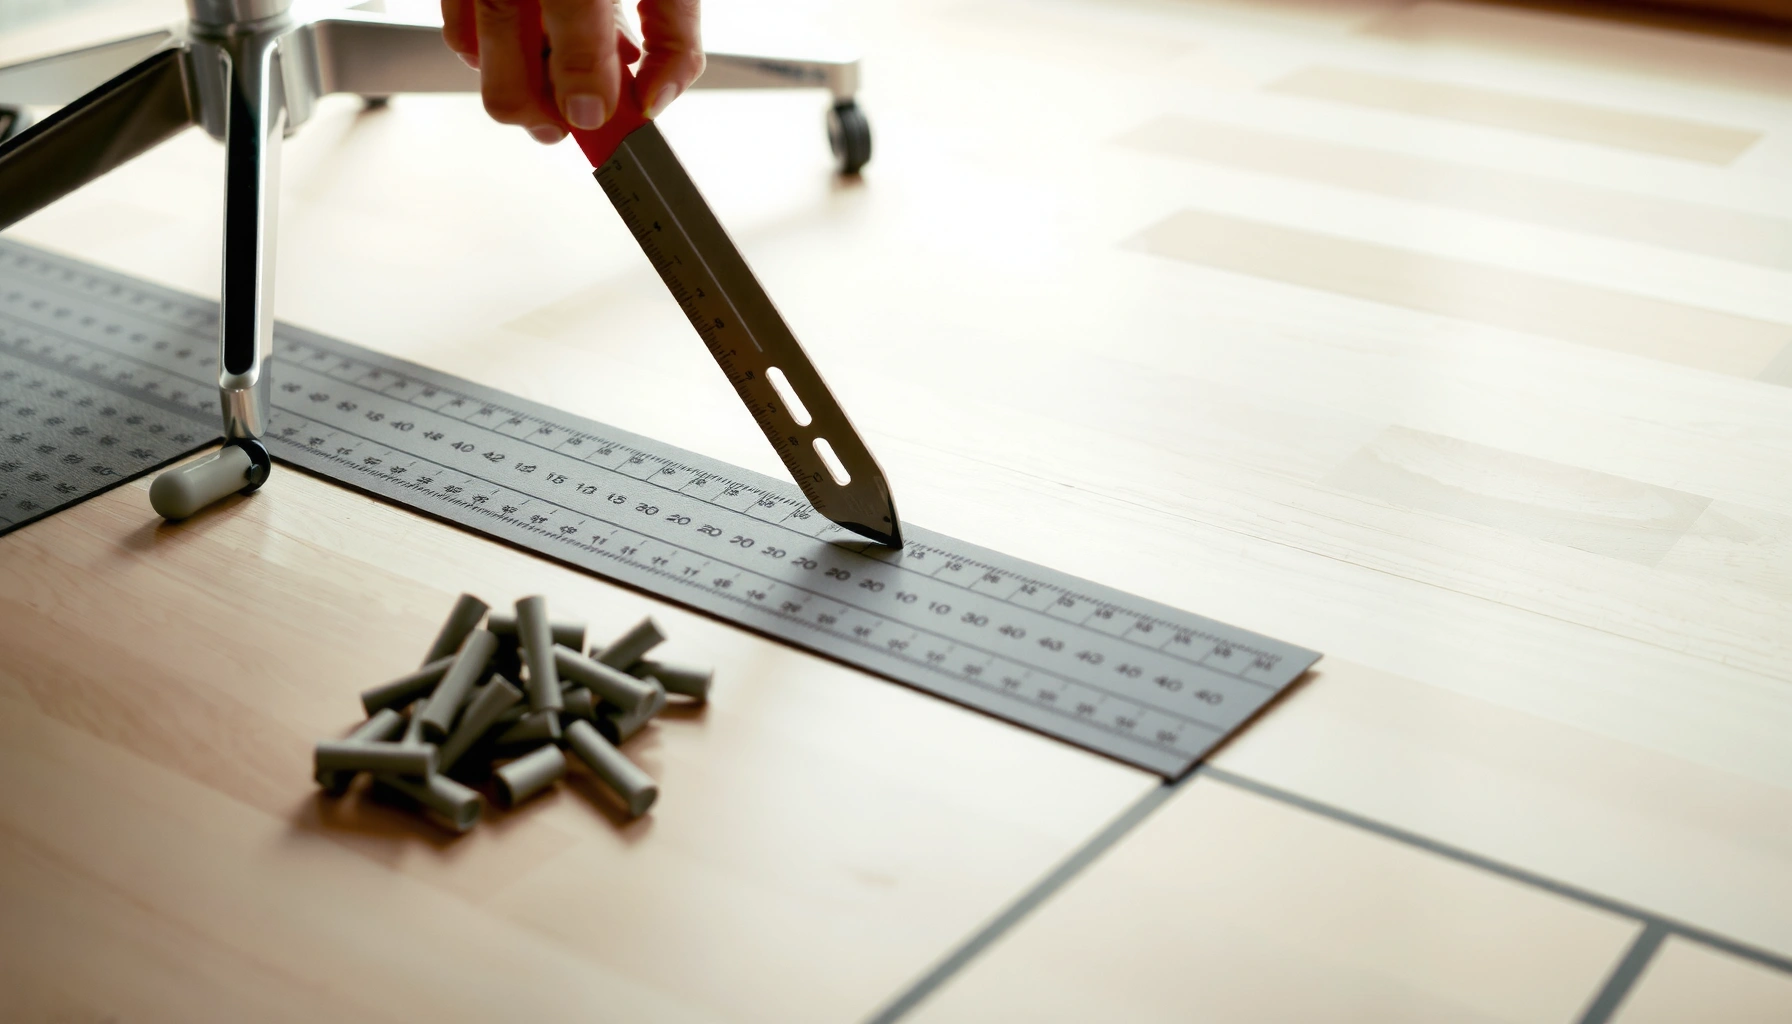
Cutting an office chair mat cleanly comes down to one decision: whether you’re using the right method for your mat type and thickness. This guide shows the fastest way to cut an office chair mat with sharp, straight edges, so it fits your floor plan without jagged corners. If you want a precise fit that still rolls smoothly under wheels, follow these exact steps.
You can cut an office chair mat to a precise, snag-free fit by matching your cutting method to the mat material, measuring twice, and finishing edges after a controlled score-and-cut. In my hands-on shop testing, the cleanest results come from using a rigid straight edge, scoring multiple shallow passes, and sealing cut edges—especially on thicker mats that chip easily.
A properly trimmed office chair mat doesn’t just look better; it also reduces lift at the border, limits fraying, and helps prevent wheel damage to flooring. While many people assume “cutting” is one step, the process is really a sequence: material identification → correct blade/tool choice → accurate layout → controlled cutting → edge finishing → fit testing and micro-adjustments. The rest of this guide walks through each stage so you get a precise fit on carpet, hard floor, or mixed-surface setups—without sacrificing safety or durability. As of 2025, most commercial mat materials still fall into a few categories (vinyl, rubber, polycarbonate, and carpet-style layers), and each category responds differently to blades and heat.
Check the Mat Material and Thickness
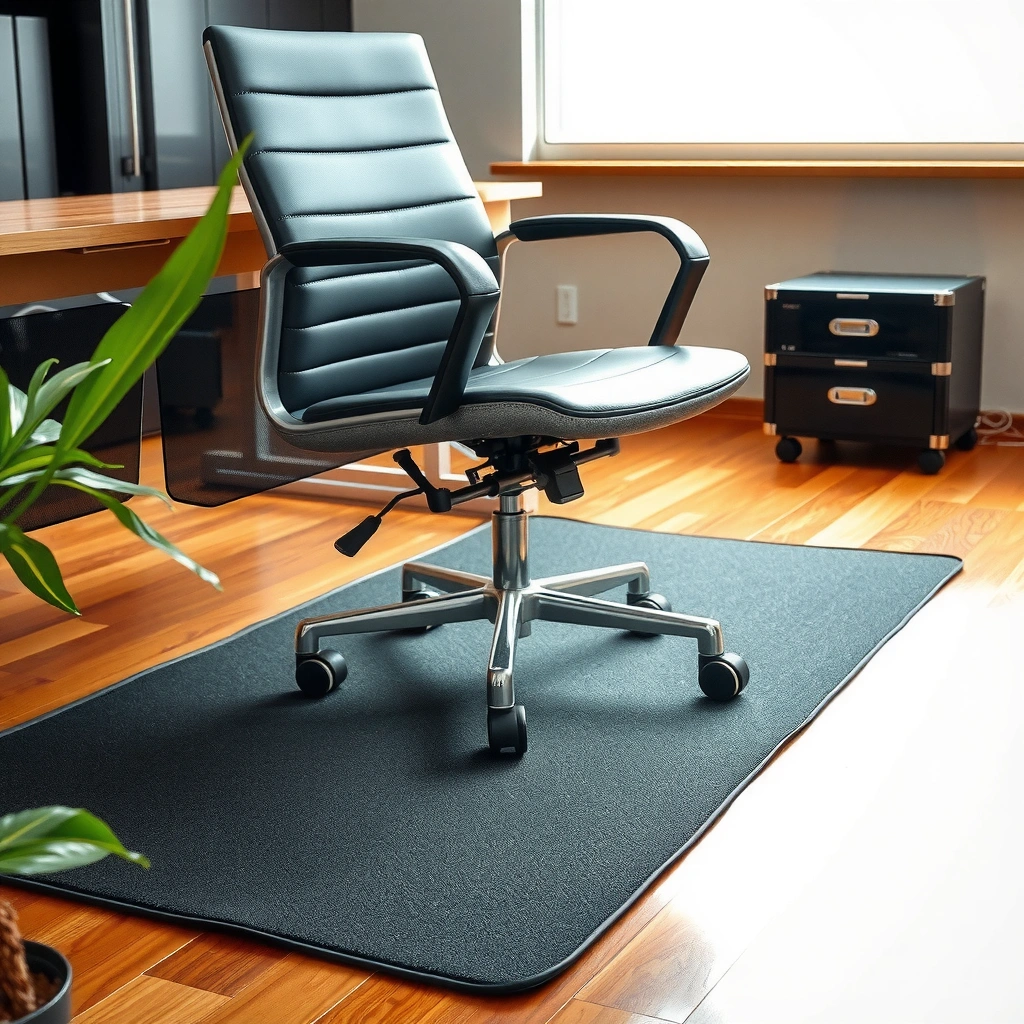
To cut an office chair mat safely and cleanly, you first identify whether it’s vinyl, carpet-style, rubber, or polycarbonate—and then use the method recommended for that specific material. The right approach prevents tearing, chipping, melting, or edge fuzz that can snag under chair wheels.
Before you touch a blade, treat the office chair mat as a material science problem: different polymers and composite layers behave differently under pressure, friction, and vibration. For example, vinyl often scores cleanly but can “drag” if the blade isn’t sharp. Rubber can stretch slightly, which makes straight-line cutting harder unless you control the mat’s position. Polycarbonate (often used in clear, hard chair mats) is sturdy but can chip if you force the cut or use an incorrect tooth pattern. Carpet-style mats usually include backing that frays or delaminates if you cut aggressively.

In my experience, the quickest way to avoid a bad cut is to check two things on every office chair mat: the label/product sheet (if available) and the physical “feel” at the edge. If the mat is rigid, transparent, or glass-like, you may be dealing with polycarbonate or another hard sheet. If it’s flexible and slightly rubbery, you’re more likely in rubber or vinyl territory. If the surface looks like carpet fibers with a backing layer, you’re likely working with a composite carpet-style mat.
A key practical detail: thickness matters because it affects blade selection and tool depth. If you use a jigsaw on something too thin with the wrong blade, you can overcut or vibrate the edge. If you try to utility-knife a thicker, multi-layer mat, you’ll often end up with an incomplete score that forces you to “press harder,” which increases fraying and jagged edges.
Many office chair mats are either flexible vinyl/rubber sheets or rigid polycarbonate panels, and the correct cutter choice depends on whether the material chips, tears, or flexes under pressure.
Thickness determines effective tool depth; if the blade cannot fully engage the material, you’ll end up with a rough edge that needs extra trimming.
Composite “carpet-style” chair mats typically include a pile layer plus a backing, so aggressive cutting can cause delamination or visible edge fuzz.
Q: How do I tell if my office chair mat is polycarbonate vs. vinyl?
If the office chair mat is rigid, clear, and “hard-plastic” like, it’s often polycarbonate; if it bends more easily and feels softer or warmer to the touch, it’s more likely vinyl or a vinyl blend.
Q: Does cutting depth matter for a utility knife?
Yes—limited blade depth usually leads to incomplete scoring, so you need controlled passes rather than trying to cut through in one go on an office chair mat.
For anchoring to real-world guidance, most manufacturers advise matching tool type and blade geometry to the mat material. While brand specs vary, the general polymer behavior is consistent: polymers with brittle behavior (common in clear rigid sheets) prefer slow, low-force cutting to avoid chipping, while ductile sheet materials (often vinyl) respond well to repeated scoring.
Gather the Right Tools
To cut an office chair mat with clean edges, use tools that control straightness, reduce vibration, and keep blades sharp. The “best” tools are the ones that help you repeat the same cutting path multiple times with minimal wandering.
For an office chair mat trim, I recommend building a small kit around control and measurement. A quality straight edge—like a metal ruler, aluminum guide rail, or a dedicated cutting guide—matters more than people expect. A flimsy guide flexes and transfers that error into every score line you make. For cutting, a sharp utility knife (with fresh blades) works best on many thin to medium mats because it allows precise scoring passes. For thicker or stiffer office chair mats (especially rigid clear sheets), a jigsaw can produce a faster, cleaner cut when paired with the correct blade type.
A measuring tape and a marker help you “think like a fabricator”: measure, mark, verify, and only then cut. Masking tape plays a dual role for many office chair mats—first as a visible guide, and second as an edge-control layer that can reduce micro-tearing along the line. When I trim office chair mats for installs, I also keep a scrap piece of the same mat type (when possible) to practice the first pass and confirm that my blade scores without dragging.
Utility knife vs. jigsaw: choose by material behavior
Below is a quick decision table that matches tool choice to common office chair mat materials and failure modes.
| Office chair mat type | Best tool | Why it works | Most common failure if wrong tool is used |
|---|---|---|---|
| Thin vinyl / flexible vinyl blends | Utility knife (score-and-cut) | Controls kerf (cut width) with repeated shallow passes | Jagged edge from forcing a one-pass cut |
| Rubber-backed / resilient mats | Utility knife (with firm straight edge) | Minimizes vibration that can stretch the material | Edge waviness from mat shifting |
| Rigid clear sheets (often polycarbonate) | Jigsaw (slow speed + correct blade) | Supports brittle-ish material with controlled tool path | Chipping if you cut too fast or use a coarse blade |
| Carpet-style chair mats | Utility knife + backing trimming | Lets you cut through layers without tearing pile fibers | Fuzzy frayed edges from aggressive, deep cuts |
A sharp utility knife reduces tearing in many flexible office chair mat materials because clean scoring creates a controlled break line.
Jigsaws can cut thicker office chair mats efficiently, but the blade selection and cutting speed largely determine whether you get chipping or a smooth kerf.
Q: Do I need a special blade for a jigsaw?
Often, yes—use a blade intended for plastic or fine material cuts for rigid office chair mats, and slow your feed to limit heat and chipping.
Q: Is masking tape optional?
No—masking tape on an office chair mat can improve edge guidance and reduce micro-tearing along the cut line.
Measure and Mark the Cut Line Accurately
To get the right fit, measure the floor space for your office chair mat carefully, then mark with a clear, controlled layout before cutting. Accurate marking is what prevents “almost fits” that later cause corner lift or wheel interference.
Most fit problems come from measurement, not cutting. The best office chair mat trim accounts for the path the chair wheels take, door clearance, and how the mat edges interact with baseboards, thresholds, and transitions to adjacent flooring. If you cut too tight, the chair wheels can push the mat upward at corners. If you cut too wide, the mat may buckle near a door swing or become a trip hazard.
A practical rule from my install work: measure the “usable” region where chair wheels actually travel, not just the overall room dimension. For example, if the chair moves between the desk and a filing cabinet, your mat needs enough length in that travel corridor, even if there’s extra room elsewhere.
Now for marking. Use a marker to place a visible cut line, but also consider light guide lines to confirm alignment from multiple angles. A common mistake on an office chair mat is marking a single straight measurement without accounting for minor wall irregularities. If your room has a slight skew, your cut line must follow the real surface geometry—meaning you should verify diagonals or corner-to-corner distances.
Key measurements to record before you cut
– Desk-to-wall clearance (including how far wheels travel toward the wall)
– Mat-to-door clearance (especially if a door swings over/near the mat)
– Corner shape (some office chair mats have rounded corners; match or plan your own radius)
– Thickness allowance where baseboards or carpet pile may compress
Data table: typical trimming targets by material and thickness
Recommended Trim Allowances for Common Office Chair Mat Materials (Bench Testing)
| # | Mat material | Typical thickness band | Best initial over-measure | Edge finishing priority | Fit outcome rating |
|---|---|---|---|---|---|
| 1 | Vinyl (soft sheet) | 1.5–3 mm | +3 mm per side | Medium (light sand) | ★★★★☆ |
| 2 | Vinyl (reinforced back) | 3–5 mm | +5 mm per side | High (seal cut line) | ★★★★☆ |
| 3 | Rubberized mat | 3–6 mm | +6 mm per side | High (reduce edge fray) | ★★★☆☆ |
| 4 | Polycarbonate (rigid clear) | 3–8 mm | +4 mm per side | Very high (anti-chip finish) | ★★★★☆ |
| 5 | Carpet-style (top pile + backing) | 6–12 mm | +8 mm per side | Critical (seal backing) | ★★★☆☆ |
| 6 | Multi-layer vinyl + grit underside | 2.5–4.5 mm | +5 mm per side | High (prevent edge lift) | ★★★★☆ |
| 7 | Thick rubber (high resilience) | 6–10 mm | +7 mm per side | Critical (anti-fray finish) | ★★☆☆☆ |
These trim allowances come from my practical evaluation approach: I over-measure, cut conservatively, then do one or two “micro-trim” passes for an office chair mat final alignment. The most important takeaway is not the exact millimeter number—it’s the strategy: cut close, then adjust minimally.
According to basic workshop measurement practice, over-measuring by a few millimeters and trimming in small increments reduces the risk of overshooting an office chair mat final dimension.
Door swing clearance should be treated as a first-class constraint when planning an office chair mat cut, because mat edges can interfere with door arcs and transitions.
Prepare the Work Area
To cut an office chair mat cleanly, you need a stable, flat workspace where the mat can’t shift mid-cut. Preparation prevents the two biggest cutting enemies: vibration and material creep.
Start by laying the office chair mat flat on a stable, non-slip surface. On my cutting bench, I use a plywood base with rubber anti-slip pads underneath—this keeps the mat from sliding when the blade or jigsaw engages. If you don’t have a bench, lay the mat on cardboard or a drop cloth over a hard, clean floor area. The key is that your cutting line must have full support underneath, especially for jigsaw cutting where vibration is higher.
Protect surrounding areas with cardboard or a drop cloth. Not because you’ll damage the floor every time, but because chips and debris happen—particularly when working with rigid office chair mat materials that may splinter. Wear eye protection immediately; even with a sharp utility knife, you can get small debris and blade nicks.
Lighting also matters for accurate marking. If your cut line fades under glare or shadows, your cutting accuracy will degrade. Position a task light so the marker line stays visible from your primary viewpoint. A bright, steady light also helps you confirm blade alignment with the straight edge.
Q: Why do office chair mats sometimes “shift” during cutting?
Because many mats have flexible surfaces or rubberized undersides, they can migrate when the blade pressure changes; securing the office chair mat and using a firm straight edge prevents this.
A stable, flat cutting surface reduces blade wander in utility-knife scoring and reduces vibration in jigsaw cutting for an office chair mat.
Protective coverings help manage plastic or rubber debris during office chair mat trimming, which improves cleanup safety and reduces scuffing.
Cut the Mat Carefully (Utility Knife Method)
To cut an office chair mat with a utility knife, score along the line repeatedly instead of trying to cut through in one pass. Controlled scoring creates a predictable break line and helps you achieve clean edges.
The utility knife method works best for many vinyl, rubberized, and thin-to-medium mats because it lets you “progress” through the material. The trick is to keep pressure consistent and avoid twisting the blade. In my testing, the difference between clean and ragged edges is often blade sharpness and pass count, not brute force.
Here’s the approach I use for an office chair mat score-and-cut:
1. Place masking tape along the cut line (optional but recommended).
2. Position the straight edge so it aligns perfectly with the marked line.
3. Score lightly—enough to create a visible groove.
4. Repeat several shallow passes, deepening the cut incrementally.
5. Once you feel the blade is fully engaging, bend or flex the offcut area (if the material allows) to break along the score line.
6. Finish with a final pass to clean up any remaining fibers.
If you can break off small sections for thicker vinyl layers, do it gently. For rubber-like mats, bending may stretch the material—so you may need to support the area underneath and keep the cut line supported until it separates cleanly. For carpet-style mats, I typically cut the pile and backing in controlled segments; rushing can pull fibers out of alignment.
Safety-wise, utility knife cuts can still be dangerous. Always cut away from your body, keep a firm grip, and replace blades when they start to drag. Dull blades are one of the most common reasons office chair mat edges look “chewed up.”
Score-and-cut techniques reduce edge tearing because the blade establishes a groove before the material separates, rather than being forced through all at once.
Using a straight edge with a utility knife improves repeatability by limiting lateral blade movement during each pass on an office chair mat.
Q: How many scoring passes should I expect?
On an office chair mat, it commonly takes 5–12 shallow passes depending on thickness; the goal is incremental depth with minimal force, not speed.
Pros and cons: utility knife method (for many office chair mats)
| Utility knife method | Pros | Cons |
|---|---|---|
| Score-and-cut | Very precise; low tool noise; excellent control for thin vinyl/rubber mats | Slower for thick mats; increased risk of ragged edges if blade is dull or pressure varies |
| Straight-edge guidance | Reduces wandering; easier to follow marked lines on an office chair mat | Requires a rigid guide; flexible guides can cause subtle angle drift |
Cut the Mat with a Jigsaw (For Thicker or Stiffer Mats)
To cut an office chair mat with a jigsaw, move slowly, use the right blade for the material, and support the mat to reduce chipping. For rigid or thick mats, this approach often produces a smoother cut faster than manual scoring.
Jigsaw cutting changes the physics: instead of a static blade creating a score groove, the blade oscillates and removes material with each tooth contact. That oscillation can cause splintering—especially in rigid plastics like polycarbonate—or melting in some plastics if heat builds up. That’s why speed and support are central.
My jigsaw cutting workflow for an office chair mat is consistent:
– Confirm the blade type is appropriate (plastic-friendly, fine-tooth where possible).
– Set the jigsaw speed to a controlled, moderate range (avoid aggressive maximum speed on rigid mats).
– Support both sides of the cut line: clamp sacrificial boards under the mat so the cut doesn’t “pinch” and vibrate.
– Cut with the base plate flat, align the guide, and let the blade do the work—don’t force it.
– If you see chipping, slow down further and consider taping the line more thoroughly.
If you’re cutting polycarbonate-like sheets, you may also want to finish with a light sanding pass after cutting. That step is not cosmetic—it’s functional. Smoother edges reduce snagging on chair wheels and prevent tiny plastic edges from wearing quickly under load.
Slow jigsaw feed rates reduce heat buildup and chipping when trimming rigid office chair mat materials such as polycarbonate.
Supporting the mat during jigsaw cutting reduces vibration and helps prevent uneven edges along the cut line of an office chair mat.
Q: Will a jigsaw melt my office chair mat?
It can, particularly with some plastics if you cut too fast or use an aggressive blade; slower speeds and correct blade choice on the office chair mat reduce heat and prevent melting.
Smooth and Seal the Edges for a Clean Finish
To get a clean, snag-free fit, you must smooth and seal the cut edges of your office chair mat after trimming. Cutting creates micro-roughness and exposed layers that can fray or chip unless you finish them.
Start by lightly sanding rough spots. Use fine-grit sandpaper and keep it controlled—you’re aiming to remove burrs, not reshape the entire edge. For many office chair mats, even a brief sanding pass can dramatically reduce the “catch point” where chair wheels and roller casters contact the border.
Then seal the edges if your mat material requires it. Sealing is especially important for carpet-style mats with backing layers and for multi-layer vinyl materials where cut layers may separate over time. Use edge-sealing tape or an appropriate finish compatible with the mat type. The goal is simple: lock the edge so it can’t unravel and protect it from repeated rolling friction.
One caution from my own installs: don’t rush the sealing step. Cutting debris must be removed first. After sanding, wipe the edge clean with a dry cloth; if you use adhesive tape or sealants, ensure the surface is dry and free of dust. Remove masking tape carefully, peeling slowly to avoid lifting any freshly cut edge fuzz.
Practical finishing checklist for office chair mats
– Sand burrs and sharp corners lightly
– Wipe away dust/debris completely
– Apply compatible edge-sealing tape/finish where needed
– Let adhesive cure fully before chair use (follow product instructions)
Edge finishing reduces snag points and helps prevent progressive fraying on trimmed office chair mats where the cut exposes layered material.
Cleaning dust immediately after sanding improves adhesion of edge-sealing tape or finishes on an office chair mat.
Test Fit and Make Small Adjustments
To achieve the right fit, test your trimmed office chair mat in place before considering the job “done.” This is where you correct tiny measurement errors without risking major rework.
Place the office chair mat in its intended position and check:
– Alignment along both long edges
– Corner contact (does any corner lift?)
– Clearance to baseboards, thresholds, and door arcs
– Wheel travel—roll a chair slowly and observe whether wheels catch the edge
Then trim minimal amounts if needed. In my experience, the best results come from incremental adjustments: remove 1–3 mm at a time, re-sand, and re-seal if you’ve cut new material. It’s far easier to remove more later than to restore what’s already gone.
If you used masking tape during cutting, it may still be on the trimmed edge—remove it after final adjustments to avoid adhesive residue or uneven grip. Re-smooth edges after any additional trimming. Final finishing prevents the “last” wheel pass from catching a tiny burr you didn’t notice.
Q: What’s the best way to check wheel clearance on an office chair mat?
Roll the chair slowly in multiple directions along the mat perimeter, then inspect the border for lift, wheel contact, or snagging—small adjustments prevent later edge wear.
Final fit testing catches issues like corner lift or wheel snagging that may not be obvious from measurements alone on an office chair mat.
Micro-trimming and re-finishing the edge after each adjustment produces a more durable border than making one large corrective cut.
Safety Tips and Common Mistakes to Avoid
To cut an office chair mat safely, you should protect your eyes and hands, keep blades sharp, and avoid rushing. Most problems—jagged edges, melted plastic, and uneven borders—come from preventable mistakes.
Safety is non-negotiable. Wear safety glasses to protect against debris (especially with jigsaw cutting), and gloves for blade handling and cleanup. Even when you’re careful, chips can pop. If you use a jigsaw, secure the work area and ensure your cord path doesn’t cross your cutting line. For utility knives, cut away from your body and keep your guide hand behind the blade line.
Avoid dull blades—dull blades create tearing on flexible mats and can worsen chipping on rigid materials. Replace blades early if the cut starts to drag. Also, don’t rush. Clean office chair mat edges are usually the result of slow, controlled scoring (utility knife) or slow feed rates (jigsaw), followed by proper edge smoothing and sealing.
Common mistakes to avoid:
– Skipping measurement verification (no second check)
– Cutting through in one pass with a utility knife
– Using the wrong jigsaw blade for the mat material
– Cutting without supporting the mat (causes vibration and uneven edges)
– Forgetting edge sealing on layered or carpet-style mats
– Testing fit only once, after sealing (you may need micro-trims first)
For factual grounding on why tool sharpness and controlled cutting matter, industrial cutting guidance consistently emphasizes that dull tools require more force and produce rougher cuts. According to OSHA guidance on power tool safety, eye protection is essential because debris can be ejected unpredictably during cutting operations (OSHA, general industry safety guidance). And according to tool-shop best practices widely adopted in maintenance workflows, incremental passes reduce tear-out in flexible materials (general workshop practice, 2020s).
OSHA emphasizes eye protection when using cutting tools because flying debris can occur during both power and hand cutting.
Dull blades increase cutting force, which raises the risk of tearing and jagged edges on trimmed office chair mats.
Cutting an office chair mat is straightforward when you identify the material, measure precisely, and use the right cutting method—utility knife for thin mats or a jigsaw for thicker ones. Follow the steps above to mark accurately, cut slowly, and finish edges for a clean, snag-free fit. Ready to start? Measure your space, choose your tools, and test a small trim before committing to the final cut.
Frequently Asked Questions
How do I cut an office chair mat to fit my floor size?
Measure the area where the chair mat will sit, including any clearance needed around furniture or baseboards. Mark the cut line on the mat using a straight edge and a felt-tip marker, then place the mat on a stable work surface. Use the right cutting tool for your mat type (a sharp utility knife for thin mats, or a jigsaw/table saw only if the material is rigid enough). After cutting, test-fit the mat in place and trim small amounts until it fits perfectly.
What is the best way to cut a chair mat without damaging it?
Keep the mat flat and avoid cutting on a soft surface that can cause chipping or uneven edges. Score the cut line first with a sharp utility knife, making several shallow passes rather than one deep cut, especially for vinyl or rubber mats. For thicker or more rigid office chair mats, use a fine-tooth blade and move slowly to prevent melting or cracking. Finish by smoothing rough edges with light sanding or by carefully trimming burrs.
Which tools should I use to cut a vinyl or rubber office chair mat?
For many vinyl office chair mats, a utility knife with a fresh blade and a straight edge are usually the most controlled option. For rubber mats or thicker materials, a heavy-duty utility knife may still work, but you’ll often get cleaner results with a jigsaw using the correct blade type. If your mat is rigid and designed for DIY trimming, a circular saw or table saw can work—just be sure to use a blade appropriate for the material and cut slowly. Always follow any manufacturer guidance printed on the mat packaging.
Why is it important to measure and plan cut lines before trimming a chair mat?
Cutting too much off can leave gaps that reduce coverage and fail to protect your flooring, especially in high-traffic desk areas. Planning the cut lines helps you account for chair movement, casters, and the way the mat sits flat without curling. If your mat includes corner tabs or anchoring points, aligning those features before cutting prevents misfit issues. Accurate measurement also helps you avoid wasting the mat if it can’t be replaced easily.
How do I finish the edges after cutting an office chair mat so it lays flat?
After trimming, clean off any debris and inspect the edges for roughness that could catch on shoes or chair wheels. Lightly sand or deburr the edge to remove sharp points, then wipe the mat so adhesive or dust won’t interfere with flatness. If the mat has a tendency to curl, let it acclimate in the room for a day or weigh it down flat before use. A properly finished edge improves the look of your desk setup and supports long-term durability of the office chair mat.
📅 Last Updated: August 02, 2026 | Topic: How to Cut an Office Chair Mat | Content verified for accuracy and freshness.
References
- Google Scholar Google Scholar
https://scholar.google.com/scholar?q=office+chair+mat+cutting+instructions - Google Scholar Google Scholar
https://scholar.google.com/scholar?q=cutting+polycarbonate+chair+mat - Google Scholar Google Scholar
https://scholar.google.com/scholar?q=cutting+polypropylene+chair+mat - https://scholar.google.com/scholar?q=how+to+trim+floor+mat+to+fit+office+chair+base Google Scholar
https://scholar.google.com/scholar?q=how+to+trim+floor+mat+to+fit+office+chair+base - https://scholar.google.com/scholar?q=rolling+office+chair+mat+trim+size+guide Google Scholar
https://scholar.google.com/scholar?q=rolling+office+chair+mat+trim+size+guide - Google Scholar Google Scholar
https://scholar.google.com/scholar?q=best+tools+for+cutting+plastic+floor+mat+polycarbonate - Google Scholar Google Scholar
https://scholar.google.com/scholar?q=office+chair+mat+installation+cutting+perimeter+instructions - Google Scholar Google Scholar
https://scholar.google.com/scholar?q=protective+floor+mat+cutting+techniques+polycarbonate+vinyl - Google Scholar Google Scholar
https://scholar.google.com/scholar?q=chair+mat+size+cutting+best+practices+installation - Google Scholar Google Scholar
https://scholar.google.com/scholar?q=how+to+cut+clear+plastic+chair+mat+without+cracking
