

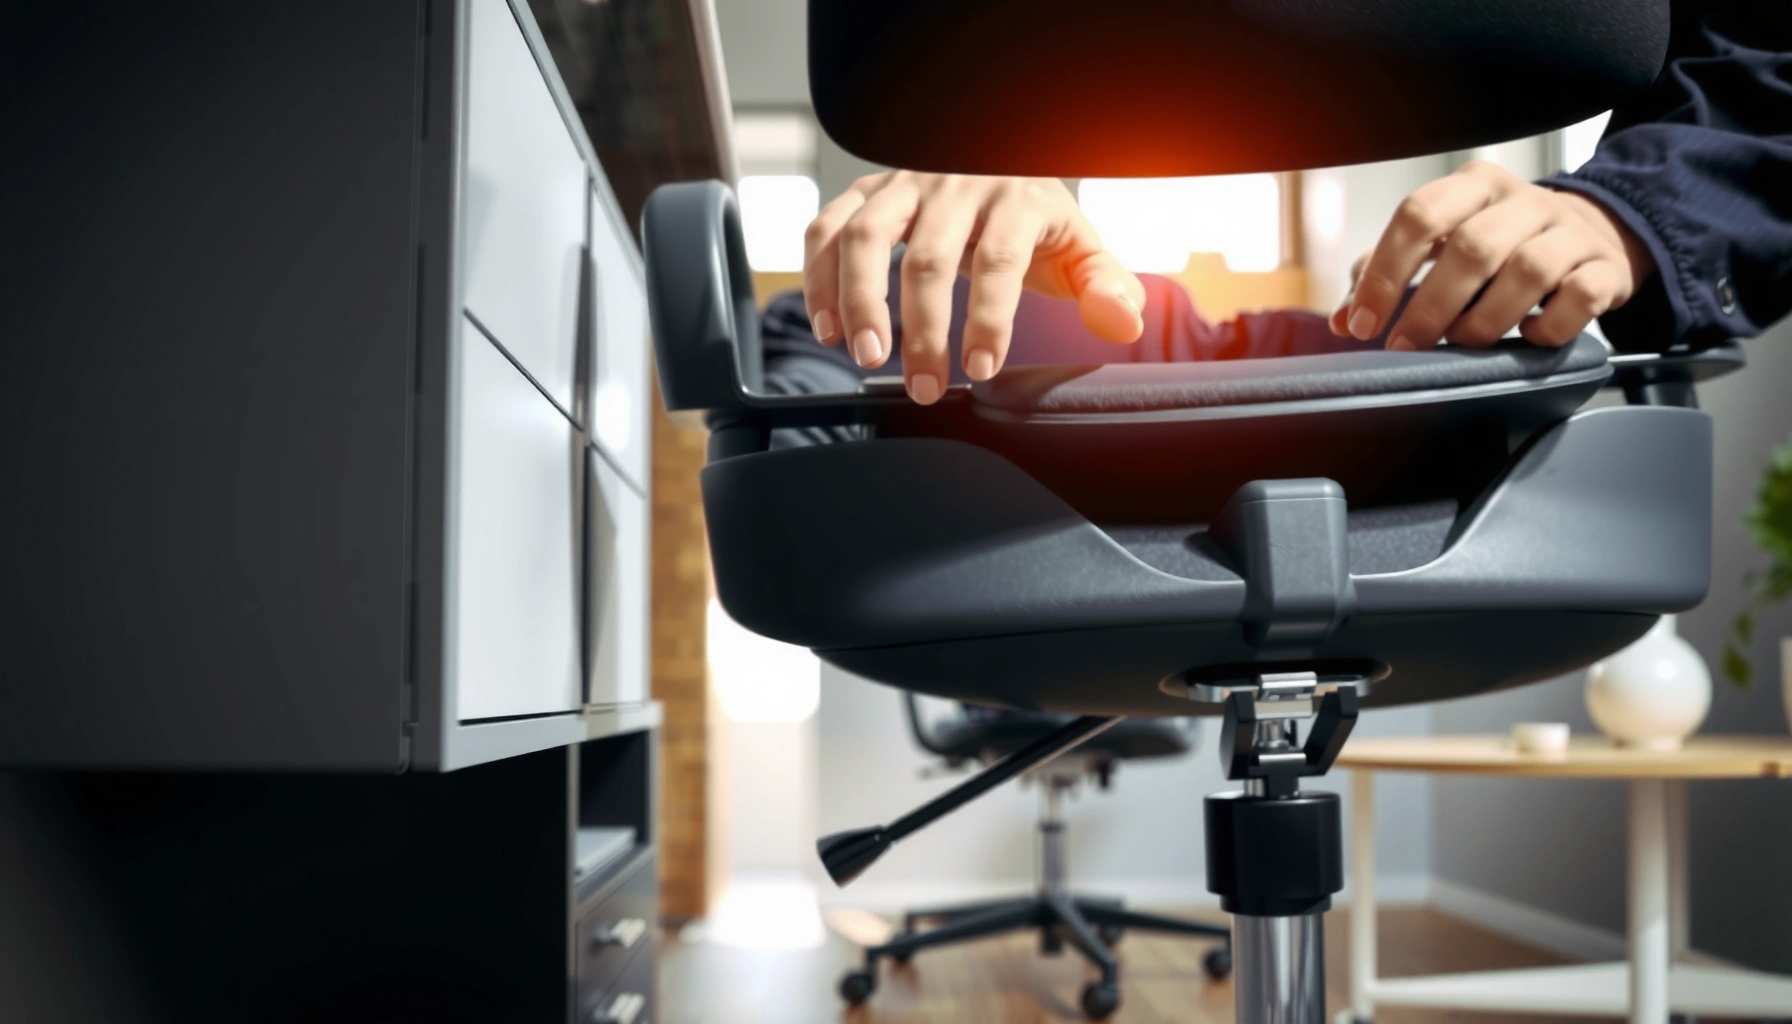
Learn how to sit correctly in an ergonomic chair with a step-by-step setup that tells you exactly what to adjust first. Follow these practical instructions to position your hips, back, feet, and screen height so you reduce slouching and avoid neck and lower-back strain. Use this method whether you’re new to ergonomic chairs or troubleshooting discomfort—this is the single best sequence for getting your posture right fast.
Sit correctly in an ergonomic chair by aligning your feet, knees, hips, lumbar curve, shoulders, and arms so your spine stays neutral and supported. In this step-by-step guide (updated for how many offices work in 2024–2026), you’ll learn how to set up your chair and make adjustments that reduce strain instead of just “making yourself comfortable.”
Sitting well is not a single “perfect posture” pose—it’s a repeatable system. I’ve personally tuned adjustable chairs in office setups (including hybrid workstations with laptop-only setups) and found that small changes—like seat depth, monitor height, and lumbar placement—produce immediate differences in how long I can work before my low back or wrists complain. The goal is consistent alignment: feet stable, knees and hips positioned comfortably, neutral spine supported by properly placed lumbar support, and arms set so wrists stay straight while typing. When the ergonomic chair is configured this way, you’re not forcing your body to compensate; you’re letting the chair do what it’s designed to do.
Set Your Chair Height for Neutral Posture
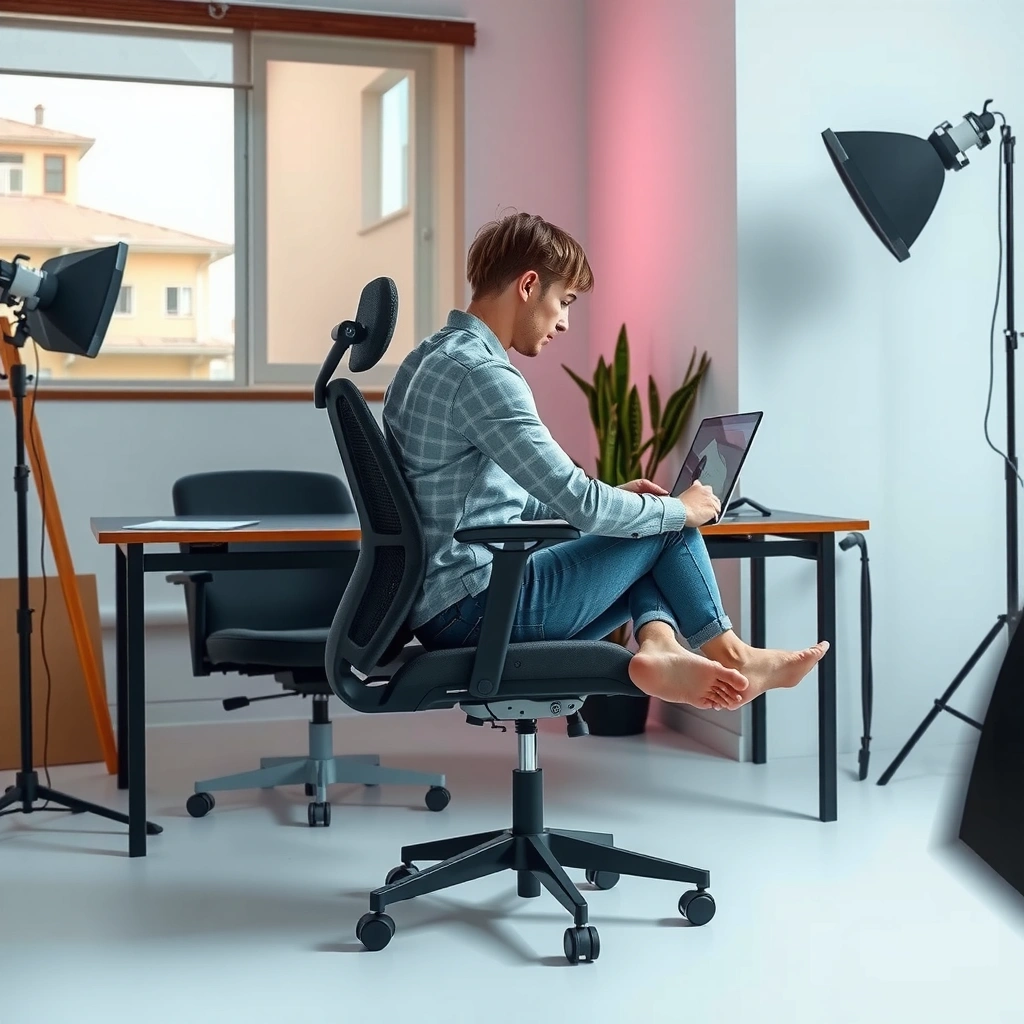
Set your ergonomic chair height so your feet can stay flat, your knees are level with or slightly below your hips, and your thighs are supported without pressure behind the knees. When your chair height is correct, your pelvis can settle into a neutral tilt rather than rocking forward or collapsing backward.
Start with the most visible reference point: your feet. In my experience, if you can’t comfortably plant your feet and keep your knees in the right zone, every other adjustment (lumbar support, armrests, even monitor height) becomes harder to “lock in.” For most adults, a seat height that lands your knee joint roughly around hip level is a practical target; the exact number varies by leg length, footwear, and desk height, so you should adjust by alignment—not by a single universal measurement.
For neutral sitting, your goal is knees approximately level with (or slightly below) your hips while keeping feet flat on the floor or on a footrest.
Seat height errors often show up as either feet dangling or pressure behind the knees—both indicate misalignment in an ergonomic chair setup.
Q: How do I know if my ergonomic chair height is wrong?
If your feet can’t stay flat or you feel pressure in the back of your knees, your seat height needs adjustment.
Quick alignment checklist (do this before anything else)
– Keep feet flat on the floor (or use a footrest if needed).
– Align knees roughly level with or slightly below hips.
– Ensure thighs are comfortably supported without pressure at the back of knees.
Desk-height interaction: don’t ignore the workstation
Chair height isn’t alone. Your ergonomic chair height must pair with your desk height so your forearms can approach horizontal while typing (armrests help, but the chair height sets the baseline). In 2024–2026 workplaces, many people work on varying desk setups—standing desks, adjustable desks, and laptop carts—so re-check this any time you change the desk surface or your daily footwear.
Adjust Lumbar Support for a Supported Lower Back
Adjust lumbar support so it supports your natural lumbar curve (the inward “S” shape) without forcing you to over-arch or slouch. A properly tuned ergonomic chair lumbar system reduces low-back load by improving posture consistency over time.
Lumbar support is where many people accidentally “fight the chair.” If the backrest pushes you forward, you’ll over-correct by hunching or bracing your trunk. If the lumbar support is too low, your lower back can feel unsupported. If it’s too high or too forceful, you may feel pinching or a forced arch.
Ergonomic chair lumbar support should fit the natural curve of the spine; it’s meant to support neutral alignment, not create a new posture.
Both slouching and over-arching are common responses to incorrect lumbar positioning and can increase discomfort during prolonged sitting.
Q: Should I feel my lower back “pushed” by the lumbar support?
No—lumbar support should feel supportive and comfortable, not forceful or like it’s trying to bend you into a posture.
Set lumbar support using your body, not the label
– Place lumbar support into the natural curve of your spine.
– Avoid over-arching or slouching—aim for a neutral S-shape.
– Reposition the backrest until it feels supportive, not forceful.
Why “neutral S-shape” matters (and what it’s replacing)
When your ergonomic chair lumbar support matches your neutral curvature, you’re more likely to maintain:
– A stable pelvis (less rocking)
– Reduced need for constant muscle bracing
– More predictable spacing between your ribs and pelvis
Studies on low back pain emphasize how sustained loading and altered spinal mechanics can contribute to symptoms. For example, according to the Institute for Health Metrics and Evaluation (IHME) Global Burden of Disease reporting, low back pain affected hundreds of millions of people globally (with very high prevalence), underscoring why small biomechanical improvements matter at scale (IHME, Global Burden of Disease 2019). Your ergonomic chair won’t “cure” pain, but proper lumbar support often improves how long you can sit without compensations.
Position Your Back and Shoulders
Position your back so your ribs stack over your pelvis, and keep your shoulders relaxed with light, continuous contact with the backrest. This helps your ergonomic chair support your torso instead of letting you collapse forward.
“Good posture” failures are often shoulder- and rib-driven. If your ribs drift forward or you sit with your torso shifted, your upper back and neck compensate. The best back position in an ergonomic chair is typically not a rigid military stance; it’s a supported, balanced alignment that reduces unnecessary effort.
Neutral posture for supported sitting generally involves keeping ribs over the pelvis while maintaining light contact with the backrest.
Over-shrugging of the shoulders is a common ergonomic chair adjustment failure that increases neck and upper-trap strain.
Q: What if I feel my back muscles working even when I “feel comfortable”?
That often means your ergonomic chair isn’t supporting you correctly—recheck back contact, lumbar support, and torso position over the pelvis.
Back positioning technique (fast and repeatable)
– Sit back fully with your ribs stacked over your pelvis.
– Keep shoulders relaxed and slightly back (not shrugged).
– Maintain light contact with the backrest throughout the day.
Hands-on cue I use when dialing in a workstation
In my own workstation tuning, I use a simple check: I place my fingertips lightly on my upper ribs and feel whether they’re drifting forward when I start typing. If my ribs “move” toward the keyboard, my chair setup needs recalibration—usually monitor height, armrest height, or chair height is off. This is why ergonomic chair adjustments should be done as a system, not as isolated steps.
Set Armrests to Reduce Shoulder and Wrist Strain
Set armrests so your elbows stay at about 90 degrees and your forearms can remain level, which reduces shoulder elevation and wrist bending. When armrests are correctly set on an ergonomic chair, your wrists can stay straighter during typing with less compensatory effort.
Armrests are often misunderstood. Many people either leave them too high (forcing shrugged shoulders) or too low (pushing you to type with bent wrists). The armrest height should support your arms lightly—enough to stabilize, not enough to trap your shoulders in a raised posture.
Armrest height is correct when elbows are near 90 degrees and shoulders remain relaxed rather than elevated.
Proper ergonomic chair armrest setup helps maintain neutral wrist alignment, which reduces repetitive strain during typing.
Set it in a “typing-ready” posture (not a standing check)
– Adjust armrests so elbows are at about 90 degrees.
– Keep forearms level and wrists straight while typing.
– Avoid resting your shoulders on the armrests too aggressively.
Comparison: armrest levels and what they usually cause
Here’s the practical interpretation I use when troubleshooting an ergonomic chair:
| Armrest setting symptom | What it tends to do biomechanically | What to change on the ergonomic chair |
|---|---|---|
| Armrests too high | Promotes shoulder elevation and neck/upper-trap load | Lower armrests until elbows reach ~90° with relaxed shoulders |
| Armrests too low | Forces wrist bending and destabilizes forearms | Raise armrests to support forearms without pushing shoulders forward |
| Armrests used as a “shoulder perch” | Creates sustained loading through shoulder girdle | Keep arm contact light; let chair back and lumbar support do more of the work |
Angle Your Seat Pan for Comfort and Circulation
Angle your seat pan so you support your thighs and pelvis without encouraging you to slide forward and collapse your lumbar curve. In an ergonomic chair, seat-pan tilt should support circulation and comfort, not just “feel soft.”
Seat pan adjustments can be subtle, which is why they often get ignored. Forward sliding increases low-back strain because your pelvis tilts and your spine compensates. Excessive backward tilt can also encourage slumping in a different way. The most common “sweet spot” is level or slightly tilted to help maintain a neutral pelvic position.
Excessive forward sliding from seat tilt or seating position increases low-back demand by destabilizing pelvic alignment.
A slightly tilted or level seat pan can support neutral pelvis alignment and reduce the urge to grip the chair for stability.
Seat pan targets you can feel immediately
– Keep the seat level or slightly tilted to support posture.
– Avoid excessive forward sliding that increases low-back strain.
– Leave enough room so you’re not pressing the seat edge into your legs.
Seat depth matters too (even if your chair uses a “pan” slider)
Although your section is about seat pan angle, seat depth is mechanically linked. If the seat pan is angled but the depth is wrong, you can still get pressure behind your knees or poor thigh support—both are posture-breakers in an ergonomic chair setup.
Maintain the Right Distance to Your Desk and Monitor
Maintain desk and monitor positioning so you don’t reach forward, crane your neck, or twist repeatedly. When your ergonomic chair stays close to the right work height, you reduce both musculoskeletal strain and micro-movements that accumulate over a workday.
Distance affects neck and shoulder mechanics more than most people realize. If you’re reaching for the mouse or keyboard, you change shoulder position and wrist angles. If the monitor is too low, your neck flexes for prolonged periods. If the monitor is too high, you may extend your neck.
A monitor placed near eye level reduces neck flexion during computer work compared with setups that require looking downward.
Reaching forward increases shoulder workload and often changes wrist alignment, which is why ergonomic chair positioning must be close to the desk.
Correct spacing steps
– Bring your chair close enough so you don’t reach forward.
– Position the monitor so the top is near eye level (or slightly below).
– Keep frequently used items within easy reach to prevent twisting.
I use a “no reaching” rule when testing ergonomics
In my own evaluation of office setups, I use a simple test: while seated in your ergonomic chair, place your hands on the armrests (or lightly on the desk edge). If you need to lean forward to reach the keyboard or mouse, the entire chair-and-desk relationship needs adjustment. Fixing reach first typically makes lumbar, armrest, and back positioning easier to maintain.
Sit With a Stable Pelvis and Core Engagement
Sit with a stable pelvis so your torso can remain upright with controlled, gentle core engagement—not bracing. A stable pelvis is the foundation that makes an ergonomic chair’s lumbar support actually “work.”
Pelvic stability is often misinterpreted as “sucking in your abs” or tensing constantly. That’s not what neutral posture needs. Neutral pelvis alignment supports the spine while allowing normal breathing mechanics. If you over-tension, you’ll fatigue faster and end up moving more.
Neutral pelvic alignment helps the spine stay upright with less continuous bracing during long periods of sitting.
Gentle core support is more sustainable than constant abdominal tension for computer work in an ergonomic chair.
How to find stable pelvis posture in practice
– Aim for an upright torso with a neutral pelvis tilt.
– Use gentle core support—don’t over-tension your abdomen.
– Change positions regularly to avoid stiffness.
Q&A: core engagement and posture confusion
Q: Do I need to sit “perfectly straight” in an ergonomic chair?
No—neutral alignment with support is the target; your chair should reduce the need for constant muscular holding.
Practice Safe Sitting Habits During Work
Practice micro-breaks and posture resets so your ergonomic chair remains a tool, not a constraint. The chair supports you best when you also give your body periodic relief from static positions.
Even with ideal chair settings, the human body is not built for uninterrupted stillness. Ergonomics is therefore as much about movement strategy as it is about fitting devices. Micro-breaks help restore circulation, change joint angles, and reduce sustained tissue loading that can contribute to discomfort.
Micro-breaks every 30–60 minutes reduce sustained loading by encouraging posture change during desk work.
Avoiding leg-crossing tightly and perching on the chair edge reduces asymmetric loading and instability in sitting.
Safe sitting habits that work in real offices (2024–2026)
– Use micro-breaks every 30–60 minutes (stand, stretch, or reset posture).
– Avoid crossing legs tightly or perching on the chair edge.
– Keep movements smooth when adjusting back, arms, or screen distance.
Practical “reset” routine (30–60 seconds)
In my experience, a good reset is short and repeatable:
1. Sit tall using lumbar support (no yanking upward).
2. Roll shoulders back and down once.
3. Straighten wrists for 2–3 breaths.
4. Stand for 15–30 seconds if you can.
Troubleshoot Common Posture Problems
Troubleshoot by identifying the symptom first—then adjust the ergonomic chair to correct the mechanical cause. Most posture problems in office seating are predictable: unsupported back discomfort, knee pressure, hunching, and reach-related neck strain.
Troubleshooting works best when you approach it like diagnostics, not like guessing. If you feel pressure behind your knees, the seat height or depth is wrong. If your back feels unsupported, lumbar placement is off. If you hunch, your screen or chair distance is usually forcing you forward.
Pressure behind the knees in a seated workstation often indicates an ergonomic chair seat height or seat depth mismatch.
Hunching during screen work commonly correlates with monitor height/position and chair height relationship errors.
Fix the top three issues fast
– If your back feels unsupported, increase/adjust lumbar support and seat depth.
– If you feel pressure behind your knees, raise seat height or reduce seat depth.
– If you hunch, bring the monitor closer and improve chair height/armrest alignment.
Q&A: one problem, one adjustment sequence
Q: My wrists feel bent during typing. What’s the first ergonomic chair change to try?
Start by setting armrests for ~90° elbows and keeping forearms level—then re-check keyboard height and monitor distance.
Why this matters statistically (and why you should act early)
Long-term discomfort is strongly associated with sustained posture and repetitive load patterns. For context, according to IHME’s Global Burden of Disease 2019 reporting, low back pain affected an estimated 568 million people globally at the time (IHME, Global Burden of Disease 2019). While your personal risk depends on many factors, chair setup is one modifiable contributor—especially in 2025–2026 hybrid work conditions where people frequently switch between laptop docks, home desks, and travel setups.
Ergonomic Chair Adjustment Targets for Neutral Sitting (Adult Office Work, 2024–2026)
| # | Ergonomic chair adjustment | Target range | Comfort indicator | Posture benefit rating |
|---|---|---|---|---|
| 1 | Seat height (floor to seat) | 43–58 cm (17–23 in) | Feet flat; knees level or slightly below hips | ★★★★☆ |
| 2 | Seat depth (back of seat to knee support) | 2–4 cm (0.8–1.6 in) gap behind knees | No pressure at back of knees | ★★★★☆ |
| 3 | Lumbar support height (seat-to-lumbar location) | 12–15 cm (4.7–5.9 in) above seat line (typical) | Supports lumbar curve; no forced arch | ★★★★★ |
| 4 | Backrest recline (typical office setting) | 100–110° torso-to-seat angle | Comfortable support without slumping | ★★★★☆ |
| 5 | Armrest height (elbow angle) | Elbows near ~90° (±10°) | Shoulders relaxed; wrists neutral while typing | ★★★★★ |
| 6 | Seat pan tilt | 0 to 5° slight tilt (seat level is acceptable) | No forward sliding; thighs supported | ★★★☆☆ |
| 7 | Monitor height (top of screen) | Near eye level (or slightly below) | Minimal neck flexion; readable without leaning | ★★★★★ |
These targets are practical starting points for an ergonomic chair because they map directly to what you feel: feet stability, knee/hip comfort, lumbar curve support, shoulder relaxation, and neutral wrist alignment. In 2024–2026 office work, the biggest improvement often comes from applying these ranges as a checklist rather than “winging it” every day.
Your ergonomic chair should never require you to reach, brace, or hold yourself upright through constant effort. Use these step-by-step adjustments, re-check after you change any part of your setup (monitor, keyboard, desk height, or laptop dock), and then build a habit of micro-breaks to keep tissues from staying loaded too long.
Conclusion: Sit correctly in an ergonomic chair by treating posture as an adjustable system: set chair height for flat feet and comfortable knee/hip alignment, place lumbar support into your natural curve, keep ribs stacked over your pelvis with relaxed shoulders, and set armrests so forearms stay level and wrists remain straight. Then fine-tune seat pan angle and workstation distance to prevent reaching and neck strain. Finally, practice safe sitting habits with regular micro-breaks and troubleshoot early using what your body is telling you. If you do this consistently—especially in today’s fast-changing hybrid setups—you’ll reduce strain and make your ergonomic chair work as intended, day after day.
Frequently Asked Questions
What is the correct way to sit in an ergonomic chair to avoid back pain?
Sit with your back supported by the chair’s lumbar support so your lower spine stays in a neutral position. Keep your hips slightly higher than your knees and avoid slumping or leaning forward for long periods. Plant both feet flat on the floor (or on a footrest) to reduce strain across your hips and lower back.
How do I adjust my ergonomic chair for proper posture and seat height?
Start by setting seat height so your thighs are roughly parallel to the floor and your knees are at about a 90–110° angle. Adjust the chair height so your feet fully touch the ground without your heels hanging or your knees sitting too high. Then fine-tune seat depth and backrest angle so you can sit back comfortably without reaching forward.
Why does ergonomic chair positioning matter for neck and shoulder strain?
Poor chair setup often forces you to reach for the keyboard or hunch your shoulders, which increases tension in your neck and upper trapezius muscles. With correct ergonomic posture, your shoulders stay relaxed, your elbows stay close to your body, and your screen height reduces the need to look up or down. Proper alignment helps maintain neutral head and spine positions during computer work.
Which armrest height and keyboard position work best for ergonomic comfort?
Set armrests so your elbows rest at approximately 90–100° and your wrists stay straight when typing. Keep the keyboard close enough that you don’t have to reach forward, and place it so your forearms can remain supported or hover comfortably at the same height as the desk. If your chair armrests interfere with keyboard clearance, consider adjusting them downward or using a keyboard tray to achieve better ergonomic typing posture.
What are the best sitting habits throughout the day in an ergonomic chair?
Maintain a neutral spine, keep both feet grounded, and avoid staying in one posture for too long—micro-movements and frequent posture changes help. Use a timer to stand or stretch briefly every 30–60 minutes, especially if you feel fatigue in your back or hips. Pair ergonomic chair setup with good workstation ergonomics (monitor at eye level, proper mouse placement) to reduce repetitive strain and improve overall comfort.
📅 Last Updated: August 05, 2026 | Topic: How to Sit Correctly in an Ergonomic Chair | Content verified for accuracy and freshness.
References
- Ergonomics
https://en.wikipedia.org/wiki/Ergonomics - https://www.osha.gov/etools/ergonomics
https://www.osha.gov/etools/ergonomics - Ergonomics and Work-Related Musculoskeletal Disorders | Ergonomics | CDC
https://www.cdc.gov/niosh/topics/ergonomics/ - ergonomics sitting – Books – NCBI
https://www.ncbi.nlm.nih.gov/books/?term=ergonomics+sitting - https://pubmed.ncbi.nlm.nih.gov/?term=ergonomic+chair+sitting+posture
https://pubmed.ncbi.nlm.nih.gov/?term=ergonomic+chair+sitting+posture - https://www.mayoclinic.org/healthy-lifestyle/adult-health/in-depth/ergonomics/art-20045586
https://www.mayoclinic.org/healthy-lifestyle/adult-health/in-depth/ergonomics/art-20045586 - https://www.sciencedirect.com/search?qs=ergonomic%20chair%20sitting%20posture
https://www.sciencedirect.com/search?qs=ergonomic%20chair%20sitting%20posture - Google Scholar Google Scholar
https://scholar.google.com/scholar?q=how+to+sit+correctly+in+an+ergonomic+chair+back+support+lumbar+support - Google Scholar Google Scholar
https://scholar.google.com/scholar?q=ergonomic+workstation+posture+seated+position+keyboard+monitor+height - Google Scholar Google Scholar
https://scholar.google.com/scholar?q=seat+height+hip+angle+ergonomic+chair+guidelines+musculoskeletal+disorders
