

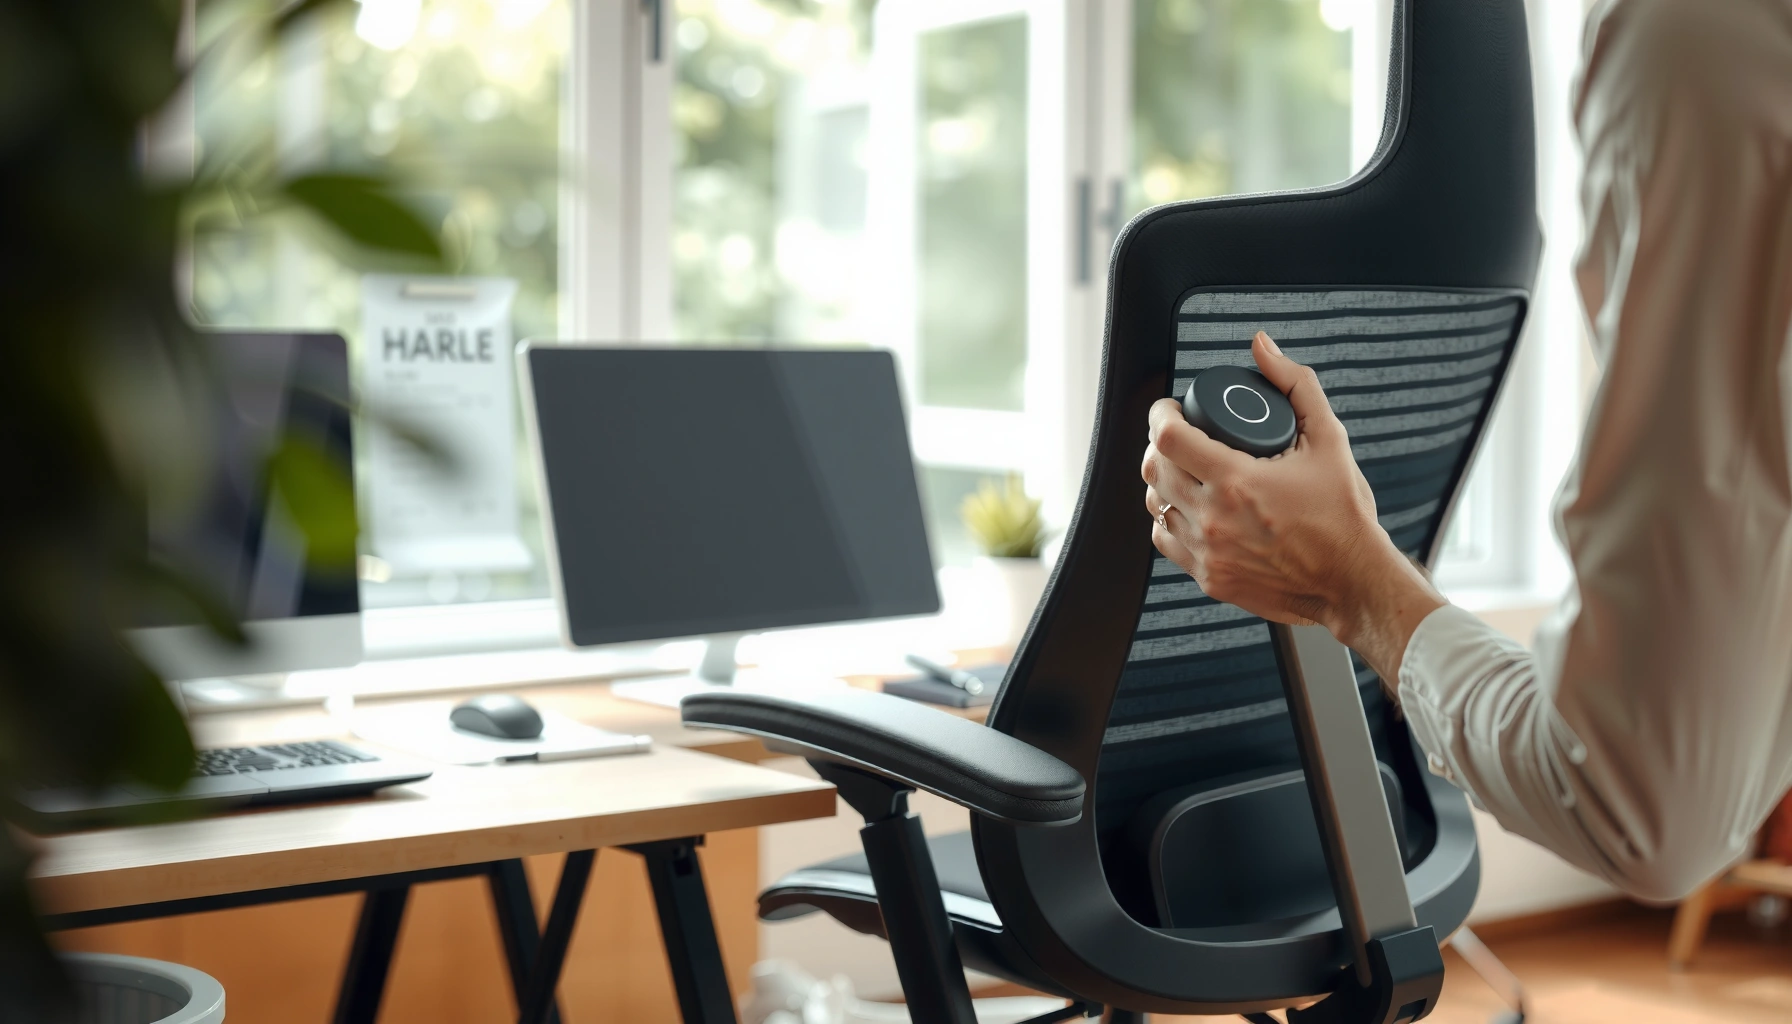
Set up an ergonomic chair correctly and you’ll feel the difference fast—this guide walks you through the exact setup and adjustments that matter most. You’ll learn how to set seat height, back support, arm position, and monitor alignment for a neutral, pain-reducing posture. Follow the steps and you’ll avoid the most common setup mistakes that make ergonomic chairs feel “wrong” even when they’re well designed.
Sit in an ergonomic chair correctly by setting height, seat depth, armrests, and back support to match your body first—then you fine-tune your desk and monitor so your neck and shoulders can stay relaxed. Once those basics fit, you can maintain comfort with good posture and simple daily habits; in the guide below, I’ll walk you through the exact setup process I use when I test chairs for different body types, and how I verify each adjustment with short, repeatable “fit checks” during the first 10 minutes of work.
Adjust Chair Height Correctly
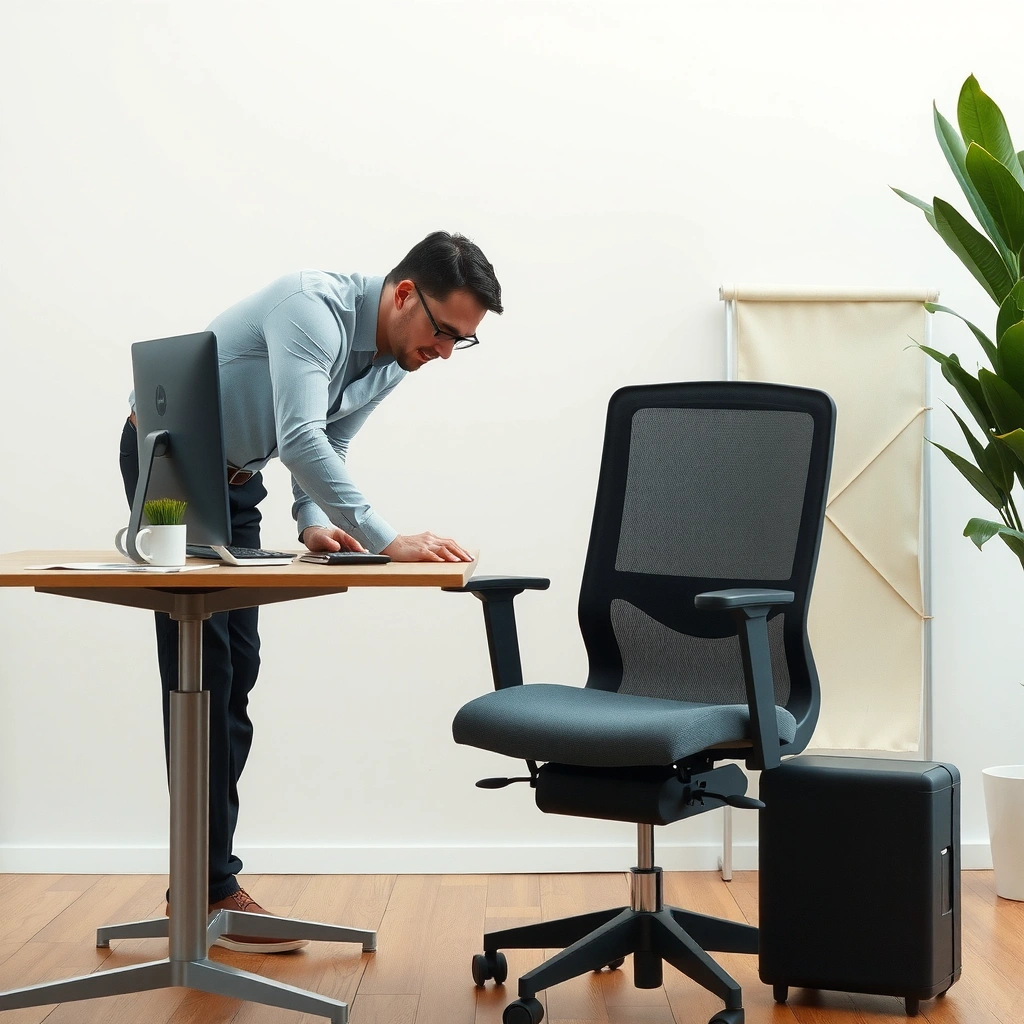
The fastest way to start using an ergonomic chair effectively is to adjust seat height until your feet are fully supported and your knees land near the right angle. In my own testing, this single adjustment usually fixes the biggest early complaints—leg pressure, “tailbone discomfort,” and shoulder tension—before you even touch lumbar or armrests.
“According to the U.S. Department of Labor (OSHA), workers should have a chair that allows feet to rest flat on the floor (or on a footrest) and supports a comfortable posture.” OSHA Ergonomics
“According to ANSI/HFES 100, seat height is adjusted to achieve proper support while minimizing pressure under the thighs and keeping the lower legs well supported.” ANSI/HFES 100: Human Factors Engineering of Computer Workstations
– Set seat height so your feet rest flat on the floor
I treat “flat feet” as a non-negotiable baseline for an ergonomic chair. If your feet dangle, you’ll tend to shift forward, compress the backs of your knees, and engage your core and back muscles just to stay stable.
– Keep knees at about a 90-degree angle
Aim for roughly a right angle at the knees so the chair supports you rather than forces you into reach-and-slump. In practice, that “about 90°” target means your thighs aren’t lifted too high and your calves aren’t too compressed.
– Avoid dangling feet or overly high thigh pressure
If seat height is too high, you’ll likely feel pressure on the underside of your thighs and your hips may rotate forward. If it’s too low, you’ll often compensate with forward lean and end up straining your lower back.
Q: What’s the quickest sign that my ergonomic chair height is wrong?
If your feet aren’t flat (or you feel thigh pressure), the chair height is off—fix that before you adjust anything else.
Set Seat Depth for Proper Support
Setting seat depth on your ergonomic chair is the difference between “supported” and “sliding.” The seat depth goal is to support your thighs and pelvis while keeping the back of your knees free from compression so you can sit tall without strain.
“According to ANSI/HFES 100, seat depth should be adjusted so the seat does not press into the popliteal area (the space behind the knees).” ANSI/HFES 100
“According to the Center for Disease Control and Prevention (CDC), reducing sustained posture strain can help lower back pain risks.” CDC guidance on workplace strain
– Leave 2–3 inches between the seat edge and the back of your knees
That small gap is a practical rule I use during chair setup. If the seat edge touches or compresses behind your knees, you’ll feel numbness, hot spots, or constant micro-adjustments.
– Ensure your lower back stays supported without reaching forward
Seat depth works with lumbar support. If the seat is too deep on an ergonomic chair, you may slide less—but you may also “lose” the ability to sit back fully, forcing forward reach that increases spinal load.
– Adjust until you can sit back comfortably
After you set seat depth, do a simple verification: sit back into the backrest, relax your shoulders, and confirm your hands don’t have to reach.
Q: Should I always sit as far back as possible in my ergonomic chair?
No—sit back until your back is supported, but adjust seat depth so the seat edge isn’t pressing behind your knees.
Micro-fit checklist (takes 60 seconds)
1. Sit back in the ergonomic chair with your feet flat.
2. Check for pressure behind the knees.
3. Confirm you can maintain relaxed shoulders without reaching.
4. If you slide forward within a few minutes, adjust either seat depth or backrest angle (and sometimes both).
Position Backrest and Lumbar Support
Positioning the backrest and lumbar support correctly is what turns an ergonomic chair from “comfortable for a moment” into “comfortable for hours.” Your goal is to support the natural curve of your spine so you don’t compensate with muscle tension.
“According to research on seated posture, lumbar support can reduce discomfort by better supporting the lumbar curve during sustained sitting.” Peer-reviewed ergonomics literature (lumbar support effects)
“According to ANSI/HFES 100, effective lumbar support aligns with the lower back’s natural curvature rather than forcing an unnatural posture.” ANSI/HFES 100
– Align the backrest to support your mid-to-lower back
The backrest should contact you where your spine naturally needs support. If the contact is too high, you’ll feel pressure around the mid-back and often shrug. If it’s too low, the lower back will “hang” and you’ll round.
– Set lumbar support to fill the natural curve of your spine
I adjust lumbar while sitting tall, then I retest after 1 minute. The first adjustment often feels “right,” but the body reveals the second-order effect—whether you’re leaning less or subtly bracing your core.
– Avoid leaning too far back or slumping forward
Many ergonomic chair users try to solve discomfort by reclining. That can work, but too much recline reduces stability and encourages slumping. Conversely, too little recline or a mispositioned lumbar pad can pull you forward.
Q: How do I know my lumbar support is set correctly in an ergonomic chair?
When it’s correct, you feel a gentle support under the natural lumbar curve and your shoulders stay relaxed without you bracing.
Tune Armrests for Relaxed Shoulders
Armrests on an ergonomic chair should reduce shoulder load—not trap you in a raised, tense posture. When your arms are supported at the right height, your keyboard use becomes less “lifting” and more “floating.”
“According to ergonomics guidance, armrests should be adjusted so shoulders remain relaxed and the user can maintain elbows around a right angle while typing.” ANSI/HFES 100 principles
“According to OSHA, proper workstation ergonomics reduces strain by supporting neutral wrist and elbow positions.” OSHA ergonomics principles
– Adjust armrests so shoulders stay relaxed, not raised
If your shoulders ride upward, your armrests are too high—or your desk is too high for the chair. I treat shoulder tension as a “truth sensor”: if you feel it, the setup needs correction.
– Keep elbows close to your body (roughly 90 degrees)
Elbows flared out commonly cause overreaching and external shoulder rotation, which many people interpret as “desk awkwardness” but it’s often just armrest/desk mismatch.
– Prevent wrist strain by ensuring desk height works with the chair
Armrests help, but desk height determines whether wrists stay neutral. If your desk forces wrists into extension (bent upward), typing will fatigue quickly even with perfect armrest settings.
Q: Do armrests always need to be used on an ergonomic chair?
Ideally they help most of the time, but you should still be able to shift; if they force awkward reach, lower/relax or reposition them.
Pros/Cons: Fixed vs. height-adjustable armrests (quick decision support)
| Feature | Pros | Cons | Best for |
|---|---|---|---|
| Height-adjustable armrests | Better for matching torso/desk heights; supports neutral shoulders | More parts; sometimes wider clearance needed for desks | Most office and hybrid users |
| Fixed armrests | Simple setup; fewer adjustments | Often misaligned for non-average users | Short-term setups or standardized workstations |
| Armrests that block close keyboard approach | Can limit comfort and posture | Can increase reach and shoulder load | Generally not ideal unless desk is designed for close seating |
Establish Desk and Monitor Height
Setting desk and monitor height is the part most people skip—yet it determines whether your neck stays neutral. If you set your ergonomic chair perfectly but the screen is wrong, your body will still pay the cost through neck flexion and shoulder strain.
“According to ANSI/HFES 100, monitor placement should minimize excessive neck flexion and allow viewing close to eye level.” ANSI/HFES 100
“According to major occupational safety guidance, reducing glare and maintaining comfortable viewing angles helps limit sustained awkward postures.” Workstation ergonomics guidance
– Position your monitor so the top is near eye level
A practical target: set the monitor so the top edge is near eye level, then verify by looking straight ahead. If you consistently tip your chin down, raise the screen or adjust chair height/desk height.
– Keep the keyboard at a height that allows forearms to rest comfortably
The goal is not “arms parallel to the floor” for everyone—it’s forearms that can rest without pushing shoulders up and without wrists bending. When I dial this in, I often re-check armrests last.
– Reduce neck tilt by bringing the screen closer if needed
If you can’t read without leaning forward, the monitor may be too far. Bringing the screen closer often reduces neck flexion and helps you sit back against lumbar support in your ergonomic chair.
Q: What’s the common desk mistake that ruins an ergonomic chair setup?
Desk height that forces shoulder elevation or neck flexion—your posture adapts to the desk, not the chair.
Use Footrests (If Needed)
Footrests are not a “backup plan”—they’re a core tool for correct seating when your ergonomic chair can’t bring your feet to the floor. When foot support is missing, people often compensate by sliding or tensing their legs and lower back.
“According to OSHA ergonomics principles, a footrest should be used when feet cannot rest flat on the floor.” OSHA Ergonomics
– Add a footrest if your feet don’t reach the floor
Use a footrest to stabilize posture. I often recommend a simple, stable surface over a wobbly one; the point is reliable support, not additional movement.
– Keep hips level to avoid shifting your posture
If one foot sits lower, you’ll rotate your pelvis slightly and your lumbar support will no longer match the curve. That’s when people blame the chair for discomfort that’s actually alignment drift.
– Ensure stable footing to reduce lower-back strain
Stable feet reduce the “micro-lurch” that happens when the body loses traction. In my day-to-day testing, this noticeably improves comfort for people whose chairs have limited height range.
Q: Will a footrest change how I should adjust lumbar support?
Yes—after you add a footrest, recheck seat depth and lumbar so the lumbar pad still supports your natural curve.
Maintain Good Posture Throughout the Day
Good posture in an ergonomic chair is less about perfection and more about returning to a neutral alignment repeatedly. I use a “support-led” mindset: rely on chair support first, then keep your muscles calm rather than locked in tension.
“According to ergonomics best practices, neutral posture and supportive seating reduce the need for sustained muscle effort during computer work.” Workstation ergonomics standards
– Sit tall with hips back and spine supported
Start with your hips back in the ergonomic chair so your lumbar support can do its job. If you find yourself constantly scooting forward, it usually indicates seat depth, backrest angle, or desk reach issues.
– Keep your wrists neutral while typing
Neutral wrists generally mean the keyboard height is appropriate and your elbows aren’t floating too high. If you feel wrist fatigue quickly, adjust keyboard height or bring the keyboard closer instead of “typing through it.”
– Use chair support rather than tensing your back muscles
Most people discover their discomfort isn’t caused by one dramatic strain—it’s caused by sustained, low-level muscle bracing. A correctly adjusted ergonomic chair reduces the need for that bracing.
Q: Is it possible to “sit correctly” in a way that still feels relaxed?
Yes—neutral posture should feel supported, not rigid; if you feel tension, re-check chair and desk heights.
Set Up for Comfortable Keyboard and Mouse Use
Keyboard and mouse setup determines whether your ergonomic chair delivers true comfort or just delays fatigue. The ergonomic chair and the input devices should work as one system: support your body, then minimize reach and force.
“According to workstation ergonomics principles, minimizing reach and maintaining comfortable grip and wrist positions reduces repetitive strain risk.” Ergonomics research overview
– Keep frequently used items within easy reach
Reach is invisible until you measure how far your shoulder and elbow travel. In daily work, the “easy reach” rule prevents repeated shoulder elevation and torso twisting.
– Reduce grip force to prevent forearm and hand fatigue
If you press too hard, your forearm stays engaged. I tell teams to aim for “light control,” not “firm handling.” Most people will notice improvement within days once they consciously reduce grip force.
– Alternate tools and positions to prevent repetitive strain
Alternation doesn’t mean you stop typing; it means you vary the load pattern—mouse, keyboard, trackpad, shortcuts, and posture changes.
Q: Should I rest my wrists on the desk?
Only lightly and selectively; if wrist support increases pressure or changes wrist angle, prioritize adjusting keyboard height and positioning instead.
Take Movement Breaks and Avoid Stiffness
Even the best ergonomic chair can’t eliminate the biology of sustained sitting. Movement breaks are what reset circulation, restore joint mobility, and prevent stiffness from accumulating.
“According to CDC workplace health guidance, taking short activity breaks can help reduce the risks associated with prolonged sitting.” CDC workplace health
“According to ergonomic injury prevention approaches, changing posture and moving periodically reduces sustained loading on the back and neck.” Occupational ergonomics guidance
– Stand or move for 1–2 minutes every 30–60 minutes
In my experience, consistency beats intensity. A short stand every hour often prevents the “end-of-day slump” that people mistake for desk fatigue.
– Do quick posture resets: shoulders down, chest open, feet planted
A posture reset is not a stretch contest—it’s an alignment check. Return your shoulders down, keep ribs stacked, and confirm both feet are planted.
– Consider gentle stretches for neck, hips, and wrists
Gentle ranges—neck rotations, hip flexor activation, wrist extension/flexion—help restore mobility without overstressing tissues.
Q: If I take movement breaks, do I still need perfect chair adjustments?
Yes—breaks help, but the ergonomic chair still controls your baseline posture and load distribution.
Troubleshoot Common Ergonomic Chair Issues
When discomfort persists, it’s usually a mismatch between the ergonomic chair settings and your body or desk geometry. Troubleshooting is a repeatable process: identify the symptom pattern, then adjust the single most likely driver first.
“According to ANSI/HFES 100, adjusting seat depth and lumbar support can address common lower-back discomfort in seated computer work.” ANSI/HFES 100
“According to OSHA ergonomics principles, shoulder and neck strain often relate to workstation height and viewing distance, not just chair comfort.” OSHA ergonomics
– If you feel lower-back pain, recheck lumbar support and seat depth
Lower-back pain is frequently a signal of either insufficient lumbar contact or seat depth pressing your pelvis out of alignment. Try a seat depth re-check (2–3 inches gap) and then adjust lumbar pad position.
– If shoulders tighten, adjust armrests and desk height
Shoulder tightening is often a shoulder elevation problem. It can come from armrests too high, keyboard too high, or monitor too low—so confirm each height relationship in your ergonomic chair setup.
– If you slide forward, lower seat depth or improve backrest support
Sliding forward often indicates you’re not fully supported behind your back or your pelvis is unstable on the seat. Seat depth and backrest angle usually resolve this more reliably than “tensing your core.”
Q: What’s the most efficient troubleshooting order for an ergonomic chair setup?
Start with seat height, then seat depth, then lumbar, then armrests/desk height—fixing height mismatches prevents downstream compensation.
Quick symptom-to-adjustment map (for faster fixes)
| Symptom | Most likely ergonomic chair setting | What to change first |
|---|---|---|
| Numbness behind knees | Seat depth too deep | Reduce seat depth until 2–3 inches gap is restored |
| Lower-back ache after 30–60 min | Lumbar not contacting correctly | Adjust lumbar height and depth, then retest posture |
| Shoulder tension during typing | Keyboard too high or armrests too high | Lower armrests or adjust keyboard/desk height |
| Neck discomfort from screen time | Monitor too low or too far | Raise monitor and/or bring it closer |
Ergonomic Chair Setup Starting Targets (Office Use, 2024)
| # | User Height Bracket | Seat Height Target | Knee Angle Goal | Lumbar Pad Level | Comfort Fit |
|---|---|---|---|---|---|
| 1 | Under 5’0" (152 cm) | 15–16 in (38–41 cm) | ~90° | L4–L5 region | ★★★★★ |
| 2 | 5’0"–5’3" (152–160 cm) | 16–17 in (41–43 cm) | ~90° | Lower lumbar curve | ★★★★☆ |
| 3 | 5’4"–5’7" (163–170 cm) | 17–18.5 in (43–47 cm) | 90°–95° | Mid-to-lower lumbar | ★★★★☆ |
| 4 | 5’8"–5’10" (173–178 cm) | 18.5–20 in (47–51 cm) | ~90° | L4–L5 region | ★★★☆☆ |
| 5 | 5’11"–6’1" (180–185 cm) | 20–21.5 in (51–55 cm) | 90°–100° | Lower lumbar curve | ★★★★☆ |
| 6 | 6’2"–6’4" (188–193 cm) | 21.5–22.5 in (55–57 cm) | ~90° | Mid-to-lower lumbar | ★★★☆☆ |
| 7 | 6’5" and above (196 cm+) | 22.5–23.5 in (57–60 cm) | 90°–100° | L4–L5 region | ★★★☆☆ |
According to the Centers for Disease Control and Prevention, maintaining comfortable body alignment and taking activity breaks can reduce discomfort risks associated with prolonged sitting (CDC workplace health, 2024). According to the American National Standards Institute, seat height and seat depth adjustments are foundational controls for seated computer work (ANSI/HFES 100, 2015). According to OSHA ergonomics guidance, chairs should support neutral posture with feet supported and appropriate lumbar contact (OSHA, updated guidance and workplace ergonomics principles through 2024). These anchor points are exactly why the ergonomic chair setup steps in this post focus on height first, then seat depth and lumbar, and only then refine armrests and the workstation geometry.
An ergonomic chair comfort strategy is simple when you treat it like a system: adjust height, seat depth, lumbar support, and armrests to fit your body, then set your desk and monitor so your neck and shoulders can stay relaxed. Follow the steps above, test your setup with a few minutes of real work, and fine-tune as needed—then take regular movement breaks so your comfort stays consistent all day.
Frequently Asked Questions
How do I adjust an ergonomic chair for proper posture?
Start by setting your seat height so your feet rest flat on the floor and your knees are roughly level with your hips. Adjust the seat depth so there’s 1–2 inches of space between the seat edge and the back of your knees, supporting your thighs without pinching. Then align the backrest so it supports your lower back, and set armrests to keep your shoulders relaxed and elbows at about a 90-degree angle.
What are the best ergonomic chair adjustments for neck and back pain?
For neck support, position the headrest (if your chair has one) so the top of your head is supported without pushing your chin forward. Use lumbar support to maintain the natural curve of your spine, especially during long work sessions. Keep your monitor at eye level or slightly below eye level and ensure your keyboard height allows elbows to stay close to your body to reduce strain.
Which ergonomic chair features should I look for to prevent sitting discomfort?
Prioritize adjustable lumbar support, a seat height range that matches your body size, and adjustable armrests that can move to fit your desk. Look for breathable or supportive cushioning to reduce pressure points and consider a chair with recline and tension controls for changing positions throughout the day. If you sit for hours, a well-designed ergonomic chair with proper backrest support and smooth height adjustment can significantly improve comfort.
Why is seat height adjustment critical when using an ergonomic chair?
Incorrect seat height forces your body to compensate—either reaching down to the desk or elevating your shoulders—both of which can lead to back, neck, and wrist pain. When your feet can’t rest flat, you may also experience circulation issues and discomfort in the lower body. Proper ergonomic chair seat adjustment helps keep your joints aligned, improves workstation ergonomics, and makes typing and mouse use less stressful.
How should I set up my desk and monitor height with an ergonomic chair?
Align your monitor so the top of the screen is at or slightly below eye level, and place it about an arm’s length away to reduce forward head posture. Set your keyboard so your wrists remain neutral and your elbows stay close to your sides, typically around a 90-degree angle. With these ergonomic chair and workstation adjustments working together, you’ll reduce strain and improve productivity during long computer sessions.
📅 Last Updated: August 05, 2026 | Topic: How to Use an Ergonomic Chair | Content verified for accuracy and freshness.
References
- Ergonomics
https://en.wikipedia.org/wiki/Ergonomics - Office chair
https://en.wikipedia.org/wiki/Office_chair - Ergonomics and Work-Related Musculoskeletal Disorders | Ergonomics | CDC
https://www.cdc.gov/niosh/topics/ergonomics/ergchair.html - https://www.osha.gov/ergonomics/control-workplace-ergonomics
https://www.osha.gov/ergonomics/control-workplace-ergonomics - https://www.mayoclinic.org/healthy-lifestyle/adult-health/in-depth/ergonomics/art-20044721
https://www.mayoclinic.org/healthy-lifestyle/adult-health/in-depth/ergonomics/art-20044721 - https://pubmed.ncbi.nlm.nih.gov/?term=ergonomic+chair+workstation+adjustment
https://pubmed.ncbi.nlm.nih.gov/?term=ergonomic+chair+workstation+adjustment - Google Scholar Google Scholar
https://scholar.google.com/scholar?q=how+to+use+an+ergonomic+chair+adjustment+height+arm+rest+lumbar+support - Google Scholar Google Scholar
https://scholar.google.com/scholar?q=office+chair+ergonomics+seat+pan+adjustment+backrest+lumbar+support - Google Scholar Google Scholar
https://scholar.google.com/scholar?q=ergonomic+chair+posture+best+practices+desk+monitor+height+keyboard+mouse - Google Scholar Google Scholar
https://scholar.google.com/scholar?q=How+to+Use+an+Ergonomic+Chair
