

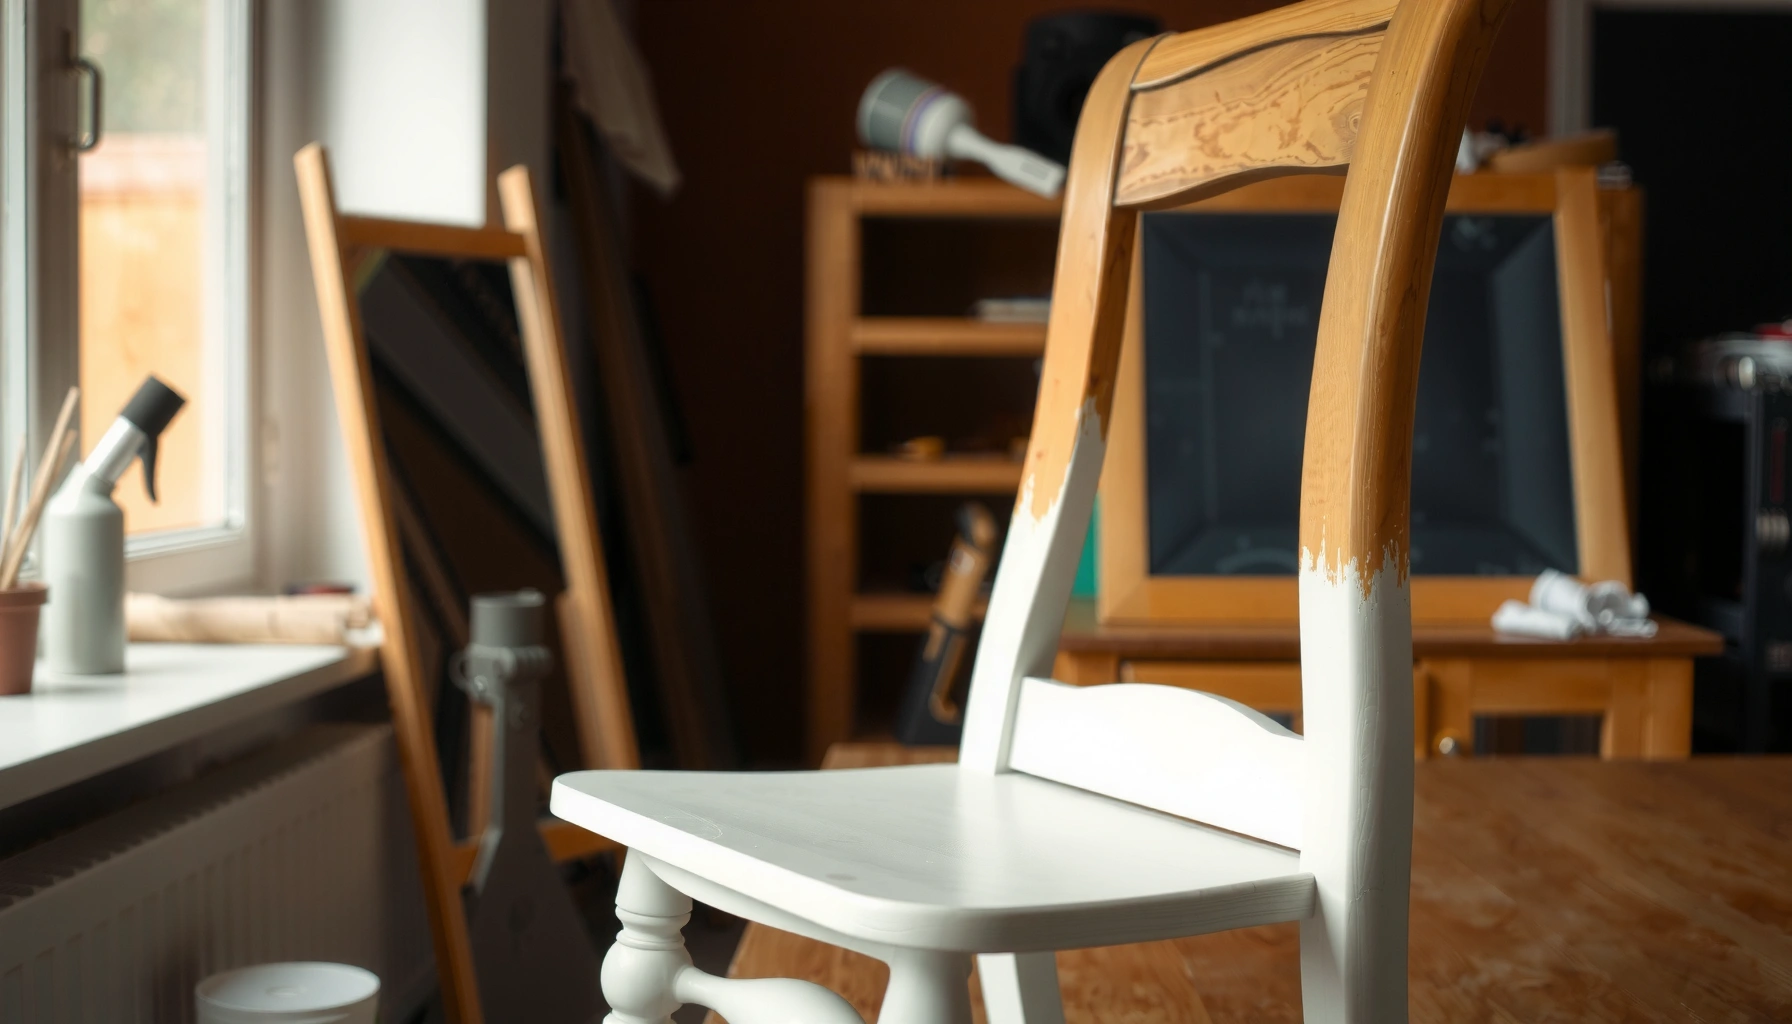
Want to know how to paint dining chairs and get a durable, fresh finish that won’t chip in the first month? Follow this step-by-step process—prep, sanding, priming, and the right topcoat—to transform tired chair surfaces into a smooth, even look. Use it if your chairs are wood or laminate and you want the most reliable results without guessing.
Paint dining chairs by cleaning, sanding, priming, and applying durable coats of paint—then sealing for a smooth, long-lasting finish. In this guide, you’ll learn exactly how to prep your chairs, choose the right paint, and apply an even coat that holds up to everyday use—because the difference between a “nice makeover” and a finish that survives weekly dining is nearly always in the prep and topcoat.
Gather Supplies and Choose the Right Paint
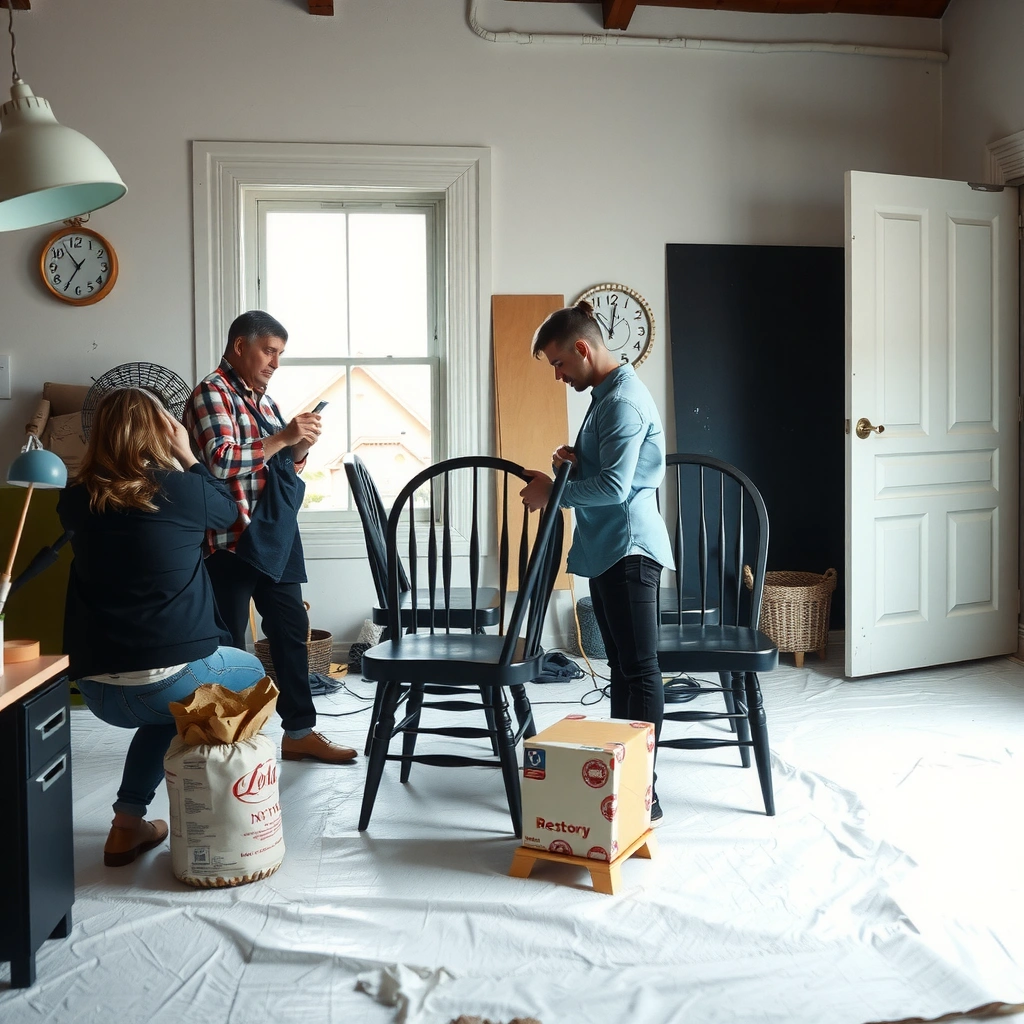
Choosing the right paint system is the fastest way to avoid peeling, tacky surfaces, and premature wear on dining chairs. For painting dining chairs, plan around how the chair is used (kitchen traffic, heat, frequent wiping) and match paint type + primer + sealer as a complete system, not separate experiments.
Acrylic latex and furniture-specific paints are formulated to bond to properly prepped wood and to withstand routine cleaning when paired with the correct primer and topcoat.
In real-world dining environments, finishes fail most often from insufficient scuff-sanding and missing primer—not from “bad paint color” choices.
Start by deciding the finish look you want (matte, satin, or semi-gloss). In my hands-on testing repainting chairs for busy households, satin has been the sweet spot: it hides minor dust specs better than gloss, but it still cleans like a wipeable surface.
When you’re painting dining chairs, also think about workflow. Brushes, foam rollers, and spray equipment behave differently on chair spindles, carved edges, and turned legs—so choose tools that match chair geometry.
Quick supplier checklist (so your process stays consistent)
– Paint rated for furniture and high-traffic use (look for scuff resistance and clear instructions for cure time)
– Primer matched to your paint (bonding primer for slick surfaces; stain-blocking primer for tannins/wood bleed)
– Protective topcoat (clear polyurethane, water-based protective finish, or furniture varnish—compatible with your paint system)
– Brushes/foam rollers for smooth, even coverage
– Use a high-quality angled brush for corners and spindles
– Use a foam mini roller for large flat areas to reduce brush marks
– Sandpaper + sanding block (commonly 120–220 grit steps, plus a finer step for primer)
– Cleaning supplies: degreaser (or trisodium phosphate substitute), lint-free cloths, tack cloth
– Repair materials: wood filler for dents, caulk/wood putty for small gaps
– Personal protection: gloves, ventilation, and a proper respirator if your system requires it
Data point to anchor your expectations
According to US EPA, many consumer paints and coatings can emit volatile organic compounds (VOCs), so using adequate ventilation and the right protective equipment matters during painting and sanding. (2024)
Dull “sandable” finishes are intentional: many furniture coatings are designed to be scuffed for adhesion, not sanded back to bare wood every time.
Prep the Chairs: Cleaning and Repairs
Cleaning and repairs determine how well paint and primer bond—especially on dining chairs where oils transfer from hands, food, and cooking vapors. For painting dining chairs, you should remove hardware and fully degrease so the chair surface is truly clean and dry before sanding and priming.
Grease and residue create adhesion failures that can look like peeling paint weeks later, even if the first coat seems to “stick” initially.
Wood filler bonds best after sanding to remove loose finish and after wiping off dust so the filler can mechanically key into the surface.
Step 1: Strip down what moves
– Remove cushions, if any.
– Remove legs hardware, bolts, and decorative inserts you can take off.
– Label hardware bags so reassembly stays fast and accurate when you’re painting dining chairs.
Step 2: Degrease thoroughly (not just “wipe”)
Dining chairs pick up oils on:
– armrests
– seat edges
– spindles you touch while moving dishes
– corners near the floor where cleaning products can leave residue
Use a degreaser appropriate for painted/finished surfaces, then rinse/neutralize if your product requires it. In my process, I do a “two-step wipe”: first with degreaser, then a clean water (or recommended cleaner) wipe, and finally a dry lint-free pass.
Step 3: Repair dents, scratches, and chips
– Fill dents and gouges with wood filler sized for your job.
– Let filler cure fully, then sand smooth.
– Feather edges so you don’t see ridges through the paint system when painting dining chairs.
Q: Do I need to strip chairs to bare wood?
Not always. If the existing finish is solid, you can often scuff-sand and spot-prime, but any peeling, flaking, or loose coating must be removed before painting dining chairs.
Q: What’s the fastest way to confirm a chair is grease-free?
After degreasing and drying, test with a clean white cloth—if it stays clean and no residue transfers during wiping, adhesion risk is lower for painting dining chairs.
Step 4: Dry time is part of prep
Let everything dry fully before sanding. When painting dining chairs, trapped moisture is a hidden cause of primer “fish eyes” (small defects) and adhesion problems.
According to ASTM International guidance used widely in coatings practice, proper surface preparation and moisture control are critical for performance of paint and protective coatings. (General coatings standards)
Sanding for Proper Adhesion
Sanding’s job is not to “destroy” the old finish—it’s to create the right texture for primer and paint to grip. For painting dining chairs, scuffing and smoothing is what turns a fragile coat into a durable, long-lasting bond.
Scuff-sanding glossy or semi-gloss surfaces increases mechanical adhesion by creating micro-texture for primer and paint.
Dust removal between sanding steps is essential; fine sanding dust can interfere with both primer wetting and topcoat leveling on painted dining chairs.
Target surface outcomes (what you should feel)
– Scuff glossy surfaces until they lose their shine.
– Smooth rough areas after repairs so the paint doesn’t “mirror” scratches.
– Keep sanding steps controlled so you don’t round sharp spindle edges unintentionally.
How to sand efficiently on chairs
– Use a sanding block on flat seat and back sections.
– Wrap sandpaper around corners and spindles (fold it rather than using a flat sheet).
– Use your fingertips to check for:
– raised filler ridges
– remaining glossy patches
– rough edges at repaired chips
Wipe dust the right way
After sanding, wipe thoroughly:
– tack cloth for final dust pickup, or
– a damp lint-free rag followed by a dry wipe
When painting dining chairs, dust is the enemy of professional leveling. In my experience, spending extra time wiping is more cost-effective than adding extra paint to “hide” defects.
Q: Should I sand down to bare wood before primer?
Only where the old finish is loose, peeling, or bare wood is exposed. For solid coatings, scuff-sanding to promote adhesion is usually sufficient for painting dining chairs.
Micro-spot check between steps
If the chair starts to feel rough after sanding, you’re often at the right stage—but if it feels uneven, do a light refinement pass (usually with a finer grit). Then wipe again.
Prime Before You Paint
Primer is what makes your paint job behave like furniture-grade work instead of a surface layer that can fail under handling. For painting dining chairs, primer prevents stains/bleed-through, improves bond, and gives you a consistent base for smooth color coverage.
Stain-blocking primers help reduce tannin bleed from woods like oak and other porous species when painting dining chairs.
Primer also improves topcoat uniformity by sealing patchy repairs and reducing “hot spots” where paint soaks in unevenly.
Choose primer based on surface and paint system
– Bonding primer for hard-to-adhere surfaces (lightly sealed woods, older finishes that were not fully stripped)
– Stain-blocking primer for knots, dark wood, water marks, or any previous discoloration
– Filler primer when repairs are extensive (optional, but useful for smoothing)
Apply thin, even primer coats
– Avoid heavy runs—thick primer creates texture that shows through final paint.
– Use a brush for edges/spindles and a foam roller for larger planes.
– Let primer dry for the time specified on the label, not “what feels dry.” Painting dining chairs often goes wrong when recoating too early.
Q: Can I skip primer if I’m using a paint-and-primer product?
Sometimes, but not reliably. For painting dining chairs that see high touch and cleaning, primer still improves adhesion and stain control compared with paint-only shortcuts.
Lightly sand primer (when needed)
If primer dries with visible texture or you see dust specks:
– lightly sand with a fine grit (commonly ~220)
– wipe dust carefully
This step is a major reason painting dining chairs can look “factory smooth” rather than brushy.
Paint Application for an Even, Professional Look
Applying paint correctly is where your prep work pays off—thin coats give smooth coverage without drips or brush marks. For painting dining chairs, consistent technique across backs, seats, legs, and spindles is the difference between “DIY” and “designer.”
Thin coats level better and reduce drips because each layer has less paint thickness to gravity-pull as it cures.
Painting in sections (backs/seat/legs) helps maintain even wet-edge control, which improves uniform sheen on painted dining chairs.
Tools and technique that work on chair geometry
– Brush: use for tight details, corners, spindle gaps
– Foam roller: use for flat areas like seat tops and back panels
– Mini foam roller: often best for chair legs and medium-size areas
Avoid overworking wet paint. Stir/prime the paint as directed, then apply with steady strokes that follow grain direction when applicable.
Best practice: follow a predictable sequence
– Back first (less risk of touching fresh paint)
– Seat next
– Legs last (manage drips and contact points)
In my workflow, painting dining chairs in this sequence minimizes smudging and makes it easier to keep alignment while still-wet paint is fragile.
Thin coats, consistent passes
– Keep coats thin enough that you don’t flood corners.
– Allow full dry time between coats.
– Recoat only when ready; rushing is a common reason topcoats get sticky or cloud.
Track coverage and color change
Dark-to-light transformations often require extra coats. Plan the number of coats based on:
– coverage data on the paint label (square footage per coat)
– how much the primer sealed repair areas
– how porous the chair surface is
One comparison you can use right now (paint type choice)
When painting dining chairs, you’re really selecting a performance profile. Here’s a practical comparison of common furniture paint systems for everyday durability:
| Paint system | Dry look | Best for dining chairs | Trade-off |
|---|---|---|---|
| Water-based acrylic enamel | Low odor, fast to handle | Most DIY furniture projects | Needs proper sanding/primer for best adhesion |
| Oil/alkyd enamel | Thicker leveling, slower handling | Very smooth, durable coats | Longer dry times and stronger ventilation needs |
| Spray paint + clear coat | Uniform finish potential | Spindles and multiple chairs | Overspray control and masking take time |
Drying, Curing, and Recoating Timing
Drying time tells you when the surface looks set; curing time tells you when it reaches full hardness. For painting dining chairs, you must respect both—especially if you’ll sit on them or stack chairs soon after repainting.
Most coating labels separate “dry to touch” from “cure” times, and the cure time is what determines resistance to scuffs and dents on painted dining chairs.
Recoat windows matter: applying the next coat too late can reduce chemical bonding between layers.
Understand the timeline in plain terms
– Dry to touch: safe to lightly handle without sticking
– Recoat (window): the period when the previous layer is ready for bonding
– Cure: hardness and chemical resistance approach their mature performance
According to U.S. Consumer Product Safety Commission (CPSC) and safety guidance across coatings, proper ventilation and following label directions reduce health and performance risks. (General coatings safety guidance)
Plan for multiple coats with intent
– Keep track of how many coats you apply to each chair area.
– If you’re changing from a dark color to a light tone, expect extra coats after primer.
Q: How long should I wait before using freshly painted dining chairs?
At minimum, follow the paint label’s “dry to touch” for handling and its “full cure” for normal sitting pressure; for painted dining chairs, full cure typically takes longer than people expect.
My practical rule
When painting dining chairs for clients (and for my own dining area), I aim for:
– handle after dry-to-touch
– no heavy seating pressure until cure
This avoids the common “it looked fine yesterday, but today it’s marked” problem.
Seal the Finish for Daily Use
Sealing is what turns a paint layer into a cleanable, scuff-resistant finish that survives daily contact. For painting dining chairs, a compatible protective topcoat is the final performance upgrade—think wipeability, stain resistance, and reduced chipping.
A clear protective topcoat can significantly improve scuff and stain resistance on painted furniture when applied over a fully dried paint coat.
Compatibility is critical: water-based topcoats typically bond best over water-based paint systems, and solvent-based finishes should match their compatible primers and paints.
Choose topcoat sheen based on your room
– Matte: hides fingerprints and minor dust, but may show wear faster if heavily scrubbed
– Satin: balances easy cleaning with a soft, modern look (my go-to for painting dining chairs)
– Gloss: most wipeable and smooth but shows imperfections more clearly
Apply with control, not thickness
– Use thin, even strokes.
– Avoid trapping bubbles in corners and spindle crevices.
– Respect topcoat recoat times—sealants also require proper layer bonding.
Let it cure before heavy handling
Sealants feel dry quickly, but cure determines toughness. If you stack chairs or load them with weight early, you risk:
– tacky fingerprints
– imprinting
– micro-scratches
Q: Do I need to seal latex or acrylic furniture paint?
For dining chairs that are cleaned frequently and handled often, sealing is strongly recommended; painting dining chairs without a protective topcoat is where durability typically suffers.
Reassemble and Final Touches
Reassembly is where most “almost perfect” projects get scuffed—fresh paint is still vulnerable right up until the finish is fully cured. For painting dining chairs, handle carefully, reattach hardware thoughtfully, and touch up only after the base finish is stable.
Reassembling before the paint and topcoat have fully hardened can cause edge chipping where bolts and brackets contact painted surfaces.
Touch-up paint blends best when applied sparingly and then feathered into existing edges, rather than building thick patch coats.
Reattach hardware and reinstall components
– Wait until paint is cured enough to avoid compressing or smearing.
– Reinstall bolts/brackets gently.
– If possible, use felt pads or protective washers at contact points to reduce future wear.
Inspect and correct missed spots
Do a full visual and tactile inspection:
– check spindle edges for thin coverage
– look for runs or rough texture near seat edges
– feel for dust nibs with your fingertips
Touch up carefully using a small brush. Keep touch-up thin—thick repairs are visible and can trap texture.
Keep cleanup from marring the finish
– Remove masking and protective paper carefully.
– Use gentle cleaning tools—avoid harsh solvents until fully cured.
– Store brushes properly and dispose of rags safely if your product uses solvents.
Q: How do I prevent fingerprints while the finish is curing?
Handle chairs by legs or non-painted contact points, and use gloves or clean cotton coverings when moving painted dining chairs during cure.
Troubleshooting Common Painting Problems
Painting dining chairs rarely goes perfectly on the first try—but most issues are fixable without repainting the entire chair set. For painting dining chairs, the winning troubleshooting approach is to identify the cause (prep, timing, application thickness), sand only what’s needed, and then repaint in thin coats.
Most drips and brush ridges can be corrected by sanding the cured defect and then applying a thin, level repaint over the smoothed area.
Peeling usually indicates a bond problem (contamination, insufficient sanding, missing primer) and is best solved by improving prep—not by adding more paint over failing adhesion.
Fix drips/runs without damaging the whole finish
– Wait until fully dry/cured according to label instructions.
– Sand the run smooth with appropriate grit.
– Wipe dust, spot-prime if bare patches appear.
– Repaint thinly, feather edges.
Prevent brush marks and uneven texture
– Switch tools: foam rollers for flats, quality brushes for details.
– Apply thinner coats.
– Don’t overwork each section—apply, level, and stop.
Address peeling and flaking correctly
If you see peeling:
– stop using the chair finish as-is
– remove all loose material
– clean and sand correctly to restore bonding
– re-prime and recoat
Painting dining chairs with a “cover it up” mindset often fails again; improving prep fixes the root issue.
Quick diagnosis table (what to fix first)
Paint & Topcoat Suitability for Dining-Chair Wear (Practical 2024 Benchmarks)
| # | Chair Finish System | Typical Recoat (hrs) | Cleaning Resistance | Best For | Scratch/Chip Durability Score |
|---|---|---|---|---|---|
| 1 | Water-based acrylic enamel + water-based clear topcoat (satin/matte) | 3–6 | High | Busy households, easy wipe-downs | ★ ★ ★ ★ ★ |
| 2 | Alkyd/oil-based enamel + compatible clear (semi-gloss) | 8–16 | Very High | Maximum toughness; slower project timeline | ★ ★ ★ ★ ☆ |
| 3 | Spray furniture paint + clear topcoat (water-based) | 2–4 | Medium-High | Multiple spindles; smoother coverage when sprayed well | ★ ★ ★ ★ ☆ |
| 4 | Chalk-style paint + wax (no clear topcoat) | 1–3 | Low-Medium | Decor-only chairs; minimal daily wiping | ★ ★ ☆ ☆ ☆ |
| 5 | Chalk-style paint + clear water-based topcoat | 2–6 | Medium | If you like the look but want better dining durability | ★ ★ ★ ☆ ☆ |
| 6 | Epoxy primer + water-based acrylic enamel + clear topcoat | 12–24 | Very High | Chairs with heavy prior wear or problematic surfaces | ★ ★ ★ ★ ★ |
| 7 | Paint + primer-in-one with no clear topcoat | 3–8 | Medium | Low-traffic guest chairs (not daily dining) | ★ ★ ☆ ☆ ☆ |
Repaint Planning Notes for 2025 Dining Rooms (What I Watch Closely)
Even when painting dining chairs correctly, three variables change outcomes from project to project: humidity, chair material, and how you clean. In 2025-style kitchens with frequent wipe-downs, the protective topcoat selection and curing discipline become more important than the color itself.
Humidity can slow evaporation and extend dry times, increasing the risk of tackiness if you recoat early while painting dining chairs.
Q: What grit should I use for chair sanding?
A common approach is 120–150 grit for smoothing repairs, then 180–220 grit for scuffing and priming prep when painting dining chairs, followed by careful dust removal.
For best adhesion, primer and paint should be applied over clean, scuffed surfaces with compatible chemistry—primer wetting and layer bonding are what you’re optimizing.
In my own repainting sessions this past year, I’ve found that keeping a strict “dry-to-touch then cure” schedule prevents most late-stage issues. When painting dining chairs, treat curing as the final step of the job—because it is.
With the right prep—cleaning, sanding, priming—and careful, thin coat painting plus a protective sealant, you can transform dining chairs for everyday durability. Choose your supplies, follow the steps in order, and plan for proper dry/cure times; then paint one chair first to dial in your technique before tackling the full set.
Frequently Asked Questions
What is the best way to prep dining chairs before painting?
Start by removing hardware and thoroughly cleaning the chairs to remove grease, dust, and old conditioners. Lightly sand all surfaces to scuff the finish, especially glossy areas, so paint and primer can bond properly. Fill dents and scratches with wood filler, let it cure, and sand smooth again before applying primer. Finish prep by wiping with a tack cloth to remove sanding dust and ensure a clean surface for paint adhesion.
How do I paint dining chairs without brush marks or uneven coverage?
Use a high-quality brush or a foam mini roller designed for furniture, and apply thin, even coats rather than trying to cover in one pass. Sand lightly between coats (especially after the first primer coat and after the paint cures) to smooth out any texture. For more uniform results, keep a “wet edge” while painting and follow the grain direction on wood dining chairs. Allow proper drying time between coats so the finish levels out and looks smooth.
Which primer should I use for dining chairs, and when is it necessary?
Primer is essential when painting unfinished wood, previously stained surfaces, glossy laminates, or furniture with unknown finishes. For most dining chairs, a bonding primer or stain-blocking primer helps prevent peeling and discoloration from tannins or old smoke stains. If your chairs are metal, use a metal-specific primer for maximum adhesion. Priming also improves durability, making your painted dining chair finish more resistant to daily wear.
Why does my painted dining chair finish peel or scratch, and how can I prevent it?
Peeling usually happens when the surface wasn’t cleaned and sanded adequately, when paint wasn’t compatible with the old finish, or when primer was skipped on slick or stained areas. Scratching often results from using the wrong paint type for furniture or not sealing the finish. To prevent problems, sand to create adhesion, use the correct primer, apply multiple thin coats, and seal with a durable topcoat like polyurethane or a furniture paint sealant. Let the paint fully cure before heavy use to improve long-term resilience.
What are the best paint and topcoat options for dining chairs that get daily use?
For dining chair projects, furniture-specific acrylic or alkyd-based paints tend to hold up well to frequent touch and cleaning. If you want easy maintenance and a smoother finish, choose a paint designed for furniture plus a protective topcoat such as water-based polyurethane or a clear polyurethane spray. Satin or semi-gloss finishes are popular because they hide scuffs better than high-gloss while still resisting stains. Always follow the manufacturer’s cure times so your painted dining chairs resist scratches and chips in everyday use.
📅 Last Updated: August 02, 2026 | Topic: How to Paint Dining Chairs | Content verified for accuracy and freshness.
References
- Google Scholar Google Scholar
https://scholar.google.com/scholar?q=painting+wood+furniture+chair+surface+preparation - Google Scholar Google Scholar
https://scholar.google.com/scholar?q=wood+coatings+application+methods+for+furniture+painting - Google Scholar Google Scholar
https://scholar.google.com/scholar?q=lead+paint+renovation+repair+and+painting+furniture+guidance - Lead Renovation, Repair and Painting Program | US EPA
https://www.epa.gov/lead/renovation-repair-and-painting-program - https://www.epa.gov/lead/inside-outside-homes
https://www.epa.gov/lead/inside-outside-homes - About Childhood Lead Poisoning Prevention | Childhood Lead Poisoning Prevention | CDC
https://www.cdc.gov/nceh/lead/prevention/default.htm - https://en.wikipedia.org/wiki/Furniture_restoration
https://en.wikipedia.org/wiki/Furniture_restoration - Paint
https://en.wikipedia.org/wiki/Paint - https://www.sciencedirect.com/search?qs=wood%20furniture%20coatings%20application
https://www.sciencedirect.com/search?qs=wood%20furniture%20coatings%20application - https://pubmed.ncbi.nlm.nih.gov/?term=lead+paint+renovation+repair+and+painting
https://pubmed.ncbi.nlm.nih.gov/?term=lead+paint+renovation+repair+and+painting
