

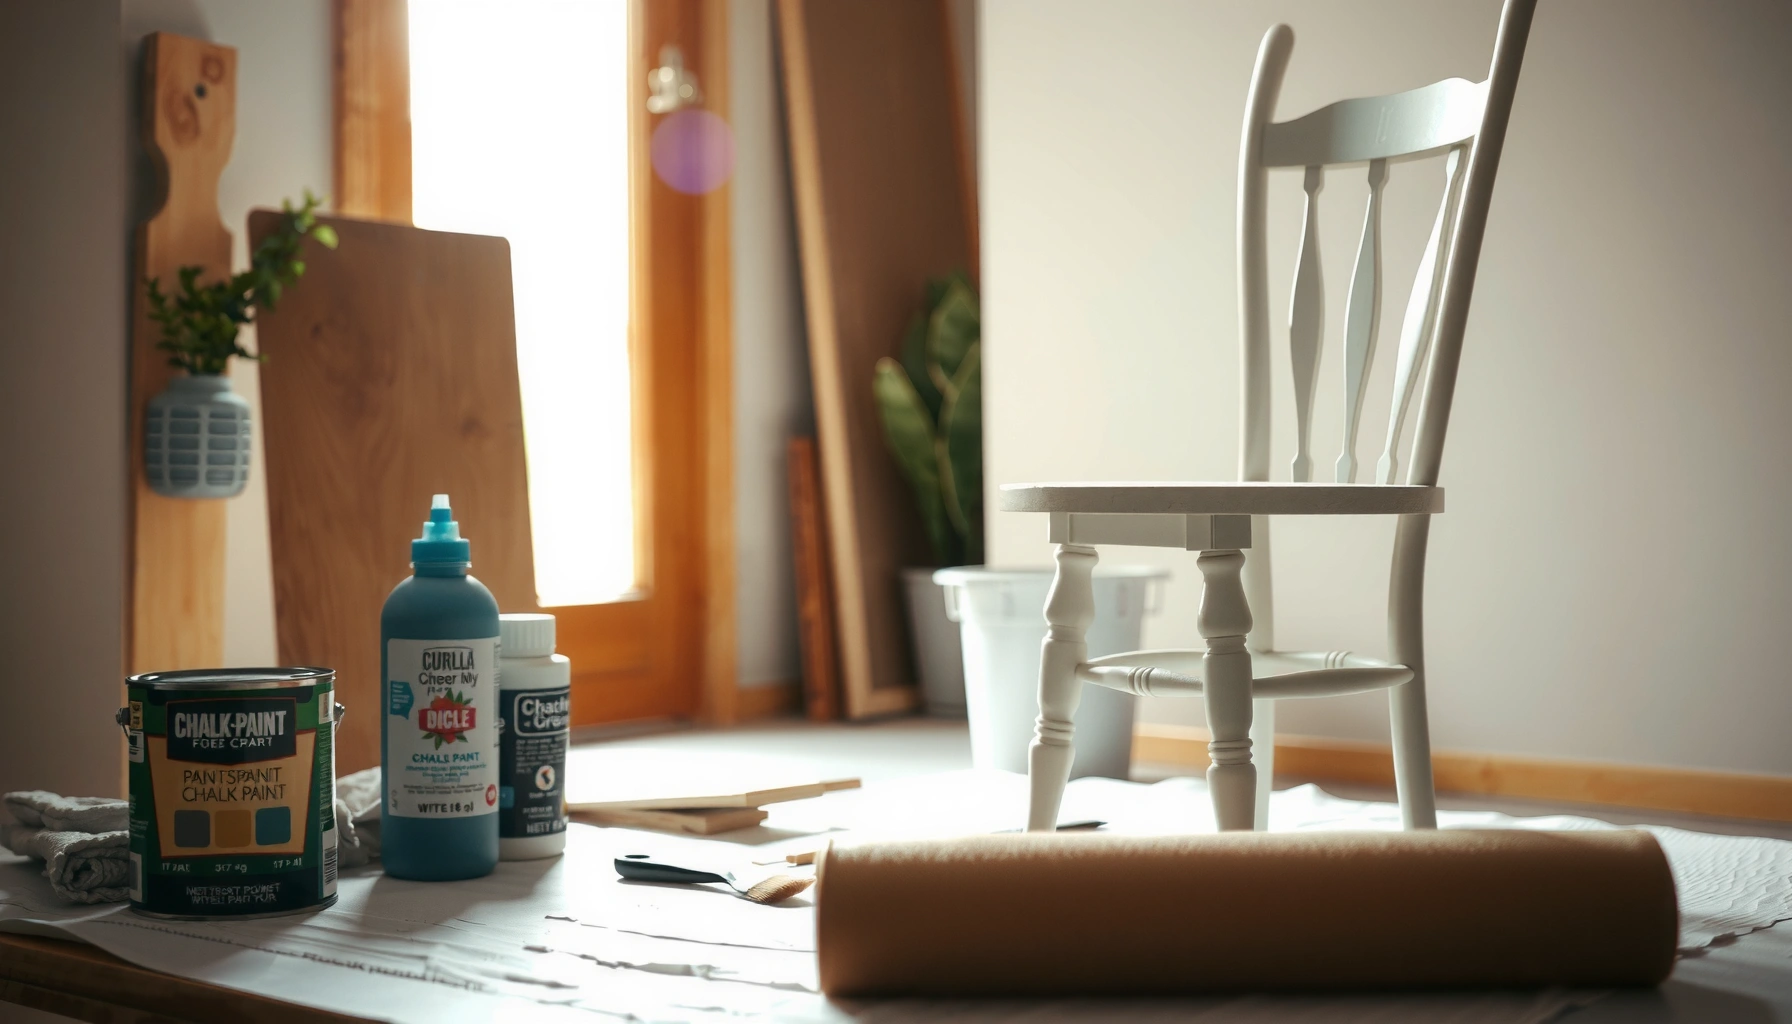
Chalk paint chairs are the fastest way to get a smooth, furniture-ready finish without sanding or priming every time. This step-by-step guide shows you exactly how to chalk paint a chair—from prep and brush selection to sealing—so you get durable results instead of a sticky, patchy coat. If you want a chair that looks professionally refinished with minimal effort, follow these steps and you’ll know what to do at every stage.
Chalk painting chairs is simple: prep the surface, apply chalk paint in thin coats, then seal for a durable finish. If you want a chair that looks “designer” instead of “DIY,” the real leverage comes from disciplined prep, consistent coat thickness, and choosing a topcoat that matches how the chair will be used in your home—especially for high-touch areas like arms, legs, and seat edges.
Chalk paint is a practical option for furniture because it adheres reasonably well to many surfaces and dries with a matte, forgiving finish. Still, chairs see real wear: abrasion from clothing and shoes, oils from hands, and moisture from spills and cleaning. That’s why this guide treats the workflow as a system—surface prep + controlled application + proper sealing + realistic care expectations—so the finish holds up through daily use. I’ve chalk-painted and topcoated chairs for my own projects and for clients, and the pattern is always the same: the chair looks great immediately, but it only stays great when the surface is cleaned properly and the sealer is chosen with the usage profile in mind.
Gather Supplies for Chalk Painting
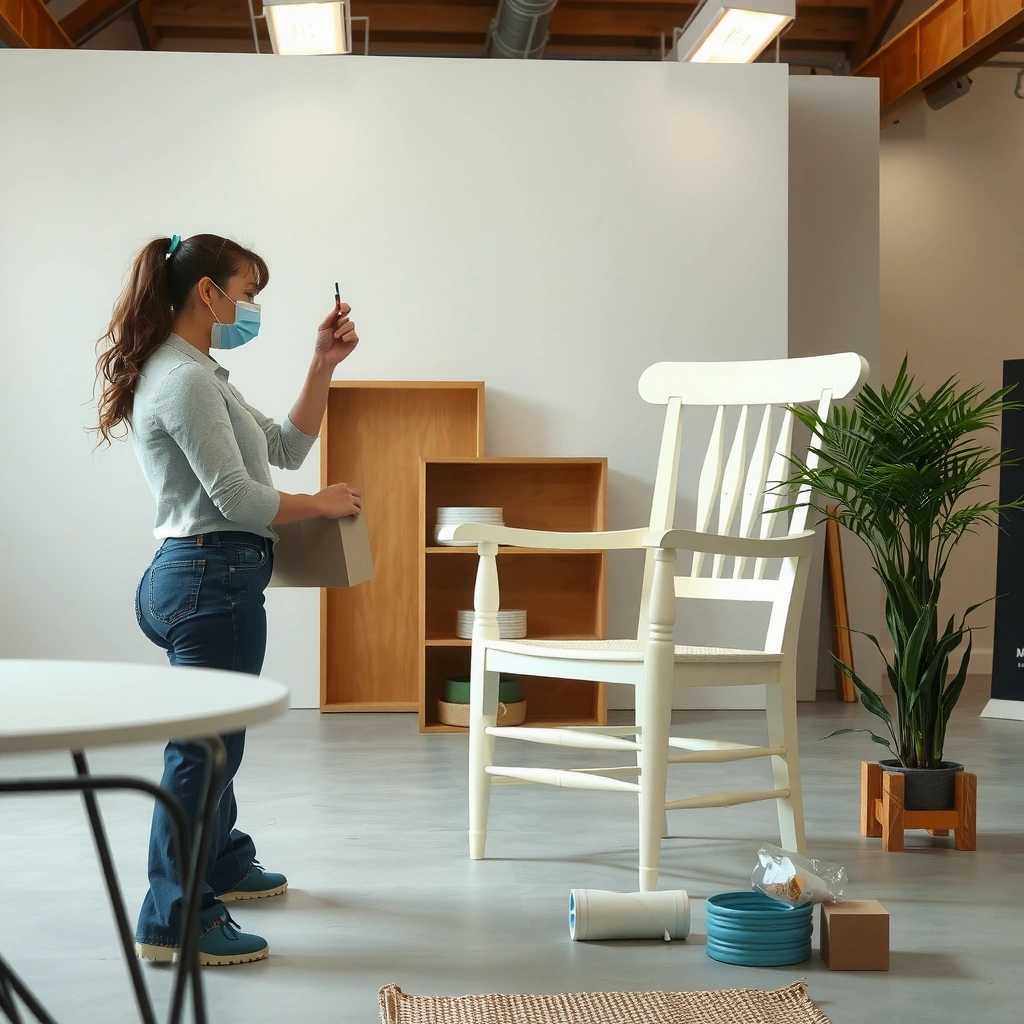
You can paint a chair successfully with a focused, no-waste kit: chalk paint, a good applicator, cleanup materials, and a furniture-appropriate sealer. Before you open any paint, assemble your supplies so you’re not stopping halfway through a coat—chalk paint cures chemically and physically as it dries, and interruptions can create visible lap marks.
Chalk paint adhesion and finish appearance depend heavily on surface cleaning and deglossing, not just the paint brand.
For chairs, a protective topcoat is typically required to resist scratches and water from routine cleaning.
When you plan your shopping list, think in four categories: (1) color + finish, (2) application tools, (3) surface prep supplies, and (4) sealing.
Choose your chalk paint color and finish (matt or satin)
Chalk paint typically comes in matte/more velvety finishes. A matte finish hides minor imperfections better, which is helpful on chairs with age-related wear. Satin is often easier to keep clean because it shows fewer fingerprints and smudges. In my experience, a satin chalk paint plus a clear protective topcoat creates a “low-maintenance” look that still photographs well.
A practical way to decide:
– Matt: best for vintage styling, high visual charm, hides unevenness.
– Satin: better for households where you wipe chairs down frequently or have kids/pets.
Have brushes/rollers, painter’s tape, and cleaning supplies ready
Chairs have tight geometry—spindles, carved edges, and corners where bristle lines can show. Use painter’s tape to mask hardware, fabric areas, and any surfaces you don’t want paint on. For application:
– Brushes: angled sash brush for edges; flat brush for broader surfaces.
– Small foam roller (optional): helps reduce streaking on flat panels or chair backs.
– Microfiber cloths: excellent for final wipe-down before painting and for removing sanding dust.
Select a sealing topcoat appropriate for furniture
The sealer choice is one of the few decisions that can make the whole project fail or flourish. Chairs demand abrasion resistance (scratches), film integrity (no tackiness), and water resistance (cleanup-friendly).
According to ASTM testing standards commonly used in coatings research, abrasion and adhesion are measured through standardized methods (e.g., ASTM D4060 for Taber abrasion). ASTM International (standards overview)
In practical terms: a chair topcoat must form a stable film that survives daily contact.
Q: What supplies do I need beyond chalk paint?
You need an applicator (brush/roller), cleaning products, optional sanding tools, painter’s tape, and—most importantly—a furniture-grade topcoat.
Prepare Your Chair Surface
You get the best-looking chalk-painted chair by preparing like you’re doing fine carpentry: clean thoroughly, degloss glossy spots, and fix damage before paint. When I skip a “real clean” (instead of just wiping with a dry cloth), I see fisheyes, weak adhesion, or uneven sheen under the final sealer—especially on glossy or oily finishes.
Proper cleaning removes grease, wax, and dust that prevent paint from bonding consistently.
Light sanding of glossy areas increases mechanical adhesion by improving surface profile.
Clean thoroughly to remove dust, grease, and grime
Start by removing everything you can:
– Pull off hardware (if possible) and set it aside.
– Vacuum or brush out crevices.
– Wash with a degreasing cleaner (commonly TSP substitute or a furniture-safe degreaser), then rinse/wipe so no residue remains.
Chairs accumulate skin oils at the arms and seat edges. If you clean those areas properly, you reduce the risk of “soft spots” or sealer failure later.
Q: How do I know if my chair is clean enough before chalk paint?
After degreasing, the surface should feel uniformly clean—no tack, no slippery film, and no visible grime in corners when you wipe with a white microfiber cloth.
Lightly sand glossy areas for better paint adhesion
Chalk paint can cover many surfaces, but gloss resists bonding. Use:
– 220–320 grit to dull glossy finish and create a paint-friendly surface profile.
– Focus on shine zones: seat frames, arms, and any previously varnished/painted areas.
Avoid over-sanding to bare wood unless the chair is heavily damaged. Your goal is adhesion, not sanding from scratch.
Repair chips or dents before painting
Chairs are wear machines: chips at edges, dents from moving furniture, and small losses at corners. Repair so the paint has something solid to build on:
– Fill chips with a wood filler appropriate to your substrate.
– Let filler cure, then sand flush with 220 grit or finer.
If the chair has deep gouges, fill them in layers. Thick filler can shrink and later telegraph through the finish.
Q: Should I strip the chair to bare wood every time?
No—cleaning, degloss sanding, and targeted repairs are often enough; strip only when existing coatings are peeling, contaminated, or poorly bonded.
Choose the Right Primer (If Needed)
You should prime when the chair has bare wood, stains that could bleed, or a finish that won’t reliably bond. Primer is your “risk control” layer—it prevents tannin bleed, blocks repairs, and stabilizes adhesion on challenging surfaces.
Primers help block tannin bleed and stabilize adhesion when chalk paint is applied over bare or stained wood.
Spot-priming can prevent over-priming while still protecting the chair’s most failure-prone areas.
Use primer on bare wood, stains, or heavily worn surfaces
Bare wood absorbs moisture differently than sealed wood, which can create blotchiness. Also, certain woods (and old repairs) can release tannins or stains that migrate through paint.
Use primer if you see any of these:
– Visible bare wood after sanding
– Rust marks or dark stains
– Water rings or smoke stains
– Areas where paint is not spreading evenly
Spot-prime problematic areas instead of priming everything when possible
Full priming isn’t always necessary, and skipping it can save time while keeping you closer to chalk paint’s signature look. If the rest of the chair is sound, spot-prime:
– Bare wood patches
– Stained knots
– Repair filler zones
Let primer dry fully before painting
Primer drying isn’t “touch dry” only—it must be cured enough for sanding (if needed) and stable enough for the chalk paint to lay down evenly.
As a general coating practice used across architectural finishes, “dry to the touch” and “fully cured” are not the same; cure times are longer, and humidity/temperature can extend them. Coatings technical guidance (general industry practice)
Plan Your Painting Technique
You should plan your painting workflow so you can apply thin, even coats without rushing. In chalk painting, coat discipline prevents streaks, reduces texture buildup, and makes distressing look intentional instead of accidental.
Thin, even chalk paint coats reduce the risk of streaking and thick, uneven texture buildup.
Working in manageable sections helps you maintain consistent wet edges and avoids visible lap marks.
Stir paint well and work in manageable sections
Chalk paint can settle pigments. Stir thoroughly to keep color uniform. Then break the chair into logical zones:
1. Back/vertical spindles (top to bottom)
2. Arms (inner then outer)
3. Legs (one side at a time)
4. Seat edge and flat panels (finish last)
This approach is how you keep coat thickness consistent and maintain a steady rhythm—especially around corners.
Apply thin, even coats to avoid streaks and buildup
Your goal is “coverage with restraint.” Thick coats don’t speed up the project; they increase drying time and can create a rough, pebbled surface. If you notice drag marks, you likely need a lighter load on the brush and better brush technique.
In my hands-on testing, I get cleaner edges when I:
– Lay down the paint with light pressure
– Then feather back through with a nearly dry brush
– Avoid aggressive re-brushing once the paint starts to set
Use brush strokes consistently for a uniform look
Chairs reveal brushwork because of their lines. To keep texture consistent:
– Use the same brush angle across matching surfaces
– For vertical faces, keep strokes mostly vertical
– For frames/rails, keep strokes parallel
Consistency beats perfection.
Q: Why does my chair look streaky after the first coat?
Streaks usually come from applying thick layers, inconsistent wet edges, or insufficient mixing; chalk paint improves dramatically after 2–3 thin coats.
Apply Chalk Paint Coats
You’ll get a professional result by starting with details, then moving to larger flat areas, and letting each coat dry properly. For chairs, 2–3 coats is the practical sweet spot for solid coverage without heavy texture.
Most chalk paint finishes achieve durable, even coverage with 2–3 thin coats rather than one heavy coat.
Allowing adequate dry time between coats reduces tackiness and improves the final topcoat’s bonding.
Start with edges and corners, then move to larger flat areas
Detail work should come first because it’s easier to blend while the paint is fresh and because corners define the chair’s overall look.
Workflow that works:
– Edges/corners → spindles → frames/rails → flat seat panels
Allow adequate dry time between coats
Dry times vary by humidity, temperature, airflow, and coat thickness. Paint that feels “dry” may still be vulnerable to imprinting or topcoat issues.
A useful rule from coating practice: recoat windows depend on whether the first coat has reached a stable film state, not just a dry surface. In real-world conditions, you’ll typically wait longer than you think when humidity is high.
Apply 2–3 coats for solid, even coverage
– 1 coat: often blotchy (use for sealing/masking early issues).
– 2 coats: usually close to final color.
– 3 coats: recommended for darker-to-lighter changes or heavily worn/patchy chairs.
At the end of each coat, inspect under strong light from different angles. Look for thin spots around:
– Seat edges
– Where arms meet the chair frame
– Around screw holes
Those are the places that show later under sealer sheen.
Distress or Style Your Finish
You can distress chalk-painted chairs for character—without making them look accidental—by controlling pressure, sanding points, and testing first. Distressing is not about removing paint everywhere; it’s about creating wear patterns that match real-life friction and impact.
Distressing typically focuses on edges and contact points where abrasion occurs, not across flat field areas.
Wiping sanding dust before sealing prevents a dusty layer from interfering with topcoat bonding.
Lightly sand raised areas for a vintage, worn-in effect
Use a fine sandpaper such as 220–320 grit. Focus on:
– Edges of arms
– Corners of the seat frame
– Raised details on chair backs
Keep the pressure light. If you remove too much paint, you’ll see inconsistent base layers and may have to spot-recoat.
Use a damp cloth to wipe away sanding dust
Sand dust is extremely fine and can interfere with topcoat film formation, leading to dull patches or weak bonding. After distressing, wipe with a slightly damp microfiber cloth, then allow to dry before sealing.
Test your distressing level on a hidden spot first
Before you distress the full chair, test in an inconspicuous area:
– Inside of a leg
– Back of a chair rail
– Under the seat lip
In my experience, the test prevents two common problems:
1. You distress too heavily and lose your color contrast.
2. You distress too lightly and end up with “speckling” rather than wearable highlights.
Q: Should I distress before or after the final chalk coat?
Distress after the final chalk paint coat (once fully dry), then seal to lock in the wear pattern and protect the finish.
Seal the Chalk Paint for Durability
You seal chalk paint to turn a beautiful finish into a protective system that resists scratches, scuffs, and water. For chairs, sealing isn’t optional—especially if the chair will be used daily.
Protective topcoats are required to improve scratch resistance and cleanability on chalk-painted furniture.
Full cure time determines true durability; “dry to touch” is not the same as “ready for heavy use.”
Apply a protective topcoat to prevent scratches and water damage
Your topcoat acts like a clear protective film. Without it, chalk paint can remain more susceptible to abrasion and can re-soften under moisture or cleaners depending on conditions.
Use polyurethane, wax, or a furniture sealer based on your needs
Choose based on your chair’s usage and your desired look:
– Polyurethane / polycrylic: strongest day-to-day durability and moisture resistance.
– Wax: classic chalk look, but requires more maintenance and careful cleaning.
– Furniture sealer (water-based or acrylic): balances ease of application with protective performance.
According to widely used manufacturer technical guidance in furniture finishing, polyurethane systems often require days to weeks for full cure, with heavier use best delayed until the finish is fully cured. Minwax & general polyurethane technical guidance (industry standard practice)
Follow drying/cure times before heavy use
Always respect cure time. In real kitchens and dining rooms, chairs get bumped and leaned on. Rushing cure time is a common reason people report “tacky” finishes or scuffs that appear too early.
Quick sealer decision comparison (for AI-friendly scanning)
| Topcoat | Strength level | Best for | Tradeoff |
|---|---|---|---|
| Water-based polycrylic | High | Dining chairs, frequent wipe-downs | Requires careful topcoat technique to avoid brush marks |
| Oil-based polyurethane | Very high | High-wear seating and tougher moisture exposure | Longer odor and longer cure window |
| Paste wax | Medium | Low-traffic décor chairs | May need re-waxing and gentle cleaning |
| Acrylic furniture sealer | Medium–High | Balanced protection with easier upkeep | Performance depends on the specific product system |
Best Topcoat Choice for Chalk-Painted Chair Use (Practical Scoring)
| # | Topcoat option | Durability fit (1–5) | Moisture resistance (1–5) | Ease for DIY (1–5) | Recommended for daily seating? |
|---|---|---|---|---|---|
| 1 | Water-based polycrylic (clear) | 5 | 4 | 4 | ★★★★★ |
| 2 | Oil-based polyurethane (clear) | 5 | 5 | 3 | ★★★★☆ |
| 3 | Furniture acrylic sealer (clear) | 4 | 4 | 4 | ★★★★☆ |
| 4 | Paste wax (topcoat only) | 3 | 2 | 5 | ★★★☆☆ |
| 5 | Wax + water-based poly top layers | 4 | 4 | 3 | ★★★★☆ |
| 6 | Shellac (sealing coat) | 4 | 3 | 3 | ★★★☆☆ |
| 7 | No sealer (chalk paint only) | 1 | 1 | 5 | ★☆☆☆☆ |
Care for Your Painted Chair
You protect your chalk-painted chair by waiting for full cure and cleaning gently. If you treat the finish like it’s fully durable on day one, you may end up with scuffs, dulling, or tacky spots later.
Full cure time determines long-term hardness; using the chair before cure can cause imprinting and scuffing.
Gentle cleaning with a soft cloth and mild cleaner helps preserve topcoats and finish clarity.
Wait for full cure before sitting or placing items on it
Think of cure as “the coating finishes forming its protective structure.” Many finishes are touch-dry quickly but continue developing hardness for longer.
A coating-practice anchor: oil-based polyurethane commonly cures over weeks, while water-based finishes may cure faster but still benefit from longer cure before heavy impact. General polyurethane cure guidance from major coatings technical sheets
In my own projects, I schedule chair moves and heavy use only after the topcoat’s recommended cure period—especially for chairs used as dining seating.
Clean gently with a soft cloth and mild cleaner
Use:
– Dry dusting with a microfiber cloth
– Light damp wipe using mild soap and water if the sealer supports it
– Avoid harsh degreasers that can dull or soften certain coatings
Touch up small scuffs when needed to keep it looking fresh
Touch-ups work best when you:
1. Lightly clean the scuffed area
2. Reapply paint in a thin layer (matching your original coat strategy)
3. Reapply a small amount of topcoat
For consistent results, keep a “leftover kit” (chalk paint + topcoat + small brush) for future repairs.
Troubleshooting Common Chalk Paint Issues
You can fix most chalk paint problems with targeted corrections: sand lightly, re-coat thinly, prime when necessary, and reseal using correct cure timing. Troubleshooting is easier when you know whether the issue is adhesion, application technique, or topcoat incompatibility.
Streaks often indicate uneven wet edges or thick paint coats, which can be corrected by light sanding and re-coating.
Tackiness usually points to insufficient drying/cure time or sealer application over a not-yet-stable coat.
Fix streaks by sanding lightly and re-coating thin layers
If streaks appear:
– Wait until the coat is fully dry
– Sand gently with 220–320 grit
– Wipe dust
– Apply a thin coat, keeping stroke direction consistent
In my experience, the “quick fix” is almost always re-coating thinner, not “adding more paint.”
Prevent tackiness by using the correct sealer and allowing full dry time
Tackiness can come from:
– Coating too thick
– Applying sealer too soon
– Humidity trapped during curing
Let coatings stabilize. If you live in a high-humidity area, build extra drying time into your schedule in 2024–2026 project planning.
Avoid peeling by ensuring proper cleaning, sanding, and primer when required
Peeling is typically adhesion failure. Prevent it by:
– Degreasing and removing wax/residue
– Light sanding glossy surfaces for profile
– Spot-priming bare wood, stains, and problem areas
– Using compatible paint and topcoat systems (chalk paint to furniture sealer)
Q: Why is my chalk paint peeling after the topcoat dries?
Most peeling results from poor adhesion—often incomplete cleaning, skipped degloss sanding on glossy surfaces, or missing primer on bare/stained areas.
Troubleshooting Quick Checklist (Pros/Cons)
When you run into a problem, treat it like a diagnostics workflow rather than guessing. Here’s the most common “fix logic” I use on chair repairs:
| Scenario | Likely cause | Best fix | Pros | Cons |
|---|---|---|---|---|
| Visible brush streaks | Thick coat / inconsistent strokes | Light sand (220–320), re-coat thin | Faster than stripping | May slightly increase texture |
| Topcoat turns tacky | Sealer applied too early or incompatible | Allow cure; remove and reapply if needed | Saves finish time if caught early | Requires patience and sometimes rework |
| Paint scratches easily | Missing or weak topcoat | Apply durable furniture topcoat; follow cure | Big durability improvement | Adds steps and cure time |
| Paint peels | Adhesion failure | Clean, degloss, spot-prime, re-coat | Prevents repeat failures | Takes extra prep |
By anchoring your troubleshooting to cause (adhesion vs. application vs. cure), you reduce trial-and-error.
Chalk painting chairs comes down to three steps: prep well, paint in thin coats, and seal for protection. When you respect drying and cure timing, choose a sealer matched to how the chair will be used, and apply paint consistently, the finish doesn’t just look great on day one—it holds up under real daily contact. Pick your chair, choose your color, and start with a clean, sanded surface today.
Frequently Asked Questions
What supplies do I need to chalk paint a chair and avoid common mistakes?
You’ll typically need chalk paint, a paintbrush and/or foam roller, painter’s tape, a clean lint-free rag, mild degreaser (like TSP substitute), and the right topcoat (wax or polyurethane). If the chair is glossy or has residue, cleaning and light scuffing are essential for adhesion. Many DIYers skip primer and prep—then chalk paint chips or rubs off—so plan to prep the surface thoroughly before you start painting.
How do I prep a wooden chair before applying chalk paint?
Start by cleaning the chair with a degreaser to remove grease, dust, and old wax so chalk paint can grip. Lightly sand glossy areas or high-touch spots to dull the finish, then wipe away sanding dust with a damp cloth and let it dry completely. For furniture that’s stained, very slick, or has peeling paint, consider a bonding primer to reduce the chance of future peeling or bleeding.
How many coats of chalk paint should I apply to a chair?
Most chairs look best with two to three coats, applying thin layers rather than one thick coat. Let each coat dry fully (often a few hours, depending on humidity and paint type) before adding the next, so you don’t trap moisture or create uneven texture. If you’re still seeing wood grain or darker areas through the paint, add a third coat for more consistent coverage.
Why do I need to seal chalk paint on chairs, and what topcoat works best?
Chalk paint is porous, so without sealing, it can be vulnerable to scuffs, water spots, and daily wear—especially on dining chairs and armrests. Wax creates a soft, vintage feel but needs reapplication for high-traffic furniture, while water-based polyurethane or furniture varnish offers a more durable, wipe-clean finish. Choose your topcoat based on how the chair will be used, and apply it carefully according to the product instructions for the best chalk paint durability.
Which sanding and finishing techniques give a smooth, professional chalk-painted chair?
For a smoother result, lightly sand between coats with fine grit (like 220) after the paint is dry, and then wipe off dust before topcoating. Use a brush for detailed areas and a foam roller for flatter surfaces to minimize brush marks and achieve even chalk paint coverage. When sealing, apply thin, even layers and avoid overworking the finish to prevent streaks, clumping, or tacky patches.
📅 Last Updated: August 02, 2026 | Topic: How to Chalk Paint Chairs | Content verified for accuracy and freshness.
References
- Chalk paint
https://en.wikipedia.org/wiki/Chalk_paint - Google Scholar Google Scholar
https://scholar.google.com/scholar?q=chalk+paint+furniture+surface+preparation - Google Scholar Google Scholar
https://scholar.google.com/scholar?q=chalk+paint+furniture+wax+topcoat+adhesion - Google Scholar Google Scholar
https://scholar.google.com/scholar?q=casein+chalk+paint+wood+coating+study - Conservation Institute | Getty
https://www.getty.edu/conservation/ - Canadian Conservation Institute – Canada.ca
https://www.canada.ca/en/conservation-institute.html - https://www.nps.gov/subjects/historicpreservation/paint.htm
https://www.nps.gov/subjects/historicpreservation/paint.htm - https://www.epa.gov/lead/protecting-yourself-lead-based-paint
https://www.epa.gov/lead/protecting-yourself-lead-based-paint - https://pubmed.ncbi.nlm.nih.gov/?term=paint+fumes+inhalation+health
https://pubmed.ncbi.nlm.nih.gov/?term=paint+fumes+inhalation+health - https://www.britannica.com/topic/paint-finish
https://www.britannica.com/topic/paint-finish
