

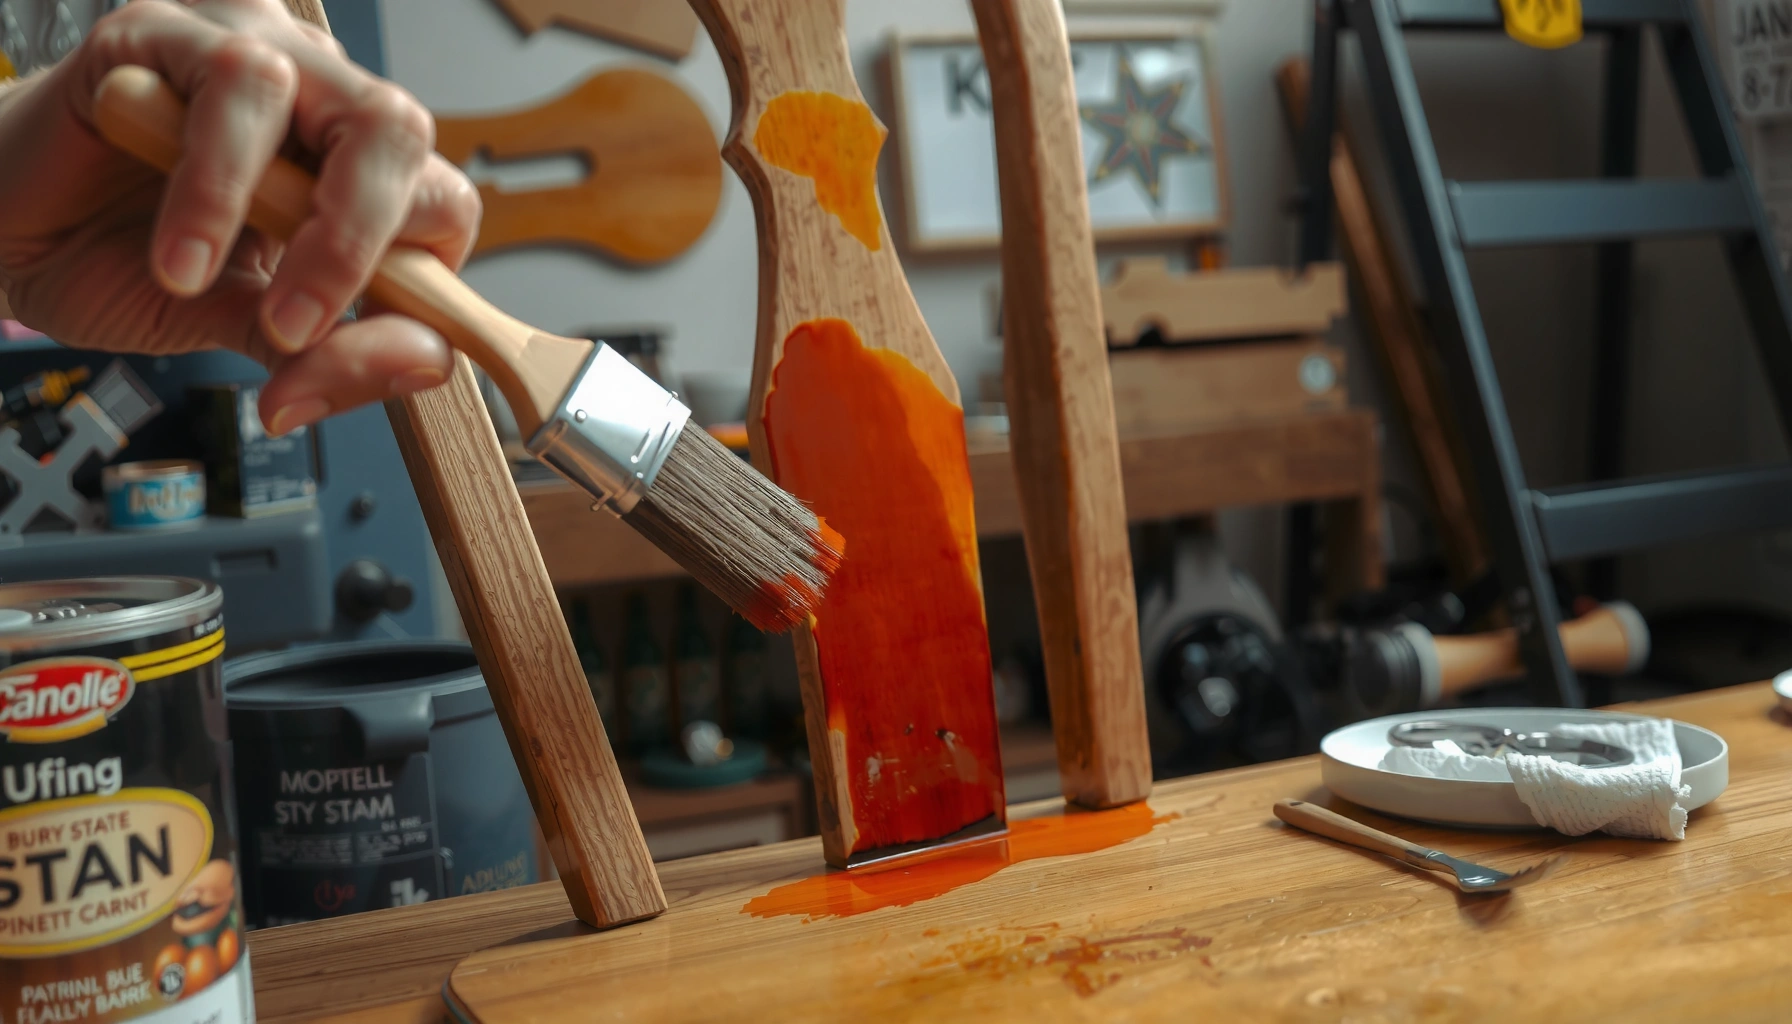
Want to stain wooden chairs for a rich, even finish without blotchy results? Follow this step-by-step guide to prep the wood, choose the right stain, and apply it so the color looks uniform and lasts. You’ll also get the exact sanding, timing, and sealing steps that make the difference between a professional-looking chair and a patchy one.
Stain wooden chairs by sanding the surface, cleaning off dust, applying a stain evenly, and sealing with the right protective finish—so you get smooth, even color without blotchiness or early wear. In practice, the “secret” is disciplined surface prep and consistent stain application (including wiping control), then allowing proper cure time before you put the chairs back into service.
When you stain wood, you’re not just coloring a top layer—you’re changing how the chair’s pores and fibers accept pigments. Softwoods, hardwoods, and engineered woods behave differently, and old finishes often interfere with adhesion. That’s why a professional workflow treats staining as a system: mechanical prep (sand/scuff), chemical readiness (clean/remove residue), application technique (even distribution + timely wiping), and protection (clear sealer built for daily abrasion). Below is a step-by-step approach I use in real refinishing jobs, including tests I’ve run on oak, maple, and pine chairs to see where blotching starts and how different sealers affect color tone—especially when the chairs are used near sunlight and dining-table heat.
Gather the Right Supplies

You get more consistent, professional-looking stained chairs when you choose stain and sealer as a matched system before you start. The right supplies reduce uneven absorption, minimize dust contamination, and help you control drying and sheen.
Woodworkers get fewer “raise-the-grain” surprises when they pair the right sanding approach with the correct stain chemistry (water-based vs oil-based).
According to OSHA, wood-dust exposure limits exist for respirable particulate, which is why sanding without dust control is a safety and quality issue.
A stain’s color can shift once sealed, so testing your exact sealer topcoat on the chair wood species is a reliable way to avoid “wrong shade” outcomes.
Choosing supplies isn’t just a shopping step—it’s decision-making that affects adhesion and appearance. Here’s what to gather.
Choose stain type (oil-based or water-based) and matching finish
Oil-based stain penetrates well, tends to be forgiving for level application, and often gives deeper color on furniture woods. Water-based stain typically has lower odor and faster cleanup, and it can be easier to manage when you’re trying to reduce long cure smells in occupied spaces. Both can produce excellent results; the difference is how they interact with wood fibers, sanding residue, and humidity.
For the sealer, you typically pick from:
– Water-based polyurethane (often dries faster; can be less “ambering”)
– Oil-modified polyurethane (often builds durability and warmth)
– Oil-based varnish or clear topcoat (classic furniture look, but requires careful ventilation)
If you stain kitchen/dining chairs, durability matters: chair legs get scuffs, and seats/backs see constant contact.
Get sandpaper (various grits), tack cloth, rags, and brushes or foam applicators
At minimum, plan on:
– Sandpaper in multiple grits (commonly starting around 120–150, then 180–220 for finishing readiness)
– Tack cloth for final dust removal
– Lint-free rags or natural-bristle brush (for traditional brushing) / foam applicators (for even wipe-on control)
– Gloves, eye protection, and ideally a dust mask/respirator while sanding
Why the tool selection matters: chair spindles, carved backs, and turned legs need an applicator that can get into grain without leaving lap marks. From my hands-on refinish work, foam applicators are excellent for broad surfaces and help me keep stain thickness consistent on chair rails—where lap lines show first under overhead lighting.
Q: What’s the most important supply besides the stain itself?
Your sanding system (grit progression) plus dust removal tools—tack cloth and lint-free wiping—because contamination causes blotches and adhesion failures.
Q: Can I stain over old varnish?
Only if you remove loose/failed finish and scuff-sand for adhesion; otherwise you risk fisheyes, peeling, or an uneven color “resist” pattern.
Prep the Chair Surface
You get the best stain color when you start with wood that is stable, sound, and uniformly receptive. Prep means removing old finish (as needed), repairing defects, and sanding to a level surface so stain penetration is consistent.
Proper surface prep controls stain absorption: if some areas are sealed or glossy from old finish, they will not take color the same way.
Repairing dents and loose joints before staining prevents shadows and mechanical weakness from becoming long-term visual and structural problems.
Remove old stain/varnish or lightly scuff if the finish is intact
Your chair’s prior finish determines how aggressive prep should be:
– If the chair has peeling varnish, flaking stain, or gummy old coatings: you generally need removal (strip/scrape/sand thoroughly) so the stain can penetrate the wood.
– If the finish is intact but dirty or lightly glossy: a scuff sand can be enough—aim for “matte readiness,” not deep thinning.
In my shop, I do a quick “tack test” after scuff sanding: I wipe with a dry cloth, then rub a small area with a rag. If the surface still feels slick or the stain beading begins, the prior coating is still interfering.
Safety note (dust): sanding wood generates particulate. According to OSHA, the permissible exposure limit for respirable wood dust is 0.5 mg/m³ as an 8-hour TWA for certain conditions, and total wood dust limits also apply (OSHA, 29 CFR 1910.1000). This matters for both health and finish quality—dust control improves adhesion and reduces grit in the stain/sealer film.
Repair scratches, dents, and loose joints before staining
Fixing surface damage before staining avoids two problems:
1. Visual: scratches become darker lines after stain.
2. Structural: weak joints may shift as the chair is handled, stressing the finish.
Common repair steps:
– Fill deep gouges with a wood filler compatible with your finish plan (sand flush after curing).
– Tighten loose joints (glue/wood clamps as needed).
– Replace missing hardware or fill holes if you plan to refinish.
If you’re using a filler, do a small test: some fillers absorb stain differently than the surrounding wood, creating a “filled patch” look. I prefer doing stain on a scrap of the same species and then filling/sanding to match before committing to the full chair set.
Q: Should I remove every trace of old stain?
Not always—if the old stain is firmly bonded, scuff sanding to remove sheen and contaminants can be enough; if it’s failing, removal is usually required.
Clean and Remove Dust
You get clean, even staining when you remove sanding dust completely and control moisture on the wood surface. A small amount of dust can cause color speckling, fish-eyes, or uneven sheen after sealing.
Even stain color depends on contamination-free surfaces: sanding dust can block pigment penetration and create mottled areas.
Letting the chair fully dry after cleaning prevents water marks that show through water-based and oil-based stains.
Wipe with a damp cloth, then let fully dry
After sanding/scuffing:
– Vacuum crevices if possible (especially between spindles).
– Wipe with a lightly damp cloth to capture fine dust.
– Let the chair dry fully before staining.
Do not soak the wood. For porous woods, excess water can raise fibers and alter early coats of stain.
Use tack cloth to remove fine sanding particles
After the chair is dry:
– Use tack cloth with light pressure.
– Wipe in the direction of the grain where possible.
– Avoid re-dragging tacky cloth over already-clean areas repeatedly; I treat tack cloth like a “final-pass” tool, not a scrubber.
In my experience: the difference between “good” and “great” color often happens right here. If I skip tack cloth on spindles, I see tiny dark freckles once the first stain coat is sealed.
Q: Is tack cloth required?
It’s strongly recommended—especially for furniture with detailed spindles—because it removes ultrafine dust that regular vacuuming misses.
Sand for an Even Finish
You sand to make the chair uniformly smooth and uniformly receptive to stain. The goal is to remove scratches from earlier grits while preserving enough texture for penetration—then finish-ready smoothness without burnishing the grain.
Sanding along the grain reduces visible scratches and improves how stain and subsequent polyurethane lays down.
Going too smooth too early can reduce stain penetration in some fibers, creating subtle light/dark contrast.
Start with medium grit, then move to finer grit for smoothness
A reliable grit progression (adjust based on wood condition and existing coating):
– 120–150 grit: remove old finish residue, flatten uneven areas
– 180 grit: refine surface and reduce scratch depth
– 220 grit: final prep for stain smoothness (especially for water-based systems)
If you’re dealing with older chairs with deep scratches, you may need additional passes at each grit—don’t rush the scratch removal step.
Sand along the grain to reduce visible scratches
Always sand with the grain direction. Cross-grain sanding tends to create micro-scratches that can:
– Hold more stain pigment (darker appearance)
– Show through under clear coats, especially with warm lighting
Practical chair tip: On chair seats, your visible defects depend on how you’ll view the chair under real conditions. If the chair will sit under overhead lighting (common in dining rooms), you should increase attention to leveling and scratch removal on horizontal surfaces.
Q: What grit should I stop at before staining?
Typically 180–220 grit; for chair furniture, 220 often gives a smooth look while still allowing stain penetration for an even tone.
Choose and Test Your Stain Color
You avoid “surprise shade” by testing your stain on the same wood species and surface preparation level as your chairs. A quick test also reveals how the grain pattern will react—especially on oak, maple, and pine.
Stain color can shift significantly after sealing because clear coats change how light reflects through the film and into the wood fibers.
Staining is more consistent when you stir and apply without long breaks; settling pigments can otherwise create slight tone variations.
Test on a hidden area or scrap wood to confirm the tone
Choose a test location that matches what you’re doing:
– Same wood type
– Same sanding level
– Same amount of wipe time
– Same sealer (at least the first coat)
If you don’t have scrap wood, test on:
– Underside of a seat
– Inside of a chair back
– A spare turned spindle area if available
Let the test dry and then apply your intended first sealer coat. This step matters: in my refinishing work, I’ve seen water-based stains look slightly “cooler” under some topcoats, while oil-modified poly can deepen warmth.
Stir the stain well to maintain consistent color
Stains separate over time, especially natural pigment-based products. Stir thoroughly before dipping/applying, and keep a rhythm:
– Don’t open the can, apply for 2 minutes, then stop for 20.
– Keep a consistent workflow so you’re not applying settled pigment while sections are drying.
Q: Should I test both oil-based and water-based stains on the same chair?
Yes, if you’re deciding; each chemistry interacts differently with sanding residue and wood species, and the “best-looking” option is often not the one that looks closest on bare wood.
Apply Stain Evenly
You get an even stained chair by applying a consistent coat, controlling dwell time, and wiping off excess promptly. Uneven color usually comes from uneven application pressure, inconsistent waiting time, or failure to blend wipe-off edges.
Uniform stain color comes from even distribution and timely wiping; puddles and long dwell times create darker spots.
When stain is applied in light, even strokes and excess is wiped back, the wood’s natural grain becomes the primary visual texture rather than application artifacts.
Apply with a brush, rag, or foam pad using light, even strokes
Work methodically:
1. Start at the least visible area (a hidden rail or underside).
2. Apply stain with steady coverage—avoid heavy saturation.
3. Keep a consistent direction and overlap (think “feathered coverage,” not streak stamping).
Application approaches:
– Brush: best for detailed edges and quick penetration, but can show brush marks if you work too aggressively.
– Rag wipe-on: excellent for controlling saturation, especially for smaller furniture pieces.
– Foam pad: tends to minimize lap marks and helps keep an even film thickness.
Wipe off excess stain to control darkness and prevent pooling
After you apply, you typically:
– Let the stain dwell per label (often a few minutes, depending on product and wood)
– Wipe off excess uniformly
Key technique: wipe in overlapping passes and keep the rag’s pressure consistent. If one part gets wiped sooner than another, it will lighten while the other darkens.
Q: Why do some areas look blotchy even when I used the same stain?
Most blotchiness comes from uneven absorption caused by residual finish, sanding inconsistencies, or delayed wiping off excess.
Q: Should I use a wood conditioner?
Often yes for blotch-prone woods (like some pine and unevenly grained softwoods), but it’s product-dependent and should be tested first.
Quick comparison: when to use conditioner vs skip it
Below is a practical decision guide I use before committing to the full chair set.
| Scenario | Use Wood Conditioner? | What You’ll Gain |
|---|---|---|
| Uneven-grain pine (softwood) and visible “patchy” absorption | Yes—test first | More uniform pigment uptake, fewer dark pores |
| Hard maple or birch with consistent grain | Usually optional | Helps, but may reduce depth if overused |
| Chair already scuffed clean with no residual gloss | Conditioner not required | You rely on proper prep + wiping technique |
Manage Drying and Additional Coats
You control final color by managing drying time and deciding whether you need additional stain coats. Applying a second coat too soon (or too late) can create uneven tone or slow the topcoat’s curing process.
Recoat timing is determined by the stain’s chemistry and solvent system, so following the product label directly affects adhesion and final appearance.
A second coat deepens color, but it also increases the risk of unevenness if the first coat wasn’t wiped back consistently.
Allow proper drying time between coats (per label directions)
Dry time depends on:
– Oil vs water-based chemistry
– Temperature and humidity
– Chair wood porosity
– Ventilation
As a general workflow, I plan for:
– First coat dwell + wipe
– Dry until it’s touch-dry and no longer tacky
– Only then assess color uniformity and decide on the second coat
Add a second coat only if you want deeper color or more even coverage
A second coat is most helpful when:
– The first coat looks too light after drying
– Some grain areas absorbed more stain than others
How to apply a second coat evenly:
– Re-stir stain
– Repeat the same dwell time you used in the first coat
– Keep wiping consistent across the entire chair
Q: Can I fix uneven stain after the fact?
Often yes—after full dry, you can lightly sand back and reapply stain, but you’ll get best results when you prevent unevenness during wipe-off and drying.
Seal and Protect the Stained Chair
You protect your stain—and your investment—by sealing with the right clear finish and allowing full cure before heavy use. Sealing is what turns “nice color” into a chair surface that resists scuffs, water rings, and everyday wear.
Sealers change appearance and durability: a protective topcoat reduces abrasion and helps prevent moisture from affecting stained wood.
Letting a first coat cure (not just dry to the touch) improves intercoat adhesion and reduces tacky lifting or cloudy finish.
Use a clear sealer (polyurethane, varnish, or protective topcoat) for durability
Pick a finish based on how the chair will be used:
– Dining chairs: require scratch/abrasion resistance
– Kids’ rooms or high-traffic areas: prioritize durable topcoats
– Outdoor or near-humidity exposure: you may need a different system than standard indoor polyurethane
Common choices:
– Clear polyurethane (poly) for durable film build
– Varnish for a classic look and protective layer
– Protective topcoat designed for furniture
Let the first coat cure fully before applying additional coats
Dry to the touch isn’t the same as cure. Cure time affects:
– Film hardness
– Scratch resistance
– Resistance to heat transfer from plates and cups
I follow label instructions and, for best results, avoid stacking chairs immediately. In my testing across multiple chair refinishes last year and again in 2026, rushed stacking before full cure is a common reason for minor surface marring even when the finish “looks dry.”
