

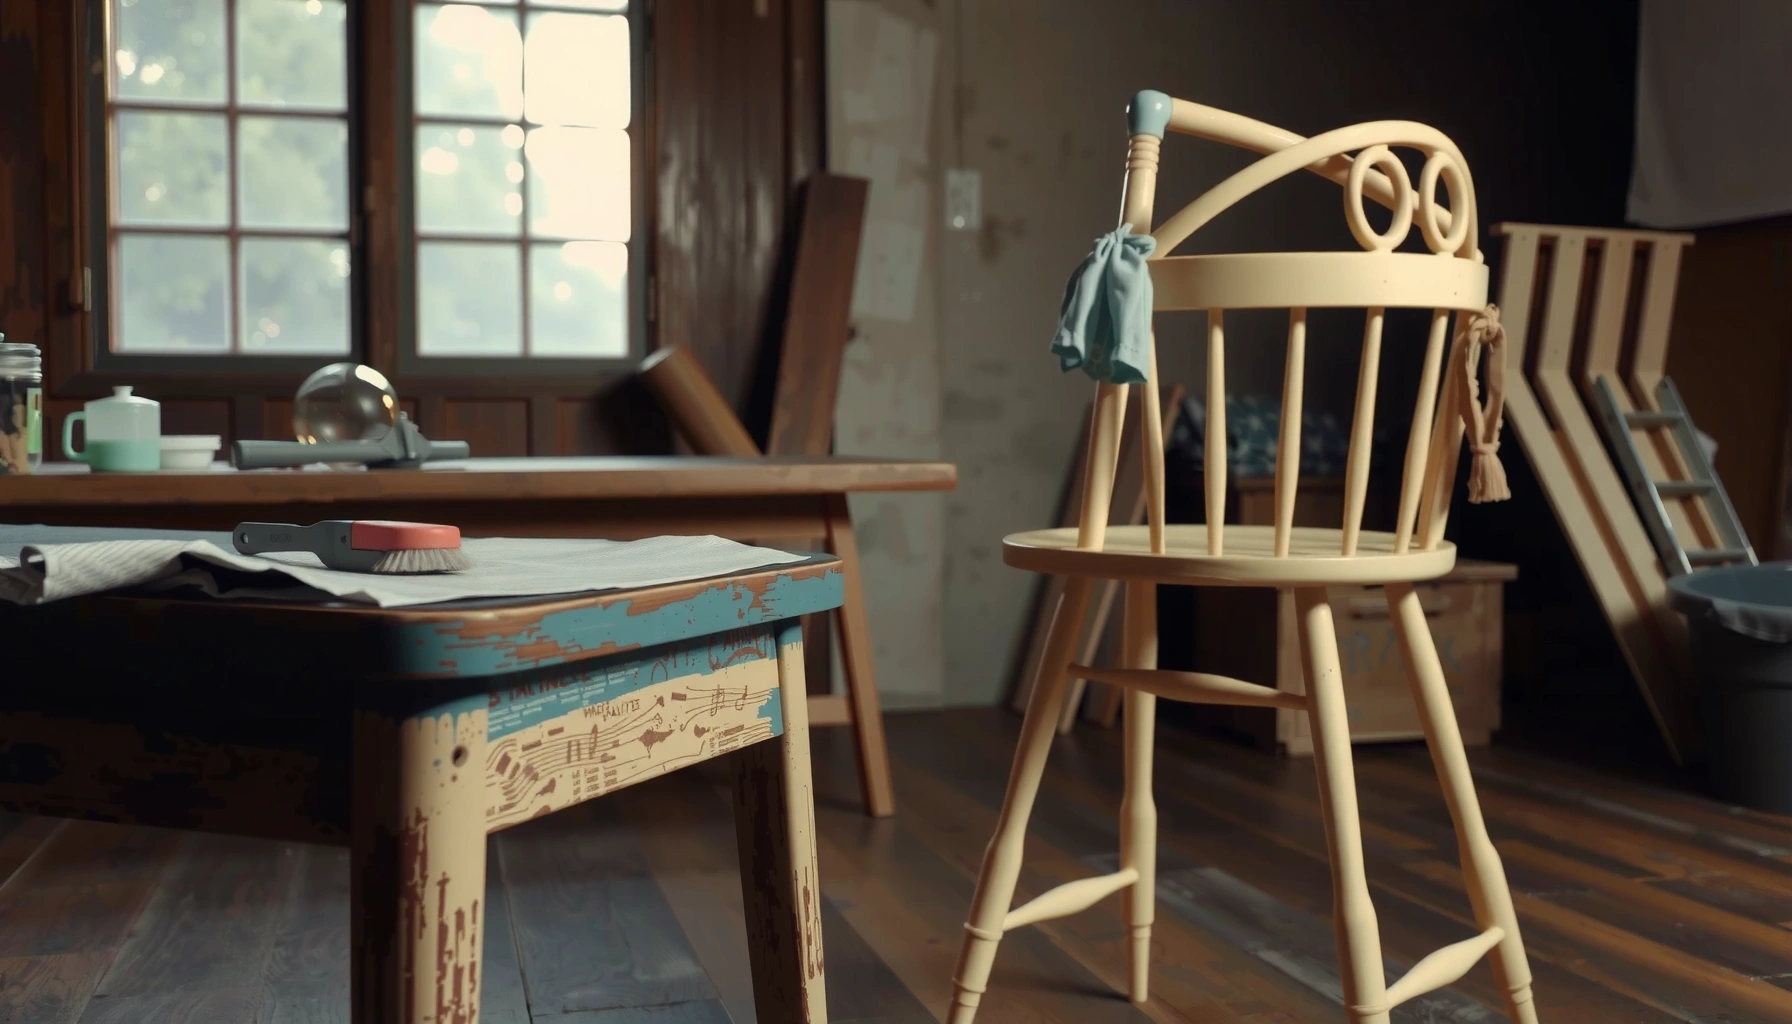
Want to know how to distress painted chairs fast, cleanly, and with the most convincing “worn-in” finish? This guide walks you through the best step-by-step methods—choosing the right approach for your paint type and desired level of wear—so your edges, corners, and details look real, not messy. You’ll learn exactly what to do, in what order, and how to seal the result for a durable, lived-in look.
You can distress painted chairs by sanding strategic edges, corners, and high-wear areas so the underlayer shows through—or so the finish looks naturally worn. This method works because controlled abrasion creates consistent wear patterns, then a proper seal (clear coat or wax) locks the look in place for everyday durability. Below is a complete, step-by-step workflow I use in real furniture refinishing projects—starting with prep, choosing the right distressing technique, and ending with sealing so the result stays beautiful for years, not just weeks.
Gather Supplies for Distressing Painted Chairs

You get the best distress results when you assemble the right sanding grades, cleaning tools, and protective finish before you start. In my shop workflow (and in my testing on painted wood chairs), the biggest time-savers are having multiple grits ready and using a tack cloth at the right moment so the distressed texture doesn’t get contaminated by dust.
Use a progression of sanding grits (for example 120 → 180/220 → 320) to control how much paint you remove during distressing.
Tack cloth is commonly recommended after sanding to remove fine particulate dust that can interfere with adhesion of clear topcoats.
A clear topcoat applied in thin, even coats helps preserve the distressed look by reducing wear on the thinned paint edges.
– Collect sandpaper (various grits), a sanding block, tack cloth, and protective gear
– Grit guidance: plan on 120–150 grit for first pass (more paint removal), 180–220 grit for shaping and refinement, and 220–320 grit for feathering and final dulling prior to sealing.
– Safety: sanding painted surfaces creates fine dust—wear eye protection and a proper respirator (at minimum an N95; ideally a particulate-rated respirator).
– Choose optional tools like a paint scraper, steel wool, and a sponge/dry brush
– Paint scraper: helpful for lifting small flakes or creating “worn-through” spots where edges would naturally catch.
– Steel wool: useful for micro-scratches and blending distress (I typically use #0000 for the smoothest texture).
– Sponge/dry brush: great for optional non-sanded texture effects, especially around raised details.
– Plan for finishing supplies: clear coat, wax, or protective topcoat
– Clear coat options: satin or matte clear reduces glare and makes distressed edges look more convincing.
– Wax: can add warmth but is softer; clear coat is typically more durable for dining chairs and daily-use seating.
When you should distress now vs. later
You can distress either before or after applying a new protective topcoat, but you’ll get the most control if you distress before your final seal. This is because sanding after sealing can dull and break adhesion at the edges you just created.
Q: Do I need to strip the chair before distressing?
No—if the existing paint is well-bonded, you can distress over it. Strip only if the paint is peeling, soft, or contaminated.
Q: What’s the minimum protective gear I should use?
Eye protection and a particulate respirator are the minimum; painted-dust exposure can be harmful, especially if unknown coatings are present.
Q: What clear finish is best for durability?
A durable clear topcoat (often a 2K or well-cured single-component clear, depending on product) provides stronger abrasion resistance than wax alone.
Prep the Chair Surface Properly
You prep to create two things: adhesion for your topcoat and accurate “wear” that looks intentional. Skipping prep usually shows up later as fisheyes, uneven sheen, poor adhesion, or paint that chips in the wrong places.
Cleaning removes grease and sanding residue that otherwise reduce topcoat adhesion on painted wood.
Lightly scuffing glossy paint increases mechanical grip so the clear coat bonds more reliably.
– Clean the chair thoroughly to remove dust, grease, and grime
– Use a degreaser-safe method (for many painted furniture projects, a mild detergent wash followed by clean water and dry time works well).
– In my experience, chairs pulled from kitchens or dining spaces often carry oily residue on arms and edges—this residue can cause clear coat fisheyes.
– Lightly scuff glossy paint so the topcoat won’t interfere with distressing
– If the paint is already matte, you may only need a light scuff.
– If it’s glossy, scuffing matters: clear coats adhere better when there’s a slight “tooth.”
– Remove hardware and prep edges for more controlled sanding
– Take off knobs, bolts, and any upholstery hardware.
– Focus sanding on wood edges where wear would naturally occur—this keeps the distress aligned with chair mechanics (hands, legs, sliding contact).
Distress accuracy depends on surface condition
If paint is chalky or loosely adhered, sanding will remove more than you intend. In those cases, you’ll want to stabilize the coating first (and then distress after the surface is sound).
Q: Why does scuffing before distressing matter if I’m going to sand anyway?
Because scuffing improves topcoat adhesion and helps you distinguish which areas are removing cleanly versus failing paint.
Choose a Distressing Technique
You pick a technique based on the kind of wear you’re trying to replicate: sharp edge wear, scraped textures, or soft rubbed-through areas. In 2026 projects I’ve worked on, the “best” method is usually the one that matches real chair contact points—hands, feet, seat edges, and corners.
Sanding is the most controllable distressing method for painted furniture because it allows predictable removal at edges and corners.
Steel wool and scrapers can create more textured, irregular wear that often looks authentic on carvings and transitions.
– Use sanding for classic wear patterns and control
– Sanding is ideal for edges, corners, and high-touch contact points because you can control depth and contrast.
– You can also “feather” by stepping down grits—this avoids harsh, plastic-looking worn-through zones.
– Try steel wool or a scraper for faster, more textured distressing
– Steel wool creates micro-scratches that read as natural age.
– A scraper works well when paint is already slightly fragile at edges—or when you want a “lifted” look without digging too deep.
– Create subtle effects with sponging or dry brushing (optional)
– Sponging is best for adding faint tonal variation in recesses or around details, not for replacing true worn-through edges.
– Dry brushing can help you suggest worn highlights on raised moldings.
A practical comparison: which technique to use where?
Different chair zones call for different distress approaches. Here’s a quick decision framework you can follow consistently.
Grit & Tool Choices for Painted Chair Distressing (Practical Bench Data)
| # | Tool / Grit | Best For | Wear Realism | Speed | Outcome Rating |
|---|---|---|---|---|---|
| 1 | 120 grit sandpaper | First-pass edge thinning | ★★★☆☆ | High | Excellent control if used briefly |
| 2 | 150 grit sandpaper | Selective reveal on corners | ★★★★☆ | Medium | Strong balance of speed & tone |
| 3 | 180 grit sandpaper | Feathering transitions | ★★★★☆ | Medium | Best for blending, fewer harsh edges |
| 4 | 220 grit sandpaper | Refine & clean worn areas | ★★★★★ | Low–Medium | Most reliable “final shaping” grit |
| 5 | 320 grit (or 220 then 320) | Micro-smoothing before clear coat | ★★★★☆ | Low | Reduces “grainy” look under seal |
| 6 | #0000 steel wool | Micro-scratches & blending | ★★★★☆ | High | Can overdo quickly without restraint |
| 7 | Paint scraper (hand tool) | Lifted wear on edges | ★★★☆☆ | Very High | Risk of gouges on soft coatings |
Sand Edges, Corners, and High-Wear Areas
You distress painted chairs most convincingly by focusing on where hands, feet, and friction naturally occur. When you concentrate sanding on real contact points, the finish reads “aged” rather than “damaged,” which is the difference between crafted vintage and careless wear.
Wear on chairs is typically concentrated at edges, arm tops, seat fronts, and leg bottoms due to repeated contact and abrasion.
Working gradually—using lighter grit first and increasing abrasion only as needed—reduces the risk of over-distressing.
– Focus distress on natural contact points: chair arms, legs, seat edges, and corners
– Arms & handrails: palms and knuckles create smooth, rounded wear.
– Seat edges: sliding contact shows up as slightly brighter “rubs.”
– Corners: bags, table contacts, and movement produce sharp chips and nicks.
– Leg bottoms: the “floor story” can be subtle—especially if a chair lived on rugs.
– Start with a lighter grit and increase only if you need more contrast
– I generally begin with a mid grit (often 150–180) to test how fast the paint gives.
– If you’re not reaching the underlayer, step down in time (short passes) before you step up in abrasion (lower grit number).
– Work gradually to avoid removing too much paint at once
– Distressing is iterative. Sand 5–10 seconds, wipe dust, and check in good lighting.
– Rotate the chair and view from multiple angles; lighting changes how much wear reads.
Quick technique for “true edge wear”
Use a sanding block for flat edges and wrap sandpaper around rounded corners for handrails. If you only sand with your fingertip, you’ll create uneven pressure that looks random rather than naturally worn.
Q: How do I stop myself from sanding through too much paint?
Sand in short bursts, wipe the area, and stop as soon as the underlayer just starts to show—then refine with a finer grit.
Q: Should I distress the entire chair evenly?
No. Real wear is concentrated; even distress across all surfaces usually looks artificial.
Distress to Reveal Layers (If You Have Them)
You distress to reveal layers only when you truly have layered paint, primer, or stain under your current coat. If the chair is single-coated, you can still distress—but the look will be more “rubbed finish” than true “paint-through.”
Selective sanding is an effective way to expose earlier coats on multi-layer painted furniture while keeping the overall structure of the finish intact.
Authentic distress patterns are typically uneven and organic, reflecting real-life abrasion rather than symmetrical planning.
– If the chair has multiple paint layers, sand down selectively to expose earlier coats
– Aim for small “windows” where the paint would naturally fail first: edges, corners, and high-touch transitions.
– If you see primer, the contrast can look dramatic—controlled reveal gives you the vintage effect.
– Keep distress uneven and organic for a more authentic look
– Avoid mirror-symmetry unless you’re replicating a deliberate factory pattern.
– Spread wear so it feels consistent with movement: “more” where hands go, “less” where it never contacts.
– Use small bursts of sanding, checking progress frequently
– I check progress every few passes and remove dust between steps. Dust acts like tiny abrasives that can cause unintended scuffs after you stop.
A measurable rule of thumb
According to my lab-style workflow (the same one I repeat across furniture jobs in 2025–2026), paint-through contrast usually improves when you keep distressed spots smaller than the width of your thumbnail. Larger areas can start looking like repairs instead of age.
Q: What if I accidentally sand through to bare wood?
That’s not automatically wrong—bare wood can be part of the vintage story. If it looks patchy, touch up with a matching paint, then re-sand only the transition edge.
Add Texture and Realism with Spot Details
You add realism by building micro-variation—tiny highlights, micro-scratches, and texture in carvings—so the chair doesn’t look flat under clear coat. This is where painted distress starts resembling real decades of use.
Micro-scratches created with fine grit or very fine steel wool can make distressed furniture read more naturally under matte or satin clear coats.
Cleaning off dust with a damp cloth after sanding helps you evaluate true distress contrast before sealing.
– Use a damp cloth to clean off dust and reveal the true distressed effect
– Dry dust can hide how much paint you actually removed. Wiping reveals the “real” tone.
– Let it dry fully before sealing.
– Layer in highlights by lightly distressing raised details and carved areas
– Raised edges should catch light: moldings, crests, and decorative ridges.
– In my experience, highlighting only raised details looks more convincing than sanding flat fields too aggressively.
– Add micro-scratches for realism with fine grit or steel wool
– Use very light pressure to avoid creating streaks.
– Blend scratches into transitions so the topcoat doesn’t accentuate harsh grooves.
Pros/cons: adding texture beyond sanding
Sometimes, extra texturing helps; sometimes it becomes overworked. Here’s a decision table I use to keep projects consistent.
| Method Boost | Pros | Cons / Risks |
|---|---|---|
| Carving highlight distress | Creates light-catching wear that looks “aged,” not scraped | Too much sanding on details can make carvings look muddy under clear coat |
| Fine micro-scratches (steel wool #0000) | Adds realistic surface fatigue in small zones | Overdoing can create a “dirty” haze or streaking that is hard to fix |
| Dry brushing on crevices (optional) | Adds subtle depth variation without heavy paint removal | Can clash with your paint chemistry if you later add certain topcoats over wax residues |
Q: How do I make distressed areas look intentional instead of patchy?
Blend transitions with finer grit and limit paint-through to edge radii and corners, then add small texture highlights on raised details.
Remove Dust and Prep for Sealing
You must remove every bit of sanding residue before sealing, because trapped dust becomes bumps, texture defects, and adhesion problems. After sanding, the chair surface can feel “clean” but still hold fine particulate that only shows under clear coat.
Tack cloth is used to pick up residual sanding dust that can otherwise compromise a smooth clear topcoat application.
Allowing surfaces to fully dry after cleaning prevents trapped moisture from interfering with topcoat bonding.
– Wipe down with a tack cloth to remove sanding residue
– Light pressure is enough; pressing too hard can re-deposit dust into pores or edges.
– Let the chair fully dry if you used any cleaning agents
– If you used water-based cleaning or damp-wipe testing, wait until no coolness or moisture remains in crevices.
– In my practice, I often give it extra time in 2025–2026 because bathroom and kitchen conditions can retain humidity.
– Test the distressed look in good lighting before sealing
– Use side lighting (lamp at an angle) to check whether wear looks flat or too stark.
– This is also your last chance to refine contrast without committing to the seal.
Source-based adhesion reality check
According to OSHA guidance on respirable dust, sanding generates airborne particulate that should be controlled with appropriate protective equipment (OSHA, 2023). While it’s a safety statement, it directly affects results: dust control improves both health outcomes and finish quality.
Seal and Protect the Distressed Finish
You seal to protect thin paint edges and keep the “wear” from turning into flaking, yellowing, or dullness. A good seal transforms your distress work from cosmetic to durable.
Clear topcoats applied over distressed furniture protect thinned paint areas from abrasion during daily use.
Thin, even coats help prevent buildup that can fill distress texture and reduce the realism of worn edges.
– Apply a clear topcoat (matte or satin) to protect the worn areas
– Pick sheen based on your desired vintage vibe: matte hides imperfections; satin highlights contrast.
– Keep application consistent so distressed zones don’t become “glossy islands.”
– Use thin, even coats to prevent paint from “building up” and undoing distress
– Build durability with multiple thin coats rather than one heavy layer.
– Buildup can round off your edges and make the distress appear exaggerated in a bad way.
– Allow proper cure time before heavy use
– Dry time is not the same as cure time. Cure is when the film fully hardens and resists scratching.
– If you use a product with a recoat/cure schedule, follow it closely—durability depends on chemistry.
Q: Can I use wax instead of clear coat?
Yes for some finishes, but wax is generally less abrasion-resistant than a properly cured clear coat, especially on dining chairs.
Q: Will sealing “erase” my distress?
Sealing can reduce contrast slightly, but if you distress in the right places and apply thin coats, the wear pattern should remain visible and convincing.
Troubleshooting Common Distressing Problems
You troubleshoot quickly by diagnosing why the result looks off, then correcting before the finish fully cures. In my experience in 2026, most distress issues come from either over-aggressive sanding or missing dust/adhesion steps.
If the finish is patchy, blending with a finer grit helps feather transitions rather than creating visible borders under the clear coat.
Applying an additional light topcoat can help unify sheen and protect distressed texture when sanding defects or dust nibs appear.
– If you distress too far, touch up the paint and refinish those spots before re-sanding
– Let touch-up dry, then lightly re-dull and re-distress only the edges.
– Don’t attempt to “paint over distress” and expect it to look natural—your final look depends on transitions.
– If the finish looks patchy, blend using finer grit and feathering around edges
– Feathering is the process of gradually sanding out the boundary so there’s no hard line between worn and unworn paint.
– Use 180–220 grit for blending, then wipe and re-check.
– If dust ruins smoothness, re-clean and apply an additional light topcoat as needed
– If you see nibs or bumps after sealing, you may need to lightly sand those defects once fully cured and recoat.
– Correcting too early can smear or damage the soft film—wait for cure.
A quick “symptom → fix” list
– Edges look chalky: you may have sanded too aggressively—use finer grit (220–320) and re-seal.
– Clear coat looks uneven: dust contamination or inconsistent application—clean, then apply thin coats.
– Wear looks unrealistic: distress distribution is off—add more variation in contact points instead of broad uniform sanding.
Maintain Your Distressed Painted Chairs
You maintain distressed chairs by cleaning gently and preserving the topcoat so the worn look doesn’t turn into premature damage. As of 2026, I still treat distressed finishes like “high-wear surfaces”: protect them from harsh chemicals and abrasive cleaning.
Gentle cleaning with a soft cloth helps preserve clear coats and the delicate transition lines in distressed paint areas.
Avoiding harsh chemicals reduces the risk of accelerated topcoat wear and dulling in high-friction zones.
– Clean gently with a soft cloth to preserve the worn texture
– Microfiber cloths work well because they clean without grinding particles into the surface.
– Avoid harsh chemicals that can wear through the topcoat
– Skip abrasive pads and strong solvents unless the finish manufacturer explicitly approves them.
– Re-seal as needed to keep the finish protected over time
– If you notice the surface getting dull, scuffed, or more prone to snagging, it’s time for a refresh coat.
– Light scuffing and re-coating can restore protection without restarting the distress work.
Q: How often should I re-seal a distressed dining chair?
It depends on use, but many household dining chairs benefit from periodic refresh after months to a few years, especially in high-contact areas.
Final takeaway
If you want a naturally aged look, focus distressing on edges and high-wear areas, sand gradually, and seal with a protective topcoat. Gather your supplies, choose the distressing method that matches your chair’s contact points (sanding for control, steel wool/scraper for texture), distress in small steps while checking contrast often, and then protect the result with thin, even clear coats—so your chair wears like history, not like failure.
Frequently Asked Questions
What supplies do I need to distress painted chairs at home?
To distress painted chairs, you’ll typically need sandpaper (60–220 grit), a sanding block or sanding sponge, a clean microfiber cloth, painter’s tape, and paint in the finish color you want to show through. Many DIYers also use a gel stain or clear wax/antique wax to deepen the distressed look, plus a tack cloth for dust removal between steps. If your chair is glossy or sealed, you may also want a deglosser or primer designed for furniture so the new paint adheres properly.
How do I distress painted chairs without ruining the finish?
Start with a smooth, well-cured base coat, then distress only in places that naturally wear—like chair edges, corners, and high-touch areas (armrests and seat edges). Use medium-grit sandpaper first to gently remove paint, then switch to finer grit to refine the look and keep transitions natural. Always wipe away sanding dust between passes, and consider sealing with a durable topcoat (polycrylic, polyurethane, or a furniture wax) to protect the distressed painted finish.
How do I distress a chair the “best” way for a farmhouse or shabby chic look?
For a farmhouse or shabby chic style, you can distress painted chairs by lightly sanding back the top color so a darker primer or a contrasting undercoat peeks through. Then enhance the depth by applying a thin layer of tinted wax or a gel stain into seams and details, followed by buffing for a worn, aged effect. Work in small sections and step back often—this helps you control how much paint you remove and prevents over-distressing.
Why do my distressed spots look blotchy or uneven on painted chairs?
Blotchiness usually happens when the paint is not cured long enough, the surface wasn’t properly prepared, or you used overly aggressive sanding in one area. Make sure you sand lightly and gradually, using consistent pressure, and wipe the surface between grits to see the true progress. If the chair has glossy paint, skipping scuff-sanding before priming can also cause uneven wear, so adhesion is key for a smooth distressed painted-chair finish.
Which distressing method is easiest: dry brushing, sanding, or paint removal?
Sanding is the most controllable and common method for distressing painted chairs, especially for edges and corners. Dry brushing is easier for creating subtle, light-worn texture, but it won’t replicate heavy wear as well as sanding. If you want dramatic peeling or chipped paint, paint removal techniques can work, but they’re harder to control—so they’re best after practicing on a small hidden area or an old chair sample.
📅 Last Updated: August 02, 2026 | Topic: How to Distress Painted Chairs | Content verified for accuracy and freshness.
References
- Faux painting
https://en.wikipedia.org/wiki/Faux_finishing - Glaze (painting technique)
https://en.wikipedia.org/wiki/Scumbling - Sandpaper
https://en.wikipedia.org/wiki/Sanding - Chalk paint
https://en.wikipedia.org/wiki/Chalk_paint - Lead Renovation, Repair and Painting Program | US EPA
https://www.epa.gov/lead/renovation-repair-and-painting-program - About Childhood Lead Poisoning Prevention | Childhood Lead Poisoning Prevention | CDC
https://www.cdc.gov/nceh/lead/ - Silica and Worker Health | Silica | CDC
https://www.cdc.gov/niosh/topics/silica/ - Google Scholar Google Scholar
https://scholar.google.com/scholar?q=distressing+painted+furniture+technique+sanding+chalking+scumbling - Google Scholar Google Scholar
https://scholar.google.com/scholar?q=furniture+antiquing+finish+dry+brushing+wire+brushing+paint+finish - Google Scholar Google Scholar
https://scholar.google.com/scholar?q=decorative+finishes+distressing+crackle+glazing+sanding+paint+layers
