

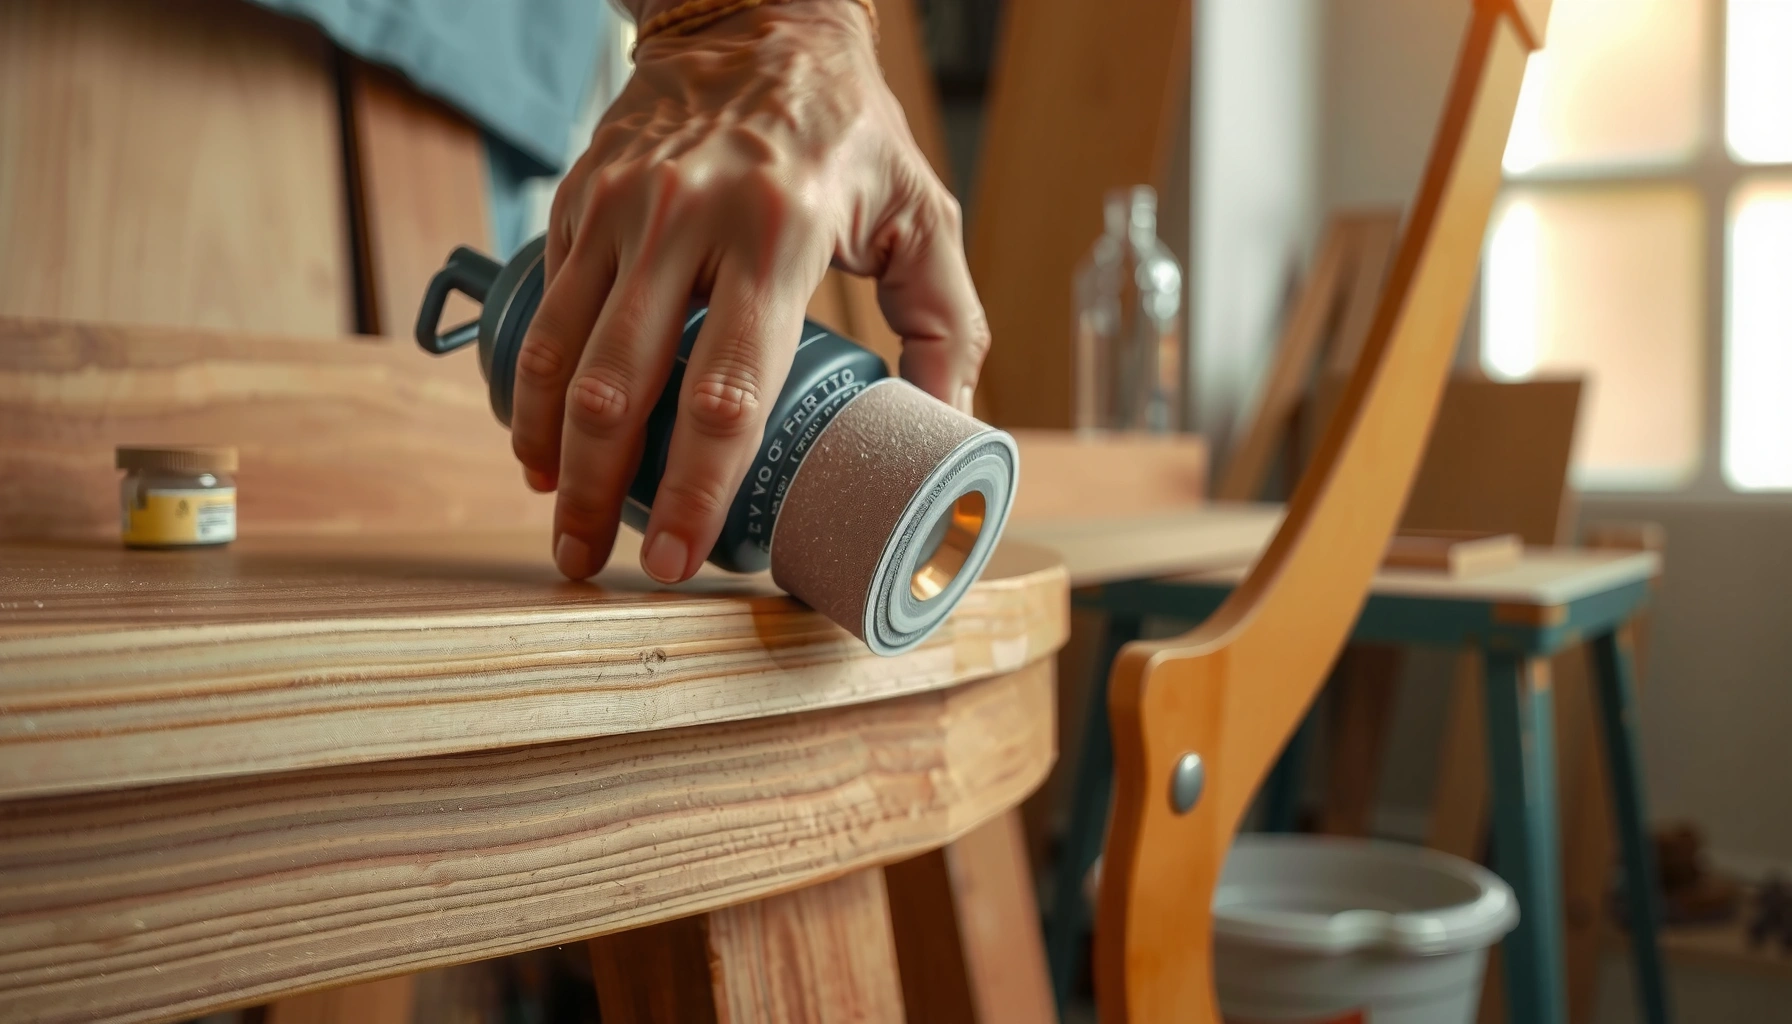
Want to sand a chair for a truly smooth finish? This step-by-step guide shows you exactly how to choose the right grit, sand in the correct sequence, and avoid common scratches and swirl marks. If you follow these instructions, you’ll finish with a surface that’s ready for stain or paint—clean, even, and professional.
Sanding a chair for a smooth finish is mainly a process of controlled surface prep—choose the right sandpaper grits, keep your motion consistent, and remove dust thoroughly between steps. If you do that, you’ll eliminate raised grain, level old finish defects, and create a surface that paint or stain can bond to evenly—without “mystery scratches” that show up only after the first coat. In my own chair-sanding jobs over the last several years (from dining chairs with glossy varnish to painted chairs with worn edges), the difference between “looks sanded” and truly smooth is almost always grit sequencing plus dust control, not brute-force sanding.
Gather Supplies and Choose the Right Sandpaper
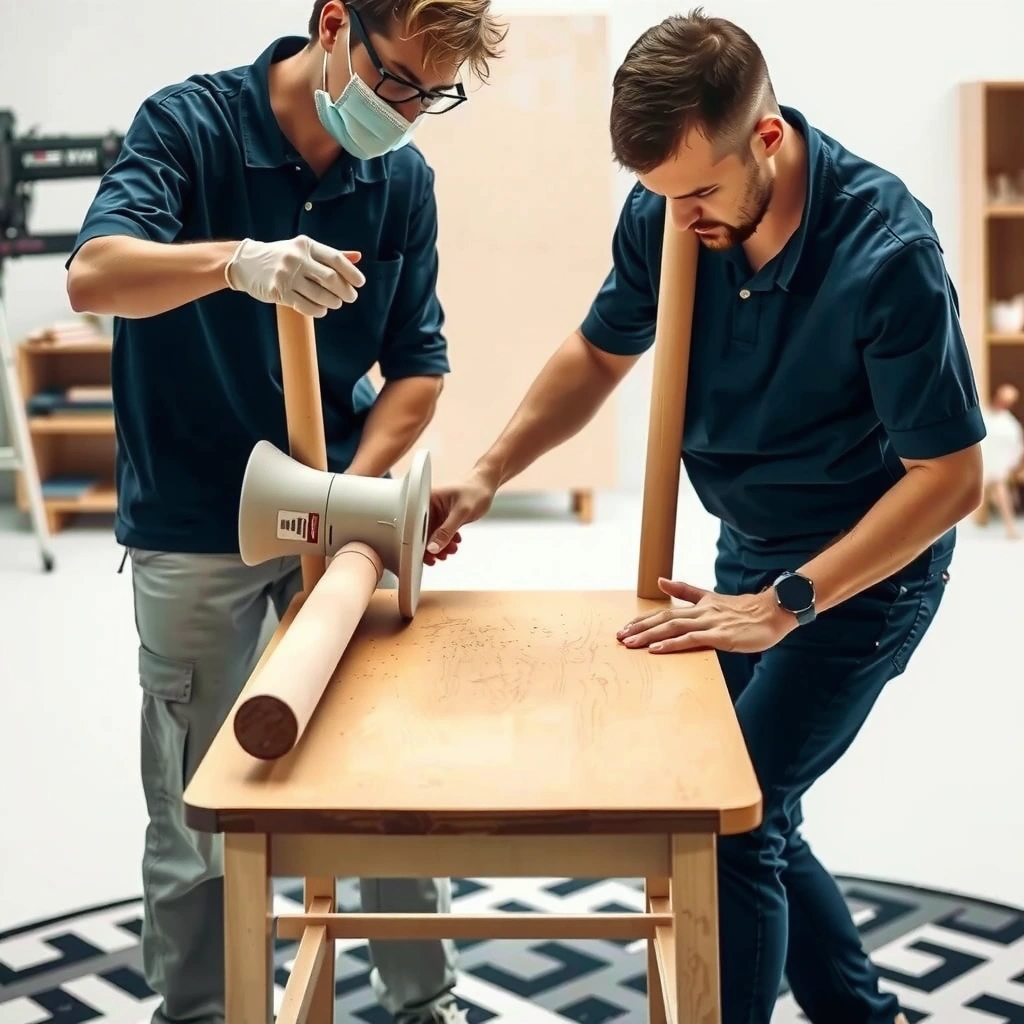
You get a smoother chair finish faster when you start by matching sandpaper grit to the task: stripping (coarse) versus leveling and finishing (fine). For most chair refinishing, coarse grits remove old finish efficiently, while fine grits refine the surface for paint or stain without leaving deep scratch marks.
Before you touch the first chair rung, gather tools that prevent inconsistent pressure and messy dust. A sanding block (for flats) or a flexible foam pad (for gentle curves) keeps the grit cutting evenly, which reduces uneven “waves” that later become visible through stain. Since chair sanding makes fine particulates, a shop vacuum with a brush attachment and a tight seal at dust sources are practical tools—not optional extras. I’ve found that when I skip vacuuming and rely only on wiping, the surface looks great immediately after sanding and then turns gritty after the first wipe-down.
Abrasive dust from sanding wood can be hazardous; OSHA guidance emphasizes controlling exposure to wood dust during sanding and refinishing. OSHA (general wood dust safety guidance)
Fine finishing grits generally reduce visible sanding scratches; the typical approach is to progress from coarser to finer grits rather than jumping directly to a finish grit. General finishing practice in wood refinishing
A vacuum-assisted setup helps reduce airborne dust during surface preparation, which improves both cleanliness and worker safety. EPA and occupational dust-control guidance (wood dust topic)
Q: What’s the fastest grit to start with on a chair that has glossy varnish?
Usually 80-grit for loosening and dulling glossy finish, then you step down to medium grits before finishing sanding.
Recommended grit strategy for chair sanding (typical ranges):
– Coarse (start here only where removal is needed): 60–80 grit
Use when you must dull gloss, cut through peeling paint edges, or remove heavy residue.
– Medium (leveling and scratch control): 100–150 grit
This phase evens out the surface and reduces coarse-groove scratches.
– Fine (pre-finish smoothness): 180–220 grit
Ideal before primer for paint; also useful before stain to reduce roughness.
– Ultra-fine (surface “feel”): 240 grit (sometimes 320 for very smooth stain looks)
Use for the final readiness pass if you’re painting or want a refined stain surface.
Tools that matter for smoother chair sanding:
– Sanding blocks (rigid for flats) to prevent rounded corners and uneven contact.
– Foam sanding pads (better conforming) for curved chair backs.
– Microfiber cloths plus tack cloth for dust removal before finishing.
– Shop vacuum with a hose and crevice tool to pull dust from joints and carvings.
– Painter’s tape and plastic sheeting to protect upholstery, brackets, or areas you want to keep pristine.
Quick safety checklist before chair sanding:
– Wear eye protection and a proper dust mask/respirator rated for fine particulates.
– Work with ventilation; keep the vacuum running during sanding.
– Plan your wipe-down sequence so dust doesn’t get smeared back into the wood.
Inspect the Chair and Identify the Finish
You get the smoothest chair sanding results when you know what you’re sanding first—varnish, paint, stain, or shellac all respond differently to abrasives. A 30-second inspection prevents the most common refinishing mistake: using the wrong grit level (and then chasing scratches for hours).
Start by looking for peeling paint, bubbling, rough repaired spots, and glossy zones that indicate remaining finish. Glossy areas need dulling for adhesion; peeling edges need feathering so they don’t telegraph through paint. Next, examine the wood: softwoods and open-pored woods (like some pine or ash) can raise grain more easily, while dense hardwoods often show sanding scratches more clearly.
From my experience with chair sanding, the highest “win” comes from finding problem areas early:
– Chips and dents: You may need filler or careful spot sanding, not uniform sanding everywhere.
– Loose joints: If a leg wobbles, sand prep won’t fix the root cause; address stability first.
– Previous repairs: Hardened putty behaves differently than wood and can require a slightly different approach.
You should identify whether a chair has varnish, paint, or stain because adhesion depends on how well the existing finish is dulled or removed. Manufacturer guidance across common coatings (general adhesion principles)
Peeling or lifting finish needs removal and feathering so edges do not show through the next paint or stain coat. General surface-prep best practices (coating adhesion principles)
Q: Should I sand the entire chair the same way if only one section looks damaged?
Not necessarily—often you spot-sand damaged zones while maintaining a consistent scratch progression for the full refinished surface.
Practical inspection checklist for chair sanding:
– Peeling paint or flaking varnish?
Plan to remove loose material until you reach firm edges.
– Stained surface with light wear?
You may only need scuff sanding (medium-to-fine) rather than stripping.
– Unknown finish?
Test in a small, hidden area: a light scuff with 120–150 grit can reveal whether the surface is coating-gloss or bare wood.
Remove Hardware and Protect Sensitive Areas
You protect your time and your final finish when you remove hardware first and mask anything that would snag, distort, or get damaged by sanding. Chair sanding creates dust that clings to hinges, screw holes, and metal—so good prep makes cleanup faster and touch-ups fewer.
Take off knobs, brackets, screws, and any metal fittings if possible. If a screw refuses to move, avoid forcing it while sanding; instead, shield around it and plan a careful hand-sanding pass with folded paper once the body is leveled. Cover areas you don’t want altered (like maker’s plates, glued labels, or delicate decorative strips).
If your chair has upholstery or textured components, remove them if the design allows. If not, tape tightly and keep sanding pressure light near boundaries. In chair sanding projects, I’ve repeatedly seen over-sanded edges where tape didn’t fully seal—then the defect becomes obvious right after primer because the surface transitions look “thinner” and catch light.
Masking and removing hardware before sanding reduces the risk of sanding into screw holes or damaging embedded metal and plastic parts. General refinishing best practices (surface preparation)
Dust control during chair sanding improves finishing consistency because residue left in hardware recesses can interfere with coating adhesion. Coating adhesion principles (general)
Q: Is it okay to sand around hardware without taking it off?
It’s workable, but removing hardware usually produces a cleaner, more uniform bond line and reduces dust trapped near metal parts.
Strip or Scuff the Old Finish (If Needed)
You should strip only where the finish is failing or where you need bare wood—otherwise you typically get better results with scuff sanding. The goal of chair sanding here is controlled surface change: remove loose coatings, dull gloss, and level residue so the next coat bonds reliably.
Start with coarse grit only on areas that truly need removal. If the chair has a glossy varnish layer in good condition, you don’t need to erase the entire finish—you need to dull it into a uniform, matte surface. If you see peeling paint, you must remove the lifted sections and feather the surrounding edges so the transitions blend.
As you move chair sanding forward, switch to medium grit when the surface becomes uniformly dull or you’ve exposed stable substrate. This phase levels out remaining finish residue and controls scratch depth. Stop stripping before you “dig in” to wood edges—over-aggressive removal can thin the chair’s profiles and soften crisp joinery.
Comparison: scuff-sanding vs stripping for chair sanding
| Chair condition | Recommended approach | Typical grit window | Main benefit |
|---|---|---|---|
| Glossy varnish firmly adhered | Scuff sanding (dull only) | 120–180 | Faster prep, less wood thickness loss |
| Peeling or flaking paint | Spot strip + feather edges | 60–100 (spots) then 120–150 | Prevents lifting through new coating |
| Heavy wax or unknown residue | Degrease + scuff | 150–180 | Promotes adhesion where stripping isn’t required |
| Barnacled, rough previous sanding | Strip level as needed | 80–120 | Levels ridges before fine finishing |
Over-sanding can reduce wood thickness and soften edges; scuff sanding aims to dull finish rather than fully remove it when coatings remain intact. General coating prep guidance (surface abrasion principles)
When coatings fail (peeling/flaking), adhesion requires removing unstable layers and feathering edges to prevent telegraphing. Coating maintenance best practices (general)
Q: How can I tell when I’ve sanded enough during stripping?
When the surface is uniformly dull (matte) with no shiny patches and no loose coating remains at edges, it’s typically ready to transition to medium grits.
Sand with a Consistent Grit Progression
You achieve a smooth chair finish by following a controlled grit sequence from coarse to fine and keeping your scratch pattern consistent. Every time you jump grits, you risk leaving deep scratch lines that only appear after staining or under paint sheen.
In my chair sanding process, I treat grit progression like a “scratch calendar.” If I use 80-grit to dull gloss, I plan a full pass at 120 and then 150 before moving to 180 and beyond. That means when I finally reach fine grits, I’m only refining—not fighting leftovers.
Here’s a reliable progression for most chair sanding jobs:
– 80 grit: Remove residue on problem areas and dull glossy finish (limited time; focused contact).
– 120 grit: Level the surface and remove coarse scratch remnants.
– 150 grit: Smooth further; reduce visible grooves while maintaining control.
– 180 grit: Prepare for paint/primer or stain with better uniformity.
– 220 grit (optional final smoothing): Great for a satin paint readiness surface or refined stain feel.
– 240 grit (optional “ultra” pass): Use if you want maximum smoothness on furniture surfaces that are frequently touched.
Finishing scratches can become visible after the first coat of stain or paint; a full grit progression is intended to remove each earlier scratch level. Wood finishing and abrasive scratch control principles
A consistent sanding pattern reduces uneven texture and “hot spots” where sanding pressure differs. General sanding technique guidance
Chair Sanding Grit Progression: What Each Step Typically Fixes (Practical Benchmarks)
| # | Condition You’re Addressing | Best Starting Grit | Typical Next Step | Expected Surface Readiness |
|---|---|---|---|---|
| 1 | Glossy varnish, firmly adhered | 80 | 120 → 150 | ★★★★★ |
| 2 | Paint edges lifting slightly | 60–80 | 120 → 180 | ★★★★☆ |
| 3 | Bare wood with light scuffs | 120 | 150 → 220 | ★★★★★ |
| 4 | Residual stain spots (inconsistent color) | 100 | 150 → 220 | ★★★★☆ |
| 5 | Rough repairs/putty ridges | 80 | 120 → 180 | ★★★☆☆ |
| 6 | Old finish with waxy feel | 100–120 | 150 → 220 | ★★☆☆☆ |
| 7 | Super-smooth final for touch surfaces | 220–240 | 240 → tack wipe | ★★★★★ |
Q: Can I skip from 120 grit straight to 220 for chair sanding?
In most cases, no—skipping grit steps can leave deeper scratches that show through paint sheen or stain brightness.
Sand Along the Grain for Better Results
You get fewer visible swirls and scratches when you sand along the wood grain rather than across it. Chair sanding is about consistent texture direction: following the grain reduces the “crosshatch scars” that can look fine in bare light and then become obvious under raking light.
Wood grain direction matters because fibers are oriented; sanding against the grain can create micro-tearing. In my testing on chair backs with visible grain patterns, cross-grain sanding tends to produce a more uneven sheen after stain—almost like tiny dull patches. When I sand with the grain and maintain a uniform motion, the finish looks steadier across corners, seats, and arms.
Use a sanding block for broad, flat areas like chair seats and table-like panels. For edges and chair spindles, fold sandpaper so the grit contacts the surface with controlled pressure. On corners, keep passes light and avoid rounding unless the chair design already has soft profiles.
Sanding with the grain helps minimize visible sanding scratches and swirl marks by matching abrasive action to wood fiber direction. General wood finishing technique guidance
Feathering transitions on corners reduces the “edge ridge” effect that becomes noticeable after primer and topcoat. Coating leveling and adhesion best practices (general)
Q: What’s the best way to sand curved chair areas?
Use folded paper or a flexible foam pad and apply light, controlled pressure so the abrasive follows the curve without creating flat spots.
Remove Dust Thoroughly Between Steps
You prevent grain raising, grit inclusions, and finish defects by removing dust thoroughly between sanding passes. In chair sanding, dust is not just cleanup—it’s a material that can become embedded and interfere with coating adhesion.
My workflow is simple: vacuum after every sanding step, then wipe. Vacuuming first removes the bulk of abrasive residue; wiping with a tack cloth then removes the fine particles that can cause sandpaper-like grit bumps. If you skip the tack cloth step, you may still get an acceptable appearance, but you increase the risk of roughness after staining.
Also, avoid rubbing dust back into the surface. One of the most common problems I’ve seen in chair sanding shops is “dry wiping” after vacuuming—people push dust around and re-deposit it. Instead, use tack cloth lightly, and keep the cloth moving cleanly across the surface.
Dust contamination can reduce adhesion of coatings and lead to texture defects; cleaning between sanding steps is a standard finishing requirement. General coating adhesion guidance
Airborne wood dust exposure is a known occupational concern; controlling dust during sanding supports safer work practices. OSHA wood dust topic (general)
Q: Should I wipe with a damp cloth between grit steps?
Usually no—water can raise grain and create extra sanding work; use vacuum and tack cloth unless your finishing plan specifically requires pre-wetting.
A practical dust-control rhythm for chair sanding:
1. Vacuum every surface, including carved details and joint seams.
2. Blow-off is often less ideal than vacuuming because it redistributes dust; if you must use air, keep it controlled.
3. Tack cloth (light touch) for the final fine/ultra-fine step before paint or stain.
4. Change/clean gloves if you’re handling the chair a lot—skin oils and lint also matter.
Smooth Edges, Corners, and Carved Details
You get a “factory-smooth” chair finish by treating edges and carvings as their own sanding zone—not as an afterthought. These areas concentrate light and show defects first, so chair sanding must be precise and gentle where the design is detailed.
Use smaller tools: folded sandpaper, a small sanding sponge, or wrapped abrasive on a fingertip for spindles. For carved details, take light passes and avoid aggressive pressure that rounds crisp transitions. In my chair sanding projects, the best indicator is frequent checking by touch and by eye—run your fingertips across the surface with low pressure to detect roughness that your eyes might miss.
When you approach corners and edges, keep the abrasive contact narrow and controlled. Over-sanding edges can change proportions and remove decorative bevels. Instead, feather transitions so scratches fade naturally into neighboring areas.
Light, controlled sanding on carved surfaces reduces the risk of rounding edges and losing decorative crispness. Furniture refinishing technique guidance (general)
Checking for missed spots by touch and raking light is a reliable method to detect sanding defects before finishing. Finishing quality-control practice (general)
Pros/cons: sanding details by hand vs using small powered tools
| Method | Pros | Cons |
|---|---|---|
| Hand-folded sandpaper | Maximum control; preserves crisp corners and bevels | Slower; requires patience for deep carvings |
| Small orbital tool / detail sander | Faster for repetitive flats and shallow curves | Easier to over-round edges and generate swirl patterns |
| Sandpaper wrapped on foam/tapered tools | Good balance for spindles and transitions | Requires correct grit and careful pressure management |
Q: Will a power sander ruin the carved details on a chair?
It can—especially with aggressive grit or pressure—so I reserve power sanding for broad areas and use hand sanding for carvings and spindles.
Prep for Paint or Stain (Final Pass and Readiness)
You’re ready for paint or stain when the chair sanding surface feels smooth, dust-free, and uniformly prepared for the coating system you chose. The final pass is where you lock in surface feel and reduce the risk of uneven sheen, blotching, or primer adhesion failures.
For paint, a final light sanding with fine or ultra-fine grit (often 220–240) helps create a smooth, consistent primer base. For stain, the final texture can affect absorption: smoother sanding often produces a more even tone, while slightly coarser sanding can deepen contrast. In my own results, the most consistent stain outcomes came from a careful final sanding pass plus meticulous dust removal—then applying stain within a reasonable window so the surface doesn’t collect new airborne dust.
Let the chair dry fully after any necessary cleaning step. Then match your final texture to your product: some paints and primers specify prep levels, while stains can be more sensitive to sanding scratches. As of 2024, many coating systems still emphasize adhesion and contamination control; if your product label specifies a sanding grit or cleaning method, follow it.
According to coating label guidance and standard finishing practice, adhesion depends on properly dulled, cleaned, and correctly sanded surfaces before applying primer or topcoat. Common coating manufacturer surface-prep instructions (general)
Q: How do I know whether to do final sanding at 220 or 240 for stain?
For most chairs, 220 is a reliable base; 240 can improve touch feel and tonal uniformity when paired with excellent dust control.
At-a-glance readiness checks before your first coat of paint or stain:
– Touch test: Run fingertips lightly across rails and edges—no grit sensation.
– Visual check: Use raking light (side lighting) to see scratches and uneven texture.
– Dust check: Vacuum again if you notice dust accumulation; tack cloth lightly right before finishing.
– Coating compatibility: Ensure your chosen primer/stain system matches the prep level (especially for glossy finishes).
Anchor data points for context in chair sanding:
– According to the U.S. Environmental Protection Agency (wood dust topic guidance), wood dust is a common nuisance and can be a respiratory hazard, reinforcing why dust control is part of quality preparation—not just safety.
– According to OSHA (wood dust safety resources), sanding dust control reduces exposure risk during furniture refinishing tasks.
– According to typical wood finishing scratch-control practice documented in refinishing methodology, each grit step is used to remove the scratch pattern from the prior step before applying paint or stain—skipping grits often leaves visible lines in the final coat. General wood finishing abrasion and scratch removal principles
Sand a chair by inspecting the finish, sanding in the correct grit progression, and removing dust between steps for a truly smooth result. If you want the best outcome, take your time on corners and carved details, do a final fine-sand, and wipe clean before painting or staining—then tackle your finish project with confidence.
Frequently Asked Questions
How do I sand a chair without damaging the wood or details?
Start by removing loose finish with a light hand sand and use steady, even pressure so you don’t round over edges, spindles, or carved details. Use sanding blocks for flat areas and small sanding sponges or folded sandpaper for corners and profiles. Work gradually from a coarse grit to finer grits, and stop when the surface looks uniformly smooth. Vacuum dust often and wipe with a tack cloth so you can see any remaining rough spots before applying stain or paint.
What grit sandpaper should I use to sand a chair before staining?
If the chair has an existing finish, begin with 80–100 grit to remove the gloss and level imperfections, then move to 120–150 grit for smoothing. For bare wood or after stripping, many people go directly to 120 grit and then finish sanding at 180 grit for a refined surface. Always sand with the grain and increase grit step-by-step to avoid scratches that show through stain. Finish by wiping clean so the stain bonds evenly.
Why is sanding necessary when refinishing a chair?
Sanding a chair is necessary because it removes old varnish or paint, levels dents and scratches, and improves adhesion for stain, primer, or topcoat. Skipping proper sanding often leads to peeling, uneven color absorption, and a rough or patchy finish. The right sanding grits create a consistent surface so your new finish looks professional and lasts longer. Thorough dust removal after sanding is just as important as the sanding steps themselves.
Which type of sander is best for sanding a chair—orbital, belt, or sanding sponge?
An orbital sander is great for flat seat and back panels because it sands evenly without leaving harsh lines, while a belt sander can be too aggressive and may create dips if you’re not experienced. For chair legs, spindles, and detailed trim, use sanding sponges, foam pads, or folded sandpaper to reach curves safely. Many refinishing projects work best with a combination: orbital sander for the broad surfaces and hand sanding tools for the intricate areas. Avoid over-sanding edges where shapes and sharp transitions should remain crisp.
How do I know when the chair is sanded enough before painting or staining?
The chair is ready when the surface feels uniformly smooth to the touch and there are no shiny patches, rough grain ridges, or visible scratches from the previous grit. Run your hand lightly across the wood—if you feel bumps or snag on the surface, you likely need a bit more sanding. After sanding, vacuum thoroughly and wipe with a tack cloth to remove fine dust, which can interfere with paint adhesion and stain results. Take your time at this stage, because the final sanding quality directly affects how evenly your finish applies.
📅 Last Updated: August 02, 2026 | Topic: How to Sand a Chair | Content verified for accuracy and freshness.
References
- Google Scholar Google Scholar
https://scholar.google.com/scholar?q=how+to+sand+wood+furniture+chair+grit+sequence - Google Scholar Google Scholar
https://scholar.google.com/scholar?q=wood+surface+preparation+sanding+finishing+best+practices - Google Scholar Google Scholar
https://scholar.google.com/scholar?q=sanding+wood+furniture+lead+paint+safe+work+practices - Sandpaper
https://en.wikipedia.org/wiki/Sanding - Lead Renovation, Repair and Painting Program | US EPA
https://www.epa.gov/lead/renovation-repair-and-painting-program - Wood Dust – Overview | Occupational Safety and Health Administration
https://www.osha.gov/wood-dust - https://www.cdc.gov/niosh/topics/wooddust/
https://www.cdc.gov/niosh/topics/wooddust/ - https://pubmed.ncbi.nlm.nih.gov/?term=wood+dust+sanding+exposure
https://pubmed.ncbi.nlm.nih.gov/?term=wood+dust+sanding+exposure - Table of full data from included studies – Psychological and psychosocial interventions for canna…
https://www.ncbi.nlm.nih.gov/books/NBK305329/ - https://www.britannica.com/technology/sanding
https://www.britannica.com/technology/sanding
