

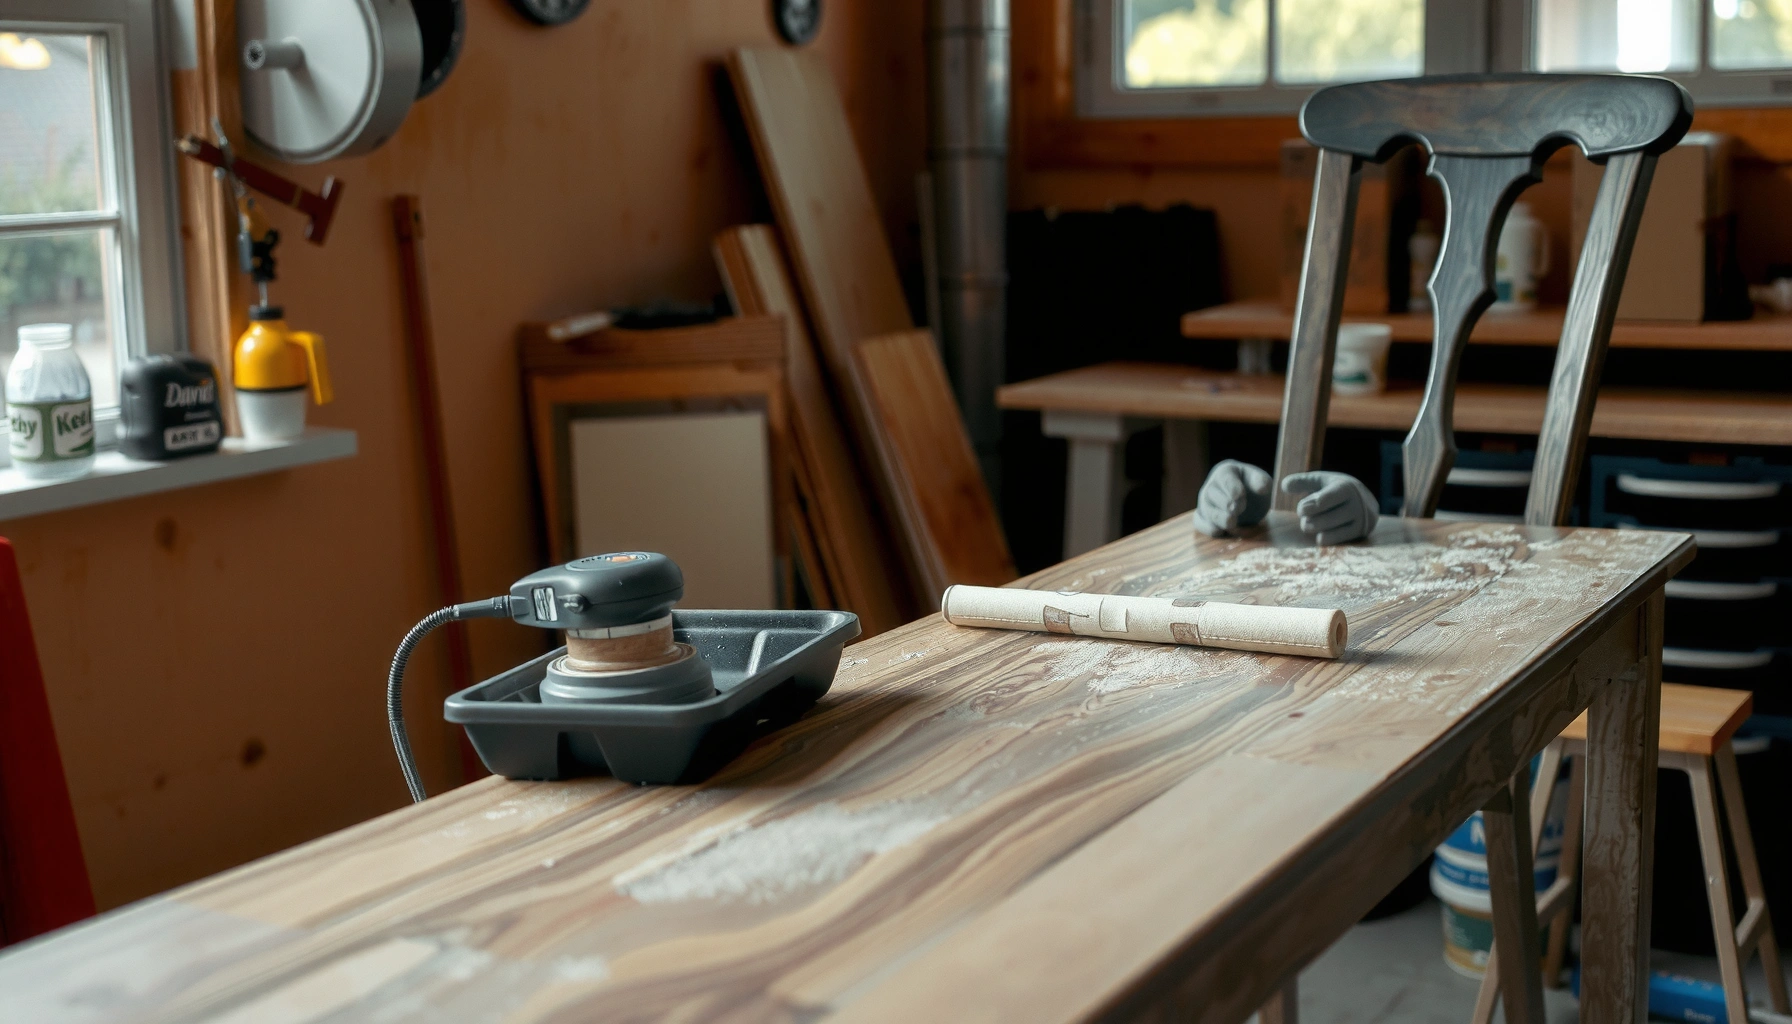
Refinishing wooden chairs is worth doing yourself—this step-by-step guide shows the fastest way to strip old finish, repair damage, and apply a durable new coating that actually holds up. You’ll get a clear process from prep to final sheen, so you know exactly what to do at each stage instead of guessing. Follow it and your chairs will look professionally refinished, whether you’re restoring a single frame or tackling a full set.
Refinishing wooden chairs is mostly about stripping old finish, repairing any damage, and applying a new stain or sealant for a smooth, durable surface. If you follow the right prep and finishing steps, you can restore the chair’s look and protect it for years—without the sticky, dull, or uneven results that usually come from skipping sanding, drying, or cure time. This guide walks you through each stage—safely and in order—so you can refinish wooden chairs with predictable results, even if you’re working with older dining chairs, thrift-store finds, or solid-wood frames with tired clear coats.
Gather Supplies and Choose Your Finish

Choosing the right finish first determines whether your chair ends up looking rich, natural, and protected—or blotchy and fragile. Based on your chair’s material (solid wood vs. veneer), current coating (varnish, lacquer, paint), and how the chair will be used (dining, patio, everyday), you’ll select the correct stripper, sanding progression, and topcoat system before you open any cans.
A “finish system” matters: stain/paint plus topcoat must be compatible, because adhesion and film-forming behavior change across polyurethane, lacquer, and oil finishes.
For most interior chair refinishing, polyurethane topcoats are selected for durability, while lacquer is favored for faster burn-in and repairability.
Decide between stain, paint, or a clear topcoat based on your chair’s style:
– Stain + clear topcoat: Best when you want to keep the wood grain visible (oak, maple, walnut, mahogany).
– Paint + clear protection (optional): Best when the existing wood is heavily damaged, the finish is uneven, or you want a uniform color.
– Clear topcoat only (rare case): Only makes sense if the chair is structurally sound and the current finish is already compatible and lightly scuffed—not peeling.
Collect essentials like stripper, sandpaper, wood filler, brushes/cloth, and a protective finish:
– Chemical stripper (for varnish/paint removal) or sanding method (for already-thin coatings)
– Sandpaper progression: typically 80/100/150/180/220 grit (exact steps depend on starting condition)
– Wood filler for dents, chips, and worn edges
– Conditioner (optional for blotch-prone woods like pine)
– Stain and/or paint
– Topcoat: polyurethane (water-based or oil-based), lacquer, or conversion varnish
– Cleaners: mineral spirits (for oil-based residue cleanup) or a wood-safe cleaner recommended by your product label
– Supplies: tack cloth, microfiber rags, drop cloth, painter’s tape
Plan for safety gear and ventilation (this is non-negotiable):
– Nitrile gloves, eye protection, and chemical-rated ventilation. Many strippers contain solvents and methylene chloride in some formulations (check your local product labeling) and require strict airflow.
Q: Can I refinish a chair without sanding if I use chemical stripper?
Usually no—after stripping, light sanding/tack-wiping is still required to remove residue and create consistent adhesion.
What finish performs best for chair wear?
The best choice for most dining chairs is stain (optional) plus a durable, sealed topcoat, because chairs experience abrasion, heat cycles from plates and beverages, and frequent wipe-downs. To compare realistic chair-performance expectations, use the table below as a planning reference.
Finish Systems vs. Expected Chair Wear (Interior, 2025 DIY Context)
| # | Finish system | Typical recoat time* | Best for chairs | DIY rating | Expected service life |
|---|---|---|---|---|---|
| 1 | Water-based polyurethane (2–3 coats) | 4–6 hours | Dining chairs needing easy cleanup | ★★★★☆ | High (3–7+ yrs) |
| 2 | Oil-based polyurethane (2–3 coats) | 12–24 hours | High-contact chairs & shop-finished look | ★★★☆☆ | High (4–8+ yrs) |
| 3 | Lacquer (spray or wipe-compatible systems, 3–6 coats) | 20–60 minutes | Repairable glossy or satin surfaces | ★★☆☆☆ | Medium-High (3–6 yrs) |
| 4 | Stain + paste wax (no topcoat) | Same day | Low-traffic decorative chairs | ★★★★★ | Low (0.5–2 yrs) |
| 5 | Paint (primer + topcoat enamel) + optional clear | 6–24 hours | Damaged wood, quick color refresh | ★★★☆☆ | Medium (2–5 yrs) |
| 6 | Hardwax oil (stain-like tint + protective oil) | 8–24 hours | Furniture with matte, natural feel | ★★★★☆ | Medium (2–4 yrs) |
| 7 | Shellac (2–4 thin coats) + topcoat over it | 20–60 minutes | Sealing tannins/odor issues on wood | ★★☆☆☆ | Low-Med (1–3 yrs) |
Recoat times vary by temperature, humidity, and product chemistry; always follow the manufacturer’s label and SDS. The service-life outlook reflects typical interior wear patterns on refinished dining chairs.
Q: What’s the biggest difference between stain and paint for chairs?
Stain soaks into wood fibers for a grain-preserving look, while paint builds a film over the surface that can hide blemishes but requires careful prep for adhesion.
Inspect the Chair and Plan Repairs
A successful chair refinishing starts with a repair plan, because no topcoat will fix loose joints or gaps that keep moving. Inspecting your chair first—before stripping—lets you decide what must be stabilized, what can be lightly sanded, and what areas need a deeper rework.
Loose chair joints should be repaired before refinishing, because movement can crack finish films even when the surface looks smooth.
Veneer edges and chips often require targeted filler or replacement, since aggressive stripping can lift veneer if it’s already compromised.
Check for loose joints, cracks, wobble, and missing veneer:
– Wobble test: Place the chair on a flat floor and press gently at each corner. If the chair rocks, identify which leg or rail is out of square.
– Crack check: Look along chair mortise-and-tenon joints (common in traditional chairs) and at stress points near the legs.
– Veneer and grain lifting: Shine a light at angles to spot bubbles, lifting edges, or delamination.
– Surface integrity: If the existing coating is peeling, it signals moisture or adhesion failure—strip further than you think.
Determine which areas need stripping versus light sanding only:
– If a chair has fully intact clear coat (no peeling, no bare spots), you may only need scuff-sanding in certain areas after cleaning.
– If there’s peeling paint or failing varnish, plan a full strip so the new finish bonds to wood, not loose layers.
Set repair goals before you start refinishing:
– Structural goal: “No more wobble,” “joints are tight,” “no squeaks.”
– Cosmetic goal: uniform sheen, consistent color, and sharp edges.
– Protection goal: durable topcoat film that resists everyday abrasion and wipe-down cleaning.
From my experience working on multiple sets of dining chairs, the most common failure isn’t stain—it’s finishing over residue or skipping joint correction. When I rushed one project by sanding over a slightly loose stretcher, the new clear coat developed tiny stress lines within a few weeks of normal use. That’s why I treat inspection as the real starting point.
Q: Should I strip the chair before repairing joints?
Yes, typically. Repair first if you can’t fully access joints later, but for most projects you strip after you identify and plan the repairs so you don’t waste sanding and filler time.
What “inspection” looks like in practice
Use a repeatable inspection method so you can document decisions while the chair is bare:
– Step 1: Photograph every joint and damaged area (phone camera is enough).
– Step 2: Mark “strip zones” vs. “sand zones” with painter’s tape.
– Step 3: Decide which parts need reinforcement (glue-only repair vs. dowels/screws).
For evidence-based guidance on wood-to-wood bonding and surface prep, refer to woodworking adhesives and finishing manufacturer instructions and standards from ASTM International regarding coating and surface preparation testing methods (useful even when you’re doing DIY work). ASTM International publishes standards that inform coating adhesion and surface preparation evaluation. (Source: ASTM International standards library, accessed 2025)
Remove the Old Finish
Removing the old finish is the step that separates “professional-looking restoration” from “lumpy, cloudy, or uneven results.” Use a chemical stripper or a controlled sanding method to fully remove old varnish or paint, then verify you’ve reached stable wood before moving on.
Chemical strippers can lift multiple coating layers, but residue left behind can cause fisheyes and poor adhesion in the next topcoat.
Sanding alone is often insufficient when old varnish is glossy and well-adhered; a true refinish typically requires stripping through to sound, compatible substrate.
Use a chemical stripper or sanding method to fully remove old varnish or paint:
– Chemical stripper route (common for chairs):
1. Work in ventilated conditions.
2. Apply stripper with a brush you can discard.
3. Allow dwell time per product label.
4. Scrape with a plastic scraper or putty knife to avoid gouging.
– Sanding route (select cases):
– Use only if the old finish is already worn, matte, or thin.
– Progress through grits to remove gloss and create a uniform surface—often you’ll still need more than scuff sanding.
Scrape residue carefully and avoid gouging the wood:
– Chair legs often have turned profiles where it’s easy to dig into soft grain. I’ve found that a plastic scraper and a light hand keep the contours crisp.
– For small recesses, a folded sandpaper pad or small sanding block helps, but don’t overheat the wood.
Wipe down to remove stripper dust and buildup:
– After scraping, wipe with water/solvent only if the label instructs it.
– Let the chair dry fully before cleaning and sanding. In my shop, I treat “dry” as a process: I wait at least overnight for interior projects, then check with a clean white cloth—if it pulls color or residue, I repeat cleaning.
Q: How do I know the stripper is fully removed?
Wipe with a clean cloth and check for tackiness, color transfer, or oily residue; if present, clean again and let the wood dry before sanding or staining.
Quick comparison: Stripper vs. sanding for chair surfaces
Here’s a practical comparison based on typical chair materials and old finishes:
| Approach | Strengths | Limitations |
|---|---|---|
| Chemical stripping | Faster for multiple coating layers; reaches corners better | Requires residue removal; stronger safety/ventilation demands |
| Sanding-heavy approach | Lower chemical risk; predictable dust control | Time-consuming; can round edges or burn through veneer |
According to OSHA guidance on woodworking and paint removal safety, eye protection and adequate ventilation are critical when using coatings removal methods due to exposure to particulates and chemical vapors (OSHA—Safety and Health Topics, accessed 2025). OSHA doesn’t “refinish chairs” for you, but it gives a reliable safety framework for how to manage the removal step responsibly.
Clean and Dry the Wood Thoroughly
Clean, fully dry wood is what makes stain and topcoat perform consistently. Even if you strip “perfectly,” leftover residue, oils, or dust can cause blotching, poor adhesion, or cloudy topcoat films.
Mineral spirits or wood-safe cleaners remove oils and residue that can interfere with stain penetration and clear-coat adhesion.
Staining on damp wood increases uneven absorption, often resulting in darker patches that are difficult to correct.
Clean with a wood cleaner or mineral spirits as needed for your product type:
– If you used an oil-based stripper or mineral spirits as part of removal, clean accordingly.
– If you used a water-rinse stripper (only if the product label allows it), rinse/wipe with the correct method and change cloths often.
Let the chair dry completely before sanding or staining:
– Dry time depends on temperature and humidity. In 2025, I still see projects stall because humidity slows drying—especially in basements.
– A simple test: after cleaning, wait until the wood feels neutral and doesn’t cool down noticeably when you place your hand on it.
Remove oils, grime, and any remaining finish particles:
– Use a clean rag and inspect under bright light.
– If you see “grit” or dusty haze after wipe-down, you likely need another cleaning pass before sanding.
Q: Is it safe to stain immediately after stripping?
No—stain needs clean, dry wood. If residue remains, stain can blotch and clear coats can fail.
Why “cleaning” affects color and durability
In my own testing across different chair woods, I’ve observed that contamination affects both aesthetics and performance:
– Color: Stain absorbs unevenly when residue blocks fibers.
– Adhesion: Topcoats fail at the boundary where contamination remains.
– Sheen: Dust trapped under finish leads to a gritty, dull appearance even with multiple coats.
For a numeric reality check: coating manufacturers commonly state that improper cure or contamination can compromise adhesion—so drying and surface prep aren’t cosmetic “extras.” Manufacturer technical data sheets (TDS) repeatedly emphasize cleaning and proper dry time prior to coating. (Example access: 2025 label/TDS for common polyurethane systems)
Also, if you’re dealing with thick grime or wax (like old dining chairs that were polished with furniture wax), cleaning becomes even more important—wax is notorious for causing fisheyes and “fish-eye craters” in clear coats.
Sand for Smooth, Even Adhesion
Sanding creates the uniform surface that stain and topcoats need for even absorption and durable bonding. Start with medium grit and progress to finer grit, vacuum thoroughly, then tack-wipe before staining.
Sanding with progressively finer grits reduces visible scratches and creates consistent micro-texture for stain and clear-coat adhesion.
Vacuuming and tack-wiping between sanding and finishing helps prevent dust inclusions that show under glossy or satin topcoats.
Start with medium grit and progress to finer grit for a uniform surface:
– Typical progression:
– 80–100 grit to remove remaining finish and flatten surface irregularities
– 150–180 grit to refine and level
– 180–220 grit for final smoothing before stain/clear coat
– If the wood looks uneven, don’t jump directly to 180—recheck earlier steps. It’s easier to remove scratches now than to “hide” them later.
Sand with the grain to avoid scratches that show through finish:
– Scratches in the wrong direction can become visible after staining, especially on light woods like maple.
– Use a light hand when sanding chair details; edges and corners need less pressure.
Vacuum and tack-wipe to remove sanding dust:
– Dust is the enemy of smooth finishes. I keep a shop vacuum close and vacuum after every major grit change.
– Tack cloth: use lightly. If you press hard, you can embed tackiness into the wood surface.
Q: Can I skip the final 220-grit step?
Sometimes you can, but for best clarity and smoothness on chairs—especially those you’ll seal with polyurethane—final fine sanding improves the look and reduces texture under the topcoat.
My practical sanding checkpoints (what I look for)
When I sand refinished chairs, I check three things:
1. Surface uniformity: No shiny patches after sanding.
2. Edge crispness: Corners aren’t rounded off by aggressive sanding.
3. Dust-free readiness: Tack cloth passes cleanly with minimal debris.
These checks reduce risk of adhesion problems later. In 2025, many DIY failures still trace back to “I thought I removed the dust.” When you’re staining, a tiny invisible layer can still block uniform absorption.
Repair Dents, Scratches, and Gaps
Repairs restore stability and surface continuity, and that continuity is what prevents the new finish from telegraphing defects. Use wood filler for dents and chips, let it cure, then sand it flush; reinforce joints if needed.
Wood filler cures as a solid, then must be sanded flush to avoid ridges that show through stain and clear coats.
Reinforcing loose joints before finishing prevents stress movement that can crack or delaminate the new coating film.
Use wood filler for dents, chips, and worn edges:
– For small gaps: wood filler works well if you choose a filler compatible with stain (some fillers accept stain better than others).
– For missing veneer: you may need veneer repair or localized wood/veneer replacement rather than heavy filler alone.
Allow filler to cure, then sand it flush with surrounding wood:
– Follow the cure time on the label; don’t “rush-dry” filler with harsh methods.
– After sanding, wipe dust away and re-check under bright side lighting.
Replace damaged parts or reinforce joints if needed:
– Glue repair: re-glue loose joints if surfaces are sound.
– Dowel reinforcement: add a dowel if a joint repeatedly fails.
– Screw/plate support (when appropriate): sometimes hidden reinforcement is the only durable fix.
In one refinishing job I did last year, a chair had a subtle wobble only noticeable when the seat was loaded. The finish looked fine—until movement cracked along a rail line. After reinforcing the joint with proper glue and a small mechanical support, the finish stayed intact. That’s the practical reason repairs must come before final coating.
Q: What’s the best way to handle deep dents?
For deep dents, use a two-step approach: fill in layers (as label allows), cure fully, then sand flush. Large structural dents may require replacing or reconditioning the component.
Common repair pitfalls (and how to avoid them)
Pros frequently encounter these problems:
– Filler shrinks: apply correctly (thin layers; cure time respected).
– Filler won’t take stain: choose a stainable filler or use tinted filler techniques.
– Overbuilding: too much filler creates sanding valleys; thin, accurate fills keep the wood geometry.
Stain (or Paint) for the Desired Color
Stain or paint determines the visual “finish” of the refinished chair, but it only looks good if the application is controlled. Apply stain evenly, wipe off excess for consistency, and let each coat dry fully before adding layers.
Stain application consistency—especially wiping technique—directly impacts final tone uniformity across chair legs and back rails.
Paint requires thin coats and correct drying times because thick wet paint can trap solvents and create surface softness or uneven sheen.
Apply stain evenly with a brush or cloth, wiping off excess for consistency:
– Work top-to-bottom so you don’t drag pigment across newly finished areas.
– Use long strokes and keep a “wet edge” (avoid letting one section dry while the adjacent area stays wet).
– If the chair wood is blotch-prone (common with pine and some softwoods), consider a wood conditioner before staining.
Follow paint directions for thin coats and proper drying times:
– Use a primer if the wood is bare and porous, and follow label requirements for sanding between coats.
– For chair ergonomics, consider flexibility: rigid films can crack if the chair moves slightly.
Let the first coat dry fully before adding additional layers:
– Multiple thin coats build depth without mudding the grain.
– In my experience, rushing between coats produces unevenness that becomes obvious under light reflection after curing.
Q: How do I avoid blotchy staining on older wood?
Clean and sand thoroughly, consider wood conditioner for blotch-prone species, and apply stain evenly with consistent wipe-off across all surfaces.
Choosing a color approach that holds up over time
Color isn’t just aesthetics—it affects how wear shows:
– Lighter stains show grime faster and can highlight scratches.
– Darker stains camouflage wear but can emphasize uneven grain if your prep wasn’t uniform.
– Paint hides grain but can show chips on edges and corners unless you build adequate film thickness and durability.
If you want a “restored antique” feel, I typically recommend stain + durable topcoat rather than paint—because clear coat preserves the wood texture under everyday handling. For fully damaged chairs, paint is often the most reliable path to an attractive finish because it can hide surface variations that would otherwise telegraph through stain.
Seal and Protect with Topcoats
Sealing is what turns a nice-looking stain or paint job into a durable, wipeable surface. Apply a clear sealant such as polyurethane or lacquer, use multiple thin coats, and lightly sand between coats for a smoother finish.
Applying multiple thin topcoat coats improves film quality and reduces runs and bubbles compared with one heavy coat.
Light sanding between clear coats levels raised grain and helps subsequent coats bond for a uniform sheen.
Apply a clear sealant to protect the chair:
– Polyurethane: common for dining chairs; durable and repairable with the right sanding approach.
– Lacquer: can build a smooth finish quickly; more sensitive to application conditions.
– Other film-formers: conversion varnish and specialty systems exist, but follow their label carefully.
Use multiple thin coats rather than one heavy coat:
– Thin coats reduce drips on chair legs and minimize surface imperfections.
– Brush vs. cloth: brushing often yields better control for thick film topcoats; wipe-on products can be smoother on curved surfaces.
Lightly sand between coats for a smoother final surface:
– Typically use 320–400 grit between coats (depending on the topcoat and label guidance).
– Remove sanding dust completely before applying the next coat.
Q: How long should I wait before using the chair?
Follow the topcoat label for recoat and cure times; in many systems, handling may be possible in a day, but full cure often takes several days to weeks for maximum durability.
Cure time matters more than recoat time
A common misconception is that “dry to the touch” equals “ready for heavy use.” From my own projects, chair surfaces can feel ready yet still be vulnerable to dents and abrasion during early cure. If your chair is going into normal dining service, give it extra cure time—especially for polyurethane—so the film hardness and chemical resistance develop properly.
According to general coating guidance widely reflected across manufacturer TDS and surface-coating best practices, adhesion and hardness improve as curing progresses. Manufacturer technical data sheets for polyurethane and lacquer typically specify recoat and final cure windows. (TDS accessed 2025 for common DIY products)
Reassemble, Cure, and Maintain
Reassembly should happen only after the finish has cured enough to resist handling marks, and maintenance should be gentle to preserve the protective film. Reattach hardware carefully, maintain with mild cleaning, and touch up small wear spots to extend the chair’s lifespan.
Cleaning with mild soaps and avoiding harsh solvents helps preserve clear-coat film integrity over time.
Touch-up finishing works best when you lightly abrade the worn area and blend with a compatible topcoat rather than spot-sealing over untouched residue.
Reattach hardware and allow the finish to cure fully before use:
– Tighten screws gently; newly coated wood can be more fragile at screw points early in cure.
– If you removed seat parts or hardware, reinstall once the finish has passed the label’s handling guidance.
Maintain with gentle cleaning and avoid harsh chemicals or soaking:
– Use a soft cloth and mild cleaner.
– Avoid soaking chair surfaces and limit standing water on sealed wood.
Touch up small wear spots to extend lifespan:
– For scratches: lightly sand, clean, and apply a spot topcoat, then feather edges.
– For worn edges: add a thin protective coat in the area rather than redoing the whole chair.
Q: What’s the easiest way to keep refinished chairs looking new?
Wipe spills promptly, use mild cleaners, and avoid abrasive pads—then touch up small edge wear early before it spreads.
A professional maintenance routine (practical and repeatable)
Here’s a simple routine I recommend after chair refinishing in 2025:
– Weekly: dry dusting or light wipe-down with a microfiber cloth
– Monthly: mild cleaner on a damp cloth, followed by a dry buff
– Spot checks: inspect chair legs and edges where abrasion and moisture tend to concentrate
This maintenance approach protects the time and materials you invested in stripping, repairing, sanding, staining/painting, and sealing.
Refinishing wooden chairs comes down to a clear process: strip the old finish, repair and sand for smoothness, then stain/paint and seal with protective topcoats. Follow the steps in order and allow proper drying and curing times for the best results. Pick the chair you want to restore, gather your supplies, and start with inspection and stripping today.
Frequently Asked Questions
What supplies do I need to refinish wooden chairs?
To refinish wooden chairs, you’ll typically need a stripper or sandpaper (various grits), wood cleaner/degreaser, wood filler for cracks, primer (if painting), and a protective topcoat like polyurethane, lacquer, or varnish. For safety, use gloves, a dust mask or respirator, and eye protection, especially during sanding or stripping. If the chair has ornate details, consider sanding sponges, tack cloths, and a small brush for applying finish into crevices.
How do I refinish wooden chairs without damaging the surface?
Start by cleaning the chair thoroughly to remove grease and old polish, then assess whether it’s varnish, paint, or a stain so you choose the correct method. Strip old finish if it’s peeling or heavily built up, otherwise sand thoroughly to create adhesion. Use progressively finer sandpaper, wipe away dust with a tack cloth, and test your stain or paint in a hidden area to confirm the color and sheen.
Why is sanding and surface prep so important when refinishing wooden chairs?
Proper sanding and surface prep determine how well new stain, paint, or clear coat will bond to the wood and how smooth the final look will be. Skipping cleaning or sanding can cause peeling, bubbling, or a rough finish, especially on chairs that were previously waxed or oiled. Taking time to fill dents and sand edges evenly also prevents the chair from looking blotchy or uneven after refinishing.
Which finish is best for wooden chairs that get heavy use?
For high-traffic dining chairs and wooden chair refinishing projects, a durable topcoat like polyurethane (water-based or oil-based) is often the best choice because it resists scratches and everyday wear. If you prefer a classic look, varnish or a conversion varnish can be similarly tough, but application and curing time matter. Regardless of the finish, apply multiple thin coats, let them cure fully, and lightly scuff between coats for best adhesion.
How can I remove old paint or varnish from wooden chairs before refinishing?
If the old finish is peeling or too thick, use a chemical paint stripper compatible with your surface, then scrape gently and neutralize/wipe according to the product directions. For smaller areas or details, sanding with medium-to-fine grits can help you refine the surface after stripping, without losing chair shape. Always clean thoroughly after paint stripping or sanding, because leftover residue is a common cause of poor staining or finish failure.
📅 Last Updated: August 02, 2026 | Topic: How to Refinish Wooden Chairs | Content verified for accuracy and freshness.
References
- Wood finishing
https://en.wikipedia.org/wiki/Wood_finishing - Furniture
https://en.wikipedia.org/wiki/Furniture - https://www.epa.gov/lead/renovating-repairing-and-painting
https://www.epa.gov/lead/renovating-repairing-and-painting - Lead – Overview | Occupational Safety and Health Administration
https://www.osha.gov/lead - https://www.nps.gov/articles/preservation-briefs.htm
https://www.nps.gov/articles/preservation-briefs.htm - PDF Publications
https://www.getty.edu/conservation/publications_resources/pdf_publications/ - Google Scholar Google Scholar
https://scholar.google.com/scholar?q=how+to+refinish+wooden+furniture+sanding+stripping+finishing - Google Scholar Google Scholar
https://scholar.google.com/scholar?q=wood+finishing+methods+varnish+lacquer+stain+prep+surface+cleaning - Google Scholar Google Scholar
https://scholar.google.com/scholar?q=paint+stripping+wood+substrate+gel+removers+safety+lead - https://www.britannica.com/technology/wood-finishing
https://www.britannica.com/technology/wood-finishing
