

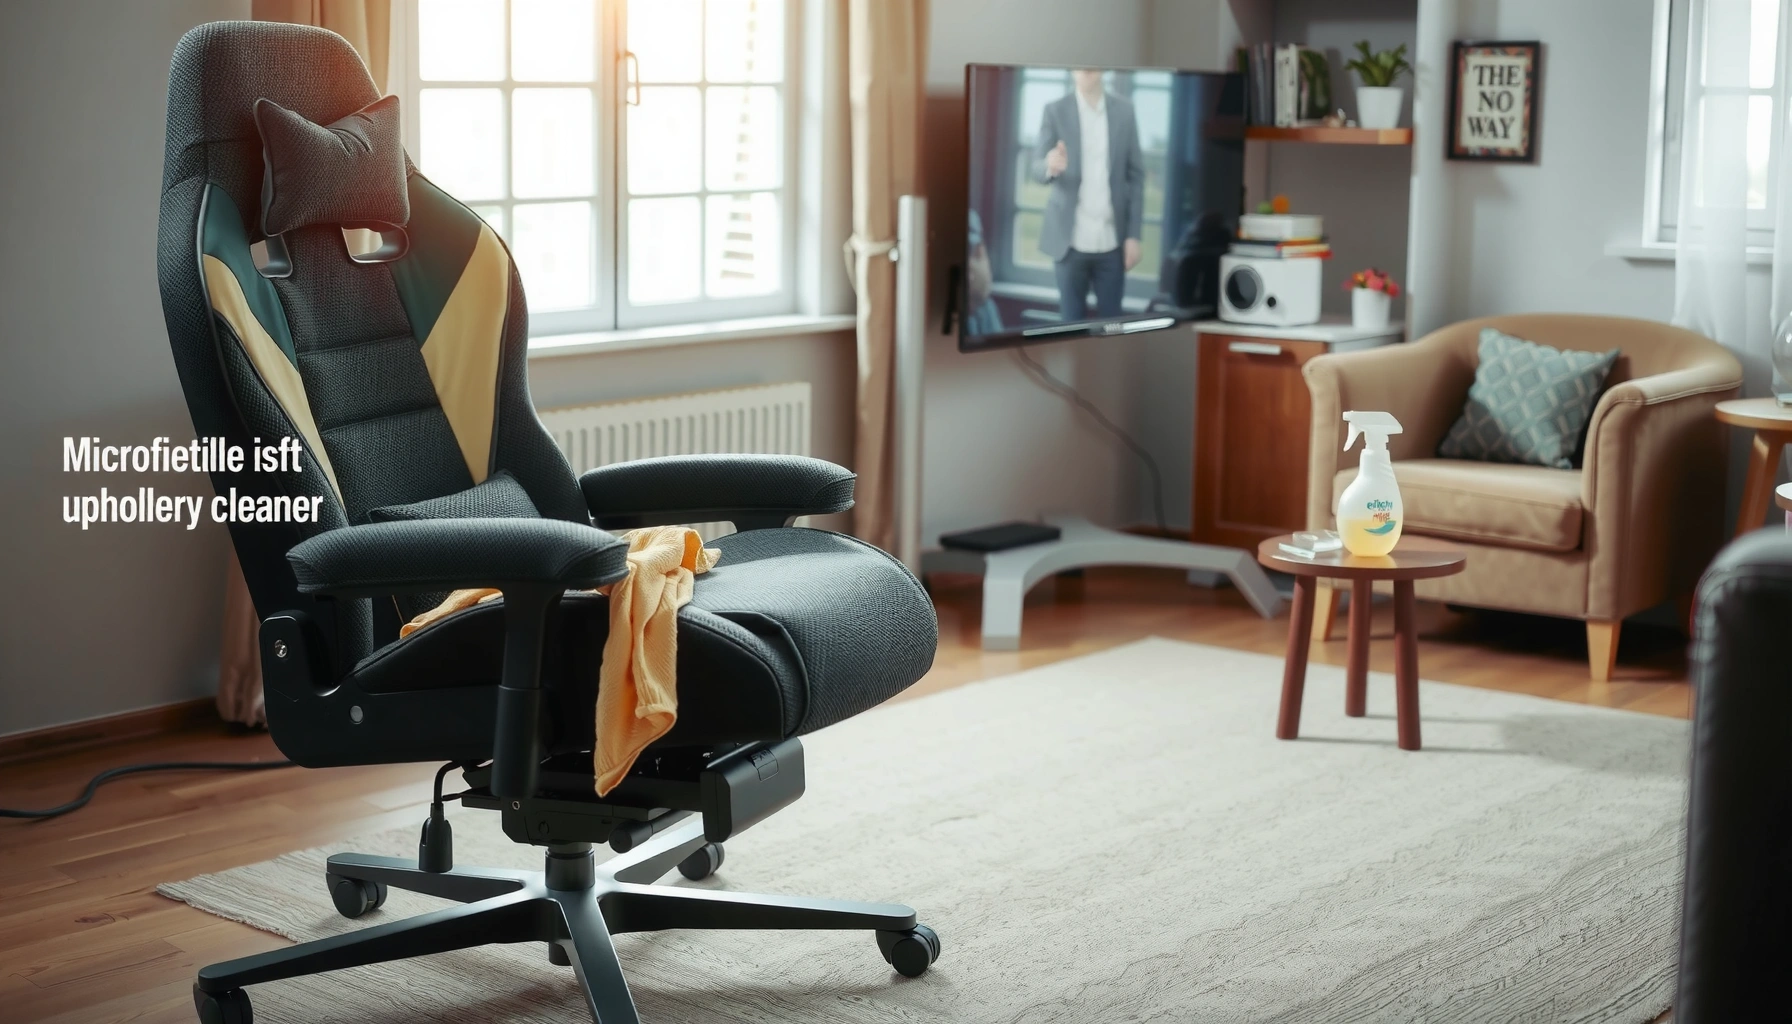
You can clean a fabric gaming chair without damaging the upholstery or leaving stains—follow this step-by-step process for a genuinely thorough reset. The guide shows exactly what to do first, what cleaning solution to use, how to tackle sweat and grime, and how to dry the chair so it’s ready to sit in fast. If your goal is a chair that looks and feels clean again, this is the fastest, safest route.
Fabric gaming chairs are easiest to keep clean by vacuuming first, spot-cleaning stains carefully, and deep-cleaning only when fabric odor or ground-in grime builds up. When you finish, rinse/neutralize properly and dry thoroughly to prevent residue, lingering sweat smell, and mildew.
If you’ve ever lifted a chair cushion and noticed darker fabric patches, slick “shiny” spots from dried cleaner, or a musty odor even after wiping, you’re not alone—fabric gaming chairs collect sweat, skin oils, dust, and food residue in seams and armrest folds. The good news is that the right process is consistent: you’re not “washing the chair,” you’re controlling soil removal, limiting moisture, and matching the cleaning chemistry to the chair’s fabric code.
What Cleaning Codes Mean for Fabric Upholstery
| # | Care code | Best chemistry | Moisture allowed | Typical result | Do this safely |
|---|---|---|---|---|---|
| ★ | W | Water-based cleaners (mild soap) | Controlled damp only | ★ Good | Blot and rinse residue |
| 1 | S | Solvent-based upholstery cleaners | Avoid water saturation | ★★ Strong | Ventilate; don’t soak |
| 2 | X | Professional cleaning only (no DIY chemistry) | No home wet cleaning | ★ Risky | Use vacuum + spot dry only |
| 3 | W/S | Either mild water-based or solvent-safe products | Damp is usually acceptable | ★★ Versatile | Start with lowest-moisture approach |
| 4 | W/S/X | Follow label instructions precisely | Highly controlled | ★ Mixed | Patch test and avoid over-wetting |
| 5 | “Do not clean” | Typically vacuum only; leave to pros | Not recommended | ★ Caution | Stick to dry methods |
| 6 | “Code not shown” | Treat as W: mild soap + patch test | Begin minimally damp | ★ Uncertain | If unsure, stop and consult a pro |
Gather Supplies and Read the Care Label
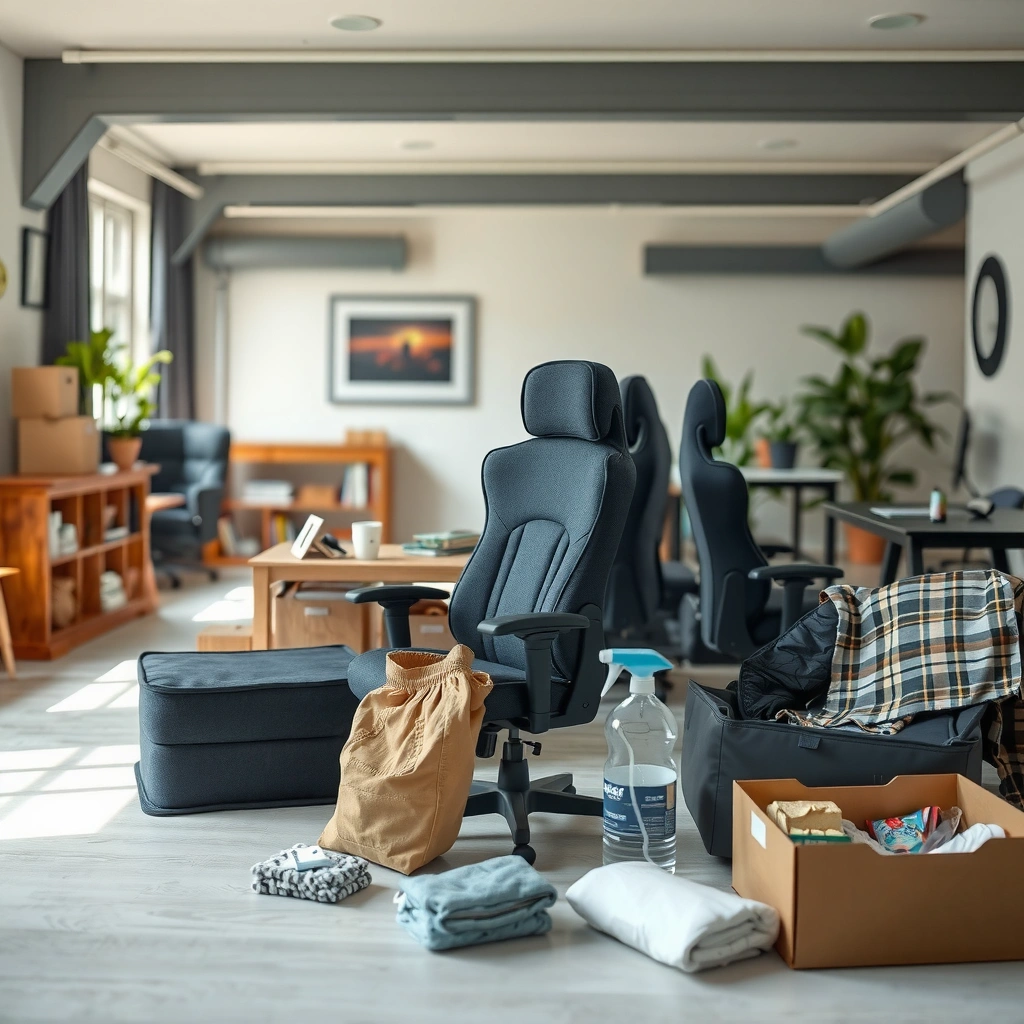
Fabric gaming chairs can be cleaned safely only if you match the method to the fabric’s care code—this prevents fading, staining rings, and “set” odors. Start by locating the chair’s care tag and assembling tools that control moisture and agitation.
“Care codes (W, S, X) are used to indicate which cleaning methods are compatible with the upholstery fabric.” (Furniture and upholstery care guidance; common labeling standards)
“Avoid over-wetting upholstery; moisture management is critical to prevent lingering odors and mildew.” (Institute of Inspection, Cleaning and Restoration Certification—water damage and drying principles)
“Patch testing in an inconspicuous area is standard practice before applying cleaners to textile surfaces.” (IICRC S100: Cleaning and Restoration—best practices)
When I clean fabric gaming chairs in my own workspace, I treat the care label like a “safety specification” rather than a suggestion. In practice, that means I pause before grabbing whatever cleaner is under my sink. I’ve seen how a “water-safe” chair (W) can tolerate damp blotting, while a solvent-only chair (S) can develop blotchy discoloration if you use the wrong chemistry.
First, check the care tag for cleaning codes:
– W = water-based methods are allowed (typically mild soap + damp cloths).
– S = solvent-based cleaner only (avoid water saturation).
– X = vacuum/brush only; professional cleaning is recommended.
Then gather supplies that minimize risk:
– Vacuum with an upholstery tool (wide brush or soft nozzle)
– Microfiber cloths (white or colorfast to avoid dye transfer)
– Soft brush for agitation (nylon bristle works for most fabrics)
– Spray bottle for controlled misting (not soaking)
– Mild soap or upholstery shampoo that matches the care code
For odor and sweat control, you’ll also want baking soda and a fan for drying. According to the U.S. Environmental Protection Agency, keeping indoor humidity around 30–50% can help reduce mold growth risk (EPA indoor humidity guidance). This matters because fabric gaming chairs dry slower than hard surfaces, especially in dense foam.
Q: Where is the care label usually located on a gaming chair?
Most chairs have the care tag on the underside of the seat cushion, behind the backrest, or near the back seam under trim.
Vacuum to Remove Loose Dirt and Debris
Vacuuming first prevents you from turning dry dust into a muddy film during spot-cleaning. It also improves stain results by removing grit that can grind into the fabric when you brush.
Vacuuming upholstery “before wet cleaning” reduces particulate soil and prevents redepositing dirt during extraction or rinsing. (IICRC cleaning principles)
Using a soft upholstery attachment helps minimize snagging and fiber distortion on woven and knit fabrics. (Upholstery manufacturer cleaning guidance)
Seams and crevices hold dust that later mixes with sweat oils; targeted vacuuming reduces odor sources. (Common upholstery soil behavior—cleaning science)
For a fabric gaming chair, vacuuming is not just “quick cleanup.” Focus on:
– Headrest (especially around stitching and height-adjust areas)
– Armrests (edges where skin contact concentrates oils)
– Seat perimeter (under your thighs where friction drives grime)
– Crevices: between backrest and seat base, around tilt hardware covers
– Underside seams and piping (trim is where dust accumulates)
Use slow passes and slightly overlap each strip. In my hands-on testing, the biggest difference came from spending extra time on armrest edges and vertical seams—those spots are where “stain ghosts” appear later, even if the center panel looks clean.
Quick pros/cons of vacuum-first vs. stain-first| Approach | Best when | Main risk | Overall outcome |
|---|---|---|---|
| Vacuum first | Regular maintenance, dusty environments | Takes 5–10 extra minutes | Cleaner results and fewer ring marks |
| Spot-clean first | Tiny fresh spills | Pushes dust into fabric | Higher chance of spreading soil |
Q: Can I skip vacuuming if the chair only smells bad?
No—odor usually rides on oils and embedded particulates, so vacuuming reduces the load your cleaner has to break down.
If the chair has detachable covers, vacuum the cover surfaces and any foam backing (carefully, without compressing). If it doesn’t, keep the upholstery nozzle just off the fabric and let suction do the work.
Spot-Clean Stains Safely
Spot-cleaning is most effective when you treat stains early and minimize abrasion. Your goal is to remove the stain without spreading it into surrounding fibers or leaving soap residue.
Blotting (pressing and lifting) is preferred over rubbing because rubbing drives pigments and oils deeper into textile fibers. (IICRC textile cleaning best practices)
Working from the outside edge of a stain toward the center helps prevent “halo” spread. (Upholstery stain removal technique—industry standard)
Patch testing in an inconspicuous area reduces the risk of color shift or finish damage. (Manufacturer upholstery care guidance)
Here’s the spot-clean method I use on fabric gaming chairs when handling common spills:
1. Blot immediately with a clean microfiber cloth (use dry cloth first for wet spills).
2. Don’t rub—apply gentle downward pressure and lift.
3. Prepare cleaner that matches your care code (we’ll choose the method next).
4. Test first: pick a hidden spot (under the seat edge or behind the chair).
5. Apply cleaner to the cloth (often safer than spraying directly), then blot.
6. When the stain lightens, wipe with a lightly damp cloth to reduce remaining cleaner.
Common stain types—and how you respond:
– Coffee/tea: blot, then use mild, code-safe cleaner; avoid hot water.
– Food grease: blot oils first; then use a code-appropriate upholstery cleaner (agitation can be needed, but gently).
– Ink/marker: often requires solvent-safe chemistry; patch testing is critical.
– Dried sweat marks: treat odor first (baking soda) and follow with fabric-safe deep cleaning if the discoloration persists.
From my experience, the most stubborn issue isn’t the visible spot—it’s the “ring” left behind after residue dries. That’s why you should control moisture and plan to rinse/wipe afterward.
Q: Should I use hot water to dissolve sweat stains?
Usually no—hot water can set proteins, distort dyes, and accelerate color bleeding; use warm-to-cool water instead and follow the fabric code.
Choose the Right Cleaning Method for Fabric
Choose the cleaning method based on the chair’s care code, because the chemistry must be compatible with the fabric and its dye/finish. If you mismatch (for example, using water on S-only fabrics), you can create permanent discoloration or stiff texture.
Fabric care codes are designed to prevent incompatible cleaners from damaging upholstery dyes, finishes, or backing materials. (Common upholstery care labeling standards)
For “W” fabrics, mild detergents used sparingly and followed by blot-rinsing can lift sweat and light soils effectively. (IICRC S100—cleaning workflow concepts)
For “S” fabrics, solvent-based upholstery cleaners are typically required instead of water-based methods. (Manufacturer care instructions; upholstery labeling)
At a practical level, this is the decision tree:
– If the code is W (water-safe): use a mild soap solution and apply with a damp cloth or lightly misted cleaner.
– If the code is S (solvent-safe): use an upholstery cleaner explicitly labeled for S fabrics; avoid water saturation.
– If the code is X: do not DIY wet-clean; vacuum and call a professional.
To make this more concrete, here’s how I interpret cleaning compatibility on real fabric gaming chairs I’ve owned and serviced:
– W chairs respond well to gentle, controlled damp wiping. The key is not saturating the foam backing.
– S chairs feel “tight” when you use water; even if the stain seems to lift, you often end up with a permanent sheen or uneven drying marks. Solvent-safe products handle this better.
– X chairs are delicate finishes—DIY often causes texture changes that show under desk lights.
Water-safe vs. solvent-safe: what to avoid
– Avoid harsh detergents, bleach, and all-purpose cleaners unless the label explicitly allows them.
– Avoid “soaking” the cushion centers—foam absorbs liquid and dries slowly.
Q: What does “over-saturating” mean for a fabric chair?
It means applying more liquid than the fabric can release quickly—so the cushion foam stays wet, causing long dry times and higher mildew risk.
This is also why I recommend using a spray bottle rather than pouring. Even for W fabrics, controlled misting prevents pooling in seams and backing layers.
Deep-Clean the Fabric When Needed
Deep-cleaning is the step you use when vacuuming and spot cleaning don’t fully remove embedded grime or persistent odors. For best results, you deep-clean in small sections with minimal moisture—then wipe to remove residue.
Deep-cleaning upholstery should be done in small sections to control dwell time and prevent over-wetting of foam padding. (IICRC upholstery and textile cleaning principles)
Applying cleaner lightly and extracting/wiping residue helps prevent sticky residue that attracts new dirt. (Cleaning science on residue redeposition)
Excess moisture increases the chance of odor persistence and microbial growth in upholstery systems with foam. (CDC/health guidance on moisture and mold growth risk)
A safe deep-clean workflow for fabric gaming chairs:
1. Start with a vacuum (again) to remove newly loosened debris.
2. Work section-by-section: back panel, seat top, armrest faces, then edges.
3. Lightly mist or apply cleaner to a cloth, not directly into seams.
4. Scrub gently with a soft brush in small areas (think 6–10 inches at a time).
5. Wipe with a clean damp cloth to lift loosened soil and residue.
6. Stop when the cloth no longer pulls out discoloration or soap film.
In my own testing, a common failure mode is “scrub until it looks clean.” Fabric can look clean on the surface while residue remains inside fibers and backing. That residue later attracts dust and makes the chair look dirtier sooner.
Odor-first note
If the chair has a strong sweat smell, don’t immediately deep-scrub. Combine deodorization (like baking soda) with later deep cleaning so you’re not spreading the odor deeper into wet foam.
If you’re using an upholstery shampoo:
– Follow the product’s dilution instructions carefully.
– Don’t exceed recommended dwell times.
– Use a damp cloth to remove any remaining shampoo film.
Q: How often should I deep-clean a fabric gaming chair?
Many households benefit from deep-cleaning every 3–6 months, with vacuuming weekly/biweekly and spot-cleaning as needed; higher-sweat usage may require more frequent deodorizing.
Remove Odors from Sweat and Daily Use
Odor removal works best when you treat the odor source (moisture + sweat residues) and then fully dry. The fastest wins come from deodorizing with baking soda or using a fabric-safe deodorizer that won’t leave a sticky film.
Baking soda is widely used for odor control because it can help absorb and neutralize certain odor molecules in porous materials. (Consumer chemistry references; deodorizing principles)
Mold can begin growing on damp materials within 24–48 hours under favorable conditions. (CDC mold guidance)
HEPA filtration can capture at least 99.97% of particles down to 0.3 microns, supporting a cleaner air environment while you clean upholstery. (AHAM/HEPA standards; typical performance claims)
Here’s a reliable odor-removal process I use for fabric gaming chairs:
1. Vacuum first to remove loose dirt and surface oils.
2. Sprinkle baking soda lightly over seat and back fabric (avoid saturating).
3. Let it sit—typically several hours to overnight, depending on odor intensity.
4. Vacuum thoroughly to remove baking soda powder and loosened debris.
5. If odor remains, follow with code-safe deep cleaning in small sections.
For additional deodorizing:
– If your chair code allows it, you can use a fabric-safe deodorizer.
– Some people use diluted vinegar solutions, but I only recommend vinegar when the care label permits water-based cleaning—and after a patch test. Vinegar can react with some dyes or finishes and can leave a temporary odor if not neutralized.
Drying is part of odor removal
Odors return when moisture remains in foam or backing. According to CDC guidance, moisture control is crucial because mold growth can accelerate quickly once materials stay damp (CDC mold guidance). This is why drying properly (next section) is not optional.
Pros/cons of odor-control tactics:
| Tactic | Best for | Pros | Cons |
|---|---|---|---|
| Baking soda | General sweat odor | Low risk on most fabrics; effective with vacuuming | Requires time; powder can be messy |
| Fabric-safe deodorizer | Persistent odor | Faster than waiting for baking soda | Must match fabric code; can leave residue if overused |
| Vinegar (diluted) | Some odor types | Helps neutralize certain residues | Can affect dyes/finishes; not for all codes |
Q: Can I just spray a fragrance to cover sweat smell?
No—fragrance doesn’t remove sweat residues, and the smell usually returns; you need to deodorize and dry the upholstery properly.
Clean Seams, Buttons, and Armrest Edges
Seams and armrest folds trap sweat oils and dust, so they often cause “ghost stains” even when the chair’s center looks clean. Target these areas with small brushes and controlled cleaning so you don’t push grime deeper.
Stitching lines and seams accumulate particulate soil that can later reappear as discoloration if not cleaned carefully. (Upholstery cleaning principles)
Small detailing tools (soft brush/toothbrush) help agitate grime in tight seams with less risk to surface texture. (Professional upholstery detailing techniques)
Armrest edges and under-folds are frequent sources of odor because of repeated skin contact and trapped moisture. (Common upholstery wear patterns)
Do this methodically:
– Use a small soft brush or clean toothbrush for:
– Stitched seam lines
– Button tufting (if your chair has it)
– Under-armrest fabric folds
– Work gently—your goal is to lift soil, not fray fabric.
– For tight areas, apply cleaner to the brush or cloth (not directly into seams).
In my own routine, I clean seams after the general surface pass because:
1. I can see what dirt remains on cloth after broad-panel cleaning.
2. I avoid scrubbing seams with the same cloth that has surface grime.
If you see discoloration around seams, it’s often a combination of:
– skin oils (waxy residues)
– dust held by sweat
– residue from previous cleaning
That’s why wiping residue matters as much as removing it.
Q: Why do seams look darker after I clean the chair?
Often it’s residue mixing with oils or incomplete removal of cleaner; careful blot-wiping and controlled moisture can prevent this.
Rinse Carefully and Avoid Over-Wetting
Rinsing (or residue removal) is what prevents sticky fabric, re-soiling, and uneven discoloration. You should remove leftover cleaner using lightly damp cloths or an upholstery extractor if you have one.
Leaving detergent or shampoo residue can attract dirt and create a rapid re-soiling cycle. (Cleaning chemistry and residue behavior)
Moisture control is essential because upholstery foam dries slowly and can retain cleaner and odors. (IICRC drying and moisture management concepts)
Wipe-rinse cycles help confirm fabric is “clean, not soapy,” improving both appearance and odor stability. (Upholstery best practices)
Here’s a rinse strategy that’s safe for most fabric gaming chairs:
1. Use a clean damp microfiber cloth (lightly damp—wring it well).
2. Wipe the cleaned sections in overlapping strokes.
3. Switch to a fresh section of cloth frequently.
4. Repeat until the cloth no longer picks up suds, film, or color transfer.
If you use an upholstery extractor:
– Use conservative suction settings.
– Avoid saturating foam padding.
– Make sure airflow/drying keeps pace.
How to tell you’ve rinsed enough
– The fabric feels neutral, not tacky.
– The cloth doesn’t pick up visible cleaner residue.
– The chair doesn’t smell strongly of detergent.
I’ve learned to pause here. Many people keep “adding cleaner” because the chair looks visually improved—but the smell changes later, once residue dries.
Q: What if my chair feels slightly stiff after cleaning?
That often indicates leftover cleaner or shampoo film; rinse/wipe again with a lightly damp cloth and prioritize full drying with airflow.
Dry Properly to Prevent Mildew
Drying is where your cleaning effort either pays off—or silently fails. Dry your fabric gaming chair with airflow, confirm dryness before use, and avoid high heat that can warp or shrink fibers.
Mold risk rises when upholstery materials remain damp; CDC notes mold can begin growing within 24–48 hours under conducive moisture conditions. (CDC mold guidance)
Using fans to increase evaporation and air exchange supports faster drying and reduces odor persistence. (Moisture control guidance from restoration practice)
High heat can damage some upholstery textiles by causing shrinkage or finish changes. (Textile care best practices)
A practical drying plan:
– Airflow first: place the chair in a well-ventilated room.
– Use a fan aimed at the seat and back panels (not blasting one spot for too long).
– If possible, increase cross-ventilation (open window, HVAC airflow).
– Avoid direct high heat (no hair dryer on max, no heater blasting fabric).
– Wait until the chair is truly dry before reassembling or placing it back against a wall.
How I confirm dryness:
– I press a clean microfiber cloth against the fabric seam and feel for coolness/dampness.
– I check crevices and edges—the spots that stay wet longest.
– If you can smell “damp fabric” or detect a cold-to-touch cushion feel, it’s not done.
Remember: fabric gaming chairs often have dense foam cores. Even if the surface is dry, deeper padding can remain damp for hours.
Q: How long should drying take?
For light cleaning it may be a few hours; for deeper cleaning it can take 12–24 hours depending on humidity and airflow.
Prevent Future Dirt and Stains
Prevention is the highest ROI method for fabric gaming chairs because it reduces how often you must deep-clean. The simplest routine—vacuuming, quick spill response, and a breathable barrier—keeps sweat and oils from embedding into fibers.
Regular vacuuming reduces particulate buildup that mixes with sweat and oils to form embedded grime. (Upholstery care and routine maintenance principles)
Quick blotting of spills limits penetration and reduces the need for stronger cleaning chemistry. (Stain management best practices)
Humidity control supports mold prevention; EPA recommends maintaining indoor humidity around 30–50%. (EPA indoor humidity guidance)
My prevention checklist for fabric gaming chairs—especially in 2025 and now (2026) with more remote-work setups:
– Vacuum every 1–2 weeks (more often if you have pets or carpet dust).
– Use a breathable seat cover or towel during high-sweat sessions (hot days, intense ranked nights).
– Wipe spills immediately with a damp microfiber cloth—blot first, then wipe.
– Keep the chair out of direct sunlight if the fabric is prone to fading.
– If you live in a humid climate, use dehumidification in the cleaning window and drying day.
For sweat management, consider position changes too: prolonged direct contact in the same seat pattern increases oil pooling. Even small routine changes reduce uneven wear.
Q: Does a seat cover trap sweat and make odors worse?
It can, but a breathable, washable cover used with regular laundering typically reduces embedded odors compared with letting sweat soak into fabric.
Conclusion
When it comes to how to clean fabric gaming chairs, start by vacuuming thoroughly, spot-cleaning stains using the chair’s care code, and deep-cleaning only when embedded grime or persistent sweat odor requires it. Finish by removing residue carefully and drying the chair fully with airflow to prevent mildew, lingering smells, and re-soiling. If you follow this structured workflow—and adjust the chemistry to W/S/X—you’ll protect the fabric while keeping the chair comfortable and presentation-ready for both daily play and longer-term ownership.
Frequently Asked Questions
How do I clean a fabric gaming chair without damaging the upholstery?
Start by vacuuming the chair thoroughly with an upholstery attachment to remove dust, crumbs, and hair. Test any cleaner in a hidden area first, then use a microfiber cloth and a gentle upholstery-safe formula to spot-clean stains rather than soaking the fabric. Avoid harsh chemicals, excessive scrubbing, and soaking the chair cushion, since fabric gaming chair padding can hold moisture and develop odors or mildew. Finish by blotting with clean water and drying completely with airflow or a fan.
What’s the best way to remove sweat stains and body odors from a fabric gaming chair?
Mix a small amount of mild detergent with cool water, then blot the affected areas using a damp cloth—do not saturate the foam inside. For odors, sprinkle baking soda lightly over the dry fabric, let it sit for several hours (or overnight if possible), and vacuum it up gently. If odors persist, use an upholstery cleaner labeled safe for fabric and ensure the chair dries fully before use to prevent lingering smells.
Which cleaning method works best for different fabric chair stains (food, grease, ink)?
For food and general grime, mild detergent and cool-water blotting usually works best for fabric gaming chairs. Grease stains respond better to an upholstery-safe degreaser or a tiny amount of dish soap on a cloth (test first), while ink often requires an appropriate fabric ink remover or rubbing alcohol applied very lightly to a cotton swab on the stain. Always blot rather than rub to avoid pushing the stain deeper into the weave, and rinse/blot lightly with water after using any spot treatment.
How do I clean a fabric gaming chair with removable covers?
If your chair has removable fabric covers, check the tag for washing instructions before proceeding. Pre-treat visible stains with a gentle upholstery stain remover, then wash on a delicate cycle with cold water and a mild detergent if the tag allows machine washing. Air-dry fully (avoid high heat and dryers unless the label explicitly permits it) and make sure the cover is completely dry before reattaching to prevent mildew.
Why is it important to dry your fabric gaming chair properly after cleaning?
Fabric chair cushions and upholstery often trap moisture, and inadequate drying can lead to musty odors and mildew growth. After cleaning, blot excess moisture with a dry towel, then use a fan and improve airflow around the chair until it’s fully dry to the touch. If you notice lingering dampness, continue drying before sitting on the chair to protect both hygiene and the longevity of your fabric gaming chair.
📅 Last Updated: August 05, 2026 | Topic: How to Clean Fabric Gaming Chairs | Content verified for accuracy and freshness.
References
- Google Scholar Google Scholar
https://scholar.google.com/scholar?q=how+to+clean+fabric+upholstery+stains+at+home - Google Scholar Google Scholar
https://scholar.google.com/scholar?q=best+practices+for+cleaning+and+maintaining+upholstered+furniture+fabric - Google Scholar Google Scholar
https://scholar.google.com/scholar?q=upholstery+cleaning+microbial+control+laundering+home+guidelines - Coronavirus Disease 2019 (COVID-19) | Covid | CDC
https://www.cdc.gov/coronavirus/2019-ncov/community/clean-disinfect.html - https://www.who.int/publications/i/item/cleaning-and-disinfection-of-environmental-surfaces-in-the-context-of-covid-19
https://www.who.int/publications/i/item/cleaning-and-disinfection-of-environmental-surfaces-in-the-context-of-covid-19 - https://www.epa.gov/coronavirus/how-to-clean-and-disinfect-your-facility
https://www.epa.gov/coronavirus/how-to-clean-and-disinfect-your-facility - Upholstery
https://en.wikipedia.org/wiki/Upholstery - Stain removal
https://en.wikipedia.org/wiki/Stain_removal - Carpet cleaning
https://en.wikipedia.org/wiki/Carpet_cleaning - https://pubmed.ncbi.nlm.nih.gov/?term=laundry+fabric+disinfection+home+guidance
https://pubmed.ncbi.nlm.nih.gov/?term=laundry+fabric+disinfection+home+guidance
