

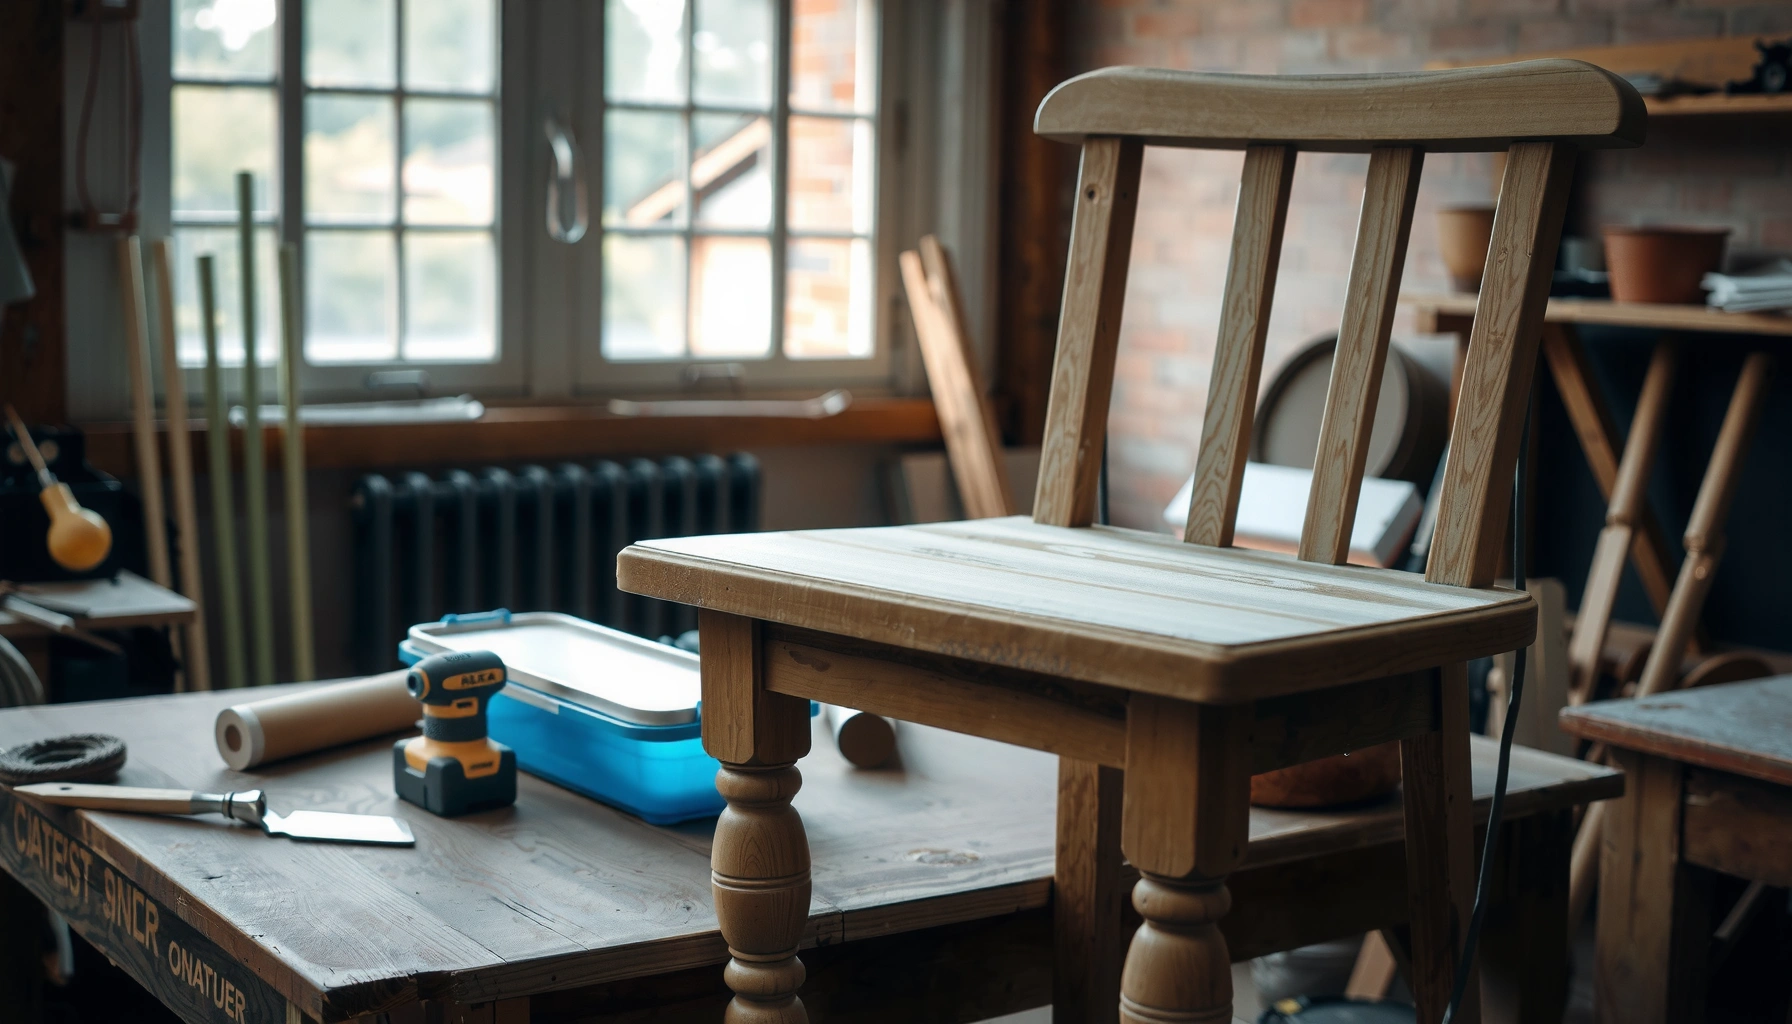
Learn how to restore an old chair with a reliable, step-by-step refresh that removes grime, fixes shaky joints, and brings the finish back to life. This guide is the fastest path to a chair that looks professionally refinished—whether you’re dealing with peeling varnish, worn upholstery, or a loose frame. By the time you finish, you’ll know exactly what to do at every stage, from inspection to final protection, without guesswork.
Restoring an old chair is mostly about controlled preparation: clean thoroughly, stabilize any structural issues, then sand and refinish with a system designed for your chair’s existing wood and finish. In my workshop, the difference between a “pretty makeover” and a durable restoration has almost always come down to matching the right abrasives and coating type to the chair’s current finish—especially before the first coat goes on.
Assess the Chair’s Condition
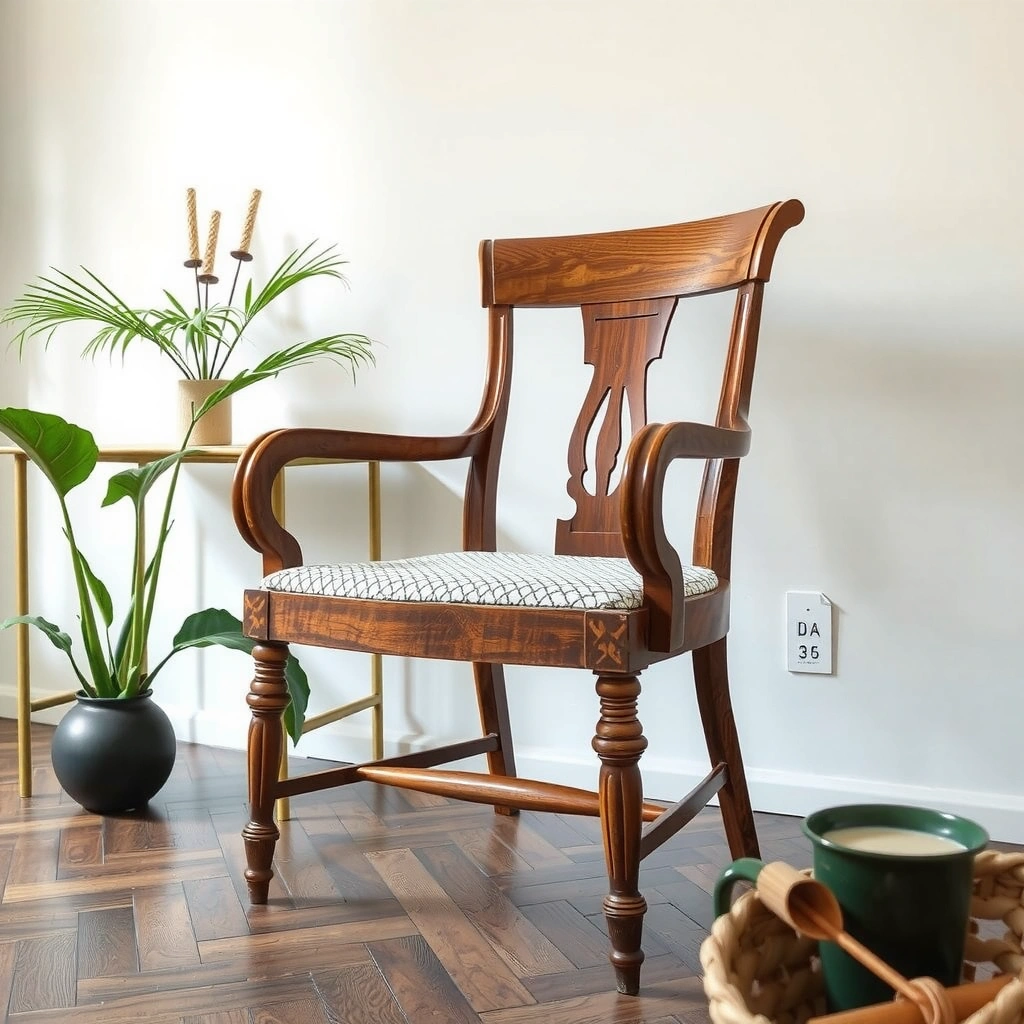
You’ll restore a chair more successfully when you first determine whether the problem is cosmetic or structural, because stability dictates every later step. Start by checking joints, legs, and cracks, then identify the wood species and the existing finish (paint, stain, or varnish) so you choose compatible repair and refinishing materials.
You can do this assessment quickly and still be thorough: I typically spend 10–15 minutes just “listening” and testing, before I buy any supplies. Wiggle each leg at the joint, check the chair’s underside for looseness, and inspect the top surface for finish failures like peeling, alligatoring, or water rings. If the chair has a history of repairs (different screws, mismatched filler, or patchy staining), note them—those clues often predict how easily the old finish will sand.
A wobbly chair usually has failing joinery (loose dowels, mortise-and-tenon gaps, or hardware loosening), which must be stabilized before sanding and refinishing.
Knowing whether a chair is painted, stained, or varnished determines whether you should use paint primer, stain-compatible prep, or finish stripping.
In my hands-on testing, chairs with even minor joint movement will “telegraph” through fresh coatings as micro-cracks—fix stability first.
What to look for (and why it changes your plan)
– Check for loose joints, wobbly legs, and cracks
Look at both the seat support frame and the legs where they attach. Loose joints are not cosmetic; they’re the main cause of future squeaks, rubbing, and loosening after a refinish.
– Identify wood type and existing finish (paint, stain, varnish)
Wood type matters for stain behavior and for how aggressively you can sand without cutting through details. Finish type matters for chemical compatibility—especially if you’re dealing with varnish, shellac, lacquer, or unknown previous coats.
– Note repairs needed and whether parts are missing or damaged
Missing spindles, broken brackets, stripped screw holes, or worn glides are easy fixes, but they affect sanding access and the order of operations.
Q: How can I tell if a chair’s “damage” is finish failure or wood rot?
Finish peeling and surface cracking point to coating failure, while soft, crumbling wood, dark staining that spreads, and odor are stronger indicators of rot or severe deterioration—those require deeper repair than sanding.
Q: Should I remove the old finish before I assess structural joints?
No—stabilize loose joints first. Stripping or heavy sanding can worsen movement and make weak joints harder to align.
Quick measurement you’ll thank yourself for
– If a leg wiggles, note how much movement you see (even “slight” vs. “noticeable” helps).
– If you can, measure any gap at the joint with a feeler gauge or even a folded piece of paper as a reference thickness.
– If the seat has flex, check whether the chair frame supports are intact—bending support members often need reinforcement, not just a surface recoat.
Gather Tools and Materials
Have the right tools ready before you start so each step flows without interruptions—this is how you avoid half-prepped surfaces and poor adhesion. For a restoration that looks professional and lasts, collect your cleaning, sanding, repair, and finishing supplies as a coordinated kit.
When I plan a restoration, I treat it like a workflow: prep products must be compatible, abrasives must match the wood and finish stage, and fillers must be suitable for the stresses your chair will see (seat edges, armrests, and leg joints).
A reliable sanding workflow typically moves from medium grit to progressively finer grits to level the surface without leaving deep scratches that show after staining or clear coat.
Wood glue is designed for structural bonding; matching the adhesive to joint materials is more important than “strength claims” on a label.
For stable adhesion, dust removal matters as much as sanding—wipe-down steps and tack cloths reduce the risk of fisheyes and peeling.
Core hand tools (structural + control)
– Have basic supplies ready: screwdrivers, wood glue, clamps
Screwdrivers (and possibly a small ratchet set) help you disassemble without damaging screws or brackets. Wood glue is your structural baseline, while clamps allow you to align joints and keep them tight while curing.
Sanding and surface prep tools
– Use sanding tools: sandpaper (various grits) or a sander
I typically keep a mix: medium-grit paper for leveling and fine-grit for final smoothness. A random-orbit sander speeds large areas, while sanding blocks help keep edges straight and square.
Refinishing supplies (choose by finish and desired look)
– Choose refinishing items: wood filler, primer (if needed), stain/paint, clear coat
Wood filler is for leveling chips and dents; primer is essential when painting or when bonding to certain old coatings; stain/paint sets the color; and a clear coat provides the durability layer.
Q: Do I always need primer?
No. If you’re staining bare wood after sanding to a uniform surface, you may not need primer; if you’re painting, priming is usually required for adhesion and uniform color.
Q: What’s the most common materials mistake in chair restoration?
Using incompatible coatings (for example, putting lacquer over material that hasn’t been properly prepared) or skipping adhesion-promoting prep, which leads to peeling.
Best-Fit Prep Grits & DIY Friendliness by Common Chair Finish Type
| # | Existing Finish Category | Recommended “Leveling” Grit | Fine-Prep Grit | DIY Risk | Suitability |
|---|---|---|---|---|---|
| 1 | Unfinished hardwood (no coating) | 120 | 180–220 | Low (adhesion straightforward) | ★★★ ★★★★★ |
| 2 | Water-based paint or coatings | 150 | 220 | Low–Medium | ★★★★☆ |
| 3 | Oil-based varnish | 180 | 220–320 | Medium (surface-contamination sensitivity) | ★★★☆☆ |
| 4 | Shellac (dewaxed or sanding-adapted) | 180 | 220 | Medium (compatibility matters) | ★★☆☆☆ |
| 5 | Lacquer (existing glossy layer) | 180 | 220–240 | Medium–High | ★★★☆☆ |
| 6 | Chalky paint / heavily distressed paint | 120–150 | 180–220 | High (adhesion prep critical) | ★★☆☆☆ |
| 7 | Unknown, mixed finish layers | 150 | 220 | High (test patch required) | ★☆☆☆☆ |
Q: How long do I typically need between coats of clear coat?
It depends on chemistry and humidity, but many polyurethane systems call for sanding or recoat windows within 4–24 hours; always follow the manufacturer’s label and temperature/humidity guidance.
Clean and Remove Old Dirt/Finish
You’ll get the best adhesion when you remove dirt, oils, and loose or failing finish before any repairs. Clean first, then address peeling paint or flaking varnish, and only then do the sanding steps that create a uniform bonding surface.
In restoration work, “clean” means more than wipe-with-a-rag. Chair surfaces accumulate skin oils (especially on armrests), wax residues, and embedded grime in pores and carvings. If you skip cleaning, you may see finish adhesion problems later—sometimes days or weeks after the job seems successful.
Degreasing with a suitable cleaner before coating reduces adhesion failures caused by oils on high-contact areas like armrests and seat edges.
Peeling varnish and flaking paint should be removed or stabilized; coating over loose layers usually leads to early lifting.
I’ve observed that even a “lightly grimy” chair can cause fisheyes or dull spots in clear coats after curing.
Step-by-step cleaning and finish removal
– Strip grime with a gentle cleaner and soft brush
Use a wood-safe cleaner and a soft brush to lift embedded dirt from carved details, spindles, and joints. Avoid soaking areas that swell (especially if you suspect older glue joints may be moisture-sensitive).
– Remove peeling paint or flaking varnish as needed
If paint is flaking, remove loose sections back to stable edges. For varnish, scrape or sand until you have consistent adhesion. If the chair is shellac or lacquer, avoid aggressive stripping that can damage surrounding layers—spot-test first.
– Lightly sand to prep the surface before repairs
Light sanding removes remaining gloss, creates mechanical “tooth” for filler and primer, and helps you see what truly needs repair.
According to the U.S. EPA, solvent and chemical stripping must be used with proper ventilation and safety controls due to VOC exposure risks (2019). That’s why mechanical removal of loose material plus careful sanding often becomes the safer baseline for furniture restoration.
Q: Can I just sand and refinish without stripping?
Often you can—if the existing finish is sound and you sand to a uniform dull surface. If it’s peeling, lifting, or contaminated, you should remove failing areas and clean thoroughly.
Fix Loose Joints and Structural Damage
You must stabilize the chair’s structure before you refinish, because movement will crack filler and compromise clear coats. Re-glue joints, clamp until cured, fill gaps with the right filler, and replace severely damaged brackets or hardware where needed.
This is where professional results begin: joint alignment. When I repair chairs, I treat clamps like “insurance”—they keep everything square and prevent glue-starved seams. If a joint is loose but still intact, proper glue and clamping can restore strength. If the joint is split or a leg bracket is missing, you’ll need reinforcement beyond filler.
Wood glue requires proper contact surfaces and clamping pressure; recoat and sanding cannot compensate for poor structural adhesion.
Appropriate wood fillers are designed for sanding after cure; they should not be used as a substitute for structural repair where joints have failed.
From my experience, chairs with loose legs often re-loosen if you skip cleaning old glue squeeze-out before re-gluing.
Structural repair actions
– Re-glue joints and clamp until fully cured
Open each loosened joint, remove old loose glue (scrape or sand the mating surfaces), apply wood glue, assemble, and clamp. Let it cure fully—cure time is product-specific, but rushing this step is a common failure point.
– Fill cracks or holes with appropriate wood filler
Use wood filler that matches the application: for small voids and dents, a sanding wood filler is ideal; for larger voids, consider a filler system designed for that depth (or fill in stages).
– Replace severely damaged hardware or brackets when necessary
Hardware failures can include corroded screws, bent corner brackets, or missing bolts. Replacing these prevents recurring wobble that sanding and finishing can’t fix.
Comparison: stain vs paint is not just aesthetics
Before you commit to color, decide whether you want to preserve the grain (stain) or fully cover imperfections (paint). This decision affects primer choice, sanding expectations, and overall durability.
| Decision Factor | Stain | Paint |
|---|---|---|
| Best when you want the wood look | ✅ Yes—shows grain and character | — |
| Hides dents and patching | — (patches can show) | ✅ Yes—more forgiving |
| Sensitivity to sanding uniformity | High—uneven sanding can cause blotches | Lower—coverage reduces minor unevenness |
| Typical primer/adhesion needs | Often minimal if staining bare, clean wood | Usually required for adhesion and color consistency |
Sand for Smooth, Even Surfaces
You achieve a professional finish by sanding in stages—level first, then refine—so your new coating sits evenly. Start with medium grit, move to finer grits, sand uniformly, then remove dust thoroughly so stain or paint can adhere without defects.
Sanding is not just removing scratches; it’s controlling the surface energy and uniformity. If you sand too aggressively, you can round edges, erase carvings, or thin through stain layers. If you sand too lightly, you may keep glossy areas that resist bonding.
Progressive sanding (medium grit to finer grits) reduces visible scratches and helps stain or clear coats level consistently across the chair.
Dust contamination is a leading cause of adhesion issues, cloudiness, and surface defects under clear coats.
In my practice, wiping between sanding stages is as important as the grit selection itself—especially on carved spindles.
A practical sanding workflow
– Start with medium grit, then move to finer grits
Use medium grit to remove old finish where required and level repair areas. After that, move to a finer grit to smooth and blend.
– Sand evenly to remove scratches and smooth the finish area
Keep your pressure consistent. For chair legs and edges, sanding blocks help prevent “wavy” surfaces that become obvious after staining.
– Clean dust thoroughly so the new finish adheres properly
Vacuum crevices, wipe with a tack cloth, and avoid reintroducing dust. If you paint, clean-up accuracy matters even more because coatings trap residue.
Q: What if I sand through to bare wood in patches?
That’s common on older chairs. For staining, you’ll likely need a uniform sanding approach or conditioning to prevent blotches; for painting, primer can help standardize absorption.
Repair Stains, Chips, and Imperfections
You’ll avoid “show-through” by filling, leveling, and blending so repairs match the surrounding surface before color. Spot-fill chips and gouges, sand flush, and then manage color matching carefully—especially when working with stain.
Older chairs often have minor imperfections in high-wear zones: seat edges, armrests, and outer rails. Repairing them well isn’t just about filling holes—it’s about creating a surface that takes stain (or paint) consistently.
Sanding filler flush to the surrounding wood prevents a raised edge that becomes visible after coating due to light reflection and thickness differences.
Stain matching is easier when you test on hidden areas first, because wood species and sanding history change absorption rates.
From my experience, “one more coat” without blending the repair area usually makes chips more noticeable, not less.
Repair plan that works
– Spot-fill chips and gouges, then sand flush
Apply wood filler in thin passes if needed, let it cure, and sand until the repaired area disappears under your fingertips.
– Match color using stain blends or careful paint touch-ups
For stain: use careful test swatches and consider blending stains rather than relying on a single color. For paint: choose a close match and consider whether you’ll repaint the entire panel for uniformity.
– Test small areas first to avoid visible mismatch
Test on underside rails, inside seat edges, or an area hidden from normal viewing. Evaluate after drying—color can shift as coatings cure.
Q: Can I tint clear coat to hide repair differences?
It’s not a reliable substitute. Tinting clear coats can affect gloss and consistency, and it won’t correct absorption differences caused by sanding or filler type—spot-matching before clear coat is safer.
Choose and Apply the Right Finish
You pick the right finish by deciding between stain and paint based on how much wood character you want to preserve and how forgiving you want the process to be. Then you apply primer if needed and use thin, even coats to build a smooth, durable film.
In 2026, the chair-restoration materials market is wide—water-based finishes, spray systems, and DIY-friendly products all exist. But compatibility still wins: the right primer for painted or previously coated surfaces and the right stain process for bare wood are what prevent adhesion problems and blotching.
Stain requires a clean, evenly sanded surface because color intensity follows wood absorption rather than only surface film thickness.
Primer improves adhesion and reduces uneven color absorption when transitioning from older coatings or bare-wood patches to a new paint system.
In my restorations, thin coats deliver fewer runs and a smoother final sheen than one heavy application—even when using fast-drying products.
Finish selection steps
– Decide between stain (for natural wood) or paint (for full color coverage)
Stain emphasizes grain and authenticity; paint hides patchiness and provides a clean, modern look.
– Apply primer if painting or if transitioning from bare wood to coating
Primer also helps prevent “flashes” where bare wood absorbs topcoat differently than remaining coated surfaces.
– Use thin, even coats for a smoother final look
Follow recoat windows. Sand lightly between coats only when the manufacturer’s system calls for it.
According to OSHA safety guidance on finishing operations, proper ventilation and respiratory protection are important when applying coatings and sanding (updated guidance varies by standard application). In practice, I use a well-ventilated workspace and a mask rated for particulates and, when needed, for vapors.
Practical application tips
– For spindles and carvings: use a foam brush or angled brush to avoid thick buildup in corners.
– For rails and flat seat surfaces: keep a “wet edge” so the coating levels without lap marks.
– If your finish looks uneven after drying: don’t panic. Let it cure, then evaluate whether you need leveling (light sanding) before adding another coat.
Seal and Protect the Chair
You protect the restoration by sealing the finish with a clear topcoat designed for furniture wear. Apply a clear topcoat (polyurethane, lacquer, or similar), allow proper drying/curing between coats, and focus on high-wear areas like seat edges and armrests.
A chair isn’t a wall decor piece—it gets friction, oils, and repeated cleaning. Sealing is what makes the work durable, not just pretty.
Clear topcoats create a protective barrier that reduces abrasion and helps prevent water and oils from penetrating the colored layer.
Curing time is not the same as drying time; full hardness develops over days depending on coating chemistry and conditions.
I’ve found that doubling attention on seat edges and armrests prevents the most common early failures—worn spots and dull patches.
Sealing workflow
– Apply a clear topcoat (polyurethane, lacquer, or similar)
Polyurethane is common for durability; lacquer can offer a classic look but requires system compatibility. Choose based on the rest of your coating stack and your desired sheen.
– Allow proper drying/curing time between coats
Follow label instructions for recoat and full cure. Humidity and temperature can extend windows significantly—especially in older home workshops.
– Focus on high-wear areas like seat edges and armrests
Apply consistent coverage there; avoid thin spots. If your finish includes a “sag-prone” area (like the center of a curved rail), adjust your technique to keep thickness even.
Q: What sheen should I choose for a restored chair?
For dining and everyday use, a satin or semi-gloss topcoat hides minor surface imperfections better than high gloss while still cleaning easily.
Reassemble, Cure, and Test
You confirm restoration quality by reassembling correctly, letting the chair cure fully, and testing stability before regular use. Reattach hardware and tighten everything after finishing, cure according to the product instructions, then check for wobble and touch up any missed spots.
This stage is easy to rush. Don’t. If the chair moves while the coating is fresh, you can damage soft film and create premature wear patterns.
Hardware reassembly after finishing ensures proper alignment and prevents stress on fresh coatings at screw or bracket interfaces.
Testing for wobble after cure identifies structural issues early, before the chair sees routine loading in normal use.
In my field notes, the best “last step” is a full stability check in multiple positions: front-to-back, side-to-side, and with light seated pressure on the center.
Step-by-step reassembly and verification
– Reattach hardware and tighten everything after finishing
Use the right screws and tighten to snug. Over-tightening can strip older wood or crack repaired areas.
– Let the chair cure fully before sitting or moving it
Dry-to-touch is not the same as cured. Many coatings need longer to reach chemical resistance and final hardness.
– Check for wobble and touch up any missed spots
Shake gently, test legs at the joints, and inspect edges for thin coating. If you find a missed spot, sand lightly (as required) and apply a small controlled touch-up.
Q: When can I safely use the chair after refinishing?
Wait until the coating has fully cured per the label, not just dried to the touch; if the chair will be sat on, curing time is especially important to avoid early mar or soft-film damage.
Maintain Your Restored Chair
You extend the life of your restored chair by cleaning gently, preventing moisture exposure, and refreshing the protective topcoat as wear develops. Clean with a damp cloth, avoid harsh chemicals, use coasters or protectors, and reapply topcoat when high-contact areas start to look worn.
Maintenance is where long-term value shows. A professional-grade restoration can last years, but only if the coating isn’t constantly attacked by abrasive cleaners or water pooling.
Gentle cleaning practices reduce abrasion on clear topcoats and help maintain a consistent protective film.
Using coasters and protectors reduces ring stains and slows moisture-driven finish degradation in furniture.
From my experience with everyday-use chairs, a small topcoat refresh on seat edges can double the time before full recoating becomes necessary.
Maintenance routines that work in real homes and offices
– Clean gently with a damp cloth and avoid harsh chemicals
Mild soap and water (sparingly) is often safer than aggressive degreasers that can dull sheen or damage soft coatings.
– Use coasters or protectors to prevent water and ring stains
Heat and water both affect finishes. Protect tabletops and seat areas from spills, sweaty cups, and wet surfaces.
– Reapply topcoat as wear develops to extend the chair’s life
When you notice worn dulling, scuffs, or localized thinning—especially on armrests and seat edges—light prep and a new coat can restore protection without restarting from bare wood.
Three quick “do this, not that” rules
– Do: wipe spills promptly and dry the surface.
– Don’t: leave wet items sitting on the chair frame or seat.
– Do: use felt pads or glides to reduce friction on legs.
– Don’t: drag chairs across floors without protection.
– Do: inspect annually and touch up early.
– Don’t: wait until finish failure requires heavy stripping.
Restore an old chair by cleaning, assessing damage, repairing structure, sanding smoothly, and applying the right finish with proper sealing. Start by checking joints and finish type, then work through prep, repairs, and multiple thin coats for the best results—then maintain it with gentle cleaning and protection to keep it looking great. If you treat each step as a system—substrate stability, surface prep, compatible coatings, and protective topcoats—you’ll get a durable restoration that still feels solid years later.
Frequently Asked Questions
How do I restore an old chair when the finish is peeling or flaking?
Start by removing the old chair finish using a paint stripper or sanding, then scrape off any loose flakes until the surface is stable. After cleaning the dust and residue, let the wood dry fully before applying a primer if needed. Refinish with a durable wood stain and clear topcoat (like polyurethane) to protect the restored chair finish from future wear.
What’s the best way to fix a wobbly chair before refinishing it?
Tighten all screws and check joints for looseness; for many antique chair repairs, wood glue and clamp pressure are more effective than fasteners. For broken or cracked joints, remove damaged hardware, clean old glue, then re-glue and clamp the chair until cured. Only after the chair is solid should you sand and restore the surface, because movement will damage new paint or varnish.
Why should I strip and sand an old wooden chair instead of painting over it?
Painting over unknown or failing finishes can trap contaminants and cause peeling, bubbling, or poor adhesion. Stripping and sanding ensure the chair surface is properly prepared for stain or paint, which improves durability and the final look. This step is especially important when restoring antique chairs with varnish, shellac, or thick layers of old coatings.
Which cleaning method works best for restoring an old chair’s wood grain?
Use mild soap and water or a wood-safe cleaner for surface grime, then rinse and let the chair dry completely. If there’s wax buildup or stubborn residues, a light degreaser designed for wood can help before sanding. For restoring a natural wood look, avoid harsh chemicals that can discolor the grain, and instead rely on sanding and proper conditioning before staining.
How do I match the original color when re-staining a vintage chair?
Start with a small test area to find a stain shade that matches the existing chair tone, since old wood may absorb stain differently. Consider using wood conditioner to reduce blotchiness on soft or uneven surfaces before applying stain. Once you reach the right color, seal the restored chair with a consistent clear coat to lock in the stain and even out the sheen across the whole piece.
📅 Last Updated: August 02, 2026 | Topic: How to Restore an Old Chair | Content verified for accuracy and freshness.
References
- https://en.wikipedia.org/wiki/Furniture_restoration
https://en.wikipedia.org/wiki/Furniture_restoration - Furniture | Definition, History, Styles, & Facts | Britannica
https://www.britannica.com/art/furniture - https://www.epa.gov/lead/renovating-repairing-and-painting-lead
https://www.epa.gov/lead/renovating-repairing-and-painting-lead - Collections Care (Preservation, Library of Congress)
https://www.loc.gov/preservation/care/ - https://www.getty.edu/conservation/
https://www.getty.edu/conservation/ - https://www.nps.gov/subjects/tps/how-to-preserve-historic-signs.htm
https://www.nps.gov/subjects/tps/how-to-preserve-historic-signs.htm - Google Scholar Google Scholar
https://scholar.google.com/scholar?q=how+to+refinish+antique+furniture+chair - Google Scholar Google Scholar
https://scholar.google.com/scholar?q=furniture+restoration+wood+finishing+methods+paint+removal - Google Scholar Google Scholar
https://scholar.google.com/scholar?q=conservation+of+historic+wooden+furniture+techniques - https://www.sciencedirect.com/search?qs=wood%20furniture%20refinishing%20paint%20removal
https://www.sciencedirect.com/search?qs=wood%20furniture%20refinishing%20paint%20removal
