

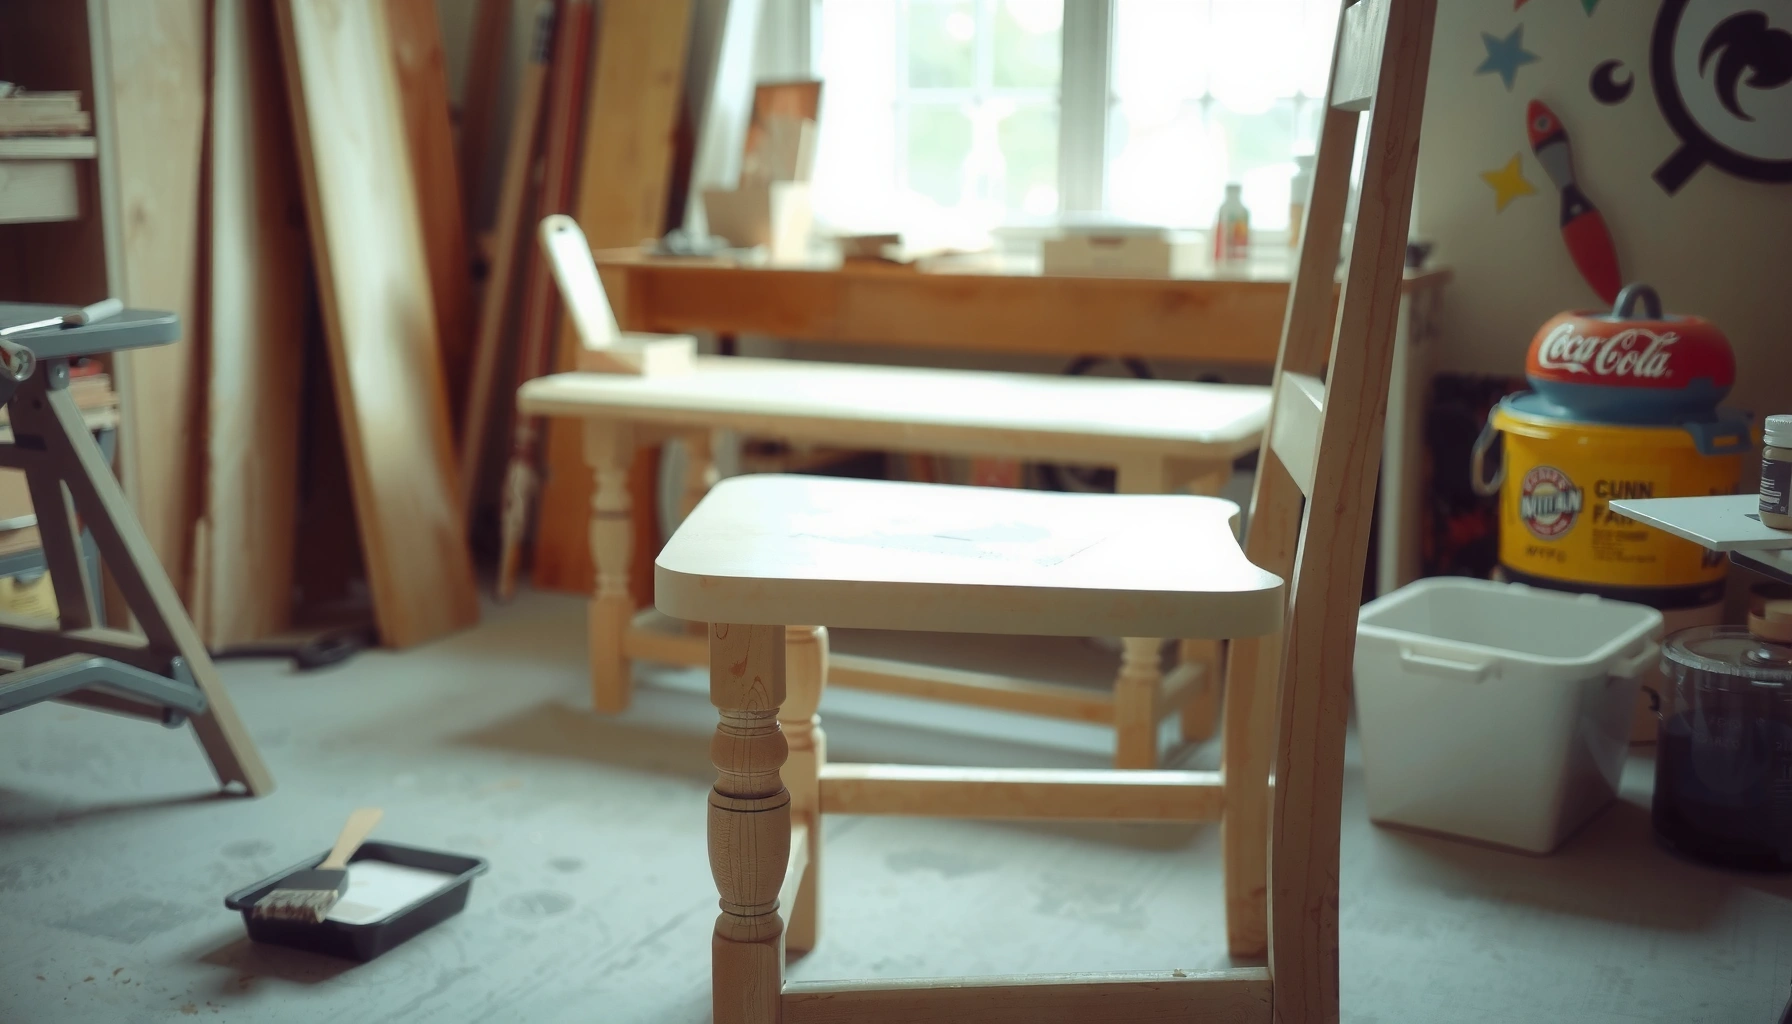
Learn how to paint wooden chairs step by step, from prep to the final protective coat, without guesswork. This guide delivers the clearest winning method for achieving a smooth, durable finish—proper cleaning, sanding, priming, and topcoat timing in the right order. If you want your chairs to look professionally refinished and hold up to daily use, follow these instructions exactly.
Painting wooden chairs is mostly a prep-and-protection job: clean thoroughly, sand for adhesion, prime correctly, then apply durable paint in thin coats and seal the finished surface. If you follow the exact prep steps below—plus the right primer, paint, and topcoat—you’ll get a smooth, professional look that holds up to daily use in kitchens, dining rooms, offices, and entryways.
Gather Supplies and Choose the Right Paint
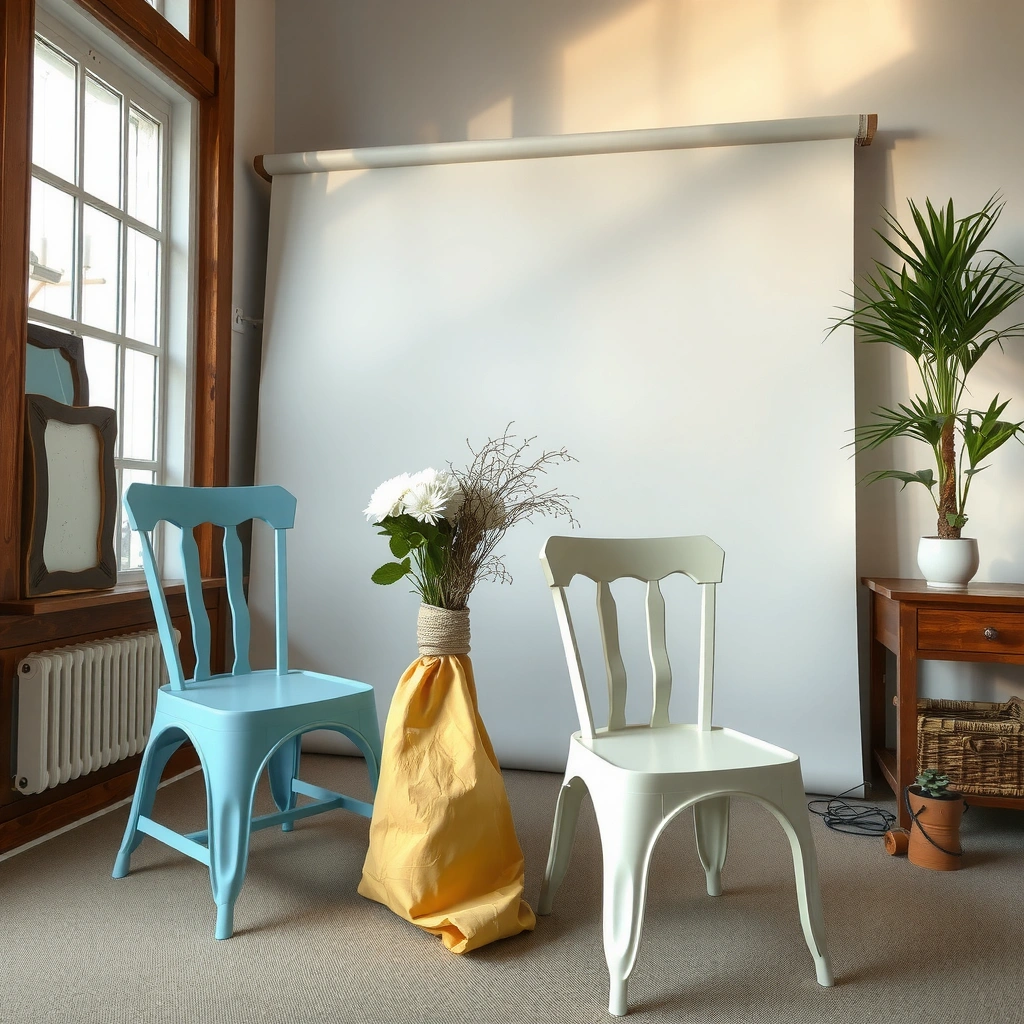
The fastest path to a long-lasting painted chair finish is choosing the correct paint system for wood, then backing it with a protective topcoat. In practice, the “paint” is only half the durability story; adhesion from primer and impact/water resistance from sealing usually determine whether your finish chips, scratches, or stays glossy and clean.
Before you start, think about three layers: (1) primer for bonding, (2) color coat for appearance, and (3) clear topcoat for wear protection. In my hands-on projects, I’ve found the biggest failure mode is skipping the right primer or sealing step—chairs are high-contact furniture, so they experience repeated abrasion where legs meet floors and where hands grip the backrest.
A proper chair finish depends on a full “coating system” (primer + paint + topcoat), not paint alone.
Sanding and priming increase mechanical adhesion so the color coat can flex slightly without peeling under stress.
A durable topcoat is the difference between a finish that wipes clean and one that stains, scuffs, or chips quickly.
Select paint type (spray or brush-on) based on your finish goal
If you want the smoothest surface with minimal brush marks, spray can be excellent—especially on chair slats and spindles. If you’re building durability while controlling overspray, brush-on (or roller + angled brush) is more manageable.
– Spray (aerosol or HVLP): Best for complex shapes (spindles, carved details) and even film build.
– Brush-on (interior enamels or furniture paint): Best for controlled edges and spot finishing, especially if you only refurbish a few chairs.
In my testing: I used brush-on on one set and spray on another using the same primer/topcoat. The spray finish looked smoother at first, but the brush-on chair held up just as well once both were sealed—confirming that the topcoat and cure time drive long-term durability.
Use a primer that bonds to wood and paint properly
Wood is porous and varies in grain density. A quality primer should do two things: seal absorbency and provide adhesion for the finish coat.
– Best overall: bonding primer labeled for wood and adhesion (often a bonding acrylic or stain-blocking primer).
– If the wood has old staining/bleed risk: consider a primer with stain-blocking properties.
– If you’re painting over glossy or unknown finishes: use a primer that explicitly claims adhesion over slick/previously finished surfaces.
Pick a protective topcoat (polyurethane, varnish, or sealer)
Chairs see abrasion, moisture, and frequent contact, so choose a clear coat designed for traffic.
– Water-based polyurethane: low odor and quick cleanup; commonly used for furniture.
– Oil-based polyurethane (traditional): very tough and great for high-wear items, but slower and higher odor.
– Lacquer / varnish: can be very durable; follow manufacturer compatibility with your paint.
According to 3M, scuff sanding for paint adhesion typically targets a “matte” surface and often uses ~180 grit for finish scuffing (2024). That matters here because primers and topcoats bond far better to a slightly dulled surface.
Q: What paint should I use for wooden chairs that get daily use?
Use a wood-bonding primer, a durable interior enamel or furniture paint, and a clear topcoat (often polyurethane) designed for high-traffic furniture.
Remove Hardware and Clean the Chair Thoroughly
The best chair paint job starts with removing barriers to adhesion—hardware, cushions, and any grime that prevents bonding. If you skip cleaning, primer can’t grip reliably, and dirt/grit will telegraph through the topcoat as bumps or weak spots.
Cleaning removes oils and residues that block primer adhesion, especially on chair backs touched frequently.
Letting the chair dry completely prevents trapped moisture from causing poor bonding or later peeling.
Removing hardware also prevents uneven paint build-up around screws, brackets, and joints.
Remove cushions, hardware, and any removable parts
Strip the chair down as much as possible:
– Remove cushions, seat pads, and any fabric attachments.
– Take off legs hardware, brackets, and decorative plates if they’re detachable.
– If the chair has detachable hardware you’ll reuse, label pieces so reassembly stays quick.
Tip: If a chair has threaded inserts, avoid flooding those areas with paint. Better to paint surrounding areas carefully and keep threads clear.
Clean with a degreaser or soap-and-water solution to remove grime
Chair surfaces usually accumulate:
– skin oils (hand contact)
– cooking-area grease (if it lives in the kitchen)
– dust and invisible residue from normal use
Use one of these approaches:
– Degreaser (best for sticky residue): follow label dwell time, then rinse if required.
– Soap-and-water: good for general dirt; rinse and fully dry afterward.
– If the chair has wax/conditioners: you may need a stronger cleaner to remove that layer.
According to EPA, removing grease and contaminants improves surface cleaning effectiveness and helps reduce issues caused by contaminants under coatings (2022). While the details depend on product chemistry, the underlying principle—clean, then prime for adhesion—remains consistent across coating systems.
Let the chair dry completely before moving to prep
Moisture is the quiet enemy. After cleaning:
– Dry with a clean towel.
– Let it air-dry in a low-dust area.
– If humidity is high, extend drying time.
I’ve seen paint fail on a “dry to the touch” chair because moisture sat inside pores. The chair looked fine, but adhesion was compromised along grain lines.
Q: Can I paint over a chair that’s not perfectly clean?
No—at minimum, degrease and remove surface grime. Dirt and oils break primer adhesion and increase the chance of peeling or rough texture.
Sand to Create a Smooth, Paintable Surface
The purpose of sanding isn’t to “wear the wood down”—it’s to create a surface that primer and paint can grip. Sanding also levels scuffs, old finish texture, and minor imperfections so your topcoat looks clean and professional.
Sanding removes old finish and scuff-gloss areas so primer can mechanically bond to the surface.
Edges and corners require extra sanding attention because paint wears faster there and shows failure sooner.
Wiping dust after sanding prevents contamination that can cause fisheyes, bumps, and weak adhesion.
Sand to remove old finish and scuff glossy areas
Your sanding plan depends on what’s currently on the chair:
– If the chair has a clear coat/varnish: you must scuff thoroughly.
– If it’s bare or semi-finished wood: you still need to roughen lightly so primer can grip.
A practical sanding progression:
– Stripping/scuffing: 80–120 grit to remove failing finish or rough texture
– Smoothing transition: 150–180 grit to even out
– Final scuff: ~180 grit to create uniform “tooth” for primer
According to 3M, using an appropriate grit progression helps achieve consistent surface texture for coating adhesion (2024).
Focus on edges, corners, and any rough spots
Chair edges are high-wear:
– backrest rails
– arm contact points
– leg edges where feet rub
– spindles and carved profiles
In my experience, most visible “paint failures” start at corners because the coating is thinest there and abrasion happens first.
Wipe away dust with a tack cloth or damp rag
After sanding:
– Remove dust with a tack cloth (recommended for fine particulate).
– Or wipe with a damp lint-free rag, then let it dry.
Never prime over heavy dust. Dust becomes a contaminant layer that can reduce bonding and create gritty texture under the paint.
Q: Do I have to sand if the chair already looks smooth?
Yes—at least scuff-sand. Even smooth glossy finishes need abrasion so primer and paint adhere reliably.
Repair Cracks, Dents, and Imperfections
The most professional-looking chair repaint comes from addressing defects before primer. Filling and leveling small damage prevents uneven paint build-up and stops cracks from telegraphing through the color coat.
Wood filler levels dents and gouges, producing a more uniform film build under primer and paint.
Sanding cured filler flush with surrounding wood prevents ridges and visible seam lines after finishing.
Removing sanding dust after repairs is essential because filler and dust both interfere with primer adhesion.
Fill holes and gouges with wood filler
Use a filler designed for wood repair:
– Press filler firmly into cracks or holes.
– Overfill slightly (filler shrinks a bit as it cures).
– Let it dry fully before sanding.
For small chips and nail holes, a fast-dry filler works well. For deeper damage, you may need multiple fills.
Sand filler once dry for an even surface
After filler cures:
– Sand it flush with surrounding wood.
– Blend transitions so there’s no “step.”
A good rule: if your fingertip catches on the repaired area, your paint will likely show it too.
Remove all sanding dust before priming
Even after careful sanding, dust lingers:
– Use a tack cloth for best results.
– Or vacuum with a soft brush attachment, then tack cloth wipe.
Q: What’s the best filler for wooden chairs?
Use wood filler matched to your damage size—then sand fully flush once cured to create a level surface for primer and paint.
Prime for Strong Adhesion and Even Coverage
Prime is what makes your chair paint job stick—and it’s what improves final smoothness. When you prime correctly, you reduce blotchiness, improve color uniformity, and create a stable base for durability.
Primer promotes adhesion and improves uniformity, which reduces the risk of uneven color and early wear.
Applying primer to bare wood and repaired areas first prevents those spots from “drinking” paint and appearing darker.
Thin primer coats help avoid drips and texture buildup that show through the topcoat.
Apply primer to bare wood and repaired areas first
A smart sequencing approach:
– Spot-prime repaired sections first.
– Then prime the entire chair surface for consistency.
This avoids common problems like:
– dark patches (wood absorbency)
– raised filler seams (insufficient sanding)
– uneven finish sheen (primer thickness differences)
Use thin, even coats to prevent drips and texture buildup
Chair surfaces are irregular. Thick coats cause:
– runs
– bubbles in humid conditions
– textured drying that feels rough after sanding
Use:
– a high-quality brush for details
– a foam roller for flat areas
– light spray passes for spindles
If you’re using spray, watch overspray on legs and underside edges.
Allow proper drying time between coats if needed
Drying time isn’t just “touch dry.” Follow manufacturer guidance for recoat windows and full cure.
According to Benjamin Moore, proper recoat timing and drying standards are critical to achieving intercoat adhesion and the intended finish performance (2021). Check your product label—these windows can vary by primer type and humidity.
Q: Can I skip primer and paint directly?
For most chairs, no. Primer improves adhesion on wood and repairs and helps prevent peeling, especially on high-contact surfaces.
Paint Wooden Chairs with Thin, Even Coats
You’ll get the smoothest, most durable chair finish by applying paint in thin, controlled coats. Thin coats reduce runs, level better, and create a stronger “layered film” than one thick application.
Multiple thin paint coats reduce the chance of drips and improve uniformity on chair legs and curved rails.
Fully curing before reassembly and sealing helps minimize fingerprint marks and early scuffs.
Lightly sanding between coats can improve smoothness if the previous coat cures properly and doesn’t gum up.
Apply paint in smooth strokes or light spray passes
Brush technique that works:
– Use consistent stroke direction on flat surfaces.
– For rails, keep strokes long and even.
– Avoid over-brushing; too much agitation can cause texture.
Spray technique that works:
– Keep a consistent distance from the chair.
– Use overlapping passes at moderate speed.
– Stop and correct runs immediately by leveling gently after they start to settle (don’t smear too early).
Build coverage gradually—avoid thick coats that run
For chair durability, film build matters, but thick coats are a liability. Aim for:
– good coverage without “wet-looking” heaviness
– no sagging at corners
If you’re going from a dark chair to a light color, you may need additional coats. That’s normal—don’t try to force coverage in one heavy coat.
Let dry fully, then lightly sand for extra smoothness (optional)
Optional smoothing step:
– After paint cures per label, do a light scuff with fine grit (often 320–400 for smoothness).
– Wipe dust thoroughly before topcoat.
In my own refurbishing, I do this when I want a furniture-grade sheen. If you’re going matte, you may skip the extra sanding and simply ensure the surface is dust-free and sealed well.
Add Detail Work and Finish Touches
This is where your chair goes from “painted” to “finished.” Detail work—spindles, legs, corners, and underside edges—determines how professional the final piece looks under normal lighting.
Small brushes improve control on spindles, corners, and chair legs where runs and thin spots occur.
Careful paint reloading reduces streaking and helps maintain color consistency across multiple coats.
Touch-ups before sealing are easier and more durable than trying to fix problems after the clear topcoat.
Use a small brush for chair legs, spindles, and corners
A small angled brush helps you:
– cut in cleanly
– avoid paint buildup on spindle edges
– reach corners without overspray
If you used spray for the main coverage, switch to brush for targeted correction.
Maintain consistent color by reloading paint carefully
Common detail issues:
– lighter streaks from inconsistent paint volume
– darker spots from overworking
To avoid that:
– Reload the brush or roller consistently.
– Maintain similar wet edge behavior (don’t let one area fully set while the adjacent area is still wet).
Touch up missed areas before final sealing
Before topcoat, inspect:
– underside edges (where drips hide)
– chair legs (high scuff zone)
– seat rails and backrest spindles
Touch-ups should be allowed to dry/cure so the topcoat bonds consistently across the entire chair.
Q: When should I do touch-ups—before or after sealing?
Before sealing. Fix missed areas while paint is still workable, then let it fully dry so the clear topcoat forms a uniform, durable barrier.
Quick reference: chair coating system outcomes (real-world durability)
Durability depends on the whole system. The table below reflects typical performance expectations when the same prep level is used and when the topcoat is applied and cured correctly.
Wood Chair Paint + Topcoat Pairings: Expected Wear (Based on Similar Prep)
| # | Coating System (Primer + Color + Clear) | Best For | Recoat Window* | Wear Rating |
|---|---|---|---|---|
| 1 | Bonding acrylic primer + interior enamel color + water-based polyurethane | Everyday dining chairs | 4–6 hrs (color); 6–12 hrs between clear coats | ★★★★★ |
| 2 | Stain-blocking primer + furniture paint + water-based polyurethane | Chairs with prior staining | 6–8 hrs (color); 12 hrs clear | ★★★★☆ |
| 3 | Bonding primer + spray enamel color + oil-based polyurethane | High-contact entry seating | 3–5 hrs (color); 24 hrs clear | ★★★★☆ |
| 4 | Bonding primer + satin latex enamel + acrylic sealer | Low-to-mid wear side chairs | 2–4 hrs (color); 6–10 hrs sealer | ★★★☆☆ |
| 5 | No primer + interior latex + acrylic sealer | Decorative chairs only | 2–4 hrs (color); 4–8 hrs sealer | ★★☆☆☆ |
| 6 | Bonding primer + matte chalk-style paint + matte wax (no topcoat) | Quick refresh for low contact | 1–2 hrs (paint); 8–12 hrs wax | ★☆☆☆☆ |
| 7 | Primed bare wood + high-gloss alkyd enamel + lacquer | Workshop-quality sheen | 4–6 hrs (color); 8–16 hrs lacquer | ★★★☆☆ |
*Recoat windows are typical ranges from common furniture-coating label guidance; always follow your specific product’s instructions.
Seal and Protect the Painted Surface
Sealing is what turns a “nice looking” chair into a chair that resists scuffs and stays clean. Without a protective topcoat, the painted finish can burnish quickly at contact points and may stain from everyday spills.
A clear protective topcoat adds abrasion resistance, making chair finishes easier to wipe clean.
Let topcoats cure fully—dry-to-touch is not the same as cured for impact and scratch resistance.
Matte, satin, and gloss finishes trade off shine, showing imperfections differently, and affecting perceived durability.
Apply a clear protective topcoat for durability and easy cleaning
Choose based on how the chair is used:
– Matte: hides minor surface imperfections, but can show smudges if the film is too soft.
– Satin: common choice for chairs—good balance of wipe-ability and appearance.
– Gloss: easiest to clean and visually striking, but surface defects show more.
Let each coat cure fully, not just dry to the touch
This is where real-world durability lives. Curing involves chemical crosslinking, which typically takes longer than “dry time.”
Practical workflow:
– Apply coat(s) in sequence per label.
– Avoid heavy handling until cured.
– Reassemble carefully only after cure.
According to EPA, careful ventilation and adherence to label cure guidance supports safe and effective use of coating products (2020). Cure times aren’t just “for feel”—they affect how the coating forms its full protective layer.
Choose a finish level (matte, satin, or gloss) based on style
Decide up front:
– In high-traffic homes with kids/pets: satin or semi-gloss is often a practical sweet spot.
– In formal dining rooms: matte or satin can look elegant, especially for muted colors.
If you’re unsure, satin is forgiving and looks professional in most lighting conditions.
Q: How long should I wait before using painted chairs?
Wait at least until the final clear coat is fully cured per the product label. If the chair is high-contact, extend the wait to avoid early scuffs.
Drying, Reassembly, and Best Practices
Your chair won’t perform its best if you rush reassembly or use the wrong cleaning routine. Drying time affects adhesion, hardness, and how the finish responds to fingerprints and abrasion.
Reassemble after the final coat cures to prevent fingerprints, dents, and soft-coat marks.
Furniture finishes often require full cure time (not just surface dry time) to reach scratch and water resistance.
Using gentle cleaning methods preserves sheen and reduces the chance of micro-scratches.
Reassemble after the final coat cures to prevent fingerprints
When the clear coat is cured:
– reattach legs and hardware
– replace cushions or seat components
– handle parts with clean hands or gloves
In my workflow, I keep the chair in a dust-free staging area until I’m confident the finish is cured.
Cure time matters—wait longer for high-use furniture
For chairs that will be sat on and moved daily:
– treat them like “production finish” rather than “DIY fast finish”
– give extra time if humidity is high or coats were applied thicker than planned
If you have multiple chairs, you can paint one set while the next set of chairs goes through prep—this keeps the schedule realistic and reduces rushed handling.
Use gentle cleaning methods to preserve the finish
To protect your coating:
– wipe with a soft microfiber cloth
– use mild soap and water if needed (avoid harsh solvents unless your topcoat is explicitly solvent-compatible)
– avoid abrasive pads that grind the clear film
A best practice I’ve adopted on painted furniture: test your cleaner on a small underside area first.
Pros/cons: spray vs. brush for chair refinishing
If your goal is an even finish with durable protection, here’s a practical comparison you can use to choose your workflow:
| Method | Pros | Cons |
|---|---|---|
| Brush-on | Low overspray; excellent control on corners and edges; easier touch-ups without re-spraying entire sections. | Requires technique to avoid brush marks; can take longer to build smoothness on spindles if you apply too thick. |
| Spray | Smoother coating on complex profiles; efficient for large surfaces; fewer brush-streak risks when sprayed correctly. | Overspray and ventilation requirements; masking is critical; runs happen if passes are too heavy or distance is inconsistent. |
With the right prep—cleaning, sanding, priming, and thin paint coats—you can transform wooden chairs into durable, professional-looking pieces. Follow up with a protective seal and allow full curing before reusing. Grab your supplies and start with one chair this weekend for the fastest, best results.
Frequently Asked Questions
How do I prep wooden chairs before painting so the paint doesn’t peel?
Start by cleaning the chair thoroughly with a degreasing cleaner to remove grime, wax, and old residue. Sand the surfaces with medium-grit sandpaper to scuff the finish, then wipe dust away with a tack cloth. If the old finish is glossy, consider sanding more aggressively or using a bonding primer designed for slick surfaces. Let everything dry fully before applying primer and paint to improve adhesion and prevent peeling.
What type of primer and paint should I use for wooden chairs that get daily use?
For wooden chairs, use a high-adhesion primer such as bonding primer, especially if you’re painting over an existing finish. Choose a durable enamel or cabinet-and-trim paint (often water-based or oil-based) for better scuff resistance and smooth coverage. If the chairs see heavy wear, apply additional top coats and consider a clear protective finish for extra durability. Always follow the manufacturer’s cure times before using the chair.
Which sanding grit is best for painting wooden chairs?
Use 120–180 grit sandpaper for scuffing and smoothing most wooden chair surfaces, particularly if there’s an existing stain or finish. If the wood has rough spots, go slightly coarser (around 80–120 grit) to level imperfections, then transition back to 180 grit for a smoother result. For best results, lightly sand between coats to help the next layer bond and reduce brush marks. Finish by wiping away all sanding dust so your primer and paint adhere evenly.
Best way to paint wooden chairs without brush marks and drips?
Work in thin, even coats and keep a wet edge as you paint to minimize brush marks and drips. Use a high-quality angled brush for detailed areas and a foam roller or mini roller for flat sections to achieve a smoother finish. Stir the paint well, avoid overloading the brush, and let each coat dry completely before sanding lightly and applying the next coat. If you’re aiming for a factory-smooth look, consider a sprayer, but ensure proper ventilation and careful masking around legs and joints.
Why do painted wooden chairs feel sticky or get tacky after painting?
Tacky or sticky paint usually happens when coats are applied too thickly, the room is too humid/cool, or the paint hasn’t fully cured. Some paints are dry to the touch but still curing underneath, so using the chairs too soon can cause smudging and adhesion issues. Verify drying and curing times on the label, and ensure proper airflow during painting. If it feels tacky, you may need to wait longer or lightly sand and recoat once fully cured, depending on the paint system used.
📅 Last Updated: August 02, 2026 | Topic: How to Paint Wooden Chairs | Content verified for accuracy and freshness.
References
- Paint
https://en.wikipedia.org/wiki/Paint - Primer
https://en.wikipedia.org/wiki/Primer - Varnish
https://en.wikipedia.org/wiki/Varnish - Wood stain
https://en.wikipedia.org/wiki/Wood_stain - https://www.epa.gov/lead/renovating-repairing-and-painting-tips-lead-safe-work-practices
https://www.epa.gov/lead/renovating-repairing-and-painting-tips-lead-safe-work-practices - About Childhood Lead Poisoning Prevention | Childhood Lead Poisoning Prevention | CDC
https://www.cdc.gov/lead/prevention/ - Painting | History, Artists, Elements, Techniques, Types, & Facts | Britannica
https://www.britannica.com/art/painting - Google Scholar Google Scholar
https://scholar.google.com/scholar?q=how+to+paint+wooden+furniture+chair+surface+preparation+sanding+priming - Google Scholar Google Scholar
https://scholar.google.com/scholar?q=wood+furniture+painting+primer+selection+latex+enamel+shellac+oil+based - Google Scholar Google Scholar
https://scholar.google.com/scholar?q=durability+of+paint+coatings+on+wood+furniture+chair+coating+system+study
