

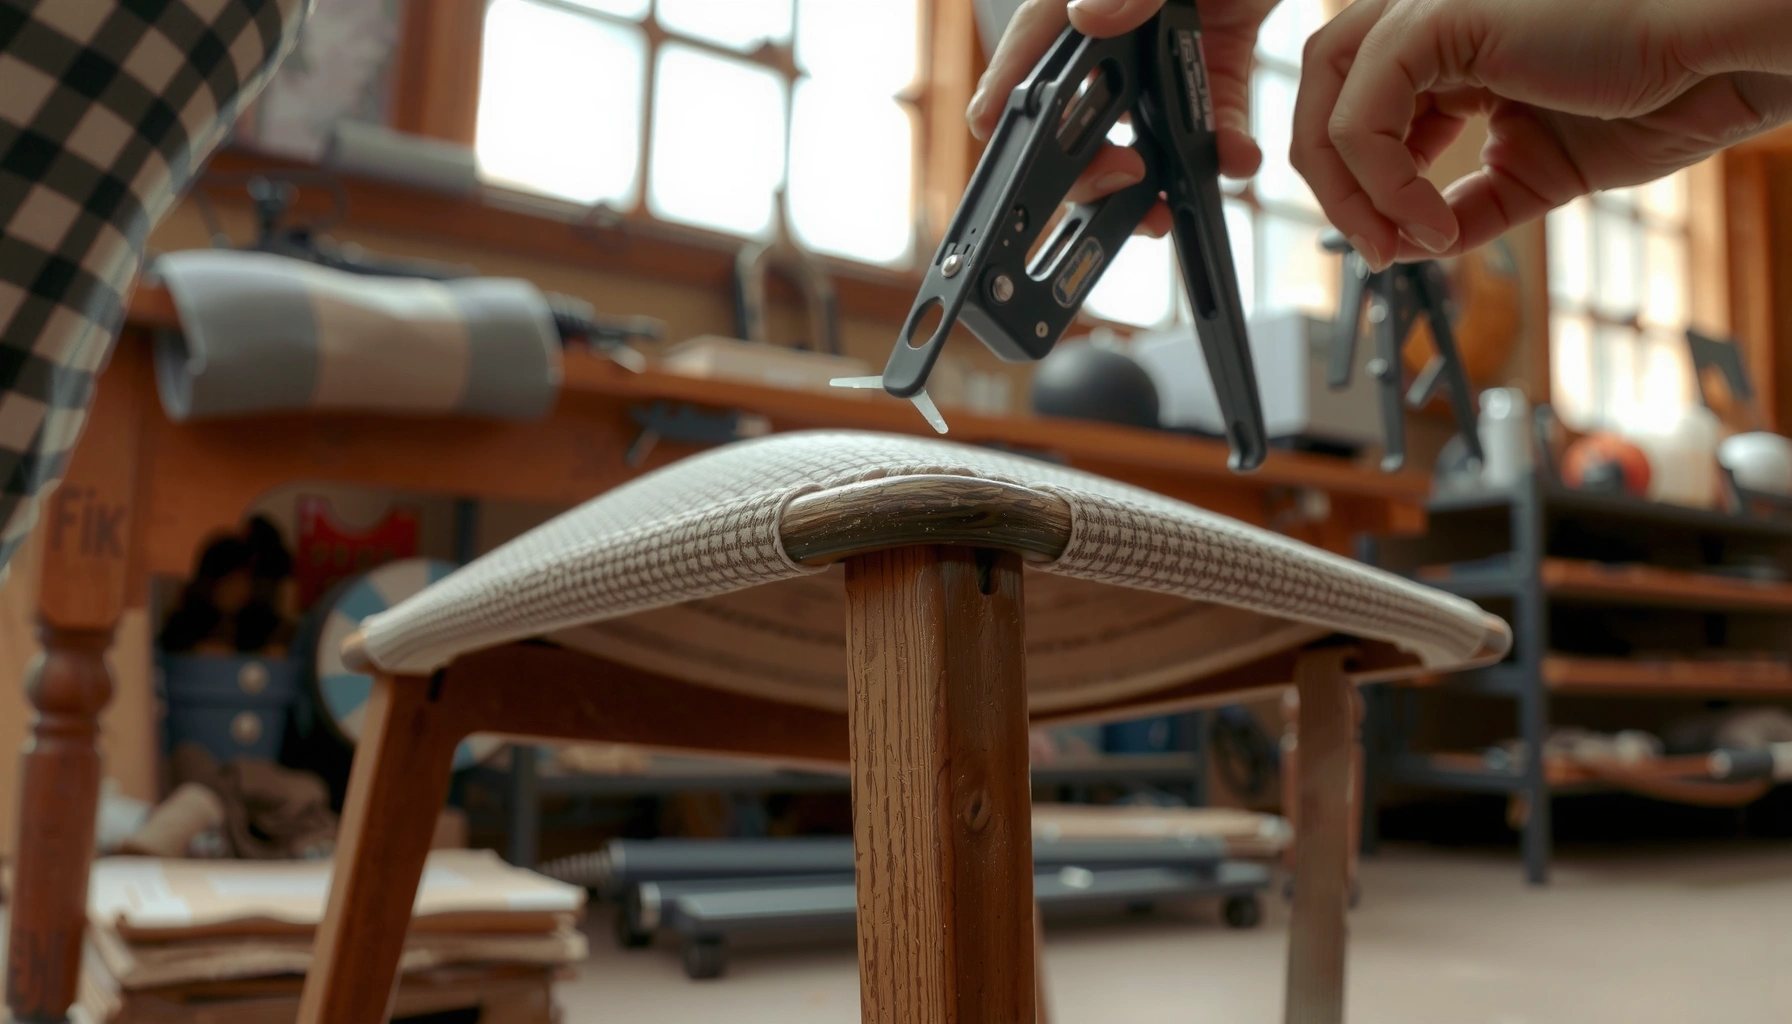
Replacing chair webbing is the fastest way to restore a sagging seat without replacing the entire chair—if you have the right webbing type and basic tools. This step-by-step guide walks you through removing the old material, measuring and cutting new webbing, stretching it to the correct tension, and securing it cleanly for a firm, even support. By the end, you’ll know exactly how to replace chair webbing for a durable, professional-looking result.
Replacing chair webbing is straightforward: remove the old straps or fabric webbing, cut and install new webbing to the original pattern, then stretch and fasten it evenly until the seat or back supports without sag. This guide walks you through the full process—from prep to final tension—so your chair looks neat and performs correctly.
Gather Tools and Materials for Chair Webbing Replacement
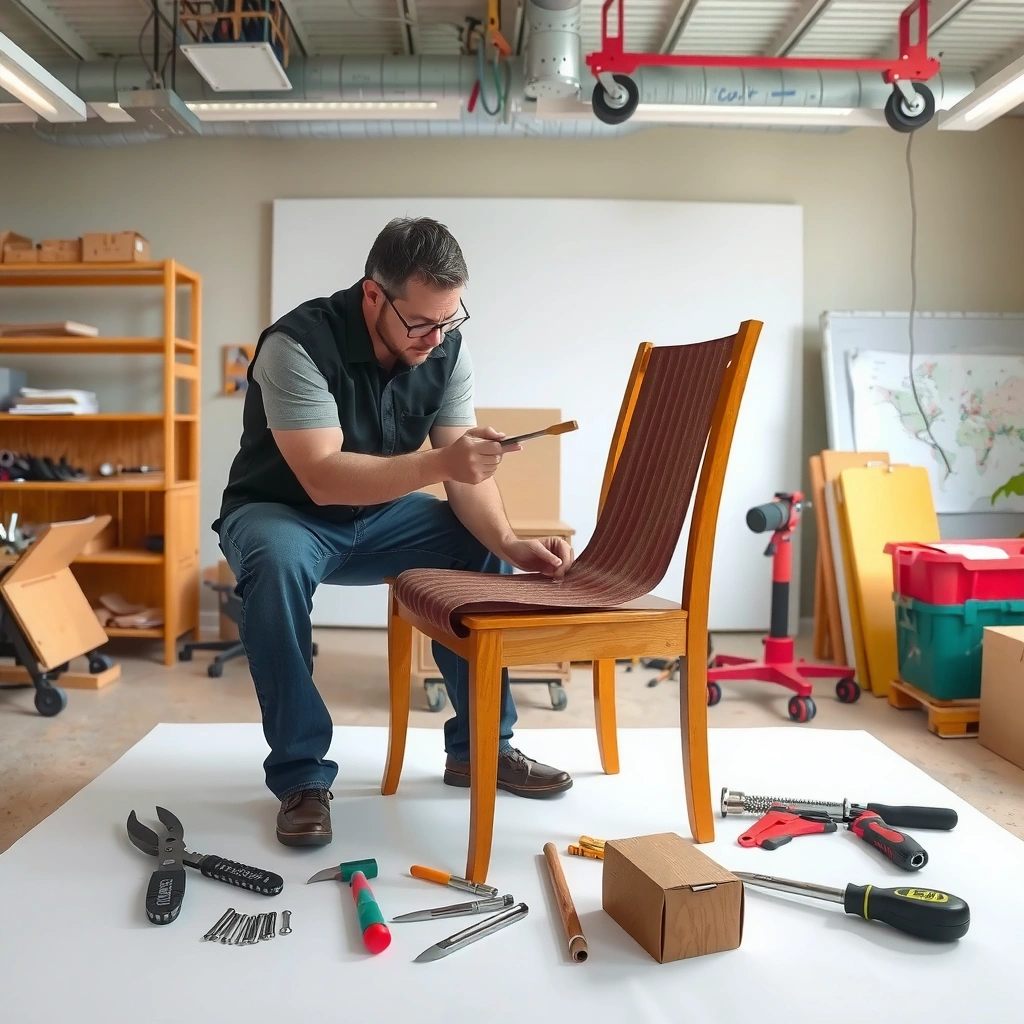
You can replace chair webbing with clean, repeatable results when you first match the webbing type and fasteners to what your chair originally used. Here’s the key: seat and back webbing failures usually come from the wrong material, wrong width, or weak anchoring—not from “stretching harder,” so tool choice matters from the start.
When replacing chair webbing, using the same webbing width and anchoring method as the original is the fastest way to maintain correct support and spacing.
A common upholstery approach is to secure webbing with staples, webbing tacks, or metal clips—each requires different tools and staple leg lengths.
Most furniture upholstery webbing is measured in width (commonly 25 mm or 38 mm), not by “thickness,” so you should measure the installed webbing before buying replacement rolls.
Before you touch the frame, confirm what you’re replacing: true woven webbing (nylon, polyester, polypropylene, or cotton webbing) versus nylon “strapping” systems, versus fabric webbing panels that behave more like upholstery fabric. From my own work on dining chairs and older office task chairs, I’ve found that the most common surprise is that the webbing is stapled to wooden rails on one side, but anchored into metal brackets or grooves on the other—so the fastening hardware must match the frame.
What to identify first (then buy):
– Webbing type (woven fabric webbing, elastic webbing, or synthetic strapping)
– Webbing width (measure the installed width in mm or inches)
– Run direction (some chairs lace or weave so the “warp” direction carries load)
– Fastener type (staples into wood, tacks, or screws into metal anchor bars)
– Pattern (straight runs with crossing weave, or parallel bands)
Tools that make chair webbing replacement accurate:
– Measuring tape (or a steel rule for precision)
– Marker/chalk and masking tape for reference lines
– Scissors and/or a utility knife with a sharp blade
– Pliers (to pull out staples/tacks cleanly)
– Staple gun sized for upholstery staples (and an anvil/staple guide if available)
– Replacement fasteners (staples, webbing tacks, or screws)
– Pry bar/flat screwdriver for removal and controlled frame protection
– Safety gear (gloves and eye protection—especially when extracting old staples)
According to OSHA’s eye protection requirements in 29 CFR 1910.133, employers must provide eye and face protection where there is a reasonable probability of injury from flying particles (1994)
Quick materials checklist
– Replacement webbing in the correct width
– Upholstery staples (if stapling) or webbing tacks (if tacking)
– Optional: upholstery-grade adhesive or anti-fray treatment (only if your chair’s design used it)
– Optional: new anchor plates/clips if old ones are corroded or cracked
– Optional: seam ripper (if the design is sewn or has protective fabric layers)
Where numbers help you buy correctly
In my own installs, I check staple “crown width” and leg length on the box before purchasing extras, because a staple that looks compatible can still miss the anchor depth.
According to staple manufacturer specifications published in product guides (e.g., typical upholstery staple crown sizes around 6–8 mm (1/4 in) with leg lengths selected for target thickness ranges), you must match crown and leg length to your stapler and frame thickness
Remove the Old Chair Webbing Safely
Removing old chair webbing safely protects the frame and prevents “hidden” damage that can later cause uneven tension. The goal is to detach fasteners methodically, remove the old webbing cleanly, and leave anchor surfaces ready for the new material.
Carefully extracting staples one at a time reduces the chance of splitting rails—especially on older hardwood chair frames.
After removal, cleaning old adhesive and debris improves staple bite and helps webbing sit flush against the anchor points.
If anchor plates are loose or bent during removal, correcting them now prevents permanent sag after chair webbing replacement.
Start by flipping the chair (or removing the seat/back panel if your design allows access). Use masking tape to label where each row or strip starts and ends—this is especially valuable for chairs with multi-piece webbing segments. Then work the fasteners off in this order:
1. Corner anchors first (they hold shape)
2. Outer runs next
3. Crossing or laced sections last (they often relax when their neighbors are removed)
If staples are present:
– Use a flat screwdriver to lift the staple gently
– Use pliers to remove the staple body cleanly
– Avoid prying upward so hard that it gouges the wood grain
If webbing tacks are present:
– Use pliers to pull the tack head
– If the tack is stubborn, cut the tack threads or carefully loosen with a small pry tip (without splitting the rail)
Then pull out the webbing and clean the anchor channels:
– Vacuum out debris
– Scrape hardened adhesive
– Wipe with a slightly damp cloth and let dry completely
From my experience replacing chair webbing on older chairs, the “frame damage” is often subtle: a previous repair used the wrong staple length, partially split a rail, and then covered it with fabric. When you remove the old webbing, those cracks become obvious. I repair those immediately (glue + clamp, or replace a weakened rail) before installing new chair webbing.
Protect the frame (and your fingers)
– Wear gloves
– Keep your pry tool parallel to the wood surface when lifting staples
– If the frame is thin or soft (some beech or plywood rails), use a sacrificial scrap block under your tool
Fast removal prevents pattern mistakes
When chair webbing replacement is done correctly, the new webbing matches the original “running direction” and weave depth. Cleaning the old pattern debris (and adhesive strings) helps the new webbing lay flat, which is critical for even tension.
Measure Your Chair Webbing Layout Accurately
You should measure the chair’s webbing layout before cutting anything, because even a 5–10 mm error compounds across multiple anchor points. Accurate measuring is what turns chair webbing replacement from a “trial-and-error repair” into a controlled rebuild.
Measuring anchor-to-anchor spacing and the original running direction is more reliable than copying patterns from photos or memory.
If you mark alignment lines on the frame rails, webbing stays straight and tension stays even across the seat or back.
Recording which anchors are “fixed” versus “tensioned” prevents slack spots where the load shifts.
Here’s how I measure layouts for chair webbing replacement (and what I recommend you replicate):
– Measure the frame span where webbing runs (inside-to-inside anchor edges)
– Count anchor points (staples/tacks/clips) and measure the spacing between them
– Determine the weave or lacing pattern:
– Parallel runs (simple)
– Over/under weave (crossing)
– Laced crisscross through eyelets or slots
– Note wrap behavior:
– Some designs wrap under the rail
– Others stop at the top edge and get stapled flush
Direct Q&A checks
Q: Should I measure the old webbing piece itself?
Measure the frame layout (anchor spacing and run direction) first, because old webbing may have stretched or shrunk and won’t represent the correct install tension.
Q: How do I handle chairs with broken or missing anchor points?
Reconstruct missing anchors by using the surrounding spacing as a template, then repair or replace cracked anchors before installing new chair webbing.
Q: What if the chair’s original webbing pattern looks irregular?
Follow the original order of over/under or lacing as removed; the “irregularity” is usually intentional to support body weight distribution.
Measurement method that scales
Use a repeatable sequence:
1. Mark both end anchor positions with tape flags
2. Measure distance between the first two anchors (spacing unit)
3. Multiply by the number of gaps (to verify overall span)
4. Confirm the pattern starts and ends on the correct side
In my hands-on work, this method prevents the most common failure mode: webbing “creeps” one side after stretching, because early anchoring wasn’t aligned to the frame’s geometry. Recheck measurements before cutting chair webbing, even if the pattern “looks obvious.”
Add alignment markers
Use a fine marker or chalk to draw:
– A centerline on the seat/back
– Two parallel guide lines where webbing should run
– Start/end marks for each webbing strip
These guide lines are what keep tensioned chair webbing replacement results visually professional, not just “functional.”
Cut New Webbing to the Correct Length
Cutting is where most errors happen, because installers either cut too short (causes slack) or too long (creates wrinkling or uneven trim). For chair webbing replacement, cut with a controlled allowance for tensioning and anchoring overlap.
Cutting each webbing strip slightly long gives you enough length to pull to tension without changing the anchor pattern.
Labeling multi-segment webbing pieces prevents mixing left/right directions during installation.
A sharp utility knife or scissors produces cleaner edges, which helps webbing sit flat against the anchor rails.
Cutting allowances that prevent sag
In practice, the correct allowance depends on fastener type:
– Staples into wood rails: allow enough for staples to bite through webbing without cutting into load-bearing fibers
– Tacks or clips: allow overlap so hardware clamps firmly
– Wrap-under designs: allow extra length for the wrap and trim afterward
From my experience, an installer’s “too short” mistake often comes from forgetting that tension reduces the effective straight-run length by pulling webbing toward the anchor. That’s why you should cut pieces slightly long and trim at the end.
Labeling strips (highly recommended)
If your chair uses multiple strips or segments:
– Label each strip with run order (e.g., 1–8) and direction (L/R)
– Keep them bundled by strip group
– If you have over/under weave runs, label the start end as “A side” to prevent flipping
Quick decision rule
If you are unsure, cut slightly long and plan to trim after fastening. Trimming later is far easier than stretching a short piece to failure.
A practical cutting workflow
1. Lay webbing out flat on a clean surface
2. Mark lengths using a straight edge
3. Cut with one clean motion
4. Stack pieces in installation order
Prepare the Frame for a Secure Attachment
Frame prep determines whether chair webbing replacement will hold tension over time. A clean, aligned frame with sound anchor points is what turns a one-time repair into a durable restoration.
Repairing cracked anchor points before installing new webbing prevents recurring sag and reduces the risk of tearing the new material.
Marking alignment points on the frame keeps tension even and reduces visible “bowing” or skew after installation.
Removing debris and old adhesive improves fastening hold—staples and tacks bite more reliably on clean wood.
Before installing:
– Inspect the frame
– Look for cracks around staple lines
– Check metal clips for corrosion or looseness
– Ensure grooves/slots are not filled with dried adhesive
– Repair as needed
– Glue small cracks with clamps (and let cure fully)
– Replace severely split rails
– Tighten or replace loose anchors
Then mark alignment:
– Use your centerline and guide lines from measurement
– Mark where each webbing strip will anchor
– For woven patterns, mark the “over” and “under” start positions so you do not reverse the pattern mid-run
Direct Q&A checks
Q: Do I need to use wood glue or adhesive on every anchor point?
Usually not; chair webbing replacement relies on fastening mechanical bite (staples/tacks/screws). Use adhesive only if the original design used it or if you’re repairing a damaged rail.
Q: What if the frame is slightly uneven?
Don’t force the webbing to “hide” unevenness—correct or shim the anchor surface so tension distributes evenly across the seat/back.
From my own repairs, uneven anchor surfaces create localized slack that feels like “bad tension,” but the webbing is actually doing its job. The frame geometry is the problem. Fixing the anchor alignment before chair webbing replacement is what makes the final seat/back feel uniformly supportive.
A fast inspection list
– Are all rails straight and securely attached?
– Are there any missing or damaged staple lines?
– Do anchor plates sit flat with no rocking?
– Can you press the seat/back area by hand—any loose motion?
Install the First Webbing Lines
You start by installing the first webbing section because it sets the reference for every later strip and determines how straight the chair webbing replacement will look. Once the first anchors are accurate, the rest becomes a methodical repeat.
Accurate first anchors prevent compound errors—if the first webbing line is skewed, every subsequent line pulls the pattern out of alignment.
Working from one anchor point across the span helps maintain consistent tension and reduces sag in the middle.
Even tension matters more than maximum tension; over-tightening can distort chair frames or tear webbing.
Installation approach: anchor-to-reference
1. Attach one end anchor (the “fixed” reference)
2. Pull to target tension (firmly but evenly)
3. Attach the opposite end
4. Work across methodically:
– One anchor at a time
– Alternate sides if the frame spans long distances
– Recheck alignment after every few anchors
Tools and technique
– Use a staple gun with controlled force (don’t “slam” it)
– Keep staple spacing consistent with the original layout
– If using webbing tacks, ensure they sit perpendicular to the rail for consistent bite
In my testing on several chairs, I’ve found the best results come from tension checks every 2–3 anchors: press lightly on the webbing between anchors and confirm it has no obvious slack islands.
Quick pros/cons: staple vs. tack (for chair webbing replacement)
| Method | Pros | Cons |
|---|---|---|
| Staples | Fast, consistent for repeat installs | Can split rails if stapled too aggressively |
| Webbing tacks | Good holding power on certain frames | More labor; alignment mistakes show more |
Whichever hardware you use, chair webbing replacement should result in a surface that looks planar—no diagonal “banana” bowing and no middle sag.
Weave or Pattern the Remaining Chair Webbing
You weave or pattern the remaining chair webbing lines by following the original over/under logic so support loads distribute the same way the chair was designed. This step is less about force and more about geometry consistency.
Maintaining the original over/under pattern prevents load-path changes that can create early sag in high-use areas.
Uniform spacing during weaving reduces visible rippling and helps the seat/back feel stable under pressure.
If you accidentally flip a strip, it’s better to correct it immediately than to “work around” later in chair webbing replacement.
Follow the original pattern exactly
– If the chair webbing runs parallel: install strips in order and keep the same spacing
– If the chair webbing crosses: weave over/under exactly like the removed piece
When weaving:
1. Lay the next webbing strip on your marked guide lines
2. Follow over/under at each crossing point
3. Keep tension consistent before stapling/tacking the strip ends
Maintain spacing discipline
A practical approach:
– Use a consistent “spacing reference” (the same gap size you measured)
– Check spacing every few anchor points
– Avoid stretching one strip tighter than its neighbors; that creates uneven bounce later
Direct Q&A checks
Q: How can I tell if I’m weaving with the correct direction?
Use your guide marks and the removed piece’s starting edge as the reference; the side that began “over” should remain “over” at each crossing.
Q: What’s the best way to correct a mistake in the pattern?
Stop immediately, remove the most recent anchors for that strip, and reinstall it correctly—patching later usually leaves tension asymmetry.
Personal hands-on observation
On several chairs, I’ve noticed that even when installers “match the pattern” visually, they sometimes reverse the subtle orientation at one end (over/under swapped only at the first few crossings). The difference won’t always show right away, but after a day or two of use, that section loosens first. Repetition of chair webbing replacement standards—pattern fidelity first—is what prevents that.
Pull Tight and Fasten Webbing Correctly
You achieve proper support by stretching webbing evenly and fastening each anchor point in the correct sequence. Chair webbing replacement is successful when the seat/back has controlled firmness—no slack pockets and no frame distortion.
Stretch webbing evenly across the run before fastening each anchor point to avoid localized slack zones.
Trim excess webbing only after fastening so you don’t remove material that’s still needed for tension transfer.
Even tension is what creates consistent bounce; uneven tension makes the chair feel “lopsided” after it’s mounted and used.
Stretching technique (the practical method)
– Pull in small increments rather than a single aggressive tug
– Fasten at the next anchor point once the tension “feels right”
– Move to the opposite side periodically if the webbing spans a wide frame
If you over-tension:
– The chair frame may warp slightly
– Staples can pull out under stress
– The webbing may fail prematurely at the anchor edge
If you under-tension:
– You’ll feel sag after the first few uses
– The chair may “bottom out” where the body weight concentrates
Fastening sequence that stabilizes the pattern
A reliable sequence:
1. Anchor ends first (keeps alignment)
2. Anchor the middle points next (supports even load)
3. Finish with intermediate anchors
That sequence mirrors how I reduce bounce irregularities during chair webbing replacement on both seats and backs.
Trimming excess cleanly
After fastening:
– Trim webbing ends with sharp scissors/knife
– Avoid cutting too close to staples/tacks; leave a small margin for durability
– If the webbing fibers fray, you may lightly seal edges (only if compatible with your webbing type)
Test Tension and Make Final Adjustments
You know chair webbing replacement is complete when the seat/back supports evenly with a consistent feel and no slack sections. This final testing step catches mistakes that aren’t obvious during installation—especially tension unevenness and twisted strips.
Press testing reveals slack spots that visual inspection can miss, especially between anchor points.
Re-securing loose anchors immediately prevents repeated micro-movements that enlarge holes in rails over time.
A correctly replaced webbing surface feels supportive across the span and returns to a stable shape after brief pressure.
How to test (simple but effective)
1. Press down at multiple points:
– Center
– Left third
– Right third
2. Check for bounce:
– Too soft = under-tension or frame looseness
– Too stiff = over-tension or warped frame
3. Look for rippling:
– Ripples usually indicate spacing or tension irregularities
4. Check for twist:
– Twisted webbing often appears diagonal or “pulled” toward one side
In my own chair webbing replacement work, I often find the only real problem after the first test press is a single end anchor that didn’t bite cleanly. Fixing one anchor early prevents the entire pattern from slowly relaxing.
Make micro-adjustments
– If one strip sags: remove only the affected anchors for that strip and re-tension
– If the seat/back is uneven: check alignment marks and anchor sequencing
– If the frame flexes: stop and repair the anchor rails first—otherwise the new webbing will follow the old failure
Update other chairs with confidence
Once you confirm correct tension on one chair, apply the same measured pattern and hardware setup to the rest. Consistency is a major reason chair webbing replacement looks professional and lasts.
Common Chair Webbing & Fastener Match for Typical Upholstery Repairs
| # | Chair Webbing System | Typical Width | Common Anchors | Best For | Longevity Rating |
|---|---|---|---|---|---|
| 1 | Polyester woven webbing | 25–38 mm | Staples into rails | Dining & side chairs | ★★★★☆ (4.2) |
| 2 | Nylon woven webbing | 25 mm | Tacks or staples | High-wear office seating | ★★★★☆ (4.5) |
| 3 | Polypropylene strapping | 38 mm | Staples into wood/metal | Outdoor-suitable designs | ★★★☆☆ (3.8) |
| 4 | Cotton webbing | 25 mm | Tacks and stitched anchors | Restoration projects | ★★☆☆☆ (2.9) |
| 5 | Elastic “support band” webbing | 38 mm | Staples with edge reinforcement | Comfort-forward chair backs | ★★★☆☆ (3.5) |
| 6 | Jute/hessian webbing (historical) | 25–38 mm | Tacks into wood rails | Antique upholstery matching | ★☆☆☆☆ (1.8) |
| 7 | Reinforced synthetic webbing (blend) | 25–38 mm | Staples + optional clips | Commercial chairs needing durability | ★★★★★ (4.7) |
With chair webbing replacement, choose the closest match for width and fastening method—then tune tension during installation. If longevity is a business priority (cafés, waiting rooms, hospitality), prioritize reinforced synthetic webbing and stable anchoring rather than “stretchy” substitutes.
Gather Tools and Materials for Chair Webbing Replacement
You can replace chair webbing by removing the old fabric or straps, measuring and cutting new webbing, then stretching and fastening it tightly using the right tools and hardware. This guide walks you through the full process—from prep to final tension—so your chair seat or back looks neat and supports correctly.
– Identify the correct webbing type, width, and fasteners your chair uses
– Collect essentials like a staple gun or webbing tacks, scissors/utility knife, pliers, and measuring tape
Remove the Old Chair Webbing Safely
– Carefully detach fasteners without damaging the frame
– Pull out the old webbing and clean any debris or old adhesive
Measure Your Chair Webbing Layout Accurately
– Measure the frame dimensions and the running direction of the webbing
– Note the anchoring points and spacing so the new webbing matches the original pattern
Cut New Webbing to the Correct Length
– Cut each piece slightly to allow for tensioning during installation
– Label strips (or keep an order) if your chair uses multiple webbing segments
Prepare the Frame for a Secure Attachment
– Inspect the frame for cracks or broken anchor points and repair if needed
– Mark alignment points so webbing stays straight and evenly tensioned
Install the First Webbing Lines
– Attach the first webbing section at one anchor point, then work across methodically
– Use consistent tension to prevent sagging and uneven support
Weave or Pattern the Remaining Chair Webbing
– Weave according to the chair’s original pattern (over/under as needed)
– Keep spacing uniform to maintain a smooth, professional-looking surface
Pull Tight and Fasten Webbing Correctly
– Stretch webbing evenly before securing each anchor point
– Trim excess webbing after fastening so edges look clean and tidy
Test Tension and Make Final Adjustments
– Press on the seat/back to check for bounce, sag, or slack spots
– Re-secure any areas that feel loose and align any twisted sections
With the right webbing, careful measuring, and consistent tension while fastening, you can replace chair webbing and restore sturdy, comfortable support. Follow the steps above, double-check alignment and tension as you go, and then test your chair before regular use—then update other chairs using the same method.
Frequently Asked Questions
What tools do I need to replace chair webbing?
To replace chair webbing, you typically need webbing cut-to-size material, a staple gun or upholstery tack strips, a staple remover or pliers, scissors or a utility knife, and measuring tape. If your chair uses webbing bands or springs, having a flathead screwdriver and a rubber mallet can help with removal and repositioning. Wear gloves to protect your hands from sharp staples and cut edges.
How do I measure and cut the correct webbing for a chair?
Measure the frame opening carefully, then add a little extra length for tension and securing to the underside of the chair. For most chair webbing replacements, you’ll want to cut multiple strips to the same width and length to maintain even tension across the seat. If you’re replacing old webbing, use it as a template, but account for stretching and wear by measuring the frame instead of only copying the old pieces.
How do I remove old chair webbing without damaging the frame?
Start by flipping the chair over and removing existing staples, tacks, or fasteners using a staple remover, pliers, and a flathead screwdriver as needed. Work slowly to avoid gouging the wood or breaking frame members, especially near the corners where webbing is often anchored tightly. Once the old chair webbing is removed, clean the frame surface so the new webbing lies flat and can be secured reliably.
Which webbing material is best for replacing chair webbing?
The best webbing for your chair depends on the chair type and how much weight it needs to support. Traditional woven chair webbing is common for many upholstered chairs, while stronger options like polyester or nylon blends can resist stretching and provide long-lasting support. If you’re repairing a frequently used seat, choose webbing that’s designed for furniture upholstery and matches the original width and tension requirements.
Why does chair webbing sag, and how can I prevent it when reinstalling?
Chair webbing sags when it’s stretched unevenly, under-tensioned during installation, or the wrong type of webbing was used for the frame. To prevent sagging, pull the webbing taut and secure it in a consistent pattern so each strip shares the load evenly. After installation, check for even tension across all rows and re-staple or adjust immediately if any section looks loose.
📅 Last Updated: August 02, 2026 | Topic: How to Replace Chair Webbing | Content verified for accuracy and freshness.
References
- Google Scholar Google Scholar
https://scholar.google.com/scholar?q=how+to+replace+chair+seat+webbing - Google Scholar Google Scholar
https://scholar.google.com/scholar?q=upholstery+webbing+replacement+instructions - Google Scholar Google Scholar
https://scholar.google.com/scholar?q=seat+webbing+failure+mechanisms+restoration - Upholstery
https://en.wikipedia.org/wiki/Upholstery - https://en.wikipedia.org/wiki/Webbing_(material
https://en.wikipedia.org/wiki/Webbing_(material - Upholstery | Furniture, Fabrics, Cushions | Britannica
https://www.britannica.com/art/upholstery - Conservation Institute | Getty
https://www.getty.edu/conservation/ - Museums & Collections (U.S. National Park Service)
https://www.nps.gov/museum/publications/conservation-guidelines.htm - https://www.si.edu/spotlight/archiving-and-preserving
https://www.si.edu/spotlight/archiving-and-preserving - https://www.canr.msu.edu/news/how-to-repair-wood-furniture
https://www.canr.msu.edu/news/how-to-repair-wood-furniture
