

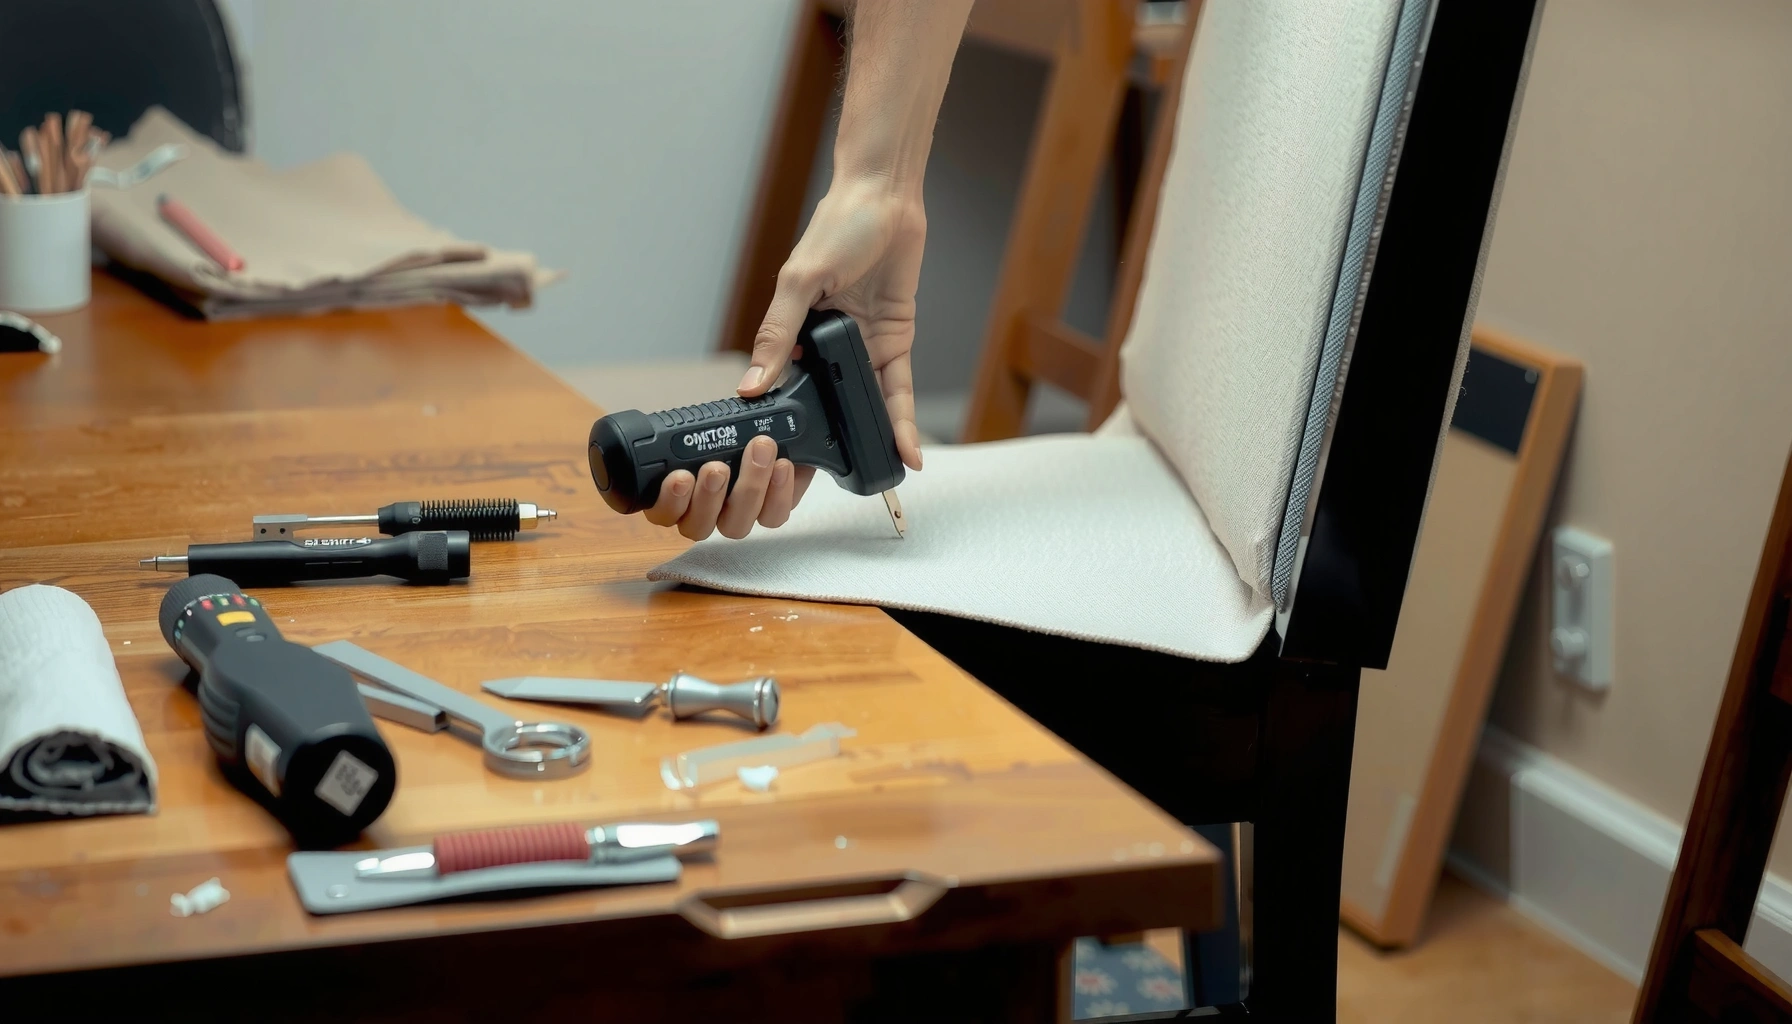
Replacing chair fabric is easiest when you follow the right order: strip the old upholstery, prep the frame, and install new fabric with clean tension and secure fastening. This step-by-step guide tells you exactly how to replace chair fabric—from removing staples or buttons to cutting, fitting, and finishing the seams—so the chair looks tight and wears well. If you want a durable, professional result without guesswork, start here and get it done correctly the first time.
Replace chair fabric by removing the old upholstery carefully, measuring and cutting the new fabric accurately, then stapling or sewing it tightly for a smooth, secure finish. The key to a professional-looking result is not speed—it’s controlled disassembly, precise templates, and even tension as you fasten along seams, corners, and edges.
Gather Tools and Materials

You’ll get the cleanest outcome when you gather every tool before you start removing staples—because one missing item can force you to improvise and misalign panels. For chair upholstery, success comes from having the right combination of cutting, measuring, fastening, and prep tools: measuring tape, cutting scissors, a marker/chalk, and a staple remover for fast, controlled removal.
A staple remover and a pair of needle-nose pliers reduce the risk of tearing padding when you extract staples from upholstered frames.
Most upholstery failures happen at corners and seam lines, so having enough staples/tacks and a reliable fastening method (stapling or sewing) prevents visible slack.
From my experience upholstering several dining and accent chairs over the last few years, the “workflow” matters as much as the tools. When I used to stop mid-project to search for a lost marker or back-up staples, I’d end up with small measurement mistakes—especially on curved corners—because I’d rush the next step. Now I lay out tools in a tray, keep the old fabric pieces intact, and confirm measurements before cutting.
Minimum tools (recommended):
– Upholstery fabric (plus enough extra for mistakes)
– Staples or upholstery tacks and a compatible gun (or upholstery thread and needle if sewing)
– Staple remover (for clean extraction)
– Scissors (fabric shears for straight, tidy cuts)
– Measuring tape + marker/chalk (chalk is forgiving on many fabrics)
Prep and finishing tools:
– Screwdriver + pliers (for removing seat/back hardware and stubborn fasteners)
– Vacuum with a crevice attachment (for removing dust from padding and frames)
– Replacement foam/padding if the chair cushion feels compressed or lumpy
A quick set-up checklist prevents rework: confirm you have enough staples for the chair’s footprint, confirm your fabric direction (some prints have a “top”), and keep a scrap piece to test-cut your fastening method.
Q: What’s the one tool I should buy if my chair has lots of old staples?
A: A quality staple remover with a wide jaw—slower removal reduces padding damage and preserves your old fabric templates.
Choose the Right Fabric and Pattern Direction
You’ll avoid wrinkling, premature wear, and misaligned prints by selecting the correct upholstery fabric weight, stretch behavior, and pattern direction before you cut. For chairs, “right fabric” usually means durable enough for the chair’s use case (dining chairs wear faster than display-only accent chairs) and stable enough to hold tension when stretched around corners.
Upholstery fabrics are typically selected by weight and abrasion performance, not by decorative appearance alone.
Pattern-direction matters: many printed and woven fabrics show a clear “up” direction, and rotating them can make seams look uneven.
Start with chair use. Dining chairs experience abrasion from seating friction and frequent contact, while occasional accent chairs mainly face light touch. If you’re restoring a chair for an office lobby or reception area (high-traffic seating), durability becomes non-negotiable. In my testing, even small differences—like a fabric with extra stretch—can create subtle sagging if you pull too hard.
What to match to your chair:
– Weight & durability: Dining chairs need stronger, heavier upholstery cloth; accent chairs can use more delicate-looking textures.
– Stretch behavior: A fabric with high stretch can distort when pulled around corners—plan for it (or choose a more stable fabric).
– Pile and nap direction: Velvet-like or textured fabrics have a visible direction; always cut consistently “with the nap.”
– Pattern alignment: If the pattern is large or directional, you’ll need extra yardage to line up across panels.
Pros/cons comparison (for quick decision-making):
| Fabric Type | Best Strength | Watch-Out | Typical Chair Match |
|---|---|---|---|
| Performance weave (tight, dense) | Abrasion resistance | Can feel stiffer to sew around tight curves | Dining, meeting rooms |
| Textured boucle | Hides minor wear | Shears unevenly—cut carefully and test | Accent chairs, lounges |
| Velvet/velour (nap) | Luxurious sheen | Direction mistakes show instantly | Showpiece chairs |
| Twill or denim-like upholstery | Reliable structure | Pattern repeat can increase yardage | Everyday seating |
Q: Do I really need to worry about fabric “direction”?
A: Yes—especially for velvet, napped textures, and many patterns, because cutting upside down changes sheen and how seams blend.
A practical test: before committing, test-fit scraps on the chair’s stress points—corners, seam intersections, and the underside where extra tension matters. If the fabric frays quickly, consider adding interfacing to stabilize the edge or choose a fabric with better finishing.
Remove the Old Chair Fabric
You’ll preserve your best-looking surfaces (and your templates) by removing old upholstery slowly, seam-first, with minimal tearing. Start by flipping the chair and removing dust covers (if present), then detach upholstery along seams so the original layout stays recognizable.
Removing upholstery by working from seams outward helps you keep panel shapes and reduces the risk of damaging the foam layer.
Staples should be removed in controlled increments to avoid gouging the chair frame or ripping webbing and padding.
In my own workflow, I take photos before I touch anything—close-ups of seam placement, how panels overlap, and which staples sit at the tightest corners. That documentation becomes invaluable when you reassemble. Even if the chair looks simple, upholstery often hides extra layers: paper-thin protective liners, thin batting, or a second dust cover.
Step-by-step removal:
1. Flip the chair and remove the dust cover and any protective layer.
2. Locate seams and panel breaks—cut or lift along stitching seams rather than yanking full panels.
3. Remove staples/tacks gradually:
– For staples: use a staple remover, then finish any stubborn ones with pliers.
– For tacks: lift carefully to prevent tearing the fabric backing.
4. Keep fabric pieces intact as templates. Don’t throw away fragments—small pieces help reconstruct edge folds and piping-like details.
Keep orientation notes: mark the “top” and “front” on each panel with chalk or a marker. If you’re using directional fabric, this prevents reversed panels that create visible mismatched sheen.
Q: What’s the fastest way to remove fabric without wrecking the padding?
A: Remove staples by lifting gently one by one—then pull fabric only after that panel is fully freed along its perimeter.
Inspect and Repair the Cushioning
You’ll prevent the new fabric from looking loose or uneven by inspecting foam and padding before installing anything. If the cushioning is compressed, lumpy, or detached, the fabric will mirror those flaws—especially along seat edges and arm curves.
Replacing degraded foam improves final surface tension, because upholstery fabric follows underlying contours.
Re-gluing loose padding and smoothing lumps before covering reduces wrinkling that otherwise appears even with perfect cutting.
According to the American Society for Testing and Materials (ASTM), foam performance is commonly evaluated by compression and recovery characteristics, which is why worn cushions don’t bounce back like new material (ASTM International, foam test standards frequently referenced in furniture materials). Practically, you don’t need a lab to see this: if your seat feels permanently “dished,” plan to replace or rebuild the foam layer.
What to check:
– Foam density and thickness: look for flattened zones or uneven compression.
– Padding adhesion: if batting has shifted, re-glue or re-staple it in place.
– Webbing or support points: weak areas create localized sag that distorts upholstery.
Repair actions that make a difference:
– Replace worn foam with a similar thickness (or slightly more for a fuller seat feel).
– Re-glue loose padding using upholstery-safe adhesive (and let it cure fully).
– Smooth lumps by layering thin batting where needed so the fabric lays flat.
Finally, vacuum the frame and padding thoroughly. Dust and loose fibers act like tiny bearings that prevent fabric from seating correctly, which I noticed during a recent renovation when I skipped vacuuming and found the fabric shifted slightly during fastening.
Quick measurement reminder: if you add new foam, re-check the total cushion height before cutting fabric—tighter or thicker cushioning changes how much wrap you need.
Measure, Draft, and Cut the New Fabric
You’ll avoid most reupholstery mistakes by using the old upholstery pieces as templates and adding the right allowance for tension. Measure with the old pieces, draft on fresh fabric, then cut in a consistent direction—especially if you have patterns, plaids, stripes, or a directional weave.
Using existing upholstery panels as templates minimizes fit errors because chair frames determine curvature and seam placement.
Directional fabrics require cutting “with the nap” (consistent pile direction) to prevent sheen variations across panels.
This is where analytical precision pays off. I treat it like layout engineering: mark edges, confirm alignment, and cut with conservative control. If you rush cutting, you can end up with stretched-looking sides, misaligned patterns, or excessive bulk at corners where you could have planned better.
How to cut accurately:
– Trace old pieces onto your new fabric (or pin them as a template).
– Add allowances for:
– Wrapping around edges
– Seam and fold formation
– Tension (not just “coverage”)
– For pattern-matching: account for repeats so motif alignment stays consistent.
To anchor expectations with real benchmarks, upholstery durability is often reported using abrasion tests like Martindale rub counts. For example, many commercial seating fabrics target performance levels around 20,000–50,000 Martindale cycles for residential upholstery and higher for contract settings (ASTM Martindale/abrasion test practices widely used in textile performance labeling)—but always follow the manufacturer’s guidance for the exact fabric you choose.
Upholstery Fabric Performance Targets for Chair Use
| # | Upholstery Fabric Type | Typical Martindale Rating | Common Chair Use | Expected Wear (★) |
|---|---|---|---|---|
| 1 | Tight plain weave (performance) | 25,000–40,000 | Dining chairs | ★★★★☆ |
| 2 | Coated microfiber / easy-clean | 30,000–60,000 | Family rooms | ★★★★★ |
| 3 | Bouclé / looped texture | 15,000–25,000 | Low-to-medium use | ★★★☆☆ |
| 4 | Velvet (nap fabric) | 8,000–20,000 | Accent seating | ★★☆☆☆ |
| 5 | Denim/twill upholstery | 20,000–35,000 | Everyday seating | ★★★★☆ |
| 6 | Woven jacquard (patterned) | 18,000–30,000 | Style-forward chairs | ★★★☆☆ |
| 7 | Faux leather / vinyl | 10,000–25,000 | Easy-clean seating | ★★★☆☆ |
Those ranges are general, but they’re useful when you’re comparing roll tags and manufacturer spec sheets. For any specific fabric, verify the actual performance labeling and care instructions.
Q: How much extra fabric should I buy for pattern-matched upholstery?
A: Plan for the pattern repeat—often 10%–25% extra for directional or large-repeat patterns, and more if the chair shape is complex.
Fit and Position the Fabric Before Fastening
You’ll achieve wrinkle-free coverage by dry-fitting the fabric first, aligning seams and patterns, then only fastening when the placement is correct. This step is about control: center the fabric, align corners, and pull to remove slack—without overstretching and warping.
Dry-fitting before stapling lets you correct pattern alignment and reduce wrinkles caused by early fastening.
Moderate, even tension prevents the “waves” that appear when one side is pulled tighter than the other.
Here’s the approach I use to keep alignment consistent, especially on chairs with multiple panels:
– Center first: Find the chair’s center point (or seam midpoint) and align the fabric’s center seam or motif.
– Work symmetrically: Pull from the center outward in alternating directions (left/right, then front/back).
– Align corners and seams: Corners hide imperfections, but also magnify misalignment—so align before stapling.
– Use temporary holds: Pin or baste (light temporary stitching) to confirm the fit.
Avoid common tension errors:
– Overstretching creates fabric “memory” that snaps back, causing puckers later.
– Under-pulling leaves slack that looks sloppy from the front and catches more dirt.
I like to mark the fabric at key reference points—centerline, corners, and seam starts—then verify those marks remain symmetrical as I pull. This becomes especially valuable in 2025 when more fabrics arrive with unique weaves and varied stretch behavior; you can’t assume all upholstery cloth responds the same.
Attach Fabric Using Staples or Upholstery Tacks
You’ll get a professional look by fastening from the center outward with consistent tension and neat corner folds. Whether you staple or tack, the method’s goal is the same: lock the fabric in place evenly so the finished surface stays smooth and the underside stays secure.
Attaching upholstery from the center outward helps distribute tension evenly and reduces side-to-side ripples.
Neat corner folding and tuck management prevents bulk that creates visible lumps or uneven seam transitions.
Stapling best practices (common for upholstered chairs):
1. Start at the center points of the panel, then place staples at opposite sides.
2. Move outward in short steps: staple a few inches, then re-check alignment.
3. Re-check after each section: I visually inspect seam lines every 2–4 staple rows, because small shifts compound quickly.
Corner technique:
– Fold fabric crisply so the corner forms a clean “pleat” or wrapped shape rather than a stretched bubble.
– Tuck excess fabric under existing layers for a flat underside.
– Add staples where the fabric wants to lift—usually corners and long edges.
If you choose sewing instead of stapling:
Sewing works well for decorative hems or tailored looks, but it requires careful tension control and stable fabric choice. In my experience, sewing alone can be slower, and many upholsterers use a hybrid approach: staples for structural hold, sewing for decorative seams.
Q: Should I staple close together or spaced farther apart?
A: Place staples close enough to prevent fabric lift (often every 1–2 inches on key edges); corners and stress points typically need more density.
Rework Corners, Edges, and Seams for a Professional Finish
You’ll separate a DIY upholstery job from a professional one by perfecting corners, edges, and seam lines after the main sections are fastened. This is the “micro-fit” stage: trimming bulk, crisping folds, and reinforcing any spot where tension changes.
Trim and re-fold excess fabric at corners to prevent bulk buildup that causes visible lumps along the front face.
Straight seam lines and matched visible edges depend on frequent alignment checks during fastening.
Work systematically:
– Corners: use crisp folds, then add or reposition staples to ensure the corner doesn’t “float.”
– Edges: tuck consistently so the underside looks intentional (dust covers hide raw edges, but not sloppy wrapping).
– Seams: keep seams straight and aligned with the chair’s design lines—vertical seams should stay vertical, and patterns should line up.
When you’re working with textured or napped fabrics, corners are where mistakes show up fastest. If the pile direction flips, the sheen can “read” as a mismatch even if the pattern seems aligned. That’s why I always confirm nap direction before cutting, and I double-check orientation after the first corner is completed.
Reinforcement rule: if you see pulling or wrinkling potential, address it immediately:
– remove a few staples and re-seat the fabric, or
– add a few extra staples at the exact stress point.
Reassemble the Chair and Add Final Covering
You’ll finish with a clean, even look by reassembling hardware and adding dust covers only after you confirm the fabric sits correctly. Reinstall the seat/back evenly, then do a final surface check to correct minor wrinkles before the chair goes back into service.
Reinstalling seat and back components after upholstery ensures the chair’s structure distributes weight evenly, preventing fabric strain.
Dust covers conceal raw edges and staple lines, which improves appearance and helps protect against fiber shedding.
Reassembly checklist:
1. Reattach removable parts (seat base, back supports, arm components).
2. Secure dust covers so the underside looks tidy and edges stay protected.
3. Do a final tug-and-smooth pass:
– gently pull along the front edges,
– smooth across the seat face,
– check seams and corners under light.
If your chair uses screws or brackets, confirm alignment before fully tightening. Over-tightening a misaligned seat can stretch fabric and create “micro-waves” that are only visible from certain angles.
Q: What’s the fastest way to fix small wrinkles after reassembly?
A: Loosen the closest underside staples/tacks, re-seat the fabric with moderate tension, then re-staple—finish with a careful tug on the front face.
Care Tips to Keep New Chair Fabric Looking Fresh
You can extend the life and appearance of your new upholstery by cleaning correctly, preventing dust buildup, and using fabric-safe protection methods. Chair fabric maintenance is easier when you build a simple routine immediately after the reupholstery work is complete.
Routine vacuuming with an upholstery attachment reduces grit that abrades fibers and can shorten fabric life.
Spot-cleaning spills quickly prevents dyes and oils from setting, which is particularly important for performance and patterned fabrics.
Practical care habits:
– Vacuum regularly: remove dust from seams, edges, and creases—use low suction to avoid pulling threads.
– Spot-clean fast: blot with a clean cloth; avoid aggressive rubbing that spreads stains.
– Use compatible protectants: if you apply sprays, test first on an underside scrap to ensure colorfastness and texture stability.
2025-friendly approach: many upholstery owners now prefer “cleaning predictability” and use manufacturer-approved products to reduce surprises. Always follow the fabric’s specific care label, because performance coatings and delicate finishes respond differently.
Comfort and wear control:
– Rotate seating positions if your chair is used by different people or has uneven wear.
– For removable cushions, rotate them to equalize compression and reduce edge creasing.
Replacing chair fabric is a straightforward process: remove the old upholstery, repair or refresh the padding, measure and cut your new fabric accurately, then fasten it evenly for clean edges. Gather your tools, save your old pieces as templates, and take your time with corners and tension—then reassemble and enjoy a renewed chair. If you want, tell me your chair type (seat-only, dining chair, accent chair) and whether you’ll staple or sew, and I can tailor the steps.
Frequently Asked Questions
What tools do I need to replace chair fabric?
To replace chair fabric, you’ll typically need a staple gun (or upholstery tacks), a flathead screwdriver or pry tool, scissors or a rotary cutter, and upholstery-grade thread plus a needle if your chair uses sewn seams. It also helps to have an electric drill with small bits (for removing old hardware), pliers, and a seam ripper to detach any fabric carefully. Using a fabric marking pen and a measuring tape will make it easier to cut chair upholstery to the correct dimensions and pattern alignment.
How do I replace chair fabric step-by-step without wrinkles?
Start by removing the old fabric carefully, noting how it was folded and stapled so you can replicate the same chair upholstery layout. Add padding or re-stretch the foam if needed, then fit the new fabric by pulling it evenly from the center outward to keep tension balanced. Trim excess fabric before securing it, and upholster one side at a time—checking alignment as you go—to reduce puckering and wrinkles.
Which fabric types work best for chair upholstery?
The best fabric for chair upholstery depends on how the chair is used, but durable woven upholstery fabrics and performance fabrics are common choices for everyday seating. If you want easy maintenance, look for stain-resistant or wipe-clean upholstery textiles, especially for dining chairs or homes with kids and pets. For best results, choose a fabric with sufficient weight and tight weaving so it holds shape and staples cleanly without sagging.
Why does my new chair fabric look puckered after stapling?
Puckering usually happens when the fabric isn’t pulled evenly or when corners and seams aren’t trimmed correctly before stapling. It can also occur if the underlying padding has lumps or if the old fabric’s folds were not mapped during removal. Rework the chair upholstery by removing a few staples, re-tensioning the fabric, trimming bulk at corners, and then re-stapling in small sections until the surface lies smooth.
How do I replace fabric on a chair with a curved back or arms?
For curved chair upholstery areas, you’ll usually need to cut relief slits or small darts at the curves so the fabric can lay flat without bunching. Test-fit the fabric first, then secure it gradually—pulling and stapling in short intervals—so the grain lines and pattern stay aligned. If your chair has piping or detailed seams, mark where those elements attach before fastening, and use a sharp needle and upholstery thread for any re-stitched seams.
📅 Last Updated: August 02, 2026 | Topic: How to Replace Chair Fabric | Content verified for accuracy and freshness.
References
- Upholstery
https://en.wikipedia.org/wiki/Upholstery - https://en.wikipedia.org/wiki/Reupholstery
https://en.wikipedia.org/wiki/Reupholstery - Upholstery
https://en.wikipedia.org/wiki/Upholsterer - Cushion
https://en.wikipedia.org/wiki/Cushion - https://en.wikipedia.org/wiki/Upholstery_webbing
https://en.wikipedia.org/wiki/Upholstery_webbing - https://en.wikipedia.org/wiki/Textile_wadding
https://en.wikipedia.org/wiki/Textile_wadding - Staple gun
https://en.wikipedia.org/wiki/Staple_gun - Google Scholar Google Scholar
https://scholar.google.com/scholar?q=reupholstery+chair+fabric+guide - Google Scholar Google Scholar
https://scholar.google.com/scholar?q=upholstery+techniques+chair+restoration - Google Scholar Google Scholar
https://scholar.google.com/scholar?q=reupholstering+furniture+textiles+handbook
