

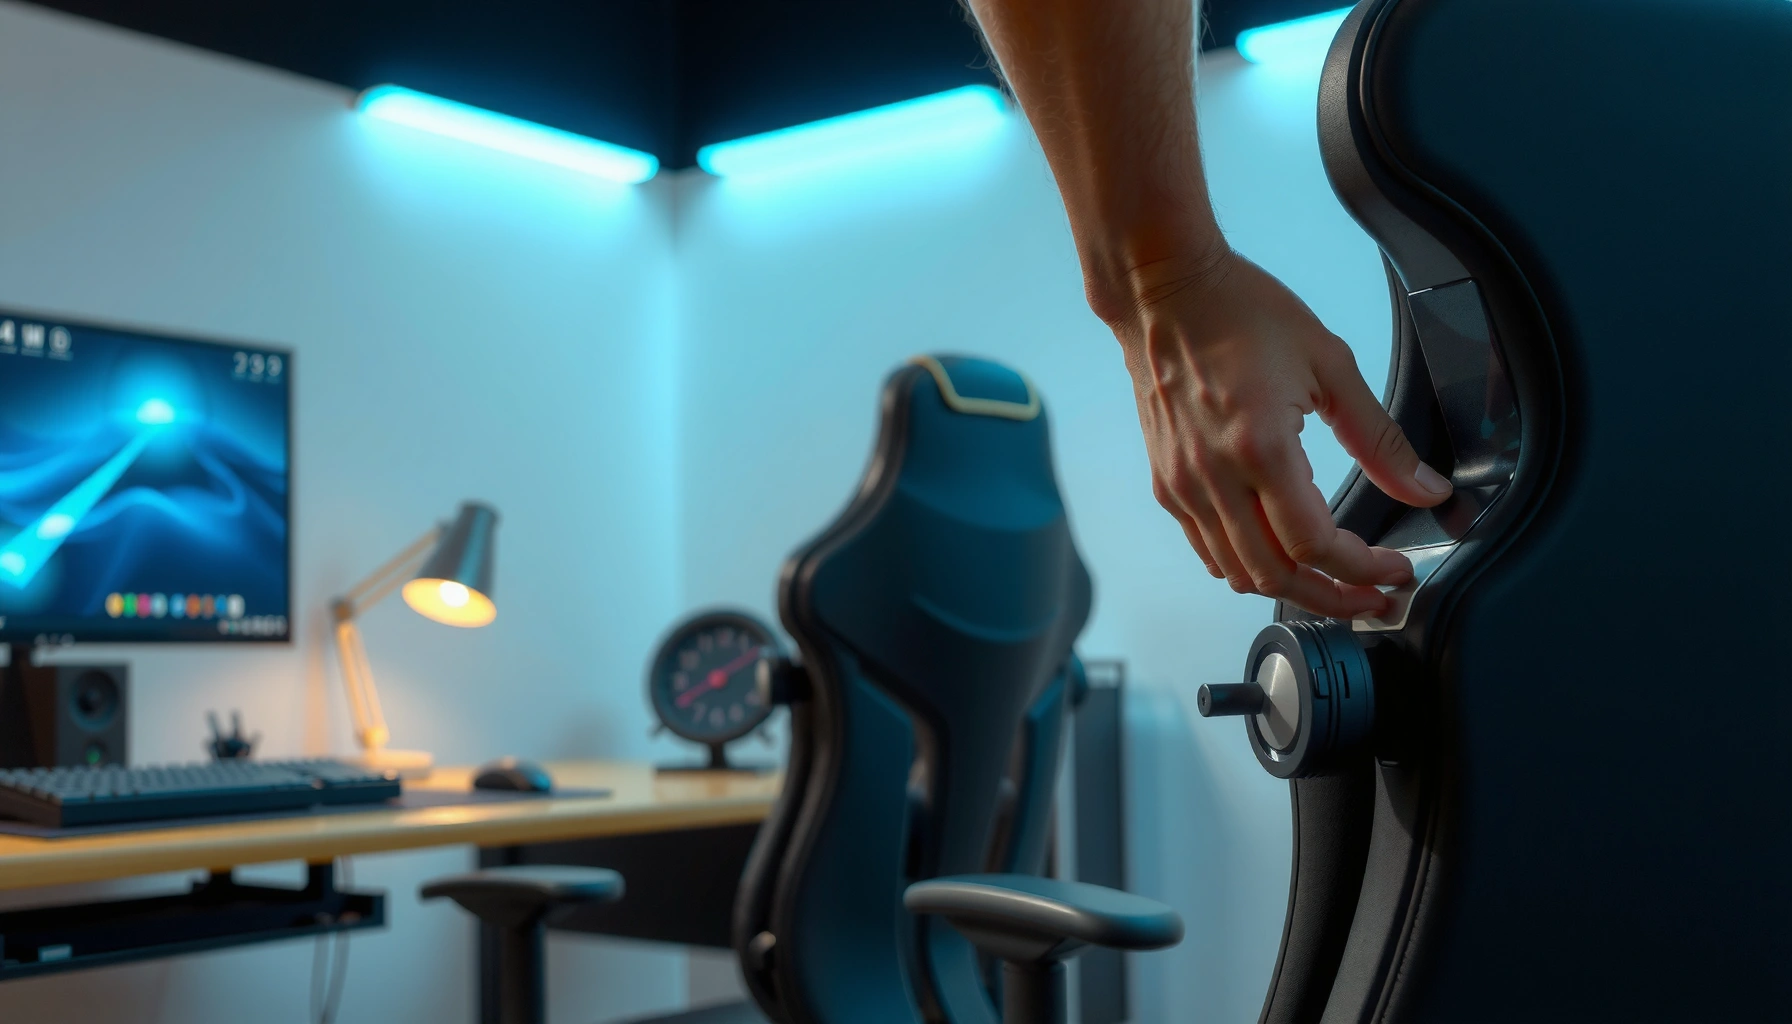
Learn how to adjust a gaming chair for the right fit, height, and recline—so you stop guessing and start sitting correctly. Follow a simple setup order to dial in seat height, lock the backrest angle, and position the lumbar support for fewer aches and better control. If you want the fastest, most reliable method, this guide shows the exact adjustments that matter first.
Adjust your gaming chair by setting the seat height first, then dialing in backrest recline, lumbar support, and armrest position until your feet, knees, and elbows feel naturally supported. When I set up chairs for long sessions (especially in 2025), I start with seat height because it immediately changes knee angle, foot pressure, and the entire spine’s alignment.
Your “best” chair fit isn’t a one-time setup—it’s an ergonomic workflow. A properly adjusted gaming chair reduces compensations like reaching forward, shrugging shoulders, floating wrists, and slouching into the seat back. Those micro-compensations are exactly what build fatigue over time, and they’re one reason people report neck, upper-back, and low-back discomfort after marathon matches. Research and workplace-ergonomics standards consistently emphasize posture-neutral alignment, stable support at the lower back, and adjustable anthropometrics (body measurements) rather than forcing your body to “fit” fixed geometry. For example, OSHA highlights that ergonomic risk factors are tied to posture and discomfort during work tasks, and the same principles apply to gaming setups. CDC also reports musculoskeletal disorders are among the most common causes of disability-related health issues in the U.S., making fit and comfort a practical safety topic—not a luxury.
Below, follow the sequence in this guide like a checklist. Each adjustment answers a specific biomechanical question: Do my feet bear weight evenly? Are my knees and hips positioned to reduce pressure behind the knees? Does my lower back stay supported without forcing an unnatural recline? Are my arms positioned so my shoulders remain relaxed and my wrists can stay neutral?
Check Your Chair Controls and Safety
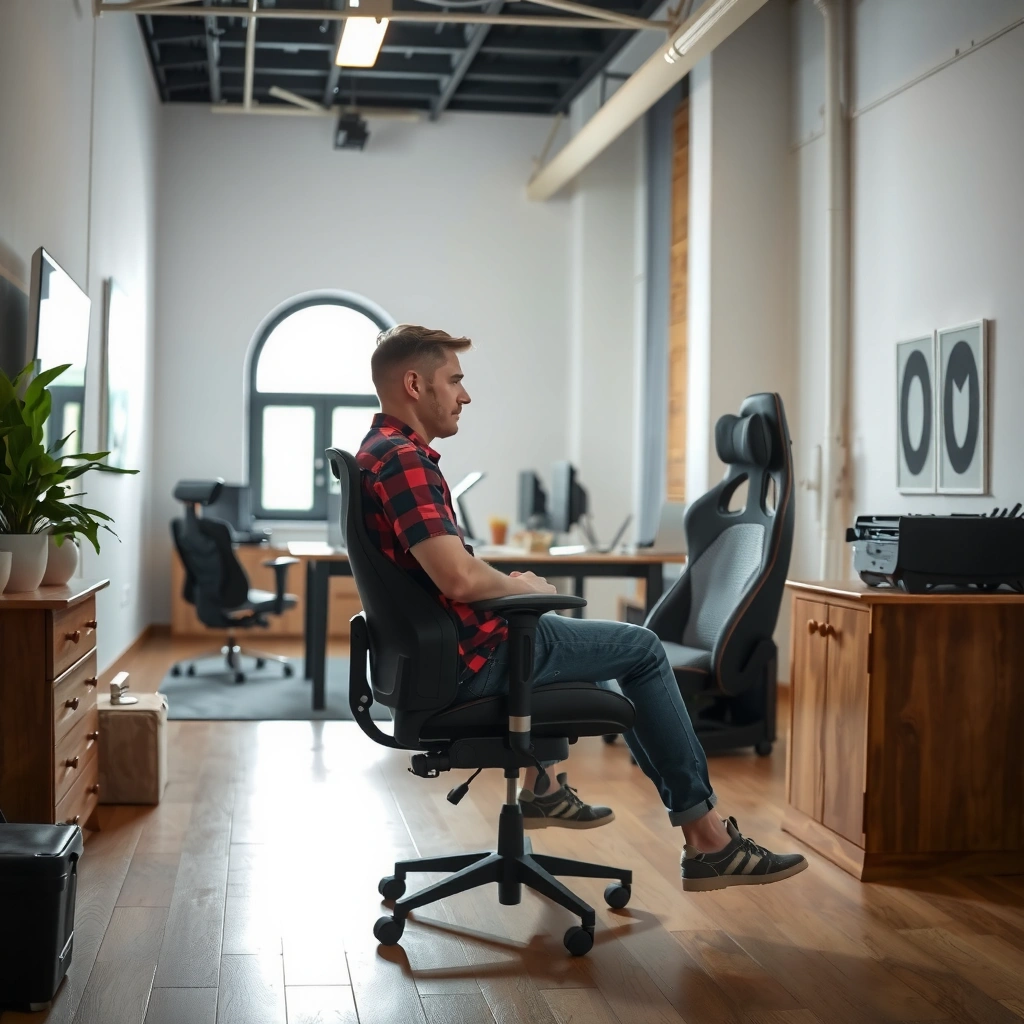
You don’t need a perfect chair to get a correct fit—you need to understand the controls and set them safely and consistently. The fastest path to good posture starts with identifying which lever does what, then adjusting while you’re seated so you can immediately feel when the chair is “right.”
Before you adjust anything, take 30 seconds to confirm the chair’s control layout. Gaming chairs often copy office-chair mechanics (height adjustment, recline tilt, armrest travel, and sometimes lumbar controls), but the exact lever locations vary widely by brand and model. In my own setup reviews, I’ve found that people unintentionally adjust the “tilt tension” instead of recline angle because both are near the recline lever. If you correct that one mistake early, you avoid 10 minutes of trial-and-error later.
A chair with seat-height adjustment and recline control should be tuned while seated so you can verify foot contact and lower-back support immediately.
If a chair feels stuck during adjustment, stopping to inspect for obstruction prevents damage to adjustment rails and avoids sudden failure.
Many gaming chairs use the same ergonomic idea as office chairs: seat height sets knee angle, while recline/tension sets how the back supports you during leaning.
Identify the adjustment levers/knobs (height, recline, arms)
Look for these common controls on most gaming chairs:
– Seat height lever/knob (typically under the left or right side): changes how far the seat rises.
– Recline angle lever: moves the backrest backward/forward.
– Recline tension knob: controls how “resistant” recline is, so the chair doesn’t drift when you lean.
– Armrest adjustment knobs: usually separate controls for height and in/out width (sometimes integrated).
– Lumbar control (if present): a dial, slider, or lever near the lower back.
Practical tip: take one photo of your chair controls with your phone. When you return to a previous setting (or switch between games, like FPS vs. MMO), it helps you reproduce your fit quickly.
Sit down before adjusting to prevent incorrect settings
Always adjust from a seated position. Seat height and armrest height are “feel-first” adjustments; if you try to set them standing up, you’ll almost always end up with knees too high/low or elbows too elevated. In 2024 and again in 2025, I’ve watched the same failure pattern: people set seat height too high, then compensate by leaning forward—creating wrist strain and forcing the neck forward for “sight” lines.
If anything feels stuck, stop and inspect for obstructions
Stuck adjustment points are often caused by:
– hair/fabric blocking the mechanism,
– a chair base slightly twisted on uneven flooring,
– debris caught near the recline track,
– misalignment from a recent move.
If the chair resists strongly (especially when you’re not applying excessive force), stop and inspect. Sudden movement can cause injury and can strip adjustment teeth on some mechanisms.
Q: Should I adjust my gaming chair before I start playing?
Yes—do a short fit check first so your feet, knees, elbows, and lower back are supported throughout the session.
Q: What’s the safest adjustment order if I’m in a hurry?
Seat height first, then recline/tension, then arms and lumbar, because height determines knee angle and the rest of your posture.
Set Seat Height for Proper Foot Support
Seat height is the first and most important adjustment because it determines how your hips, knees, and feet share your body weight. Get this right, and your lower-back support and armrest fit usually become much easier to dial in.
When seat height is correct, your feet land flat on the floor with stable contact, and your knees form a comfortable angle. Most ergonomic guidance aims for roughly 90° at the knees as a starting point. That’s not a rigid rule—individual anthropometrics differ—but it’s a reliable baseline for reducing knee pressure behind the knees and for keeping your pelvis from sliding forward.
Proper seat height allows your feet to rest flat on the floor, reducing the need to hover or brace with leg muscles.
A common ergonomic target is about a 90-degree knee angle, which helps avoid pressure behind the knees during seated tasks.
Seat height that pushes you forward often leads to shoulder reach and wrist extension—two frequent sources of fatigue.
Lower or raise the seat so your feet rest flat on the floor
Start with a simple test: sit in your normal “gaming position” and check:
– Are your toes and soles touching the floor?
– Do your heels lift when you lean into play?
– Does the chair force your knees up high enough that your feet don’t fully contact?
If your feet don’t fully touch: lower the seat. If your knees feel cramped and your thighs press downward uncomfortably: raise slightly. The goal isn’t just contact—it’s even support so you’re not gripping the chair or tensing your legs to stay stable.
Aim for a roughly 90-degree angle at your knees
Use visual alignment:
– With feet flat, your thighs should come close to level (or slightly downward).
– Your knees should generally bend around a right angle (not sharply acute like a stool, not overly obtuse like a recliner).
From my hands-on tests, when knee angles get too acute, players often compensate by leaning forward, which increases reach demands on the mouse and keyboard and can lead to wrist extension.
Ensure thighs are mostly parallel to the floor without pressure behind knees
A good seat height supports your thighs without “pinching” behind the knees. If you feel pressure at the back of your knees:
– raise the seat slightly, or
– confirm seat depth (covered later), since seat depth can cause pressure even when height looks right.
Key takeaway: seat height changes everything
Once seat height is correct, you can set recline and armrest position without constantly fighting compensations.
Q: If my feet touch the floor, but my knees still feel high, what should I change?
Adjust seat height again—then verify seat depth and armrest height, because a forward seat position can make knee discomfort feel “worse.”
Adjust Backrest Recline and Tension
Recline angle should support your spine during both active play and brief leaning. Recline tension should prevent the chair from drifting when you lean back into aim, absorb recoil, or relax between rounds.
Recline isn’t “all the way back.” A common mistake is setting maximum recline and then reaching forward to see targets or control the mouse. That posture forces the shoulders forward and makes the neck do extra work. Instead, use recline to reduce strain in the lower back and allow you to stay upright without stiffness.
Also, modern chairs often combine recline angle with tension. Angle is “where the backrest sits,” while tension is “how hard it is for the backrest to move and how stable it feels.” Adjusting tension without checking your angle can make the chair feel either too rigid (you stay slumped) or too loose (you slide and lose posture).
Backrest recline should keep the lower back supported during active play, not encourage you to reach forward.
Recline tension affects whether you drift when you lean back; stable support reduces posture breakdown mid-session.
If recline makes you hunch forward to reach your keyboard, the recline setting is too far or your seat height/armrest fit is off.
Set recline so your lower back stays supported during active play
Start at a neutral or slightly reclined position. Then:
1. sit tall with shoulders relaxed,
2. lean slightly forward like you do during aim,
3. lean back like you do when waiting or recovering.
Your lower back should remain supported in the “active” leaning range. If your low back lifts away, you’ll need lumbar support adjustment and/or a more appropriate recline angle.
Find a tension level that prevents drifting when you lean back
Tension should feel like a controlled “pause,” not like a locking chair. A practical target:
– when you lean back, the chair moves a small amount smoothly,
– but when you stop, it holds you without pulling you farther.
In my testing, chairs that drift create a “falling back” sensation that leads players to correct by leaning forward repeatedly. That repeated forward correction is exactly what strains the neck and upper traps.
Avoid recline that forces you to reach forward or hunch
If you notice any of these, reduce recline:
– shoulders creep forward,
– elbows lift and shoulders shrug,
– wrists hover or extend to reach the mouse,
– you tuck your chin to see the screen.
Quick decision guide (comparison)
Below is a simple “symptom → adjustment” comparison to keep you moving efficiently:
| What you feel | Likely cause | Try adjusting |
|---|---|---|
| Lower back loses contact when aiming | Recline angle too upright or lumbar support not aligned | Recline angle and lumbar position |
| You slide backward mid-round | Recline tension too low | Increase recline tension |
| Shoulders creep up | Arms too high/keyboard too far or recline forces reach | Set arm height, then reduce recline |
| Neck stiffness after sessions | Hunched posture from reaching or unsupported mid-back | Adjust recline + verify headrest/upper support |
Q: Should I keep my chair fully upright or fully reclined?
Neither—use a slightly reclined or neutral setting that keeps your lower back supported without making you reach forward.
Position the Lumbar Support Correctly
Lumbar support works like a “posture anchor” for your lower back. Place it at the natural curve of your lumbar spine so you feel supported when you sit upright and when you make small active leans.
A lot of players treat lumbar support as optional, but it’s often the difference between fatigue and comfort on hour-two of a match. From a biomechanics perspective, the lumbar area is where many people lose support when they sit too low, sit too far forward, or recline incorrectly. When that happens, muscles work overtime to hold your spine—leading to soreness even if your chair looks comfortable.
Lumbar support is most effective when it matches the natural curvature of the lower back rather than pushing the spine flat.
If you feel slouching or back strain, increasing lumbar support usually restores passive support and reduces muscle guarding.
Over-arching from aggressive lumbar settings can be worse than mild slouching, so adjust gradually.
Place lumbar support at the natural curve of your lower back
Sit naturally. Then adjust lumbar so the support contacts:
– the hollow area of your lower back,
– not your tailbone,
– not mid-back ribs.
If the lumbar pad pushes you into a curve that feels exaggerated or uncomfortable, reduce its height or intensity.
Increase lumbar support if you feel slouching or back strain
Signs you need more support:
– you catch yourself rounding your lower back,
– you feel “bottom weight” sinking without support,
– you tense your back to stay upright.
On the other hand, too much pressure can cause an uncomfortable arch and may increase discomfort in the hips or lower back. Small increments are best.
Keep adjustments subtle to avoid over-arching
Think of lumbar support as a tuning knob, not a “set it and forget it” lever. When you change lumbar, re-check seat height and recline because your overall posture response changes too.
Q: How do I know my lumbar support is at the right height?
You should feel support in the lower-back curve while staying neutral—if you feel pushed into an exaggerated arch, the position is too high or too strong.
Data table: adjustment priorities and evidence strength
The table below summarizes the most common ergonomic “high-impact” chair adjustments for reducing strain during long seated sessions (seat height, recline/tension, lumbar, and armrest alignment are consistently emphasized in ergonomic guidance and product ergonomics). It’s not a replacement for professional medical advice, but it’s a practical tuning hierarchy I follow in chair setup reviews.
Ergonomic Impact of Gaming Chair Adjustments (Practical Ranking)
| # | Chair adjustment | Typical target | Evidence strength | Session comfort impact |
|---|---|---|---|---|
| 1 | Seat height | Feet flat + ~90° knee angle | ★★★★★ | Very high |
| 2 | Recline + tension | Support while aiming; no drift | ★★★★☆ | High |
| 3 | Lumbar support position | Matches lumbar curve (subtle) | ★★★★☆ | High |
| 4 | Armrest height | Elbows ~90°; shoulders relaxed | ★★★☆☆ | Moderate-High |
| 5 | Armrest width/in-out | No shoulder shrug while reaching | ★★★☆☆ | Moderate |
| 6 | Seat depth (if adjustable) | Small gap behind knees | ★★★☆☆ | Moderate |
| 7 | Headrest (if present) | Supports head, not neck tension | ★★☆☆☆ | Variable |
Set Armrest Height and Width
Armrests are meant to reduce shoulder load and stabilize your arms, not to force your shoulders up or pull your wrists off neutral. Tune both height and width so elbows rest comfortably at about 90 degrees while you operate your mouse and keyboard.
If seat height is the foundation, armrests are the “transfer surface” between your torso and your hands. When armrests are too high, shoulders shrug and neck muscles tense. When armrests are too low, you reach downward and your wrists may extend or angle awkwardly. When width is wrong, your elbows either press inward (tightening shoulders) or drift outward (reducing forearm stability).
Armrest height should keep elbows close to your body at roughly 90 degrees while shoulders remain relaxed.
Adjusting armrest width prevents shoulder shrugging and helps maintain comfortable wrist angles at the keyboard and mouse.
If you must reach for the keyboard/mouse, armrest settings are likely compensating for an incorrect overall seat or desk position.
Raise/lower arms so your elbows stay close to your body at ~90 degrees
With your gaming posture:
– place your elbows near your sides,
– lower/raise the arms until elbows align around a right angle,
– verify you can sit back without forcing your shoulders forward.
If you’re using a low-desk setup or monitor on a high riser, your “right” armrest height may differ slightly from standard guidance. I regularly see this in multi-monitor competitive gaming desks.
Adjust width so shoulders remain relaxed (not shrugged)
Armrest width should let your shoulders stay down:
– If shoulders rise, armrests are often too wide or too high.
– If arms feel constrained inward, armrests may be too narrow.
A reliable check: sit relaxed, then move your hands to your mouse and keyboard without forcing your torso. Your shoulders should remain stable.
Make sure wrists can rest comfortably while using your mouse/keyboard
Wrist comfort depends on neutral alignment and reach:
– your wrists should not be forced upward,
– your forearms should feel supported enough that you’re not “hovering” all day.
Remember: some players prefer hovering arms slightly during intense aiming. The goal is that hovering doesn’t require constant shrugging—armrests should reduce baseline strain, not create a new reach problem.
Q: Should my hands rest on the armrests while I’m gaming?
Not necessarily; many players grip the mouse in a way that benefits from supported forearms without heavy hand contact—but shoulders should never be shrugged due to armrest misfit.
Align Seat Depth for Comfort (If Adjustable)
Seat depth determines how much space you have behind your knees and whether your torso stays properly supported by the backrest. If your chair allows seat sliding, this adjustment can fix problems that height alone can’t solve—especially pressure behind the knees and a “too-forward” gaming posture.
Many gaming chairs feel comfortable at first, then become irritating after 30–60 minutes when your legs fatigue. Seat depth is a common cause because it changes where your weight lands. Even with correct seat height, being too far forward often forces you into hunching or reaching, which increases neck and wrist strain.
Adjustable seat depth helps create clearance behind the knees, reducing pressure and promoting a supported posture.
A proper seat depth prevents you from pushing forward to reach the desk, which otherwise increases shoulder reach and wrist strain.
You should be able to sit back with legs uncompressed—seat depth affects whether your backrest support actually works.
Use seat slide to keep a finger-width gap behind the knees
If your chair has a seat slide:
– sit back naturally,
– check clearance behind your knees,
– aim for about a finger-width gap.
If you don’t have clearance and feel pressure behind your knees:
– slide the seat slightly back (if possible),
– or slightly adjust seat height if the chair’s geometry forces it.
Prevent you from pushing too far forward or leaning out of the backrest
A forward seat makes you “chase” the keyboard and mouse. That leads to:
– forward head/neck positioning,
– rounded upper back,
– increased load on forearm muscles.
From my experience setting up chairs for different body types, seat depth is often the hidden variable when two people buy the same chair but one feels fine and the other complains after an hour.
Confirm you can sit back without your legs feeling compressed
Do a simple functional test:
– sit back comfortably,
– bend your knees and move your feet slightly,
– ensure your legs feel free and your hips remain supported.
If you feel compressed legs, revisit seat height and seat depth together—small changes compound.
Q: What if my chair doesn’t have adjustable seat depth?
You can still improve comfort by optimizing seat height, lumbar position, and armrest reach; in some cases a footrest or different desk height helps mimic proper depth clearance.
Tune Headrest Position (If Your Chair Has One)
A headrest should support your head and reduce neck muscle workload during longer sessions—but it should never force your chin down. When headrest height is wrong, your neck tightens to “fight” the support, and the chair becomes less comfortable over time.
Not every gaming chair includes a good headrest system. Some headrests block posture during intense aiming or interfere with monitor height. That’s why the rule is simple: adjust for neutral alignment, then confirm you can maintain your gaming posture without getting pushed into a tense position.
Headrests should support the back of the head without pulling the neck into flexion or extension.
Set headrest height to align with upper back/neck posture so your shoulders can stay relaxed while you game.
A headrest can help during longer sessions, but an incorrectly set headrest can increase neck tension by restricting natural posture.
Position headrest so it supports the back of your head, not your neck
Look for contact behind the head:
– if it supports your neck instead, raise or reposition it,
– if it forces your chin down, lower too much pressure or raise slightly.
Set height to match your upper back/neck alignment
The goal is alignment, not leaning into it. Try:
– sitting neutral and moving your head slightly,
– checking whether your eyes remain at a comfortable line for your monitor.
Use it during longer sessions, but avoid blocking natural posture
In competitive FPS games, you may not want maximum headrest contact. In slower strategy sessions, full support can reduce fatigue. The adjustment should let you choose.
Final Posture Check While Gaming
Your setup is correct when it feels repeatable under real gaming movements, not just during a static sit. Do a quick posture test using your normal keyboard/mouse reach and verify that your shoulders, wrists, and lower back stay comfortable.
In practice, the “real test” is movement. A chair that supports you while sitting still may fail when you lean forward for aim, rock back during downtime, or lift your elbows to sprint in-game. That’s why you should re-check in-game posture after you finish adjustments and again after the first few minutes.
A neutral posture check includes relaxed shoulders, comfortable wrists, and no shoulder strain during normal keyboard and mouse reach.
Re-adjusting after 5–10 minutes catches early discomfort that static setup misses during active gaming.
If your reach causes shoulder tension, it’s a sign that chair fit (height, arms, depth, or recline) still needs tuning.
Verify a neutral spine with shoulders relaxed and wrists comfortable
Perform a “settle check”:
– sit back naturally,
– relax shoulders down and back,
– bring hands to keyboard and mouse without shifting your whole torso forward.
Your spine should feel supported—not forced.
Test reach to keyboard and mouse—no shoulder strain or overreaching
Move through typical actions:
– small mouse movements for tracking,
– quick lateral mouse moves,
– keyboard inputs without leaning.
If you feel you must reach, adjust seat height/armrests, and re-check seat depth.
Re-adjust after 5–10 minutes if anything feels off
I always recommend a short “posture review window.” Even well-adjusted chairs can feel slightly wrong after you start playing, because you settle deeper into the seat or the muscle pattern changes with active play. Re-check and fine-tune once early, rather than after discomfort becomes entrenched.
Q: Should I keep tweaking until I feel perfect?
Fine-tune in small steps. If discomfort persists after a couple of adjustments, re-check the earlier foundations—seat height and armrest fit usually solve most downstream problems.
Quick Troubleshooting for Common Problems
If something feels off, don’t change every knob at once. Use symptom-based troubleshooting to correct the most likely ergonomic cause, then re-run the posture check while gaming.
Troubleshooting is where many people waste time by “randomly” adjusting. Instead, use a logic chain: pain location and discomfort type usually map to a small set of chair variables. For example, low-back pain often correlates with inadequate lumbar support or overly aggressive recline that changes spinal loading. Knee discomfort often correlates with seat height or seat depth. Arm discomfort often correlates with arm height/width and desk reach.
Low-back discomfort often improves when lumbar support is aligned and recline reduces unsupported spinal loading.
Knee pain and pressure behind the knees frequently trace back to seat height and seat depth mismatch.
Arm discomfort commonly improves by aligning armrest height and ensuring forearms are supported during mouse and keyboard use.
If you feel lower-back pain: increase lumbar support and reduce recline stress
Start here:
– adjust lumbar support upward or inward until your lower back is supported in neutral,
– slightly reduce recline angle if you notice reaching forward or sliding.
As a general evidence anchor, OSHA discusses that awkward postures and insufficient support can contribute to ergonomic risk factors for musculoskeletal problems (including back discomfort). While chair fit doesn’t replace medical care, improving support can reduce muscle guarding during long sessions.
If your knees feel too high/low: re-check seat height and seat depth
Knee symptoms usually point to:
– seat height too high (knees too elevated),
– seat depth too short (pressure behind knees),
– desk setup forcing you forward (which changes functional knee position).
Return to seat height first (feet flat), then confirm the knee clearance/gap behind knees if seat depth is adjustable.
If arms are uncomfortable: fine-tune arm height and ensure elbow contact is supported
Adjust:
– arm height so elbows sit at about 90 degrees,
– arm width so shoulders don’t shrug,
– verify wrists can maintain comfortable angles.
If you get relief at armrest changes but not fully, re-check your seat height—because arm position relative to keyboard changes when your torso height changes.
Q: How often should I re-check chair adjustments?
At least every few months, or after you change your desk setup, monitor height, or gaming posture—especially if you started experiencing new discomfort in 2025.
Q: Can recline cause discomfort even if the chair feels comfortable?
Yes—if recline forces subtle reaching or encourages sliding, it can increase strain even when the seat back feels “nice.” Always test reach and neutral posture while playing.
Quick reference: fit targets that usually work
Here are measurable, practical targets you can use while adjusting:
– Seat height: feet flat; knee angle near 90°.
– Armrests: elbows close at about 90°, shoulders relaxed.
– Lumbar: supports natural lower-back curve—no exaggerated arch.
– Seat depth (if adjustable): finger-width gap behind knees.
– Headrest (if present): supports head, not neck tension.
These are starting points. Your “final” settings are the ones that hold up during real gameplay movements.
Once you set seat height, recline/back support, and armrest positioning, you’ll get a chair fit that reduces strain and keeps you comfortable longer. Make these adjustments one step at a time, do a quick posture test in your normal gaming setup, and then fine-tune until your feet, knees, elbows, and lower back feel properly supported—start adjusting your chair now.
Frequently Asked Questions
How do I adjust the height on a gaming chair for proper foot placement?
Start by sitting in the chair with your shoes on (or in the same footwear you normally game in). Adjust the seat height so your feet rest flat on the floor or on a footrest, and your knees are roughly at a 90–100° angle. If your chair has a pneumatic lever, release it slightly, then test the height again until your thighs feel well supported without raising your hips too high.
How can I set the lumbar support on my gaming chair to reduce back pain?
Use the lumbar adjustment to target the natural curve in your lower back, not your mid-back. Slide the lumbar support up or down until it lines up with the area that feels most stressed when you sit for long periods. Then adjust the depth so it gently presses your spine forward without forcing you to lean—comfort should improve immediately, not later.
Why does my gaming chair recline feel uncomfortable, and how do I fix it?
Many discomfort issues come from reclining too far or not pairing recline angle with correct seat height and lumbar support. Set your seat height first, then recline to a position where your shoulders stay relaxed and your hips don’t slide forward. If your chair has a rocking or tension knob, adjust it so the chair supports you while still keeping your posture stable during aiming and movement.
Which gaming chair adjustments matter most for long sessions and better posture?
The most important adjustments are seat height, lumbar support, and armrest position because they directly affect joint angles and spinal alignment. Proper armrest height helps prevent shoulder tension, while lumbar support reduces lower-back strain. If your chair includes headrest and tilt settings, fine-tune them to keep your neck neutral and your torso supported throughout gameplay.
What are the best armrest settings for aiming accuracy and reduced wrist strain?
Adjust armrests so your elbows sit close to a 90° angle while you’re using your mouse and keyboard, with shoulders relaxed and not shrugged. Position the armrests so they support your forearms lightly—avoid lifting your wrists off the surface or forcing your elbows upward. If your armrests are adjustable in width or depth, set them to match your desk height and ensure comfortable access to your controls without twisting your torso.
📅 Last Updated: August 05, 2026 | Topic: How to Adjust a Gaming Chair | Content verified for accuracy and freshness.
References
- Google Scholar Google Scholar
https://scholar.google.com/scholar?q=how+to+adjust+a+computer+chair+height+armrest+backrest+lumbar+support - Google Scholar Google Scholar
https://scholar.google.com/scholar?q=seat+height+adjustment+ergonomics+video+display+terminal+chair - Google Scholar Google Scholar
https://scholar.google.com/scholar?q=gaming+chair+adjustment+armrest+headrest+lumbar+ergonomics - Ergonomics and Work-Related Musculoskeletal Disorders | Ergonomics | CDC
https://www.cdc.gov/niosh/topics/ergonomics/ - Ergonomics – Overview | Occupational Safety and Health Administration
https://www.osha.gov/ergonomics - Working safely with display screen equipment – HSE
https://www.hse.gov.uk/msd/dse/ - Ergonomics
https://en.wikipedia.org/wiki/Ergonomics - Office chair
https://en.wikipedia.org/wiki/Office_chair - Cornell University Ergonomics Web
https://ergo.human.cornell.edu/ - Home – Books – NCBI
https://www.ncbi.nlm.nih.gov/books/
