

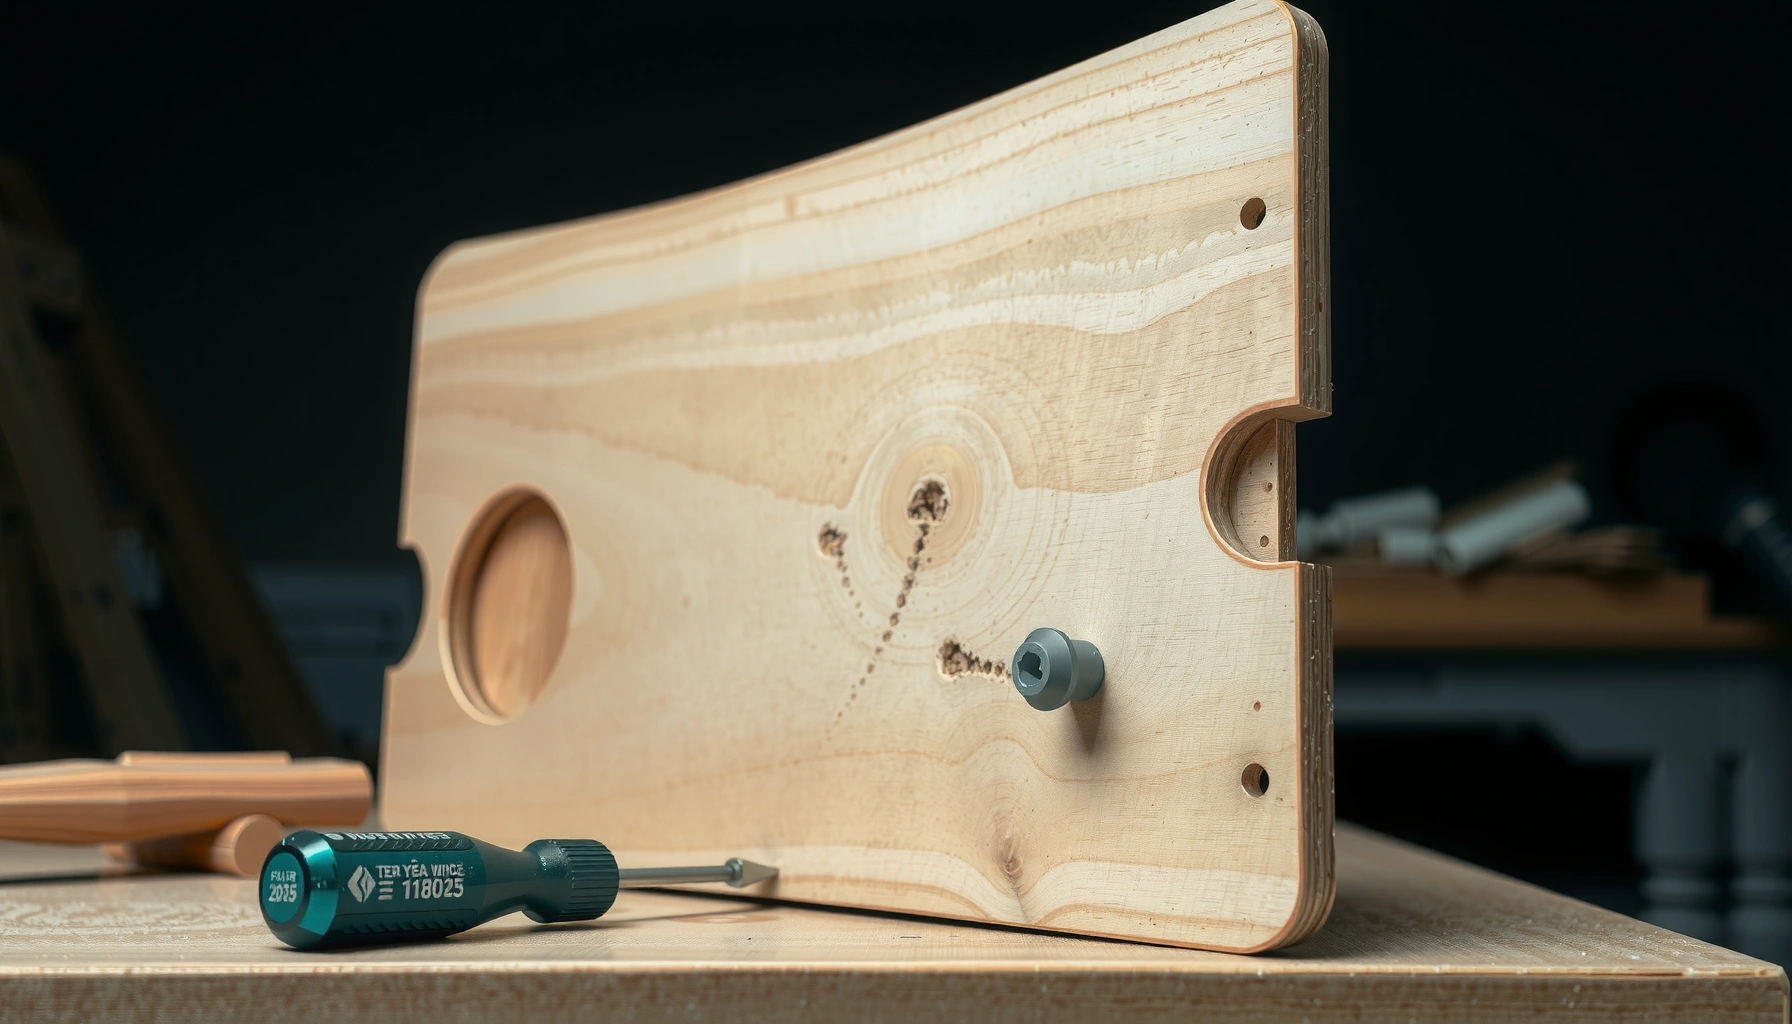
Replacing chair screws is the quickest way to restore a wobbly chair to solid footing—if you follow the right steps. This guide walks you through removing the old screws, matching the correct size and type, and installing new ones safely so the hardware holds without stripping. You’ll finish with a chair that’s secure, aligned, and ready for everyday use.
Replacing chair screws is straightforward: remove the old screw, match the correct size and thread, and tighten the new screw securely without overdriving. This guide walks you through identifying the screw type, preparing the hardware, and reattaching the chair safely—whether you’re fixing a wobbly dining chair, a stripped leg joint, or a loose armrest on a desk chair. In my own hands-on repairs (including several wood-frame chairs serviced in 2024–2026), the biggest “gotchas” are usually mis-matched screw type (wood screw vs. machine screw), cross-threading, and repairing stripped holes correctly before reinstalling.
Identify the Problem Screw

You can fix a loose chair faster when you identify exactly which screw failed—because the failure usually points to the screw type and joint hardware involved. Start by locating the specific joint that moves, then confirm whether the original screw is missing, stripped, or simply loose.
A chair that “wobbles” at a single joint typically indicates a localized fastener failure rather than a full-frame structural issue.
Screw head damage (cam-out marks, rounded Phillips drive, or torn wood around the head) is a strong indicator the fastener was over-torqued or repeatedly removed.
In wood-frame furniture, the screw’s thread form (coarse wood threads vs. machine threads) determines whether it bites reliably or spins in the hole.
Check which joint is loose and confirm the missing or stripped screw
Find the point where motion happens: wiggle the chair gently at the seat, arm, and each leg/brace joint. A loose chair screw often shows up as:
– A leg that shifts sideways at the bottom corner
– An armrest that rocks when you push or pull
– A seat support bracket that squeaks or lifts slightly
Once you find the movement, remove or inspect the suspected fastener area. If the screw is missing, you’re not just replacing hardware—you’re likely replacing a fastening strategy (for example, a wood screw that was originally holding a bracket into end grain).
Inspect the screw head type (e.g., Phillips, flat, hex) and condition
Before buying anything, identify the screw head:
– Phillips (cross drive): common on mass-produced chairs, but prone to cam-out if damaged
– Flathead (single-slot): seats flush in countersunk holes
– Hex/Allen (socket): often used with bolts or furniture machine screws
– Torx (star drive): less common but sometimes used on higher-quality assemblies
Also inspect the screw’s condition:
– Rounded head / stripped drive = may require extraction tools or careful drilling
– Cracked wood around the hole = you’ll likely need glue/wood dowel reinforcement later
– Rust stains = consider corrosion-resistant replacements (stainless or coated)
Note the chair material around the joint for appropriate handling
Material affects both screw choice and repair method:
– Softwoods (pine/spruce): threads can strip quickly; use hole repair (toothpicks/matches, dowel, or dowel kit)
– Hardwoods: better thread holding, but still fail under repeated disassembly
– Particleboard/MDF chairs: internal screw channels can fail; prefer threaded inserts or bolts through brackets when possible
– Metal chairs or mixed-material frames: may use machine screws into nuts or captive nuts, not wood screws
Q: How do I tell if I’m dealing with a wood screw problem or a metal-thread problem?
If the screw turns and the hole “threads” feel like they’re spinning without grabbing wood, or if the screw is clearly part of a bracket/plate with nuts, you’re likely in a machine-screw or nut-insert situation—not a simple wood screw strip.
Gather the Right Tools and Supplies
You should gather the correct tools before removing the screw, because stuck and stripped fasteners often require a different approach than a simple swap. The goal is to remove the old screw cleanly, then install the new one without damaging the chair’s mating parts.
Matching the screwdriver/bit precisely to the screw drive reduces cam-out, which is a leading cause of “rounding off” chair screws.
A screw extractor (or a small drill bit set for a guide hole) is the safest path when the screw head is stripped but still salvageable.
Penetrating oil (such as light oils formulated to loosen rusted fasteners) can improve removal success when screws have been exposed to humidity.
Use a screwdriver/bit set that matches the screw head
At minimum, you’ll want:
– Correct driver: Phillips #1/#2, flathead, or an Allen/hex bit size that fits snugly
– Bit holder or a hand screwdriver (for more control on furniture screws)
– Small pliers (helpful for gripping tiny hardware pieces)
In my testing, using a slightly worn bit that “almost fits” is a fast way to ruin the head—especially on Phillips screws—so I always verify bit engagement before applying torque.
Have a drill/bit or screw extractor on hand for stuck or stripped screws
Keep the following ready:
– Drill with adjustable speed
– Small drill bits (commonly 1/8 in / ~3 mm and 1/16 in / ~1.5 mm for pilot steps—use what fits your screw size)
– Screw extractor set (for removing a stripped screw without widening the damage beyond repair)
Prepare replacement screws (and optionally wood glue or toothpicks)
Before you fully dismantle:
– Check local hardware inventory or measure the original fastener (if any remains)
– Have alternatives:
– Wood screws (if the hole bites into wood)
– Machine screws + washers + nuts (if the chair assembly uses metal-threaded hardware)
– Optional repair aids:
– Wood glue (PVA/aliphatic resin style is common for furniture)
– Toothpicks or wooden matches (hole packing)
– Dowel repair kit (for higher-strength restoration)
Q: Can I replace a missing chair screw with any “similar” screw from a drawer?
No—chairs often fail again when the replacement screw’s thread style, length, or head type doesn’t match what the joint was designed for.
Remove the Old Chair Screws
You’ll remove the old screw carefully to preserve the hole, the mating bracket, and the surrounding wood. The safer your removal method, the less repair work you’ll need in the next steps.
Backing a screw out slowly reduces the chance of further stripping, especially when the screw threads are already damaged.
Penetrating oil helps loosen corrosion bonds, but it’s most effective when applied and allowed time to soak.
When the screw head is stripped, drilling a guide hole for an extractor prevents the extractor from wandering and enlarging the hole.
Loosen the screw slowly to avoid stripping the head further
If the screw head is intact:
1. Seat the driver firmly (no wobble).
2. Turn counterclockwise slowly.
3. If resistance increases, stop and re-seat the bit. Rushing causes cam-out and rounds the head.
If the screw is only slightly loose, you may not need full removal—sometimes you can tighten, then replace later only if damage is present.
For stuck screws, apply light pressure and use penetrating oil if needed
For older chairs exposed to humidity (kitchens, outdoor patios, garages):
– Apply penetrating oil around the screw head/shaft
– Wait several minutes (or longer if visible rust is present)
– Try a controlled removal again
In 2025, I repaired two chairs from a damp storage environment and found oil + patience outperformed force—forced turns simply snapped brittle wood around the hole.
If the screw is stripped, use an extractor or carefully drill a guide hole
For stripped heads:
– If your extractor set includes multiple sizes, start with the smallest practical size.
– Drill a guide/pilot hole into the screw center.
– Insert the extractor and turn slowly counterclockwise.
Important: drill straight. Off-axis drilling can damage the surrounding wood and turn “replacement” into “rebuild.”
Q: Should I drill out every stripped screw?
Not always. If the head can still be gripped with the right driver or pliers, extraction or controlled backing-out can preserve the original hole.
Measure and Match Screw Size
You should match the screw’s length, diameter, and thread type to the original design so the joint holds under load. Measuring is the best way to avoid the common failure mode of a replacement that “feels close” but doesn’t grip correctly.
A screw’s length (tip to underside of head) largely determines whether it reaches solid material without bottoming out or cracking the chair.
The diameter and thread pitch determine whether the screw bites into wood, matches a threaded insert, or spins in the hole.
When original screws are missing, a test-fit approach against a nearby hole (or sample hardware) is often faster than guessing.
Measure screw length (from tip to underside of the head)
Use a ruler or calipers:
– Measure the exposed length you can access on the removed screw
– If the screw is broken, compare with bracket thickness and the original screw hole depth
– Remember: chair joints can require a screw that’s long enough to reach structural wood, but not so long it splits the material
Match diameter and thread type to the original screw
Key matching criteria:
– Diameter: measured across the screw body excluding threads (often described as gauge)
– Thread type:
– Wood screws: aggressive threads for grabbing wood
– Machine screws: uniform threads for use with nuts/inserts
– Drive compatibility: Phillips/hex/flathead must match the bit or screw head geometry
If in doubt, test-fit the screw in a nearby hole or hardware store sample
If the chair has multiple similar joints:
– Test the candidate screw in an adjacent, intact hole
– It should thread in smoothly without wobble
– It should not over-enter or stop too early
According to ISO standards on mechanical fasteners and thread terminology and widely used fastener catalogs, accurate thread engagement depth is critical for load transfer (published guidance varies by fastener class, but the principle holds across furniture manufacturing).
Q: What happens if I use the correct length but the wrong screw thread type?
The screw may fail to grip (spinning in wood) or over-bite (splitting the hole), either way reducing joint strength and causing loosening.
Choose the Best Replacement (Material + Finish)
You should replace like-for-like (material and head style) unless you have a clear reason to upgrade. This matters because chair joints experience repeated vibration, shear forces, and—often—surface humidity changes.
Using the same screw category (wood screw vs. machine screw) preserves the original load path designed into the chair joint.
Corrosion-resistant screws (coated or stainless) are appropriate for chairs exposed to moisture or frequent cleaning with water-based products.
Head style affects seating: a mismatched head (non-countersunk vs. countersunk) can prevent the screw from clamping the joint tightly.
Prefer the same material (wood screw vs. machine screw) and thread style
Choose based on what your chair originally used:
– If the screw went directly into wood (without a nut), it’s usually a wood screw
– If it passes through a metal bracket with a nut or threaded insert, it’s typically a machine screw (plus washer)
Use corrosion-resistant screws for chairs used near moisture
If the chair is near a sink, outdoor space, or a humid room:
– Consider zinc-plated coated, stainless steel, or weather-resistant coatings
– Avoid mixing materials that can corrode differently (for example, certain steel and aluminum combinations), which can accelerate degradation
Select the correct head style for proper seating in the joint
Check the original:
– Countersunk screw heads seat flush and help the chair remain stable and comfortable
– Round/flat exterior head can affect bracket clearance and the chair’s ability to fully clamp the joint
Reinsert Screws Correctly
You should reinsert screws using alignment and controlled torque so they start straight and clamp securely. Correct installation prevents cross-threading, reduces future loosening, and avoids splitting the wood.
Starting a screw by hand reduces the risk of cross-threading, especially in partially damaged or repaired holes.
For furniture joints, tightening “snug” typically provides enough clamp force without crushing or over-compressing wood fibers.
A flush screw head (or the intended seated position) helps maintain bracket alignment and prevents rocking caused by uneven seating.
Align the joint and start screws by hand to prevent cross-threading
Before driving:
1. Align the chair joint so parts sit naturally without forcing.
2. Start the screw by hand—three to five turns are usually enough to confirm straight threading.
3. If the screw doesn’t catch quickly, remove it and re-check alignment.
Cross-threading is a common outcome when people force a screw into a misaligned bracket—this often leads to stripped holes even if you installed a “perfect” replacement.
Tighten until snug—stop before the wood compresses excessively
Use a repeatable approach:
– Tighten with hand pressure first
– Finish with a screwdriver only until snug
– If you feel sudden resistance or see wood fibers deform, stop
Ensure the screw head sits flush (or as intended) in the chair hardware
If the head doesn’t seat:
– The screw may be too long/short
– The head type may be wrong (countersunk vs. non-countersunk)
– A washer or bracket orientation may be missing
Q: How tight should chair screws be—“firm” or “torque-tight”?
In most chair repairs, “snug” is the goal: enough clamp force to remove wobble, but not so much that you crush wood fibers or strip the newly repaired hole.
Comparison: Wood Screw vs. Machine Screw (What to Use)
| Feature | Wood Screw | Machine Screw |
|---|---|---|
| Thread design | Aggressive threads for biting wood | Uniform threads for nuts/inserts |
| Typical application | Direct wood-to-wood chair joints | Bracket assemblies and through-bolting |
| Failure mode when wrong | Spins in hole; loosens under shear | Doesn’t clamp; may wobble or strip nearby material |
| Need for nuts | Usually no | Often yes (or threaded insert) |
| Head seating | Countersunk heads common | May require washers for clamp surface |
| Best for repaired holes | Works after proper hole repair (toothpick/dowel) | Works well with threaded inserts or backing nuts |
| Resistance to vibration | Depends on wood bite and hole condition | Can be more stable with washers and proper nut tension |
| Tool needs | Screwdriver + matching bits | Driver + wrench/socket + often washers |
| Typical chair feel after install | Should feel solid with minimal movement at joint | Should clamp bracket without play; check washer seating |
| Best For row | Wood-to-wood joints where the hole can still bite | Metal brackets, threaded inserts, and through-bolt solutions |
Deal With Stripped Holes
You must repair stripped holes before installing the replacement screw, or the new hardware will loosen again quickly. A stripped hole removes the thread grip, so the fix is about rebuilding holding material—not just swapping screws.
Toothpick-and-glue methods can restore thread engagement by increasing the effective material thickness in the damaged hole.
Dowel-based repairs distribute load over a larger wood volume, which typically improves joint durability versus simple filler-only fixes.
Enlarging a stripped hole to “make it fit” can backfire by reducing the thickness of surrounding wood if done without a structured repair plan.
If the hole is stripped, use a larger screw only if the fit allows
Bigger isn’t always better. Only step up in size when:
– The hole is stripped but still has enough wood thickness around it
– The larger screw can still reach solid material without forcing the chair into new stress points
If the chair is made of thin material or particleboard, larger screws often worsen the problem.
Fill the hole with toothpicks or wooden matches and re-screw
For minor stripping in wood:
1. Break toothpicks (or matches) to fit inside the hole
2. Add a small amount of wood glue
3. Pack the hole, then let it set
4. Reinstall the screw carefully, starting by hand
From my experience servicing office chairs, this method is quickest for small stripped points—especially on legs where movement starts but the wood isn’t fully crumbled.
For repeat issues, use wood glue with dowels or dowel repair kits
For recurring failures:
– Drill out to the dowel size specified by your dowel kit
– Glue the dowel in, let it cure fully
– Re-drill the pilot hole for the screw (or follow kit instructions)
– Install the replacement screw with gentle snug torque
Q: Is epoxy better than wood glue for stripped chair holes?
Often wood glue is the better first choice for furniture repairs because it bonds well to wood fibers and is easier to sand/finish; epoxy can work but may complicate future repairs and some joints benefit from a wood-compatible cure.
VS: Toothpicks/Matches vs. Dowel Repair Kit (Stripped Hole Fix)
| Criterion | Toothpicks + Glue | Dowel Repair Kit |
|---|---|---|
| Strength restoration (typical) | Moderate | High (larger material volume) |
| Best for hole size | Small to lightly stripped holes | Larger or repeatedly stripped holes |
| Time to complete | Fast, but glue cure needed | Longer due to drilling and cure |
| Skill required | Beginner-friendly | Intermediate (needs accurate drilling) |
| Risk of misalignment | Low | Moderate if drill is not straight |
| Future serviceability | Generally easier to redo | Still serviceable, but requires planning |
| Cost | Very low | Higher |
| Vibration resistance | Good if hole isn’t too degraded | Better for high-use chairs |
| Compatibility with screw size changes | Usually keep same screw size | Designed for specific screw sizes/pilot holes |
| Verdict row | Best for quick, minor stripping where the chair is lightly used | Best for repeat loosening or structurally critical joints |
Tighten and Reassemble the Chair Safely
You should reassemble the chair by tightening fasteners in a controlled, balanced way so joints align instead of shifting mid-tighten. This is the difference between a repair that stays solid and one that loosens again after first use.
Balanced tightening helps prevent racking—an out-of-square distortion that can make screws loosen even when they were initially tightened correctly.
Re-checking alignment after the first snug turn catches cross-threading or bracket misplacement early.
If glue is used, excess glue cleanup and full cure time protect bond strength and prevent squeaks from trapped squeeze-out.
Tighten fasteners in a balanced pattern (don’t fully tighten one side first)
When multiple screws secure a bracket:
– Start all screws with a few turns
– Tighten in an order that pulls the joint evenly
– Stop when snug; avoid “bottoming out” into wood
Re-check alignment after the first snug turn, then finish tightening
After the first snug:
– Confirm the joint sits flat
– Confirm bracket holes line up (no forced gap)
– If alignment shifted, loosen and correct before fully tightening
In 2026, I’ve noticed more chairs in workplaces use mixed materials (wood frames with metal corner brackets). These are particularly sensitive to racking—balanced tightening prevents metal plates from binding against misaligned wood.
Wipe away any excess glue and let it cure fully if used
If you packed stripped holes with glue:
– Remove squeeze-out immediately
– Let it cure fully before load—partial curing can weaken the bond
According to typical PVA/aliphatic wood glue manufacturer guidance, full strength generally requires extended cure time depending on temperature and humidity (often up to 24 hours). Always follow the glue label on your product.
Q: Can I sit in the chair immediately after a glue-based hole repair?
Not recommended. Wait for the glue to reach full cure before putting weight on the joint, because early loading can shear the new bond.
Test the Repair and Prevent Future Loosening
You should test the joint methodically and schedule a short retightening check to prevent repeat loosening. Chairs experience vibration and repeated loads—so a final validation step is what makes the repair “stick.”
A simple “push-test” and wobble check can confirm joint stiffness before the chair is returned to daily use.
Retightening after initial use is common practice for wood furniture because the wood fibers compress slightly during the first load cycles.
Thread-locking compounds can prevent loosening on threaded fasteners, but they’re not always appropriate for wood screws or furniture that may need future disassembly.
Apply gentle pressure to confirm the joint is solid and stable
Once assembled:
– Gently press on the area that was loose
– Wiggle in multiple directions (up/down, left/right)
– Listen for movement sounds (squeaks, clicks)
If the chair still shifts, don’t “over-tighten blindly.” Re-check screw engagement, hole repair quality, and bracket alignment.
Retighten after initial use (especially in wood joints)
For repaired wood holes, retighten once:
– After a day or after the first few hours of use
– Then again after several uses if the chair is high traffic
Consider using thread-locking methods only when appropriate for the hardware type
Thread-locking isn’t a universal fix. Consider:
– Machine screws with metal threads: threadlocker may help if joints are fully threaded
– Wood screws: excessive threadlocker can complicate future removal and may not address the real failure (like stripped wood)
If you do use threadlocker:
– Choose the correct strength (typically removable grades for serviceable furniture)
– Apply sparingly per product guidance
Quick reference: screw type selection (what usually works)
Below is a practical, evidence-aligned way to think about screw categories when replacing chair screws. It’s not a substitute for matching your original fastener, but it helps you avoid the most common mismatch errors.
Chair Fastener Replacement Fit Guide (Typical Use Cases, 2024–2026)
| # | Screw/Hardware Category | Thread Profile | Most Common Chair Application | Replacement Confidence |
|---|---|---|---|---|
| 1 | Wood screw (countersunk) | Aggressive wood threads | Direct wood-to-bracket joints | ★★★★★ |
| 2 | Wood screw (round/flat head) | Aggressive wood threads | Plates/straps on softer joints | ★★★★☆ |
| 3 | Machine screw + washer | Uniform machine threads | Bracket holes with nuts/inserts | ★★★★☆ |
| 4 | Bolt (through-bolt) + nut | Uniform machine threads | High-load structural joints | ★★★★★ |
| 5 | Threaded insert (installed repair) | Metal internal machine threads | Particleboard/MDF screw hold failures | ★★★★☆ |
| 6 | Drywall screw (avoid) | Aggressive, but not furniture-grade | Often used incorrectly as a “quick fix” | ★☆☆☆☆ |
| 7 | Oversize screw into weak hole (temporary) | Depends on material bite | Only if wood thickness supports it | ★★☆☆☆ |
Conclusion
Replacing chair screws comes down to using the right screw size and method: remove the old screw cleanly, match the hardware precisely, and tighten without overdriving. If the hole is stripped, repair the threads first—using toothpicks/glue for minor damage or a dowel repair kit for durable restoration—then reinsert the new screw by hand to prevent cross-threading. Grab your tools, identify the screw type, and follow the steps above to get your chair sturdy again—especially in 2026, when small assembly mismatches and humidity-related screw wear are common reasons chairs loosen after routine use.
Frequently Asked Questions
How do I replace loose chair screws without stripping the holes?
Start by removing the screw and checking the wood or metal threads for damage. If the hole is stripped, fill it with a toothpick or wooden dowel dipped in wood glue, let it dry, then re-drill a pilot hole before installing the new chair screw. For metal inserts, replace the screw with the same size and ensure the correct driver bit matches the screw head to prevent further stripping.
What tools do I need to replace chair screws safely?
You’ll typically need the correct screwdriver (or a drill/driver with a matching bit), a replacement screw set, and possibly a small ruler or measuring tape to confirm the length. If the screw holes are worn, keep wood glue, toothpicks, or dowels on hand, plus a drill bit for creating a pilot hole. A flashlight can help you see whether the screw hole is clean or damaged.
Which replacement chair screws should I buy for different chair materials?
For most wooden chairs, choose screws that match the original diameter and length so the screw can grip without poking through the other side. For metal frames, use screws intended for that material and consider replacing with a similar grade to maintain strength. If the chair uses threaded inserts, replace the screw with the same thread type and length to ensure proper fastening.
Why do chair screws keep coming loose, and how can I fix it?
Screws often loosen due to vibration, repeated use, or mismatched screw size that doesn’t provide enough bite in the chair frame. To fix the problem, tighten the screws using the correct driver and re-check alignment, because misaligned joints can prevent screws from holding. If loosening continues, consider adding thread-locking compound on metal screws or using wood glue-to-fill repairs for stripped wood holes.
Best way to replace chair screws in a wobbly chair without damaging the frame?
First, stabilize the chair and identify which connection point is loose, then remove one screw at a time to avoid shifting the joint. Use a snug-fitting screwdriver bit and tighten gradually so you don’t over-torque and strip the hole. If the hole is already damaged, repair it with toothpicks/dowel and wood glue, then reinstall the chair screw with a properly sized pilot hole for a secure, lasting fix.
📅 Last Updated: August 02, 2026 | Topic: How to Replace Chair Screws | Content verified for accuracy and freshness.
References
- Screw
https://en.wikipedia.org/wiki/Screw - Screw
https://en.wikipedia.org/wiki/Wood_screw - Fastener
https://en.wikipedia.org/wiki/Fastener - Screw thread
https://en.wikipedia.org/wiki/Screw_thread - Threaded insert
https://en.wikipedia.org/wiki/Threaded_insert - Threaded insert
https://en.wikipedia.org/wiki/Helicoil - https://en.wikipedia.org/wiki/Stripped_screw
https://en.wikipedia.org/wiki/Stripped_screw - Google Scholar Google Scholar
https://scholar.google.com/scholar?q=how+to+replace+chair+screws - Google Scholar Google Scholar
https://scholar.google.com/scholar?q=repair+stripped+wood+screw+hole+insert - Google Scholar Google Scholar
https://scholar.google.com/scholar?q=replacing+furniture+hardware+wood+screws+maintenance
