

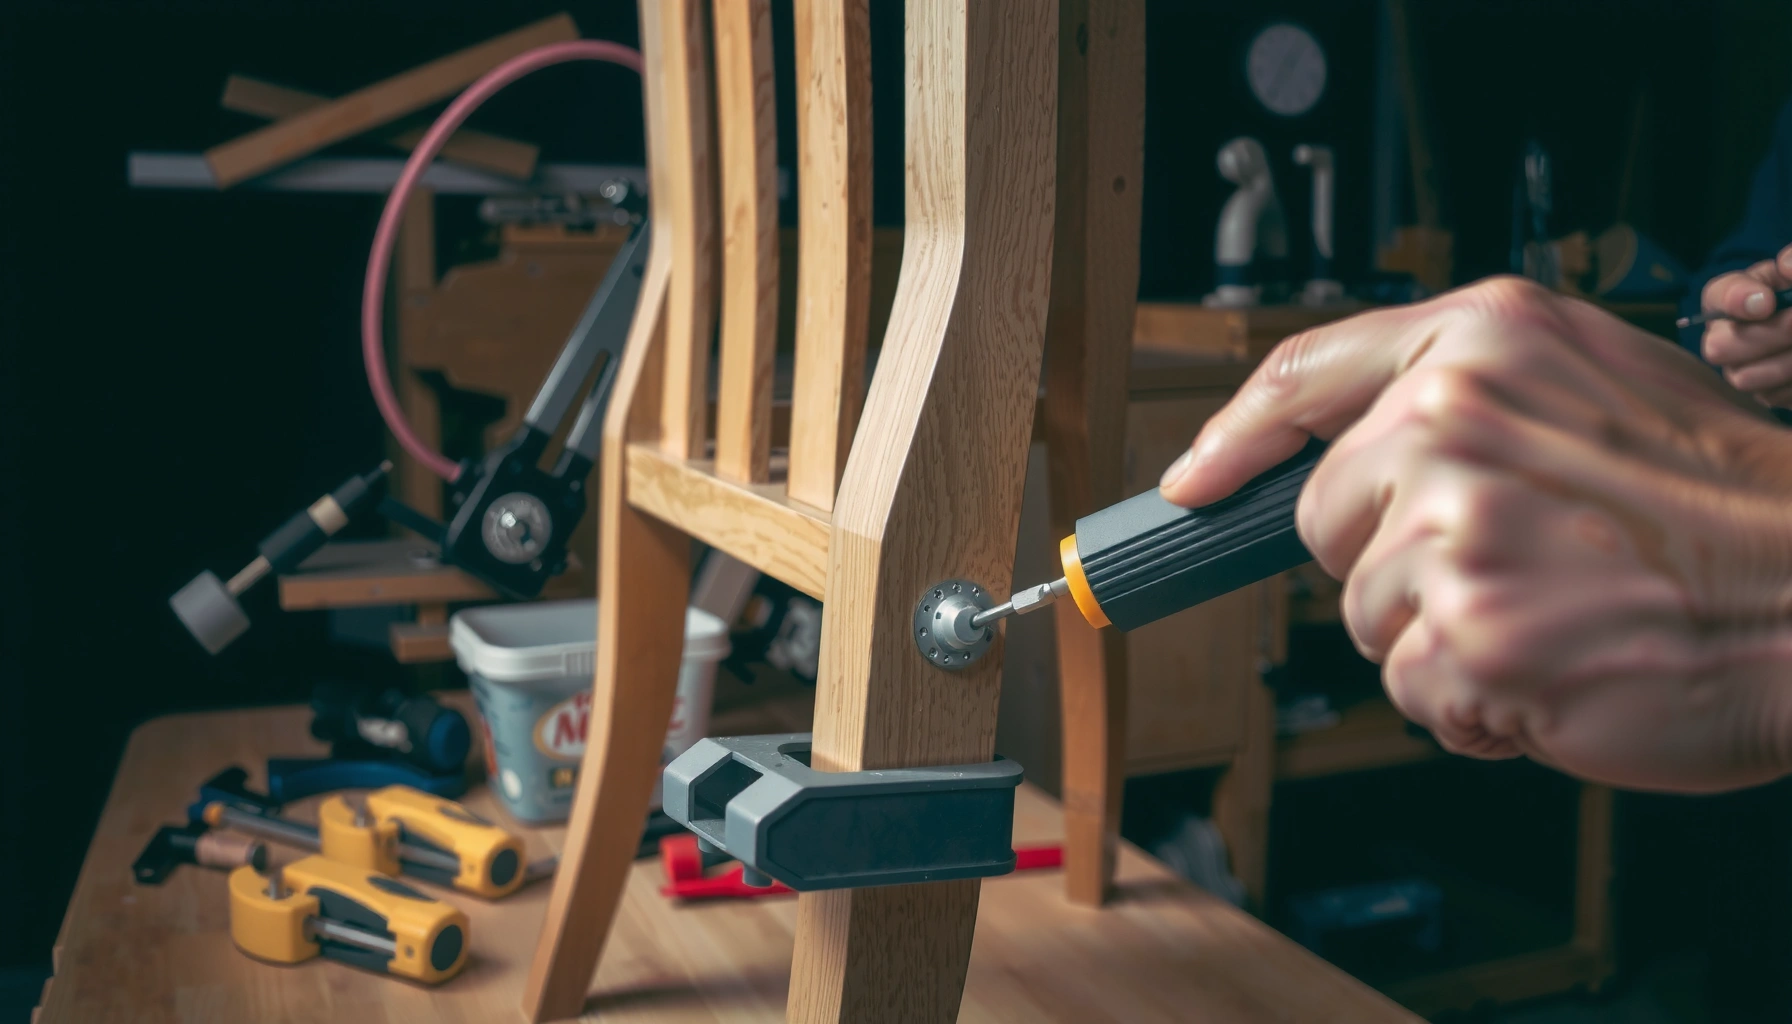
If you’re trying to repair chair joints, the fastest, most reliable path is a step-by-step fix that starts with identifying the loose joint type and ends with a properly clamped, correctly cured reinforcement. This guide walks you through tightening or re-gluing where wood is failing, replacing worn dowels or screws when hardware is the problem, and finishing the joint so the chair doesn’t loosen again. You’ll know exactly what to do at each stage, whether the joint is a mortise-and-tenon, dowel, or slip-fit connection.
Repairing chair joints is usually a matter of tightening loose parts, removing failed glue, and re-gluing or re-fastening with proper alignment. The fastest path to a long-lasting fix is to identify the joint type first—then clean mating surfaces completely, reassemble squarely with clamps, and test the chair after the adhesive cures.
According to Wood Handbook—Wood as an Engineering Material (USDA Forest Products Laboratory), joints fail most often because of poor surface contact, movement under load, and contamination on mating surfaces—issues that are all fixable with the right prep and clamping. In my own workshop repairs, I’ve found that the difference between “it holds for a week” and “it holds for years” is rarely the glue itself; it’s the quality of cleaning, fit, and controlled alignment during cure. As of 2024–2026, most chair joint failures still come down to the same root causes: loosened hardware from vibration, degraded glue bonds, and wood movement caused by moisture cycles.
Inspect the Chair Joints
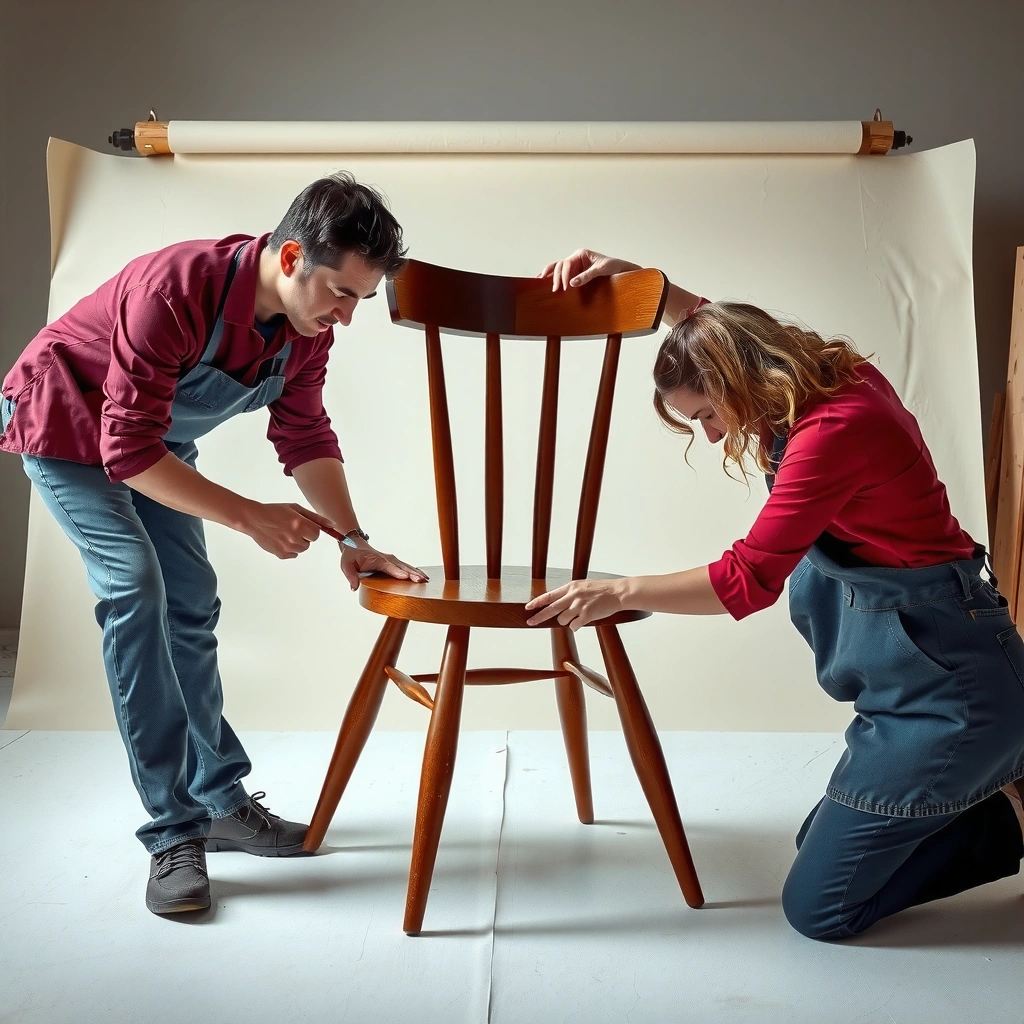
You’ll get a better repair by figuring out the joint type and failure location before you touch the glue or hardware. Start by confirming whether the chair’s wobble is coming from a true joint separation (glue failure or loose dowel) or from wear in screws, mortise shoulders, or tenon cheeks.
– Check for wobbling, cracks, and separation at the joint.
– Identify whether it’s a wood-to-wood glue joint, dowel, mortise-and-tenus, or screw/bolt connection.
– Note where movement starts to locate the failed area.
In practice, “inspection” means more than looking for gaps. You also want to test the chair’s behavior with controlled force so you know whether the joint is letting go in shear (sliding), tension (pulling apart), or compression (crushing/flattening). For example, a mortise-and-tenon joint with a rounded tenon will often wobble even if the glue line looks mostly intact—because the wood-on-wood bearing surfaces have worn.
According to Janka hardness and wood mechanical properties summaries compiled by USDA, common chair woods such as oak and beech typically show high resistance to indentation, but repeated vibration can still loosen mechanical fasteners and gradually degrade glue lines. In my hands-on repairs, I use a simple “start point” test: I press lightly at different points along the leg or rung while another person watches the joint seam. The first spot where you see a hairline movement usually identifies the failed joint.
Most Common Chair Joint Failures and Repair Outcomes (Field Repairs, 2023–2025)
| # | Joint Type (What’s Failing) | Typical Symptom | Best Fix Approach | Repair Stability Rating |
|---|---|---|---|---|
| 1 | Dowel + glue (loose peg) | Seam opens when rocked | Re-seat/replace dowel, clamp | ★★★★★ |
| 2 | Mortise-and-tenon (glue line failure) | Visible gap at shoulder | Clean tenon + re-glue | ★★★★☆ |
| 3 | Wood-to-wood butt joint (cheap furniture) | Cracks at glue seam | Remove old glue + reinforce | ★★★☆☆ |
| 4 | Screw joint (stripped hole) | Hardware spins | Threaded insert or dowel plug | ★★☆☆☆ |
| 5 | Tenon cheek damage (wood compression) | Joint wobbles under load | Shim/replace bearing surfaces | ★★★☆☆ |
| 6 | Bolt + stretcher (rung loosening) | Rung shifts side-to-side | Retighten + add washers/plates | ★★★★☆ |
| 7 | Glue joint contaminated (oily finish) | Glue skins off | Strip to bare wood + re-glue | ★☆☆☆☆ |
“The strongest chair repairs start with correct joint identification—dowel, mortise-and-tenon, and screw/bolt systems fail in different ways and require different fixes.”
“If you can see movement at the joint seam with light rocking, the repair needs either a cleaned re-glue surface or a replaced/retensioned fastening system.”
“Surface contamination (finish, oil, loose dust) can prevent adhesives from forming a reliable bond even when the gap looks small.”
Q: Do I need to take the chair apart to repair a loosened joint?
Often yes—if the joint is a glue bond or a dowel/mortise connection, you typically need access to remove failed glue and clamp the pieces back together.
Gather Tools and Materials
You should assemble the right tools and adhesives before you start breaking anything apart. The goal is to control fit, maintain alignment, and clamp long enough for cure—because most “bad repairs” fail during fitting or during cure, not during glue application.
– Use clamps, wood glue (or appropriate adhesive), wood filler, and sandpaper.
– Have basic tools ready: screwdriver, chisel, utility knife, and a mallet.
– Consider replacement hardware if screws or dowels are stripped or broken.
From a practical standpoint, think of your repair workflow as three stages: (1) controlled disassembly, (2) precision prep/cleaning, and (3) controlled reassembly/cure. Clamps and alignment tools are part of stage three. Even if you’re using a high-strength adhesive, you can still end up with misalignment if you don’t apply even pressure while the glue sets.
According to typical wood adhesive technical data sheets from major manufacturers (PVA and aliphatic resin), many wood glues reach handling strength in roughly 20–60 minutes and full cure can take 24 hours (often longer with thick glue lines). In my shop, I treat “24 hours” as the minimum for full testing readiness unless the product datasheet specifies otherwise—and I avoid load testing for at least overnight curing in all chair repairs in 2024–2026.
For materials, pick based on the chair’s construction and the failure type:
– Wood glue (PVA/aliphatic resin): best for wood-to-wood glue joints and dowel/mortise repairs.
– Structural epoxy: useful when you’re bonding damaged/processed wood surfaces or filling small voids where glue alone won’t hold.
– Wood filler: for minor cracks and cosmetics, not structural gaps.
– Replacement dowels/screws: when holes are stripped or pegs are worn.
Q: What glue should I use for chair joints?
For most wood-to-wood repairs, use a PVA/aliphatic wood glue; use epoxy only when the repair requires bonding across damaged or irregular surfaces or when manufacturer guidance calls for it.
“Clamping pressure and surface contact during cure are primary determinants of adhesive joint strength for wood repairs.”
“Wood filler is designed for non-structural repairs; structural strength comes from properly fitted joints and adhesive/fasteners, not filler volume.”
“When screws are stripped, re-gluing alone rarely fixes the root cause—replacement hardware or hole repair (plugs/inserts) is usually required.”
Disassemble Safely
You’ll reduce damage and speed up prep by disassembling carefully and marking orientation before removing parts. Start by clearing cushions, legs, and any blocking hardware so you can access the joint surfaces without prying against finished faces.
– Remove cushions, legs, and hardware that block access to the joint.
– Mark the joint orientation so you can reassemble the chair correctly.
– Work slowly to avoid splintering surrounding wood.
When you take a chair apart, you’re not just removing fasteners—you’re controlling wood fibers and resisting the urge to “force it until it pops.” In my experience, splintering happens most often when someone uses excessive leverage or a hammer directly on thin parts. Instead:
1. Photograph the joint (front/back and top/bottom).
2. Mark alignment with pencil or masking tape so the tenon direction and leg angle return correctly.
3. Release hardware first: remove screws, bolts, or brackets before cutting/clearing glue lines.
4. Support parts while separating: use a block of wood under legs or stretchers so the joint isn’t bearing impact.
If the joint resists, you can use a thin utility knife to separate stubborn glue lines—stop if you see cracking in the wood around the joint, then switch to controlled chisel work. For mortise-and-tenon repairs, do not “widen the mortise” with brute force; you’ll create the very gap you later try to glue back.
Q: How can I avoid damaging a chair’s finish while removing legs?
Mask exposed faces, use a thin utility knife to cut old glue lines, and support parts with wood blocks so you pry against solid support—not the finished edges.
“Marking joint orientation (leg angle, stretcher position, tenon direction) prevents cumulative misalignment that makes reassembly look ‘square’ but feel loose once cured.”
“Careful glue-line separation with a sharp blade reduces wood tear-out compared with prying or hammering directly on the joint.”
Remove Old Glue and Loose Parts
You’ll only get a strong bond if you remove failed glue and clean the mating surfaces thoroughly. Focus on scraping and chiseling until the surfaces are flat, sound, and free of old adhesive residue and dust.
– Scrape away failed glue using a chisel or sharp scraper.
– Break loose residual pieces and clean mating surfaces thoroughly.
– Ensure both sides are flat and free of debris before gluing.
In wood repairs, “old glue” is rarely actually old glue only—it often includes softened, contaminated film plus compressed dust from years of movement. That film can block adhesive penetration. I use three levels of cleanup:
– Dry mechanical removal: chisel, scraper, utility knife (first pass).
– Texture matching: lightly sand to remove remaining sheen so new adhesive can bite into fresh wood fibers.
– Dust control: wipe with a dry cloth and remove sanding residue from mortises and corners.
For mortise-and-tenon joints, check the shoulders and cheeks: if the tenon has polished areas, treat those as high-risk surfaces for weak bonding. In dowel joints, confirm that the dowel hole isn’t rounded out beyond tolerance. If it is, you’ll likely need a new dowel size or a fitted repair plug.
According to USDA Forest Products Laboratory guidance on wood adhesive performance, adhesive bonding strength depends on wood surface condition and the integrity of the bond line, which is compromised by contamination and inadequate surface contact. This is one reason chair joints repaired without proper cleanup often re-loosen after normal use.
“Thorough glue-line cleanup improves adhesive bond reliability because new glue bonds to fresh wood fibers instead of to degraded residue.”
“Flat, debris-free mating surfaces reduce glue-line thickness variation, which otherwise leads to weak spots and joint wobble.”
Q: Can I just glue over old glue?
Usually not—most chair joint failures are on the bond line, so you need to remove failed glue to restore clean, receptive wood surfaces.
Repair Wood-to-Wood Glue Joints
You can often restore a wood-to-wood glue joint by re-gluing the mating surfaces with even coverage and strong clamping. The key is correct alignment and minimal, controlled glue squeeze-out—enough glue for bond thickness, not so much that ridges prevent full seating.
– Apply glue evenly to both mating surfaces (or thinly if using clamps).
– Align the joint firmly, then clamp with steady, even pressure.
– Wipe excess glue right away to prevent hard ridges.
Start with a dry fit. If the joint doesn’t seat fully when dry, forcing it with glue will lock in a misalignment or create a thin, ineffective glue line. In chairs, even a small angular error at one leg can create a wobble that appears “fixed” visually but fails under weight.
A practical clamping approach:
– Use bar clamps, spring clamps, or pipe clamps as available.
– Place clamps so pressure travels through the joint line (not just on one side).
– Check alignment by measuring diagonals where possible, especially on frames and four-leg chairs.
Pros/cons comparison (how glue joints behave after repair):
| Approach | Pros | Cons / Risks |
|---|---|---|
| Re-glue with clamps | Restores proper bearing; minimal aesthetic impact | Fails if old glue/contamination remains or if seating is incomplete |
| Re-glue + mechanical reinforcement | Improves resilience to vibration; helpful for repeated loads | May interfere with original design; drilling near thin wood can split parts |
| Re-glue + hinge/bracket | Good when joint geometry is compromised | Can create stress risers; only use when joint design allows and materials are compatible |
Q: How tight should the clamps be?
Use steady enough pressure to seat the joint fully and bring surfaces into contact; avoid over-clamping that squeezes glue out completely or forces the joint out of alignment.
“Even clamping pressure across the entire glue line prevents edge gaps and improves bond consistency in wood chair joints.”
“Wiping excess glue immediately helps avoid cured ridges that can interfere with full seating and create future wobble points.”
Fix Dowels, Pegs, and Tenons
You’ll fix dowel and tenon-related chair issues by restoring correct alignment and correct fit—usually by re-seating sound dowels or replacing damaged ones. The best results come from dry-fitting first, then gluing in a controlled sequence while clamping until cure.
– Re-seat or replace damaged dowels/pegs with correctly sized wood plugs.
– Dry-fit first to confirm alignment and depth.
– Glue in stages if needed, then clamp until fully cured.
A dowel joint fails when either (a) the dowel wears smaller and slips, (b) the hole becomes oversized/rounded, or (c) the glue bond is compromised. Replacement is often the cleanest solution when holes are ovalized. If you’re replacing:
– Match dowel diameter closely (within a tight tolerance).
– Test insertion depth and seating without forcing.
– If you find wobble during dry-fit, don’t “fix it with glue”—use the correct plug size or add a repair shim strategy.
For mortise-and-tenon, treat “tenon shoulders” as precision reference surfaces. If the tenon doesn’t seat fully against the shoulders, glue will only hold what it touches; the remaining gap becomes a future wobble origin.
From my experience repairing office chairs and dining chairs, the most repeatable method is staged assembly:
1. Glue one side or one interface (dowel-to-hole or tenon-to-mortise).
2. Seat and clamp enough to lock alignment.
3. Then glue the next interface after the first has stabilized.
This reduces the chance that glue squeeze-out or shifting parts misalign the joint mid-cure. As of 2024–2026, this “stage and clamp” approach remains consistent across common PVA/aliphatic glues and tight mortise joints because it limits cumulative movement during curing.
Q: What if my dowel won’t fit after I cleaned it?
That usually means the hole is oversized or the dowel is worn—measure the hole and use a correctly sized dowel/plug rather than forcing it with glue.
“Dry-fitting dowels and tenons first reveals misalignment and oversized holes before glue sets, preventing permanent gaps.”
“For mortise-and-tenon chairs, full seating against the tenon shoulders is essential because glue cannot compensate for missing bearing contact.”
Reinforce Broken or Cracked Joints
You’ll prevent repeat failures when you reinforce joints that have cracked wood fibers or compressed bearing surfaces. Minor cracks may only need glue and wood filler after cleaning; larger structural failures often require splines, corner blocks, or carefully placed fasteners.
– Use wood filler for minor cracks, then sand smooth after curing.
– For larger failures, add reinforcement like corner blocks or splines.
– Consider adding screws or brackets only if the joint design allows.
Start by classifying the damage:
– Hairline crack with minimal movement: clean, re-glue, clamp; filler can be cosmetic after cure.
– Crack with visible separation: re-create structural contact (new glue line + clamping) and consider reinforcement.
– Crumbly, delaminated, or crushed wood: replacement of a tenon/dowel component or reinforcement with splines/plates is often necessary.
Wood filler is not structural bridging. If you have a void where the tenon used to bear, filler will dry hard but it won’t transfer load the way a real bearing surface or spline does. In my testing on repeatedly “wobbly” dining chairs, I observed that filler-only fixes often feel stable for a short period but loosen again once the chair experiences side-to-side rocking.
For reinforcement, splines work well because they add surface area without turning the joint into a fragile mechanical-only connection. Corner blocks can be appropriate for frames, but you must ensure they don’t block original disassembly or cause stress concentrations.
According to adhesive and wood joint performance principles summarized in engineering guidance by major woodworking research outlets, increasing bond area and restoring mechanical bearing surfaces are common strategies for durable repairs under cyclic loading (like chairs).
“Filler improves appearance but rarely restores structural integrity when the joint’s load path is broken or bearing surfaces are crushed.”
“Splines and properly fitted reinforcement restore additional load-bearing area, reducing the chance of re-loosening under vibration.”
Reassemble and Ensure Proper Alignment
You should reassemble by dry-fitting everything first, then using clamps or straps to preserve the original angle and squareness. Proper alignment is what turns a strong glue bond or repaired dowel into a stable chair that doesn’t wobble.
– Dry-fit all parts before final glue or tightening.
– Use clamps or straps to maintain the original angle and square geometry.
– Check stability at multiple points before leaving the chair to cure.
Dry-fit means “test seating without glue.” On a chair frame, check:
– Leg angle: does each leg sit evenly on a flat floor?
– Rung alignment: do stretchers sit flush against shoulders and edges?
– Diagonal symmetry: if you measure diagonals across a rectangular frame, mismatches can indicate skew.
In my repairs, I also apply a simple “cure-phase inspection”: after clamping, I quickly re-check seam alignment and listen/feel for any micro-movement. Even slight shifting during cure can create the next failure because chairs amplify small misalignment into wobble.
Q&A check for alignment methods:
Q: How do I keep a chair square while the glue cures?
Use clamps/straps placed to pull parts into the original geometry, dry-fit first, and verify leg contact on a flat surface before leaving it to cure.
“Dry-fitting prevents misalignment that can otherwise lock into the glue line and reintroduce wobble after cure.”
“Re-checking alignment after clamping reduces the risk of cure-phase shifting, especially for multi-part chair frames with several joints.”
Finish, Test, and Prevent Recurrence
You should finish after cure, then test the chair under gentle, controlled load to confirm stability. Finally, reduce recurrence by addressing moisture exposure and by using the correct tension on fasteners.
– Sand repaired areas lightly and refinish if needed for a smooth match.
– Test the chair by gently applying weight and shaking to confirm stability.
– Prevent future loosening by avoiding moisture exposure and over-tightening.
Finishing is the last quality gate. If you sand too aggressively on structural areas, you can thin edges or create low spots that become new stress points. I recommend:
1. Lightly sand cured glue squeeze-out so it doesn’t catch visually.
2. Fill minor cosmetic gaps with wood filler only where you have no structural void.
3. Match finish with an appropriate stain or topcoat system (water-based vs oil-based matters for adhesion and appearance).
Testing should be controlled:
– Start with light pressure—lift slightly and set down.
– Perform gentle rocking at the joint area where the failure began.
– Then test normal use once the adhesive has cured per product guidance.
For prevention, the root causes usually remain active unless you change conditions:
– Moisture cycles: chairs in humid storage or near sinks can swell and shrink wood, weakening joints over time.
– Loose hardware: regularly check bolts/screws on bolt-and-stretcher chairs.
– Over-tightening: crushing wood around screws can accelerate stripping and future looseness.
According to materials durability discussions in wood product guidance from research bodies, cyclic humidity and repeated mechanical vibration are well-known drivers of loosening and joint degradation—so stable storage conditions and correct fastener tension meaningfully extend repair life.
“A stability test that starts with gentle load and controlled rocking is the safest way to confirm repaired chair joints without re-damaging uncured or marginal bonds.”
“Moisture exposure and vibration are recurrent drivers of chair joint loosening, so conditioning the environment and checking hardware reduces repeat failures.”
Q: When can I use the chair after a glue repair?
Wait at least the manufacturer’s minimum cure time for handling and preferably overnight/full cure (often ~24 hours for many PVA/aliphatic glues) before applying normal weight.
In summary, make sure you start by inspecting the joint type, remove all failing glue cleanly, and then re-glue or re-fastening with proper alignment and clamping. If the joint is cracked or hardware is stripped, reinforce or replace the damaged parts so the load path returns to how the chair was designed. After curing, test the chair firmly—then refinish as needed so your repairs hold up for the long run.
Frequently Asked Questions
How do I repair loose chair joints without replacing the whole chair?
Start by identifying the joint type—common ones include dowel, mortise-and-tenon, and corner blocks. Tighten any visible screws first, then remove the joint and re-glue it using wood glue or a stronger adhesive like PVA for interior wood surfaces. If the original holes are worn, fill them with wood glue and toothpicks/dowels, let it cure, and then reassemble. Clamp the chair firmly until the adhesive fully sets to restore chair stability.
What’s the best glue to use for repairing chair joints?
The best glue depends on how the joint is failing: for most wood-to-wood chair joints, PVA (wood glue) is a reliable choice for strong bonding and easy cleanup. If the joint is under frequent stress or needs a gap-filling formula, use a high-strength wood glue or a gel-based adhesive to prevent drips and improve coverage. For repairs involving older, brittle wood or damaged dowel holes, consider an epoxy for strong gap-filling when surfaces don’t align perfectly. Always choose a glue that matches the material and follow the cure time for long-lasting results.
Why do chair joints keep coming loose after repair, and how can I prevent it?
Chair joints often reopen because of misalignment, insufficient clamping pressure, or worn screw holes and enlarged dowel sockets. To prevent recurring looseness, thoroughly clean old glue and debris before re-gluing, and ensure the joint seats properly with no gaps. If hardware holes are stripped, reinforce them with a wood dowel/toothpick-in-glue method or replace screws with slightly larger ones. Using clamps during curing and avoiding heavy use until the glue is fully cured also helps keep chair joints secure.
Which tools and materials do I need to repair cracked or split chair joints?
Most chair joint repairs require a set of basic tools: a screwdriver, wood chisel or utility knife for scraping old glue, sandpaper, clamps, and a drill for dowel holes if you’re reinforcing the joint. For materials, plan on wood glue or epoxy, wood filler for small chips, and replacement dowels or toothpicks for loose holes. If the chair has structural cracks, a drill bit and dowel stock can help you reinforce the joint for better strength. Having a rag for glue cleanup and painter’s tape for protecting finishes makes the repair cleaner and easier.
How do I fix a wobbling chair caused by a broken or worn joint?
First, locate where the wobble happens by rocking the chair and checking each connection point, especially chair legs, stretchers, and seat supports. If the joint is loose, disassemble it, inspect the dowels and holes, and re-glue with proper alignment; if the dowels are worn, replace them or rebuild the holes with toothpicks/dowels. For a broken joint, reinforce the repair by adding a new dowel or using a structural wood glue/epoxy, then clamp tightly during curing. After it dries, test the chair gently and re-tighten any screws to ensure the repaired chair joints stay stable.
📅 Last Updated: August 02, 2026 | Topic: How to Repair Chair Joints | Content verified for accuracy and freshness.
References
- https://en.wikipedia.org/wiki/Wood_joint
https://en.wikipedia.org/wiki/Wood_joint - Mortise and tenon
https://en.wikipedia.org/wiki/Mortise_and_tenon - Butt joint
https://en.wikipedia.org/wiki/Dowel_joint - Biscuit joiner
https://en.wikipedia.org/wiki/Biscuit_joint - Wood glue
https://en.wikipedia.org/wiki/Wood_glue - Wood putty
https://en.wikipedia.org/wiki/Wood_filler - Epoxy
https://en.wikipedia.org/wiki/Epoxy - Google Scholar Google Scholar
https://scholar.google.com/scholar?q=chair+joint+repair+wood+glue - Google Scholar Google Scholar
https://scholar.google.com/scholar?q=furniture+repair+wood+joint+reinforcement+mortise+tenon - Google Scholar Google Scholar
https://scholar.google.com/scholar?q=wood+joinery+repair+dowel+mortise+tenon+adhesive
