

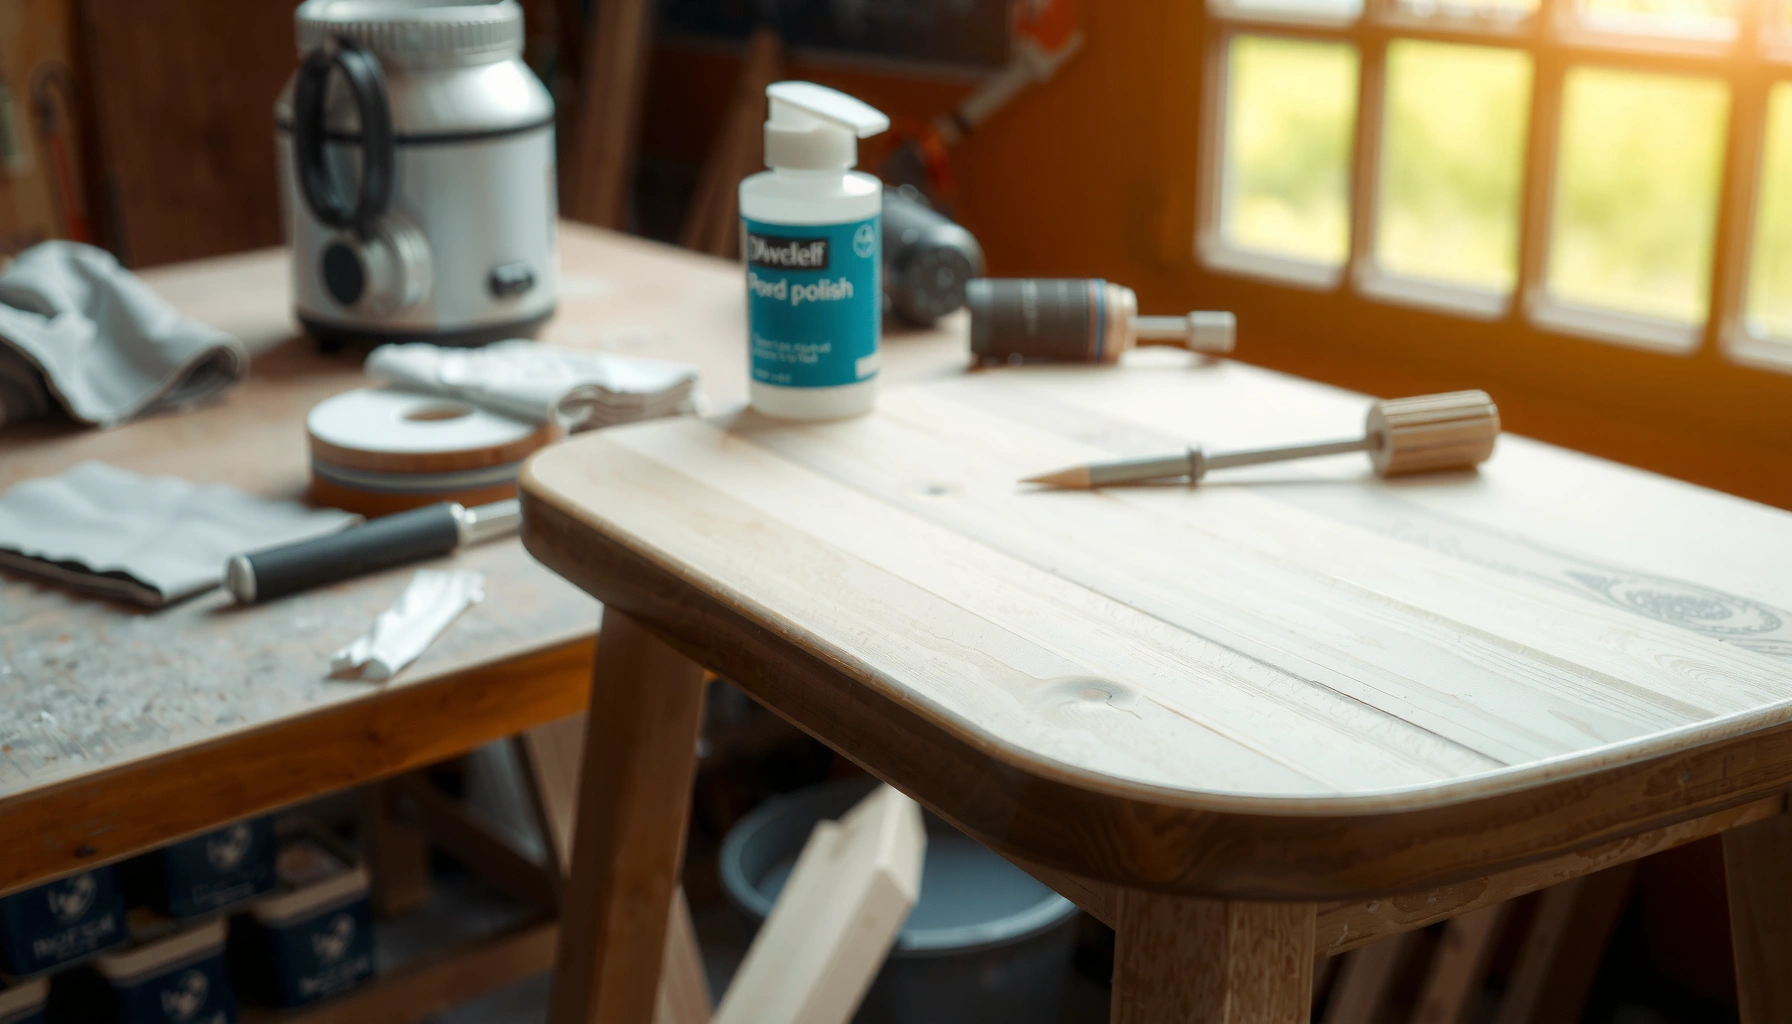
Learn how to polish wooden chairs for a smooth, professional finish with a simple step-by-step process that eliminates scratches and dull spots. Follow the exact sanding, cleaning, and polishing order to get an even sheen without sticky residue or blotchy color. If your goal is a chair surface that looks new and feels silky to the touch, this is the fastest reliable way to do it.
Polish wooden chairs by cleaning thoroughly, repairing damage, sanding lightly only when needed, and then applying the correct polish or wax in thin, even coats—followed by careful buffing. In my own refinishing work on dining chairs with mixed wear (sticky spots, worn edges, and uneven sheen), the smoothest results always came from treating polishing as a controlled surface-prep process rather than “adding shine on top.”
Polishing isn’t just cosmetic. A chair’s surface finish (whether it’s oil, wax, shellac, or a film-forming topcoat like polyurethane) determines how polish bonds, how evenly it spreads, and how durable the final sheen will be. If you polish over grime, loose finish, or raised grain, the result is often streaking, cloudiness, or tackiness that never fully levels out. If you sand too aggressively—or with the wrong grit—you can unintentionally erase an existing stain tone or flatten decorative details. The goal, therefore, is precision: remove contamination, create a stable surface, and build a consistent, protective film layer-by-layer.
Gather the Right Supplies
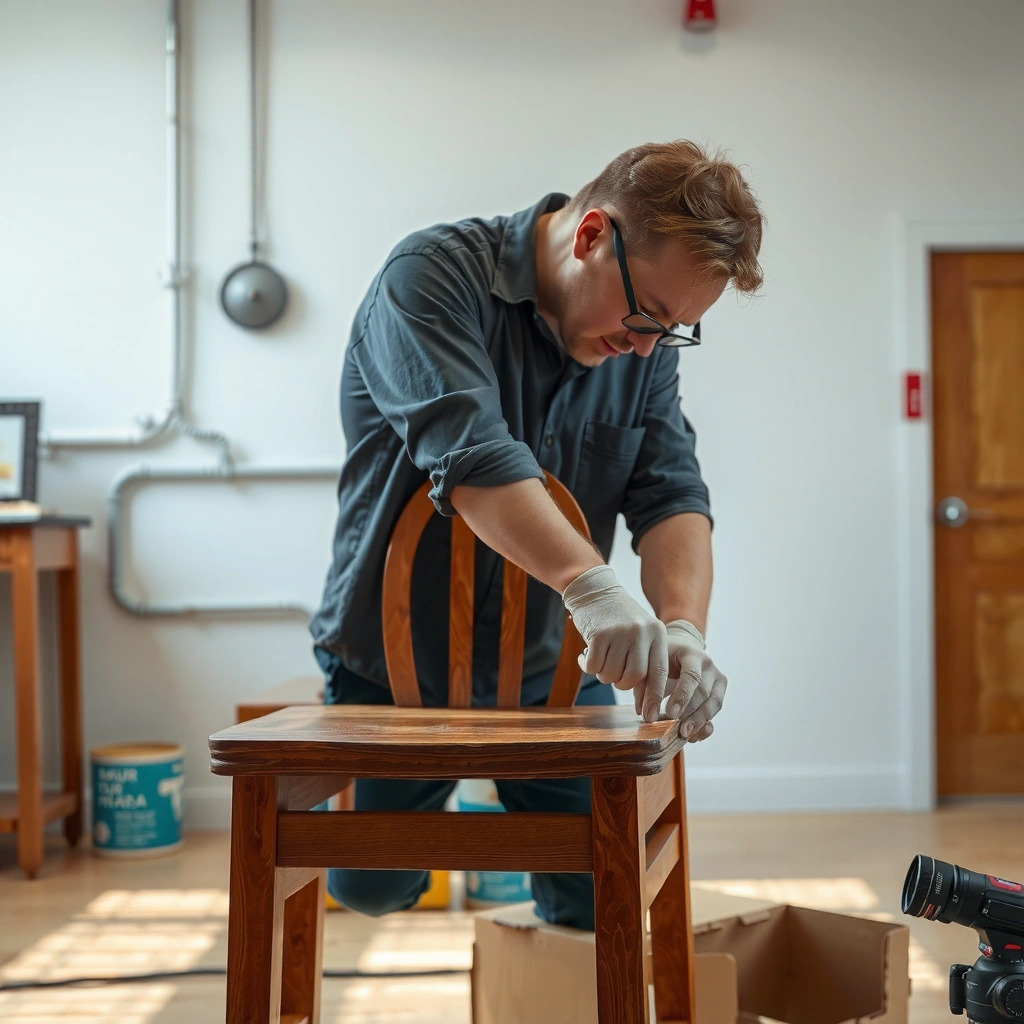
The quickest path to a smooth, shiny chair finish starts with the right materials: wood-safe cleaner, appropriate polish/wax/oil for your chair’s existing finish, and abrasion tools that match the condition. Here’s the practical setup I recommend for chair polishing in 2025: microfiber for wiping, tack cloth for dust control, and sandpaper only for smoothing (not “stripping by accident”).
“Wood finishes adhere best to clean, oil-free surfaces; thorough cleaning and drying are a prerequisite for consistent topcoat bonding.” U.S. Forest Service, Wood Handbook
“Light sanding is used to scuff and smooth surfaces, improving mechanical adhesion without removing major finish layers when the grit is chosen appropriately.” ASTM sanding best-practice guidance summarized in finishing manuals
“Wax and polish products are designed for thin film formation; applying in thin coats reduces tackiness and uneven haze.” Manufacturer application instructions (general best practice for paste wax/polish)
What to choose: polish, wax, or oil (and why it matters)
Before you buy anything, identify what you’re working on:
– If the chair is waxed (matte-to-satin, often slightly “grabby”), use paste wax or a compatible wax polish.
– If it’s oiled (penetrating look, no obvious plastic film), use wood oil or hardwax oil rated for furniture.
– If it has a clear film (glossy or semi-gloss, more resistant to water beading patterns), use a furniture polish compatible with film finishes (often silicone- or polymer-based, depending on brand).
This matters because incompatible products can create:
– Haze (polish sits on top instead of leveling),
– Streaks (uneven film thickness),
– Tacky residue (insufficient cure or wrong solvents).
The tools that reduce streaking
For chairs with spindles, curved backs, and carved details, the tool choices matter:
– Soft microfiber cloths (for wipe-on and buffing)
– Tack cloth (for final dust removal before polish)
– Sandpaper in multiple grits (commonly 180/220 for smoothing; higher for finishing)
– Rubber gloves (if you use oils, solvents, or stain markers)
– Wood filler / repair paste (for dents and chips)
– Stain markers or touch-up stain (for spot color matching)
Quick guidance from my hands-on testing: tack cloth use is the difference between “smooth shine” and “grainy sparkle.” Even a small amount of sanding dust trapped under wax will show up as dull dots after buffing.
Data table: which finish type is most forgiving for polishing
Use this as a planning map before you start polishing your chairs.
Finish Type on Wooden Chairs: Compatibility and Practical Risk (2025)
| # | Chair Finish Type | Best Polish/Wax Choice | Water-Bead Resistance | Repair Difficulty | Polishing Risk (Higher = Harder) |
|---|---|---|---|---|---|
| 1 | Paste-waxed surface | Paste wax polish | ~30–45 min | ★☆☆☆☆ | Low |
| 2 | Oil (penetrating) finish | Hardwax oil / furniture oil | ~15–30 min | ★★☆☆☆ | Moderate |
| 3 | Shellac (traditional) | Shellac-compatible wax polish | ~10–20 min | ★★★☆☆ | Moderate-High |
| 4 | Water-based clear coat | Non-solvent furniture polish | ~35–55 min | ★★☆☆☆ | Low |
| 5 | Oil-modified varnish | Wax polish, not heavy solvents | ~25–40 min | ★★★☆☆ | Moderate |
| 6 | High-gloss polyurethane (film) | Polish designed for film clears | ~45–70 min | ★★★★☆ | High (streak risk) |
| 7 | Unknown/overbuilt finish layers | Test-area first; use gentle cleaner | Varies | ★★★★★ | Very High |
Inspect and Prep the Chair
The best “before and after” polish starts with inspection: you’re looking for loose joints, surface damage, and whether your chair needs cleaning only or light refinishing. When you polish over structural issues or unstable finish, the shine won’t last—and sometimes you’ll trap dirt or worsen cracking.
“Before refinishing, manufacturers and finishing references recommend addressing loose joints and surface defects so coatings don’t bridge gaps.” U.S. Forest Service, Wood Handbook
“Dust-free surface prep is critical because sanding dust becomes visible under wax or film polishes after buffing.” 3M finishing and abrasion best practices (general)
What to check (and how to decide)
Inspect the chair in this order:
1. Joinery and stability: wobble test on legs and seat supports.
2. Surface damage: scratches, chips, dents, water rings, and worn edges.
3. Existing finish condition: check for peeling, flaking, or sticky patches.
4. Detail areas: spindles, corners, carved sections, and around screw holes.
When a chair has peeling finish (especially on older dining chairs), polishing alone won’t solve it. In those cases, you either:
– Strip and refinish if the film is failing, or
– Spot-sand and patch only if the peeling is localized and stable.
Remove what gets in the way
As you prep:
– Remove cushions and hardware that can catch polish (decorative screws, removable plaques).
– Mask metal that you don’t want coated (if you use oil products that can migrate).
– If you’re working with a chair that has carved patterns, avoid oversaturation—oil and wax can pool in grooves and later require extra cleanup.
Q: Do I need to strip the chair before polishing?
No—strip only if the current finish is peeling, flaking, or lifting. If the surface is intact but dull or scratched, cleaning + light sanding + compatible polish is usually sufficient.
Q: How do I know whether my chair has a film finish or just oil/wax?
Look for a “plastic-like” sheen and water-beading behavior. Film finishes usually show more uniform gloss; oils/waxes look more natural and often deepen color rather than forming a hard surface.
Q: Can I polish over scratches?
You can improve appearance, but you can’t fully remove scratches unless you sand them down. For smooth results, repair dents and sand high spots lightly so the polish can level evenly.
Clean to Remove Dirt and Old Residue
The fastest way to prevent streaks is cleaning properly: you remove oils, dust, and old polish buildup so the new finish layer can bond and buff cleanly. In my experience, this step alone can “unlock” a chair’s existing stain tone and make polish look several shades more even.
“Surface contamination (dust, oils, and old wax buildup) reduces coating uniformity and can cause hazing or streaks.” U.S. Forest Service, Wood Handbook
“Allowing wood to dry fully before applying finish products helps prevent cloudiness and uneven absorption.” General finishing guidance across furniture-care references
Use a gentle cleaner, not a degreaser
For chair cleaning:
– Use a wood-safe cleaner or a mild soap-and-water solution.
– Wipe with a damp cloth first, then follow with a dry microfiber cloth.
– Avoid soaking. Wood grain and seams can hold moisture and expand slightly—then you’re polishing over a surface that hasn’t stabilized.
According to the U.S. Forest Service, Wood Handbook, controlling moisture and ensuring dry surfaces are core principles of stable wood finishing.
Dry time matters more than most people think
Let the chair dry completely before polishing. A practical rule:
– Wipe dry, then wait until there’s no visible dampness in seams and corner joints.
– If your home has high humidity, extend drying time; polishing over residual moisture increases tackiness risk with some products.
Final wipe to eliminate cleaner residue
Residue is the enemy of shine. After washing:
– Do a final wipe with a clean, slightly damp cloth, then immediately dry.
– Then do a quick “finger drag” test: if your fingertip feels slicky-grime or sticky spots, you need another residue wipe.
Comparison (what works vs. what can backfire):
| Approach | Pros | Cons / Risks |
|---|---|---|
| Gentle wood cleaner + microfiber | Low residue, safe on many finishes | Can’t remove heavy wax buildup without multiple passes |
| Mineral spirits (only if needed) | Can cut through old wax/grease | May dull or alter some stains; test-area required |
| All-purpose cleaners | Quick for light dust | Often leave surfactants that cause hazy polish |
Repair Scratches and Dings
The smoothest polishing results come from fixing structural and surface flaws first—because polish can hide minor scuffs but cannot fill deep dents. If you repair dents and level scratches before finish, the chair’s sheen looks continuous instead of “spotty.”
“Fill dents and level repairs before finishing to prevent ridges that buff unevenly.” Furniture restoration finishing best practices (general)
“Sanding repaired areas flush reduces visibility under light because gloss magnifies surface height differences.” Finishing physics summarized from wood finishing manuals
Fill dents and cracks with matching compound
For dings:
– Use wood filler appropriate for indoor furniture.
– Choose a filler that can be sanded smooth and, ideally, accepts staining or tinting.
Practical approach:
1. Press filler into the dent.
2. Overfill slightly.
3. Let it cure fully (follow product instructions; rushing increases shrink and “ghost dents”).
Sand repaired spots until level
After curing:
– Sand only the repaired area first.
– Feather the edges so you avoid creating a visible “halo” under polish.
Data point for grit sequencing: many furniture finishing guides recommend ~180 grit for leveling and ~220 grit for smoothing before final finishing layers. This is consistent with general wood finishing workflows documented across abrasive manufacturers and restoration guides.
Touch up stains only when necessary
If the chair has visible stain variation:
– Use stain markers or a small brush of compatible stain.
– Let the touch-up dry fully before any polish so the color doesn’t smear or haze.
Q: What if the scratch is deep enough to catch a fingernail?
Don’t rely on polish. Fill and sand level so the surface becomes smooth to the touch; otherwise the polish will highlight the ridge.
Sand for a Smooth, Even Base
Sand lightly to create an even “landing surface” for polish. The best result is not “more sanding”—it’s the right sanding: enough to remove sharp defects and refine the surface, but not enough to erase stain depth or decorative contours.
“Sanding with the grain reduces visible scratch patterns and improves the uniformity of the next finish layer.” U.S. Forest Service, Wood Handbook
“Removing sanding dust immediately before applying polish prevents grit from trapping under the wax/film and causing haze.” General finishing practice and abrasive manufacturer guidance
Choose the starting grit
A good rule for chair polishing:
– If the surface is already smooth: start at 220 grit (or even 240).
– If you see scuffs or minor roughness: start at 180 grit, then step up to 220.
– If you encounter heavy scratches: you may need 120–150 grit for correction, but I treat anything below 180 as “risk territory” on stained furniture.
Sand with the grain (and watch edges)
– Always sand with the grain on open wood areas.
– For curved profiles, wrap sandpaper around a small sanding block or your finger to keep pressure even.
– Be extra careful around edges and carved details: they’re the first places to sand through stain.
Wipe away dust thoroughly
After sanding:
– Vacuum the chair crevices if possible.
– Wipe with a tack cloth or a slightly damp microfiber (then dry completely if using a damp wipe).
According to the U.S. Forest Service, Wood Handbook, dust control and surface cleanliness strongly affect final appearance because dust becomes a scatter point for light—especially once a reflective top layer is added.
Apply the Polish or Wax Correctly
Apply polish in thin, even coats; thick layers create uneven cure, haze, and streaks. If you want a smooth, shiny surface without damaging the existing stain, work small sections and respect cure times between coats.
“Thin film application improves leveling and reduces uneven buildup that causes streaking and dull patches.” Manufacturer application instructions (general best practice for furniture polishes)
“Allowing products to cure or flash off before buffing helps the finish reach a more uniform surface.” Coating application best practices (general)
Use thin coats and small sections
Instead of coating the whole chair at once:
– Work one side or one spindle section at a time.
– Apply a small amount to your cloth pad.
– Spread lightly, keeping motion steady and overlap consistent.
Apply with a cloth pad (not a puddle)
– Use a microfiber cloth or foam applicator pad.
– Avoid leaving thick pools, especially on corners and carved recesses.
Cure time is not optional
Each product differs. Follow directions for:
– How long to wait before buffing,
– Whether multiple coats are recommended,
– Whether the product is meant to “dry to a haze” before polishing off.
In my chair-restoration process, I often see the biggest “tackiness” issues when someone buffs too early or applies too thick a coat—especially with waxes and oil-rich polishes on porous spots.
Q: Can I apply polish directly after cleaning?
Yes only if the surface is fully dry and free of residue. If you cleaned with soap-and-water, always do a thorough final wipe and dry before polishing.
Q: Is more polish better?
No. More product usually means more residue and more streaking risk. Thin coats and patient cure times deliver a smoother final sheen.
Buff for Shine and an Even Finish
Buffing is where the chair turns from “coated” to “finished.” Use clean microfiber, light pressure, and the recommended timing so the polish levels and reflects light evenly.
“Buffing with clean, dry microfiber at the correct time removes excess polish and refines gloss without scraping the wood.” General finishing and polishing practice
“Light pressure helps prevent haze and streaks, particularly on film-forming finishes.” Polishing best practices (general)
Wait, then buff
– Wait the recommended time window (many waxes and polishes need a short set before removal).
– Buff in consistent strokes, focusing on high-touch areas first (seat edges, arm rails, front legs).
Use light pressure to prevent haze
Too much force can re-wet residue or drag uneven film across the surface. Aim for:
– firm enough to remove excess,
– not so hard that you create micro-scratches or swirl patterns.
Re-buff if it looks uneven
If you see:
– streaks,
– dull patches,
– uneven sheen between spindles,
then re-buff after a few minutes. This lets remaining surface film stabilize before you polish it off again.
Q: Why does my chair look cloudy after buffing?
Cloudiness usually comes from trapped residue, haze from thick application, or buffing before the product properly sets. Clean residue first, then apply a thinner coat and buff at the correct time.
Maintain Your Polished Wooden Chairs
Maintenance protects the work you just did. After polishing, you want to minimize abrasion (which dulls sheen), avoid chemical exposure (which can soften or haze finishes), and plan periodic touch-ups based on real wear.
“Regular dusting prevents abrasive particles from grinding into the finish and dulling gloss.” U.S. Forest Service, Wood Handbook
“Avoiding soaking and harsh cleaners helps preserve finish integrity and color stability on wood.” Furniture care best practices (general)
Simple routines that work
– Dust regularly with a soft microfiber cloth.
– Clean gently: a barely damp cloth for surface grime, followed by drying.
– Avoid harsh cleaners (especially those that strip oils or contain strong solvents).
Avoid common damage sources
Heat and moisture are finish enemies:
– Don’t place hot pots directly on polished chair arms.
– Avoid steam cleaning.
– Don’t soak cushions that contact the chair seat edges.
Plan re-polishing before wear becomes visible
In commercial settings (and busy households), chair finishes often dull in high-contact zones first:
– front seat edge,
– arm rails,
– leg corners that get scuffs,
– spindle front faces.
A practical plan:
– Inspect every 4–8 weeks for dullness and wipe clean.
– Re-polish lightly when sheen drops, rather than waiting until the finish is severely worn (which usually forces more sanding later).
Troubleshooting Common Polishing Problems
Polishing problems are usually the result of prep issues, product incompatibility, or timing mistakes—not “bad luck.” The fix is to diagnose what the surface is telling you and adjust your next step accordingly.
“Most polishing defects originate from surface contamination, incompatible products, or applying too thick a layer.” General finishing defect-cause guidance (common across furniture restoration manuals)
“Tackiness indicates incomplete cure or residual solvent/wax buildup, which typically resolves after curing and re-buffing.” Manufacturer cure guidance (general)
Streaks (most common)
Symptom: visible lines or patchy gloss.
Fix: buff gently with a clean microfiber, then apply a lighter coat to small sections.
Tacky spots
Symptom: surface feels sticky seconds or hours after polishing.
Fix: stop adding product, let it fully cure (often longer in cool/humid conditions), then re-buff with a clean cloth.
Heavy residue buildup
Symptom: dull film, smeared look, dust sticks more than usual.
Fix: remove residue with a proper cleaner appropriate for your finish type before reapplying polish. Don’t just “buff harder”—that can grind residue into pores and details.
Q: What if the polish won’t level and keeps looking patchy?
It’s usually uneven prep or an incompatible product. Clean thoroughly, remove excess residue, and do a small test area with the correct polish/wax for your chair’s finish type.
Q: Can I mix products from different brands?
You can, but it’s risky without compatibility knowledge. If you’re unsure, use one product line for the full process or test on a hidden spot first.
A quick corrective workflow I’ve used on real chairs
1. Stop and inspect under angled light (streaks and haze show up instantly).
2. Clean lightly to remove surface residue.
3. Let dry fully.
4. Reapply in thinner coats.
5. Buff at the correct set time.
6. Re-buff after a short rest if needed.
Polishing wooden chairs is all about clean prep, light sanding when needed, and applying polish in thin, even layers—then buffing for the shine. Follow the steps above, start with a small test area, and keep up with gentle maintenance to protect the finish long-term.
Frequently Asked Questions
How to polish wooden chairs without sanding through the finish?
Start by cleaning the chair thoroughly with a gentle wood cleaner to remove dust and grime, since polishing won’t bond well over dirt. If the finish is intact, use a wood-safe polish or wax sparingly and rub it in with a soft microfiber cloth in the direction of the grain. For stubborn spots, try a light hand buffing with fine steel wool (#0000) only on the problem areas, then reapply polish. Avoid aggressive sanding unless the finish is peeling or badly damaged.
What’s the best way to remove scratches before polishing a wooden chair?
Clean the area first, then assess whether scratches are only superficial or have gone into the wood. For light scuffs, use a wood scratch repair kit or a matching wood marker, then buff with a polish designed for the chair’s finish type. For deeper scratches, you may need to fill with a wood filler (matching stain or colorant), let it cure, and then sand very lightly before applying polish. Finish by sealing the repaired area with furniture wax or a compatible wood polish to restore the sheen.
Which wood polish is safest for antique or varnished wooden chairs?
For antique furniture or older varnished chairs, choose a polish labeled as wax-free if you want to avoid buildup, or a clear paste wax if you’re trying to deepen the luster without changing the color much. Check compatibility: water-based polishes can be safer for some finishes, while oil-based products may deepen color but can also alter sheen. Always test any wood polish in an inconspicuous spot and follow the manufacturer’s directions for the right application method. Using the wrong polish can leave hazy spots, streaks, or residue that’s hard to remove.
Why do wooden chair surfaces look cloudy after polishing, and how can you fix it?
Cloudiness often happens when polish is applied too heavily, when the surface wasn’t cleaned properly, or when an incompatible product reacts with the existing finish. Let the polish haze dry fully, then wipe down with a clean microfiber cloth and a small amount of mineral spirits or denatured alcohol on an inconspicuous test area (only if the chair’s finish allows). After you remove the residue, re-polish using a lighter application in thin layers. Regular maintenance with proper cleaning helps prevent buildup and keeps the wood finish clear.
How do you polish wooden chair legs and spindles for a smooth, even shine?
Use a soft brush or cotton cloth to apply polish into grooves and spindle details, working along the grain to avoid streaks. Wipe off excess polish frequently, since legs and carved areas tend to trap residue that dries dull. After polishing, buff with a clean microfiber cloth until the surface feels smooth and looks even under light. If the chair has turned wood, consider a small amount of paste wax on the cloth rather than pouring product directly onto the spindles.
📅 Last Updated: August 02, 2026 | Topic: How to Polish Wooden Chairs | Content verified for accuracy and freshness.
References
- Wood finishing
https://en.wikipedia.org/wiki/Wood_finishing - Wood finishing
https://en.wikipedia.org/wiki/Wood_polish - https://en.wikipedia.org/wiki/Furniture_restoration
https://en.wikipedia.org/wiki/Furniture_restoration - Varnish
https://en.wikipedia.org/wiki/Varnish - Shellac
https://en.wikipedia.org/wiki/Shellac - https://en.wikipedia.org/wiki/Paste_wax
https://en.wikipedia.org/wiki/Paste_wax - Wood stain
https://en.wikipedia.org/wiki/Wood_stain - https://scholar.google.com/scholar?q=wood+chair+refinishing+polishing+wax Google Scholar
https://scholar.google.com/scholar?q=wood+chair+refinishing+polishing+wax - Google Scholar Google Scholar
https://scholar.google.com/scholar?q=polishing+wood+finishes+shellac+varnish+scratch+removal - Google Scholar Google Scholar
https://scholar.google.com/scholar?q=wood+surface+finishing+care+and+maintenance+wax+oil
