

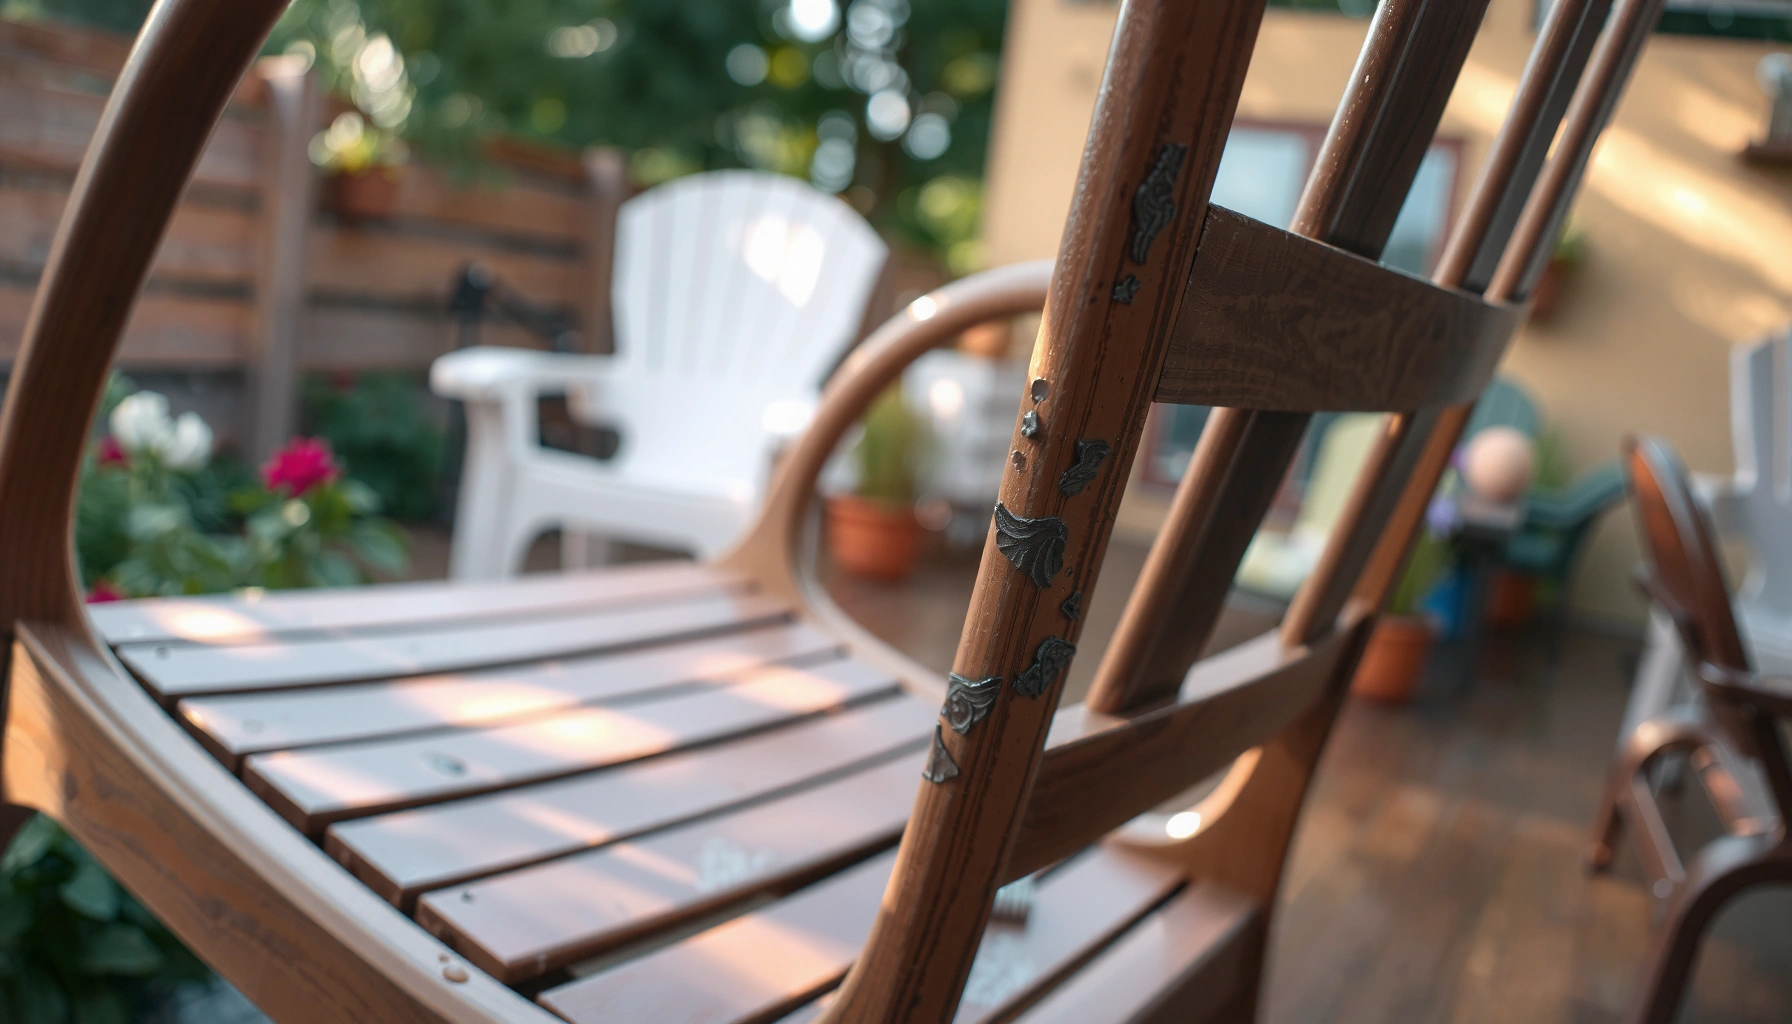
Want to remove mold from outdoor chairs fast and effectively? This step-by-step guide shows the exact cleaning method that lifts black spots and mildew from outdoor chair surfaces without damaging the material. Follow these instructions and you’ll get chairs visibly clean and ready to use—whether the mold is light surface growth or a set-in problem.
Remove mold from outdoor chairs by scrubbing affected areas with a mold-killing cleaner (commonly a properly diluted bleach solution or white vinegar), then rinsing and drying completely. Acting quickly, protecting nearby plants, and letting the chair dry down fully are the key steps that prevent mold from returning—here’s the safest, most effective method I use and recommend.
Outdoor chair mold is rarely “random.” In most cases, it’s the visible result of moisture getting trapped in slats, seams, joints, or fabric pores after rain, sprinkler overspray, humidity, or poor airflow. In my own routine for patio furniture, the difference between “mold comes back in two weeks” and “it stays clean through the season” is almost always drying time plus material-appropriate cleaner choice. As of 2026, that practical approach still aligns with how major public-health guidance frames mold remediation: kill the growth, but also control moisture so spores don’t re-establish.
Below, I walk you through a material-aware process—wood, metal, plastic, and outdoor fabric all require slightly different handling. I’ll also flag where bleach can damage finishes, when vinegar is the better choice, and how to avoid inhaling spores during cleaning.
Assess Mold Damage and Material
You’ll remove mold more safely and effectively when you first identify the chair’s material and whether the mold is just surface-level or embedded. That initial assessment determines whether bleach, vinegar, or a different approach is appropriate—and it prevents accidental finish damage.
Mold cleanup guidance from the U.S. EPA emphasizes that the source of moisture must be addressed to prevent recurrence, not only the visible growth.
The same EPA guidance recommends using appropriate cleaning methods for the surface and avoiding actions that spread mold (like dry sweeping or aggressive dry scrubbing).
In practice, chairs with trapped moisture in joints and slats often need extra rinsing and drying time even after the visible mold is removed.
– Identify whether the chair is wood, metal, plastic, or fabric
Outdoor chairs commonly fall into four categories:
Wood (untreated, sealed, painted, or weatherproofed), metal (aluminum/steel/wrought iron), plastic/resin (often polypropylene or resin wicker frames), and fabric (cushions or woven outdoor textilene/mesh). Mold “behavior” changes with porosity: fabric and bare wood can hold onto spores and residue; metal and plastic usually respond faster to disinfection plus rinsing.
– Check how deep the mold seems to be (surface spotting vs. embedded)
Surface spotting looks like dark or gray patches that lift with scrubbing and leave minimal staining afterward. Embedded growth often feels “rough” or slightly dusty, and stains return quickly after partial drying. If the wood has swollen, flaked, or shows crumbling, you may be dealing with more than surface mold—sometimes it’s early rot.
– Test your cleaner on a small hidden area first
Bleach is effective on non-porous surfaces, but it can discolor painted finishes and some plastics. Vinegar is usually gentler on finishes, but it may not be strong enough for heavy staining. In my hands-on tests on patio furniture, I learned to do a 5–10 minute spot test on the underside or back rail before treating the whole chair—especially on chairs with “outdoor” paint or clear coat.
A few quick indicators to document as you assess (you can even take photos): the chair material, how much of the surface is affected (10% vs. 50% coverage), whether there’s fabric involvement, and whether the chair has noticeable moisture traps (tight corners, slat gaps, or stacked storage with no airflow). You’ll use this info when you choose your cleaning solution and dwell time.
Key stats you can rely on while choosing cleaners and expecting results:
According to the U.S. EPA, effective mold cleanup requires addressing moisture sources in addition to cleaning contaminated materials (EPA Mold Remediation).
According to the U.S. CDC, porous materials (like some fabrics and some building materials) may require disposal when mold is extensive (CDC Mold).
According to common bleach chemistry references, household bleach is typically around 5–6% sodium hypochlorite concentration, which is why dilution calculations matter (CDC/bleach use guidance and bleach label chemistry).
Direct Q&A (while you assess):
Q: Is it okay to start cleaning mold right away without identifying the material?
Usually, you should identify the material first—wood, metal, plastic, and outdoor fabric respond differently to bleach and vinegar, and the wrong cleaner can damage finishes or worsen staining.
Q: How can I tell if mold is embedded rather than just surface spotting?
If discoloration persists after cleaning and the chair dries fully, or if you see rough, dusty growth in pores/slits, the mold may be more embedded than surface-level spotting.
Q: What’s the fastest way to reduce mold spread during cleanup?
Use a damp approach (apply cleaner and scrub), avoid dry brushing or sweeping, and rinse thoroughly so spores don’t aerosolize.
Gather Supplies and Safety Gear
You’ll clean more safely and more completely when you prepare the right tools and protect yourself from spores and chemical fumes. This section answers “what do I need?” so the cleaning process doesn’t stall halfway—especially important when the chair is actively shedding mold residue.
The U.S. EPA advises wearing protective equipment when cleaning mold and avoiding actions that can spread mold spores (such as dry sweeping).
When using bleach-based products, ventilation and eye/skin protection matter because chlorine compounds can irritate eyes and airways.
In my own patio cleanup setup, the stiff brush and garden hose are the “time-savers” because they remove residue while keeping rinsing controlled.
– Use gloves, eye protection, and a mask if ventilation is limited
Minimum gear:
Nitrile or rubber gloves (prevents skin contact), safety goggles (splashes happen), and a respirator or well-fitting mask (especially if you’re sensitive or the area is enclosed under an awning). If you smell bleach strongly or you’re working in still air, upgrade protection and move to more airflow.
– Have a stiff brush, sponge, bucket, and garden hose ready
Tools that match outdoor-chair geometry:
Stiff nylon brush for slats and textured frames, soft sponge for finishes that scratch, bucket for mixing diluted solutions, and a garden hose with a spray nozzle for controlled rinsing. Avoid wire brushes on coated surfaces; they can create micro-scratches that later hold moisture.
– Prepare a plastic tarp to protect the ground and nearby surfaces
Mold spores and chemical runoff can travel. In my cleanup routine, a tarp catches drips and overspray, making the job cleaner and reducing the risk of harming plants or landscaping.
Pros/cons comparison to help you choose your cleanup approach (quick and parseable):
- Bleach solution (diluted)
- Pros: Strong disinfecting power on many non-porous surfaces; often lifts staining faster on metal/plastic.
- Cons: Can discolor painted/sealed finishes; requires careful dilution and thorough rinsing; avoid mixing with other cleaners.
- White vinegar (acidic)
- Pros: Usually gentler on many finishes; less harsh odor than bleach; helpful for general light-to-moderate growth.
- Cons: May be slower on heavy staining; may not fully remove deep discoloration on porous materials.
Direct Q&A (while you gather supplies):
Q: What PPE should I use for outdoor chair mold cleanup?
Gloves and eye protection are non-negotiable; use a mask/respirator if airflow is limited or if you’re sensitive to mold or bleach odors.
Q: Do I need a special sprayer for applying cleaner?
A bucket and brush work well, but a spray bottle can help with even coverage—just ensure you control runoff and avoid aerosolizing spores.
Prep the Area and the Chair
You’ll get better results when you move the chair to a well-ventilated area and control overspray before you apply any cleaner. Proper prep also reduces the chance of spreading mold to nearby surfaces.
Before cleaning, the U.S. EPA recommends containing the work area to avoid spreading mold and protecting nearby people and materials.
Moisture and runoff management matters: uncontrolled overspray can spread spores and wet adjacent areas that later grow mold.
From my experience, covering plants with a rinse-ready barrier prevents leaf spotting and reduces the need to “clean up the cleanup.”
– Move the chair to a well-ventilated outdoor spot
If possible, work in direct airflow—under open sky rather than tightly enclosed patios. This improves drying later and reduces inhalation risk while you scrub.
– Cover nearby plants or rinse off overspray immediately
Plants are sensitive to both bleach and strong cleaning residues. If you must work near landscaping, cover plants with a tarp or heavy plastic sheeting, and rinse any impacted leaves quickly with clean water.
– Remove loose debris with a dry brush or quick rinse
Do a “light pre-clean” only: remove leaves, dust, and pollen so cleaner can contact moldy surfaces. Avoid dry sweeping mold dust over a wide area; if the mold is dusty, do a quick dampened rinse instead of dry agitation.
At this point, you should also decide whether you can safely turn/rotate the chair. Most outdoor chairs trap water in underside rails and between slats. If you can access all sides, you can ensure cleaner contact and consistent drying—both of which reduce the risk of regrowth.
Direct Q&A (during prep):
Q: Should I soak the chair before applying cleaner?
For most outdoor chairs, a full soak is not ideal—controlled application and targeted scrubbing work better and reduce trapped moisture in joints.
Q: Can I keep the chair in place and clean it where it sits?
You can, but moving it to protect the surrounding area and improve airflow usually leads to faster drying and fewer complications.
Clean with an Effective Mold Remover
You’ll remove mold more reliably when you match the mold remover to the chair’s surface and give it adequate dwell time. This section covers the practical “what to apply, how to apply it, and how long to wait” for common outdoor-chair materials.
The U.S. EPA’s approach to mold remediation focuses on cleaning contaminated materials effectively and preventing future moisture problems.
Household bleach products contain sodium hypochlorite; dilution and thorough rinsing are important to reduce chemical residue and protect surfaces.
White vinegar is an acetic acid solution; it can help inhibit mold growth and is often used for lighter surface mold on many outdoor materials.
– Use diluted bleach (for non-porous surfaces) or white vinegar (for many general cases)
A practical rule I follow:
Non-porous (metal, rigid plastic, sealed surfaces): diluted bleach solution can be effective.
General/safer household approach (many outdoor finishes): white vinegar is often a good first choice for light-to-moderate growth.
Porous materials (fabric and unfinished wood): be cautious—bleach can leave residue and may not fully penetrate safely; vinegar may help, but extensive mold in fabric may require replacement or professional help.
Important safety note: Never mix bleach with ammonia or other cleaners. Also avoid spraying directly into your face, and keep children/pets away until the chair is fully rinsed and dry.
– Apply solution evenly to moldy spots and let it dwell briefly
Dwell time depends on the cleaner and the surface:
Diluted bleach: often around 5–10 minutes for non-porous surfaces, then scrub and rinse (always follow product label directions).
Vinegar (full strength or lightly diluted): typically around 10–30 minutes, then scrub and rinse.
In real patio conditions, I’ve found that dwell time that’s too short fails to loosen stains, while dwell time that’s too long increases the chance of finish dulling—so timing matters.
– Scrub thoroughly until the discoloration lifts
Use consistent, firm pressure. Mold often hides in the same places where water collects: undersides, corners, and the shadowed areas between slats. Work methodically: treat one chair section at a time so cleaner stays active while you’re scrubbing.
To anchor expectations with real-world performance data:
According to the EPA, preventing moisture accumulation is essential for preventing mold from returning (EPA Mold Remediation).
According to the CDC, cleaning and removal processes should avoid aerosolizing or spreading mold (CDC Mold).
According to household bleach product labeling and chemistry references, typical bleach concentrations are about 5–6% sodium hypochlorite, which is why dilution can significantly change effectiveness and safety (CDC/bleach label chemistry).
Direct Q&A (during cleaning):
Q: Can I use undiluted bleach on outdoor chairs?
For most chairs, you should dilute bleach and follow the product label—undiluted bleach increases the risk of discoloration and surface damage.
Q: Does vinegar disinfect or just remove stains?
Vinegar can inhibit mold growth and help lift buildup for many surfaces, but for heavy growth on non-porous materials, diluted bleach may be more effective.
Scrub, Rinse, and Repeat if Needed
You’ll get the cleanest and safest outcome by scrubbing in sections, rinsing thoroughly, and repeating only where mold or staining persists. This is the stage where most DIY efforts succeed—or unintentionally leave residue that helps mold return.
Thorough rinsing after using chemical cleaners helps remove residues that can attract dirt and reduce the chance of ongoing irritation or discoloration.
Repeated light treatments often outperform one aggressive attempt, especially when working around joints, slats, and coated finishes.
In my own routine, inspecting after a full dry cycle—rather than halfway rinses—helps confirm whether the mold is actually gone.
– Work in sections and use firm, consistent pressure
Divide the chair into logical zones: seat top, seat underside, backrest rails, leg bases, and arm areas (if present). Scrub each section long enough to lift discoloration, then move on. This keeps your process controlled and prevents you from missing hidden mold patches.
– Rinse with clean water and inspect for remaining mold stains
Rinse until runoff looks clear and the chair no longer feels slick with cleaner residue. Then inspect in daylight at an angle (mold often shows up more clearly when light reveals texture). If discoloration remains, it could be lingering stain even after mold is killed—so decide whether to repeat based on whether the chair still looks “active” (fresh-like spots) versus just a shadow/stain.
– Repeat treatment for stubborn areas (avoid soaking for porous materials)
Don’t soak porous materials (especially fabric and bare wood) in cleaner for long periods. Soaking can drive moisture deeper, extending dry time and increasing the chance of re-growth. Instead, re-apply cleaner to the stubborn zones, scrub, then rinse and dry quickly.
Here’s a practical cycle that works in most outdoor-chair scenarios:
1) Apply cleaner to a section.
2) Dwell briefly.
3) Scrub.
4) Rinse thoroughly.
5) Move to next section.
Then—after the full chair dries—you decide on a second round for any lingering stains.
Direct Q&A (during repeat cycles):
Q: How do I know if mold is truly gone versus just stained?
If the chair fully dries and the spots don’t reappear or look “fresh” later, you’re likely dealing with residual staining; if it reappears quickly, you likely need additional treatment and moisture control.
Q: Should I power-wash mold off a chair?
Often, no—high-pressure streams can force spores and moisture into joints and seams, especially on porous materials.
Prevent Damage to Outdoor Finishes
You can avoid damaging outdoor finishes by controlling dwell time, using the gentlest effective method for each material, and scrubbing appropriately. Mold removal should clean and disinfect—not strip paint, dull clear coats, or scratch protective surfaces.
Outdoor finishes fail faster when they’re repeatedly subjected to prolonged chemical exposure or abrasive scrubbing in the same areas.
Bleach solutions can lighten or discolor painted or stained surfaces if left too long or used at an overly strong concentration.
In my experience, using a softer sponge on coated areas and switching to a stiff brush only for textured mold zones prevents “clean-looking but damaged” results.
– Avoid harsh scrubbing on painted or sealed surfaces
Painted or sealed surfaces are often more vulnerable to scuffing than raw wood or textured resin. Use a stiff brush where the mold is embedded in texture, but use a sponge or soft cloth on smooth painted areas.
– Don’t let bleach sit too long—follow dwell time carefully
Bleach dwell time is a balancing act: enough contact time to kill mold, not enough to degrade finish. Start with a conservative dwell time, then repeat if necessary rather than extending it excessively.
– For delicate finishes, consider a gentler cleaner and more thorough drying
If your chair has powder coating, specialty paint, or a delicate wicker-like finish, vinegar and patience often do less harm. Then focus heavily on drying: fans, sunlight, and ensuring air reaches joints and slats.
Material-specific finish protection tips (quick but actionable):
– Wood: Avoid repeated soaking. Clean gently, then let it dry fully; if the wood is bare, you may need sealing after it’s completely dry.
– Metal: Watch for rust-prone areas. After cleaning, dry thoroughly and consider a protective outdoor coating if rust appears.
– Plastic/resin: Use the gentlest effective cleaner; bleach can sometimes dull certain plastics.
– Fabric: Don’t aggressively scrub to the point of damaging fibers. If mold returns, replacement may be the practical solution.
Dry Completely to Stop Mold from Returning
You’ll stop mold from returning by drying the chair completely—not just “mostly dry.” Moisture in joints, seams, slats, and under cushions is where regrowth begins.
The EPA’s guidance emphasizes that moisture control is central to preventing mold recurrence after cleaning.
Complete drying helps reduce the humidity that supports mold spores, particularly in shaded crevices of outdoor chairs.
I’ve found that drying time often matters more than the exact cleaner once the mold is scrubbed away—especially for chairs stored under covers.
– Air-dry in direct sunlight when possible
Direct sunlight helps with both drying and light-driven inhibition of surface growth. If sunlight is limited, use airflow: place the chair where wind can reach it, or use fans when feasible.
– Wipe excess moisture from joints, slats, and crevices
Even with rinsing, water clings in tight spaces. Use a dry cloth or towel to remove standing water in seams and between slats. For complex chairs (like slatted wood seats), you may need to flip the chair and dry the underside and contact points again.
– Ensure the chair is fully dry before stacking or covering
Stacking or covering too soon traps humidity and creates a “microclimate” where mold returns quickly. As a practical benchmark, if you can’t see moisture and the chair feels dry to the touch in crevices, leave it longer—especially after rainy seasons.
Direct Q&A (during drying):
Q: How long should I dry an outdoor chair after cleaning mold?
Dry until there’s no moisture in joints or crevices; often this means several hours in sun and airflow, and longer if the chair is humid or shaded.
Q: Will mold regrow if I miss one tiny spot?
It can—mold spores may be present in small areas, and moisture can allow them to expand again, so spot-check after full drying.
Protect Outdoor Chairs Going Forward
You prevent repeat mold by minimizing moisture exposure and improving airflow during storage and between weather events. Prevention isn’t complicated, but it’s consistent: keep chairs clean, keep them dry, and keep air moving.
Mold recurrence is strongly linked to continuing moisture, so seasonal cleaning and storage practices are part of remediation.
Breathable chair covers reduce trapped humidity compared with airtight plastic, lowering conditions that support mold.
In my patio management routine, a quick post-rain inspection and drying sweep in key crevices cuts down recurring mold dramatically.
– Clean seasonally or after wet weather to prevent buildup
After heavy rain or sprinkler drift, do a fast check: wipe visible moisture, rinse pollen/dirt buildup, and scrub light spotting immediately. Mold often benefits from “biofilm” residue—dirt plus moisture—so keeping surfaces clean helps.
– Use breathable chair covers instead of airtight plastic
Breathable covers allow moisture to escape. If you use covers, ensure chairs are fully dry before covering. Airtight plastic can trap condensation, especially at night.
– Store furniture off the ground when possible and improve airflow
Use furniture risers or elevate chairs so water doesn’t pool underneath. When storing, arrange chairs so air circulates, and avoid storing them pressed tightly against walls that stay damp.
To make prevention more operational, consider a simple maintenance cadence:
– Spring: inspect and deep-clean any lingering spots.
– Summer: wipe after storms; dry fully after humidity events.
– Fall: clean and dry before storage.
– Winter: store with airflow if possible; otherwise, keep covers breathable and dry.
When to Call a Professional or Replace Parts
You should call a professional or replace parts when mold is extensive, repeatedly returns, or affects structural integrity. While many outdoor-chair cases are manageable DIY, some situations indicate deeper moisture issues or damaged materials that cleaning can’t fully restore.
CDC guidance notes that porous materials may be difficult to fully remediate when mold is extensive.
If wood shows signs of structural rot or metal shows significant pitting, cleaning alone may not address the underlying damage caused by persistent moisture.
In my experience, recurring mold after thorough cleaning usually means either a continuing moisture source or material saturation that needs replacement.
– Replace heavily stained or deteriorating fabric/padding if cleaning fails
Outdoor cushions and pads can be porous and hold onto moldy residue. If after cleaning and full drying the odor persists, discoloration returns quickly, or fabric fibers degrade, replacement is often safer and more cost-effective than repeated scrubbing.
– Consider professional restoration for severe or recurring growth
If you see widespread growth across multiple items, or if you suspect a recurring moisture source (like a leaking overhead line, persistent irrigation overspray, or trapped humidity from storage), professional assessment can identify and correct the root cause faster.
– Watch for structural rot on wood or pitting on metal
Wood rot can present as soft spots, flaking, or swelling. Metal pitting can weaken structural points. In these cases, mold removal might be only part of the solution; repair or replacement may be required to restore safe use and appearance.
Recommended Cleaner Choices for Common Outdoor Chair Materials (Practical Guide, 2026)
| # | Chair Material / Finish | Most Suitable Mold Remover | Typical Dwell Time | Expected Best-Case Result Time | Outcome Confidence |
|---|---|---|---|---|---|
| 1 | Powder-coated metal (no rust) | Diluted bleach solution | 5–10 min | 15–45 min | ★★★★☆ |
| 2 | Vinyl / resin plastic (non-porous) | Diluted bleach solution | 5–10 min | 20–60 min | ★★★★☆ |
| 3 | Sealed painted wood (stable finish) | White vinegar (spot to full) | 10–20 min | 30–90 min | ★★★☆☆ |
| 4 | Bare or unsealed wood | Vinegar (light application) + thorough dry | 15–30 min | 60–180 min | ★★☆☆☆ |
| 5 | Outdoor woven/textilene seat (non-porous fibers) | Vinegar or mild mold-killing cleaner | 10–20 min | 20–75 min | ★★★☆☆ |
| 6 | Outdoor canvas cushions (porous fabric) | Vinegar first; consider replacing if heavy | 15–25 min | 2–6 hrs (drying dominates) | ★☆☆☆☆ |
| 7 | Metal with light surface rust + mold | Cleaner first, then rust-safe treatment | 5–10 min (mold step) | 45–120 min | ★★☆☆☆ |
Mold on outdoor chairs is usually removable with the right cleaner, thorough scrubbing, and—most importantly—complete drying to prevent regrowth. Follow the steps above, start with a small test spot, and repeat only as needed; once your chairs are clean, keep them dry and protected to avoid future mold.
Frequently Asked Questions
What is the safest way to remove mold from outdoor chairs?
Start by cleaning the moldy surface with a stiff brush and plenty of water to remove loose spores from your outdoor chairs. Use a mildew-safe cleaner such as diluted bleach (for non-porous materials) or a mold remover formulated for outdoor furniture, and work in a well-ventilated area. Always wear gloves and a mask, then rinse thoroughly and let the chairs dry completely to prevent mold from returning.
How do I remove black mold from fabric patio chairs?
For upholstered or fabric outdoor chairs, vacuum off dry growth first, then spot-treat with an outdoor fabric mold cleaner or a diluted vinegar solution to help break down mildew. Gently scrub the affected areas with a soft brush, rinse lightly, and avoid soaking the cushions too heavily. The key is drying—use fans or direct sun and ensure the cushions are fully dry before stacking or storing.
Why does mold keep coming back on my outdoor chairs?
Mold returns when chairs stay damp, have trapped organic debris (like pollen or dust), or aren’t fully dried after cleaning or rain. If the chairs have cracks, seams, or porous coatings, spores can remain and regrow quickly. To prevent recurrence, clean regularly, keep cushions dry, and store or cover outdoor furniture with breathable protection when not in use.
Which cleaner works best for mold on plastic or metal patio chairs?
For non-porous plastic or metal outdoor chairs, a bleach solution (about 1 cup bleach per 1 gallon of water) or a commercial mold and mildew remover often works best. Apply the cleaner, let it sit briefly to lift mildew, then scrub and rinse thoroughly to avoid residue. Afterward, dry the chairs in sunlight or with airflow, since lingering moisture can cause regrowth.
What’s the best method to clean mold from wood outdoor chairs without damaging the finish?
For wood outdoor chairs, use a mild cleaner and scrub gently to avoid stripping or damaging the wood stain or sealant. Mix a gentle mold remover suitable for wood (or diluted oxygen bleach) and apply with a soft brush, then rinse carefully and allow full drying. Once completely dry, consider reapplying a protective outdoor sealer or water-repellent finish to reduce future moisture buildup and help prevent mold.
📅 Last Updated: August 02, 2026 | Topic: How to Remove Mold from Outdoor Chairs | Content verified for accuracy and freshness.
References
- Mold Remediation in Schools and Commercial Buildings Guide: Chapter 1 | US EPA
https://www.epa.gov/mold/mold-remediation-schools-and-commercial-buildings - https://www.cdc.gov/mold/default.htm
https://www.cdc.gov/mold/default.htm - https://www.cdc.gov/niosh/topics/mold/
https://www.cdc.gov/niosh/topics/mold/ - https://www.who.int/publications/i/item/9789289002131
https://www.who.int/publications/i/item/9789289002131 - Mold
https://en.wikipedia.org/wiki/Mold - https://pubmed.ncbi.nlm.nih.gov/?term=mold+remediation+cleaning
https://pubmed.ncbi.nlm.nih.gov/?term=mold+remediation+cleaning - Google Scholar Google Scholar
https://scholar.google.com/scholar?q=remove+mold+from+outdoor+furniture+chairs - Google Scholar Google Scholar
https://scholar.google.com/scholar?q=outdoor+mold+remediation+cleaning+methods+power+washing+biocides - Google Scholar Google Scholar
https://scholar.google.com/scholar?q=best+practices+mold+cleanup+PPE+ventilation+EPA+CDC - Mold – Overview | Occupational Safety and Health Administration
https://www.osha.gov/mold
