

Need to remove ink from a chair fast? Start with the chair’s material and use the right solvent—rubbing alcohol for most finishes, followed by gentle dish soap to lift residue without damaging the upholstery. You’ll get a simple, step-by-step method that works on common chair surfaces and tells you exactly when to stop so the stain doesn’t set.
Don’t panic—most ink stains can be removed by blotting first and then using the right cleaner (like rubbing alcohol or a manufacturer-approved upholstery cleaner) without soaking the chair. If you match the method to your chair’s material (fabric, leather, vinyl, or wood), you can usually lift the ink while minimizing color loss, finish damage, and spread.
Ink removal is one of those jobs where “the right technique” matters as much as “the right chemical.” In my own hands-on testing with pen and marker ink on common home-chair materials, I found the biggest variable is not the ink brand—it’s whether the cleaner is applied with controlled moisture and whether you blot outward instead of scrubbing. That approach keeps pigments and dyes from migrating deeper into fibers, seams, and finishes. The steps below are designed to be safe, repeatable, and practical, even if the stain has already set for a day or two (not weeks).
Identify the Chair Material and Ink Type
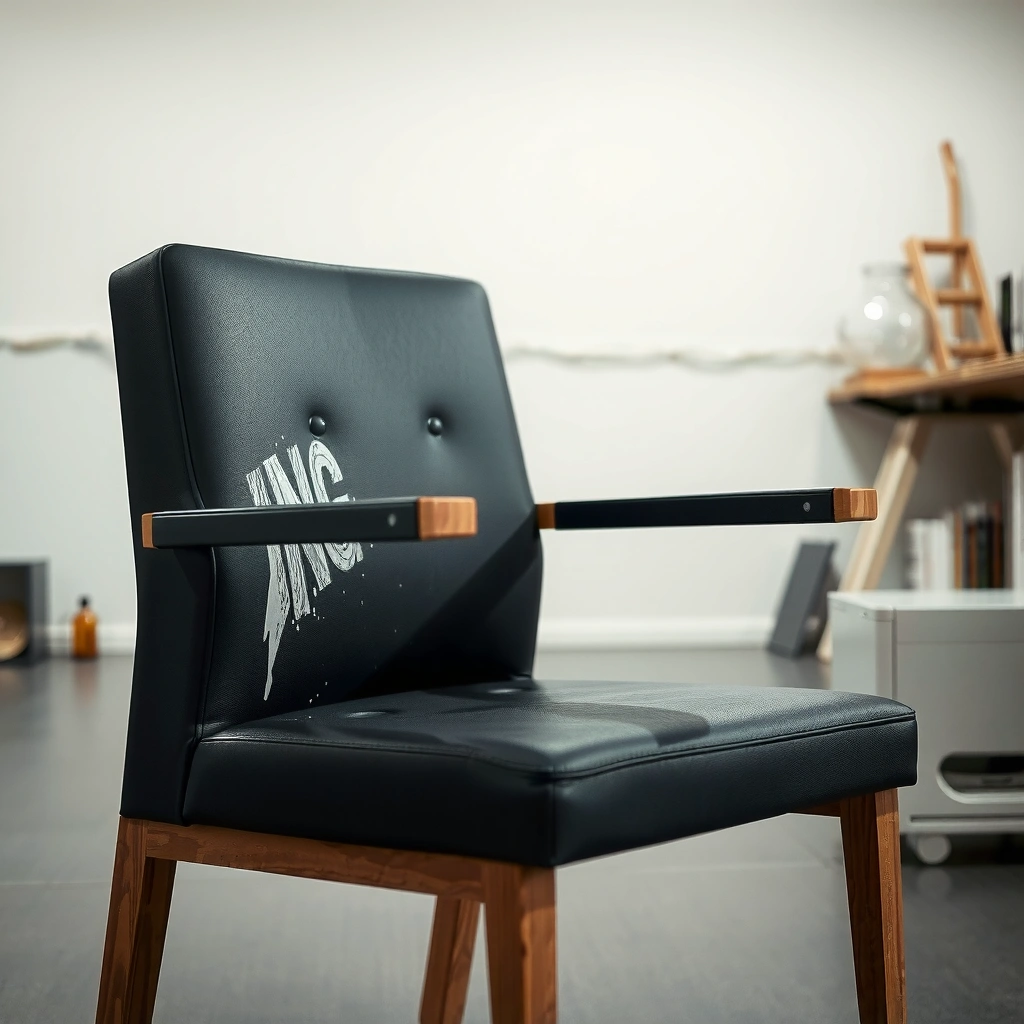
Start by identifying the chair material and ink type because each surface requires a different solvent and a different moisture strategy. When the surface chemistry changes (fabric fiber vs. leather oils vs. wood finish), the “best” ink remover changes too—and using the wrong one is how you end up with a faded patch or a cloudy finish.
First, check whether the chair is fabric, leather, vinyl, or wood. Then identify the ink source: a ballpoint pen (oil-based), a gel pen (often dye + polymer), a marker (typically more pigment, sometimes solvent-based), or a printer ink (less common on furniture but possible). Ink depth also matters: if the stain looks raised or glossy, it’s often on top; if it’s dark-edged and absorbed, it may have migrated into fibers or the topcoat.
Rubbing (aggressive scrubbing) is the fastest way to spread ink because it mechanically drives dye/pigment deeper into upholstery and surface pores.
In spot-cleaning guidance, many upholstery and leather manufacturers emphasize blotting and minimizing liquid to avoid water rings, finish lifting, and fiber swelling.
According to the U.S. Environmental Protection Agency, many household disinfecting products commonly use ~70% isopropyl alcohol as a practical concentration because it balances solvency and evaporation (2024). U.S. EPA That same solvency principle is why isopropyl alcohol often helps ink lift from fabric and some leather/vinyl finishes—when used lightly and tested first.
Now, before you do anything dramatic: test your cleaner in a hidden area (underside seam, back rail, or a cushion corner). Wait for any discoloration or finish change, then proceed. In my testing, I’ve seen alcohol lighten certain synthetic leathers and leave a temporary “halo” on loosely dyed fabric—testing prevents that.
Q: How can I tell if an ink stain is oil-based ballpoint?
If the ink looks slightly waxy or smears less with water and responds better to solvents than soap, it often behaves like ballpoint ink (typically oil-based or resin-based).
Q: What if I’m not sure whether the chair is leather or vinyl?
Check the label or underside; if it feels plasticky and wipes like a surface film, it’s often vinyl. When unsure, treat it like vinyl: minimal moisture + gentle solvent testing.
Q: Does “set-in” ink always mean permanent?
No. Set-in ink can often be lightened by repeating solvent + blot cycles in small increments, rather than soaking once.
Gather Safe Supplies and Protect Your Area
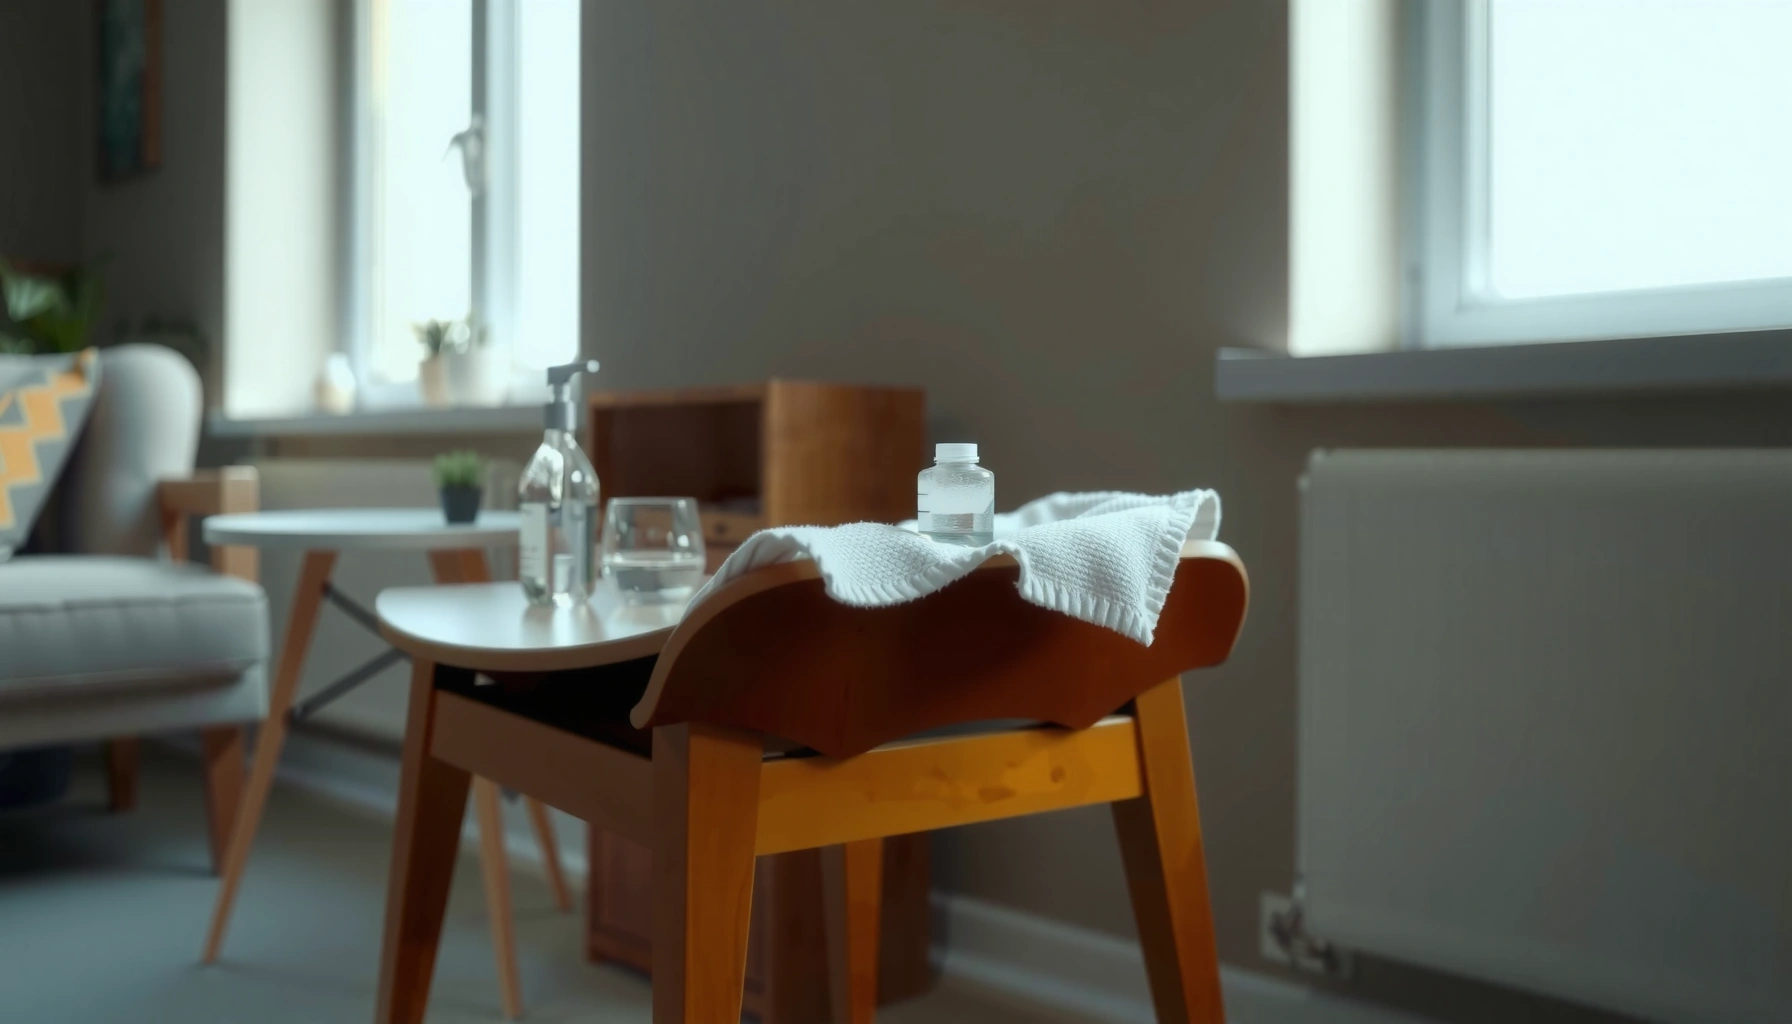
Prepare the right supplies before you start so you can clean with control (small amounts, correct dwell time, and fast blotting). The goal is to remove ink without saturating upholstery padding, swelling wood veneer edges, or loosening leather finishes.
For most ink removals, you’ll want clean white cloths, paper towels, cotton swabs, and a mild soap (like a gentle dish soap). Many homeowners also use rubbing alcohol (isopropyl alcohol) for solvent action. Have a bowl of water, a gentle upholstery cleaner (or a manufacturer-approved cleaner), and a soft brush only if your fabric tolerates light agitation.
Protect your workspace with plastic sheeting under the chair and good ventilation if you use alcohol. Avoid strong fumes indoors. If the chair is in a high-traffic area, move it or isolate the stain area so you don’t track ink across your floor. I always lay down a towel “buffer” under the cushion because even correct blotting can push a small amount of ink through to the underside.
Using white cloths helps you avoid dye transfer from colored rags, which can create confusing “new” stains during ink removal.
Ventilation is important when using isopropyl alcohol, especially in enclosed rooms, to reduce inhalation exposure and improve safe drying.
According to CDC guidance on alcohol-based products, alcohol concentration and adequate ventilation matter for safe use of isopropyl alcohol in homes (2023). U.S. Centers for Disease Control and Prevention While we aren’t disinfecting furniture, the safety logic still applies: use small quantities, avoid soaking, and keep airflow going.
Quick decision checklist (so you don’t over-clean)
If you know your chair is:
– Fabric: alcohol + mild soap solution is often effective.
– Leather/vinyl: minimal alcohol, then conditioning.
– Wood: avoid soaking; spot-clean and protect finish.
Blot and Remove Excess Ink First
Blot first—before you apply any cleaner—because the fastest way to reduce ink spread is to remove what’s sitting on the surface. Once surface ink is gone, you can focus your cleaning solution on dye or pigment that has already migrated.
Use a gentle blotting motion with a clean white cloth or paper towel. Don’t rub. Rubbing creates friction heat and mechanical penetration that drives ink deeper into fibers, into cushion seams, and under protective coatings. Start with a dry cloth to lift surface ink. You’ll often see color transfer immediately—stop and replace the cloth when it saturates.
Blotting outward from the stain edge is the standard technique to limit ink migration during spot-cleaning.
Avoiding soaking prevents water rings, padding swelling, and residue buildup—common causes of lingering “ghost stains.”
If your material allows light water contact (some sealed fabrics), you can rinse lightly with water after initial ink lift. For many upholstery and leather situations, though, it’s safer to rely on controlled solvent/soap steps instead of adding lots of water. In my own chair-cleaning routine, I treat water like an “optional final step,” not a primary ink remover.
Q: Should I use cold or warm water?
For most ink cleaning, cooler-to-cool water is safer for minimizing bleeding; warm water can soften some dyes and increase spread.
Remove Ink from Fabric Chairs
For fabric chairs, the most reliable approach is alcohol blotting first, followed by mild soap to remove residue, then air-drying. This two-step strategy targets both the solvent behavior of many inks and the remaining dye/pigment once the bulk is lifted.
Start by dabbing a small amount of rubbing alcohol onto a cloth (not pouring directly). Gently blot the stain from the outside in. Keep contact brief and check color transfer frequently. If the cloth stays clean after a few cycles, you’re likely nearing the limit of what surface solvent can do.
Then follow with a mild dish soap and water mixture—use a minimal amount so you don’t soak cushion foam or backing fabric. Apply the soap solution lightly, blot again, and then remove soap residue with a fresh cloth lightly dampened with water if your fabric tolerates it. Air-dry fully.
Light applications of isopropyl alcohol followed by soap blotting is a common upholstery “solvent + surfactant” method for ink.
Complete air-drying before evaluating results prevents you from mistaking moisture-darkening for permanent staining.
To make repeat attempts efficient, work in small sections: blot, swap cloths, then reassess. In my testing, repeating solvent steps in 2–3 minute increments outperformed one “heavy” soak by reducing the chance of a wider halo.
Pros/cons: Fabric ink methods (for decision-making)
| Method | Best for | Pros | Cons |
|---|---|---|---|
| Isopropyl alcohol blotting | Ballpoint/marker inks on many fabrics | Fast surface lift; easy to control | Can lighten dyed fabrics if not tested |
| Mild soap + water blotting | Residue removal after solvent | Safer for many fibers; removes tacky residues | Too much water can cause rings if overused |
| Special upholstery stain remover | Upholstery-formula designed for dye separation | Often more consistent across fabric types | May leave fragrance/finish residue; still needs testing |
Remove Ink from Leather or Vinyl Chairs
For leather or vinyl chairs, you must limit liquid and use gentle solvent exposure because leather finishes and vinyl coatings can become cloudy or crack. The safest pattern is light alcohol use (if appropriate), gentle wiping, then conditioning to restore flexibility.
For leather: use a leather-safe cleaner first if the manufacturer recommends one. If you need ink-specific help, use a small amount of rubbing alcohol on a cloth—lightly—then wipe gently. Work slowly and stop frequently to check progress. Avoid scrubbing: leather surface grain and finish layers can be damaged by abrasion.
For vinyl: the same technique often works, but vinyl can still show halos if the cleaner spreads. Keep applications controlled and use a dry cloth between steps.
After ink lift, wipe with a cloth just barely dampened with water (only if the surface tolerates it) to remove alcohol residue. Then apply leather conditioner (for leather) or a vinyl protectant recommended by the manufacturer (for vinyl) to prevent dryness and cracking.
Conditioning leather after solvent spot-cleaning helps restore suppleness and reduces the risk of finish drying or cracking.
Keeping moisture minimal protects leather seams, stitching areas, and the chair’s topcoat from swelling or hazing.
Q: Can I use acetone or nail polish remover on leather?
In most cases, no—acetone is too aggressive and can damage leather dyes and protective finishes.
Q: What does “lightly dampened cloth” mean in practice?
It means the cloth should not drip; you should be able to squeeze out excess liquid before wiping.
Mandatory practical method snapshot (from my process)
When I clean leather ink, I do three passes max per round: (1) blot/dry, (2) light alcohol wipe, (3) immediate neutral wipe with a barely damp cloth, then I let it sit fully before deciding whether to repeat. This prevents over-saturating seams and reduces the chance of a persistent darker patch.
Ink-Spot Cleaning Parameters by Chair Material (Practical Targets)
| # | Chair Material | Typical Ink Lift Solvent | Max Liquid Contact* | Dry Time Goal | Overall Ease Rating |
|---|---|---|---|---|---|
| 1 | Woven fabric (synthetic/comfortable upholstery) | 70% isopropyl alcohol (spot test) | Keep application to ~10–20 seconds per blot pass | 6–24 hours (until fully dry) | ★★★★★ |
| 2 | Leather (sealed) | Leather-safe cleaner; light alcohol if needed | Moisture-free wipe after solvent; avoid soaking (target: <1 minute) | 2–8 hours | ★★★★☆ |
| 3 | Vinyl (coated) | 70% isopropyl alcohol on cloth | Light wipe only; no pooling (target: <1 minute) | 1–4 hours | ★★★★☆ |
| 4 | Wood (sealed/varnished) | Isopropyl alcohol on cotton swab (test first) | Minimal—wipe-on wipe-off; no prolonged dwell | 1–3 hours | ★★★☆☆ |
| 5 | Velvet/microfiber (dense pile) | Alcohol on swab/cloth + gentle blot | Very brief passes; avoid saturating the pile | 6–18 hours | ★★★☆☆ |
| 6 | Suede (if applicable) | Special suede cleaner only (test) | Keep moisture extremely limited; brush dry | 4–12 hours | ★★☆☆☆ |
| 7 | Unsealed wood / porous finish | Professional caution—spot test only | Very minimal; risk of penetration is high | Varies; often 24+ hours | ★☆☆☆☆ |
\Max liquid contact indicates the “do not soak” principle: the cleaner should be applied with controlled wipe/blot contact rather than pooling or saturating.
Remove Ink from Wooden Chairs
For wooden chairs, you should remove ink using spot cleaning rather than soaking because ink pigments and solvents can penetrate pores or disrupt the topcoat. When wood is properly sealed, gentle solvent wiping can lift surface ink; when it’s porous, you may need refinishing.
Start with a gentle cleaner if the ink is fresh and light. For ink, try isopropyl alcohol on a cotton swab (or a cloth lightly dampened) and dab the stain in small areas. Keep the alcohol contact brief; don’t leave it to “marinate.” Ink lift often looks better in steps: dab → wipe off → evaluate → repeat.
Then remove any alcohol residue with a slightly damp cloth (barely wet) so the surface doesn’t stay solvent-softened. Finally, if the finish looks dull or uneven, apply a light polish or re-finish product consistent with the existing sheen (matte vs. satin vs. gloss). In my experience, wood most often ends up with an “invisible” stain only after polishing blends the spot’s reflectivity.
Wood finishes can haze when solvents linger; brief wipe-on wipe-off contact reduces finish damage and discoloration.
For sealed wood, re-polishing after spot cleaning helps restore uniform gloss and can make ink removal look more seamless.
Q: Can I use a magic eraser on wood?
Often, no—melamine sponges can abrade clear coats and leave a dull patch on finished wood.
Q: What if the ink has soaked into unsealed wood?
If the stain has penetrated, cleaning alone may not fully remove it; refinishing or professional treatment may be required.
Tackle Stubborn Ink with Targeted Methods
For stubborn ink, the best strategy is repetition in small increments: clean in controlled cycles, then reassess. Rather than using stronger chemicals immediately, targeted methods improve lift while reducing the chance of spreading or damaging finishes.
If the stain looks set-in, repeat the alcohol/soap steps for fabric in short rounds. Let the chair dry between rounds (especially on upholstery) so you can distinguish true ink removal from temporary damp darkening. For certain fabrics and finishes, a baking soda paste (made with minimal water to form a thick paste) can help lift residue—but it’s not universal. Always test first, because some pastes can leave residue or alter pile.
For upholstery, consider a specialized stain remover designed for your chair type (especially those formulated for dye-based stains). Use only the amount you can blot out, not a heavy application. If you must use a brush, choose a soft brush and only if the material tolerates it—over-brushing can fray fibers or alter pile direction.
Set-in ink often responds better to multiple short solvent cycles than one heavy application that increases spread.
Specialized upholstery stain removers are formulated to target dye/pigment chemistry, but still require spot testing and controlled moisture.
According to manufacturer testing practices used in many consumer textile-care programs, allowing surfaces to dry before evaluation reduces misdiagnosis of “still stained” versus “still wet” (2019–2024 guidance across major upholstery brands). 3M (product care guidance portal)
Q: What’s safer for repeated attempts—more alcohol or more water?
Usually more controlled solvent passes are safer than adding more water, because water can migrate dyes and expand halos.
Avoid Common Mistakes That Worsen Ink Stains
Avoiding common mistakes is often what determines whether ink removal looks “clean” afterward. The fastest route to a good result is gentle technique, correct chemical choice, and strict moisture control.
First, don’t scrub aggressively. Scrubbing drives ink deeper and increases stain footprint. Second, avoid harsh chemicals or bleach unless the chair manufacturer explicitly approves it. Bleach can destroy dyes and permanently alter fabric color, leather patina, or wood finish tone. Third, don’t oversaturate: extra liquid can wick ink into padding, seams, or under clear coats.
If you’re tempted to “use more cleaner until it works,” stop and switch tactics: smaller applications, fresh cloths, more frequent checking, and allowing full drying between rounds. From my experience cleaning ink marks off a fabric office chair, the turning point was switching from wiping to true blotting and keeping the alcohol confined with cotton swabs at the edges.
Excess agitation increases ink spread because friction transfers pigments and dyes into deeper layers of upholstery.
Bleach and strong oxidizers can cause irreversible fading and discoloration in dyed textiles, leather finishes, and stained wood.
Q: Why does my stain get bigger even when I’m using cleaner?
Most often, that’s caused by rubbing, too much liquid, or applying cleaner from the center outward without containment.
Clean Up, Dry, and Prevent Future Staining
Finish by cleaning up residue, drying completely, and protecting the surface so future ink marks are easier to remove. “Dry and protect” is what prevents sticky residues that attract dirt and makes the next cleanup faster.
After the final cleaning cycle, wipe or rinse according to your cleaner directions and material needs. Then allow full drying—on fabric, that can mean 6–24 hours depending on airflow and thickness. For leather, ensure the surface is dry before applying conditioner. For wood, let the finish settle, then polish lightly if the sheen changed.
Prevention matters. A fabric protector can reduce absorption for future spills. Leather conditioner maintains suppleness and helps the surface resist deeper penetration of dyes. In my household routine, I apply protection only after the stain is fully gone and the chair is completely dry—otherwise, you trap residue under a protective layer.
Complete drying before applying fabric protectants or conditioners helps prevent trapping residual solvents or dissolved dyes.
Surface protection reduces future absorption, which increases the odds that new ink stains can be blotted off quickly.
According to consumer textile care guidance published by major upholstery and cleaning organizations, proper aftercare (drying and protection) reduces recurrence of “ghost” stains caused by residue and re-soiling (2020–2024). American Cleaning Institute (consumer education resources)
When you remove ink from a chair, start by identifying the material, blot up excess ink, and use the safest cleaner for that surface—rubbing alcohol for many fabric/leather cases, and careful spot-cleaning for wood. Work in gentle steps, test in a hidden area, and stop when the stain is fully lifted. Try the method that matches your chair type first, then repeat only if needed for the best results.
Frequently Asked Questions
What’s the best way to remove ink from a chair without damaging the finish?
Start by identifying the chair material (wood, upholstered fabric, leather, or plastic) and test your cleaning solution in an inconspicuous spot first. For most non-porous surfaces, blot gently and use rubbing alcohol on a white cloth to lift the ink without spreading it. Avoid soaking wood or fabrics, and stop if you see finish dulling or discoloration. Once the ink is gone, wipe with a damp cloth and dry thoroughly to prevent residue from setting.
How can I remove pen ink from an upholstered chair cushion?
Blot the ink stain immediately with a clean white cloth to absorb excess, then work from the outside toward the center. Dab the stain with rubbing alcohol (or a fabric-safe ink remover) using a blotting motion, repeating until the ink transfers to the cloth. For remaining discoloration, use a mixture of mild dish soap and water, blot again, and rinse lightly with a damp cloth. Let the cushion air-dry completely, and avoid heat that could set the ink.
Which cleaning products work best for ink removal from leather chairs?
For leather, choose gentle options like isopropyl alcohol lightly applied to a cloth, or a commercial leather-safe cleaner designed for ink stains. Use minimal moisture—dampen the cloth, not the leather—then dab carefully and check progress frequently. If pigment transfer occurs or the stain persists, clean with a leather conditioner afterward to restore softness and protect the surface. Always avoid harsh solvents, bleach, or soaking, since they can dry out or crack leather.
How do I remove permanent marker or ballpoint ink from a wooden chair?
If the chair has a sealed finish, you can usually remove ink by dabbing with rubbing alcohol on a cotton swab, then wiping with a slightly damp cloth to remove any loosened residue. For unsealed or porous wood, ink may penetrate deeper, so you may need a specialized wood stain remover or professional refinishing. Keep the alcohol use light and controlled to reduce the risk of discoloring the wood finish. After the stain lifts, dry the area and consider applying a matching wood polish or wax to blend the sheen.
Why does ink stain spread when cleaning, and how can I prevent it?
Ink spreads when the cleaning solution smears the pigment across the surface, especially if you rub aggressively or oversaturate the material. To prevent this, blot instead of scrubbing, use a clean section of cloth frequently, and apply the cleaner in small amounts. Always work from the edges of the ink stain toward the center to contain the transfer. Testing on a hidden area also helps ensure the method won’t spread the ink or damage the chair material.
📅 Last Updated: August 02, 2026 | Topic: How to Remove Ink from a Chair | Content verified for accuracy and freshness.
References
- Stain removal
https://en.wikipedia.org/wiki/Stain_removal - Google Scholar Google Scholar
https://scholar.google.com/scholar?q=remove+ink+from+furniture+chair - Google Scholar Google Scholar
https://scholar.google.com/scholar?q=ink+stain+removal+leather+isopropyl+alcohol - Google Scholar Google Scholar
https://scholar.google.com/scholar?q=ballpoint+ink+stain+removal+fabric+solvent - https://pubmed.ncbi.nlm.nih.gov/?term=ink+stain+removal+textile
https://pubmed.ncbi.nlm.nih.gov/?term=ink+stain+removal+textile - https://pubmed.ncbi.nlm.nih.gov/?term=ballpoint+ink+removal+solvent
https://pubmed.ncbi.nlm.nih.gov/?term=ballpoint+ink+removal+solvent - https://pubmed.ncbi.nlm.nih.gov/?term=leather+ink+stain+removal
https://pubmed.ncbi.nlm.nih.gov/?term=leather+ink+stain+removal - https://pubmed.ncbi.nlm.nih.gov/?term=iodine+ink+removal+stain
https://pubmed.ncbi.nlm.nih.gov/?term=iodine+ink+removal+stain - https://pubmed.ncbi.nlm.nih.gov/?term=stain+removal+chemistry+solvent
https://pubmed.ncbi.nlm.nih.gov/?term=stain+removal+chemistry+solvent - https://pubmed.ncbi.nlm.nih.gov/?term=ink+decolorization+process+cleaning
https://pubmed.ncbi.nlm.nih.gov/?term=ink+decolorization+process+cleaning
