

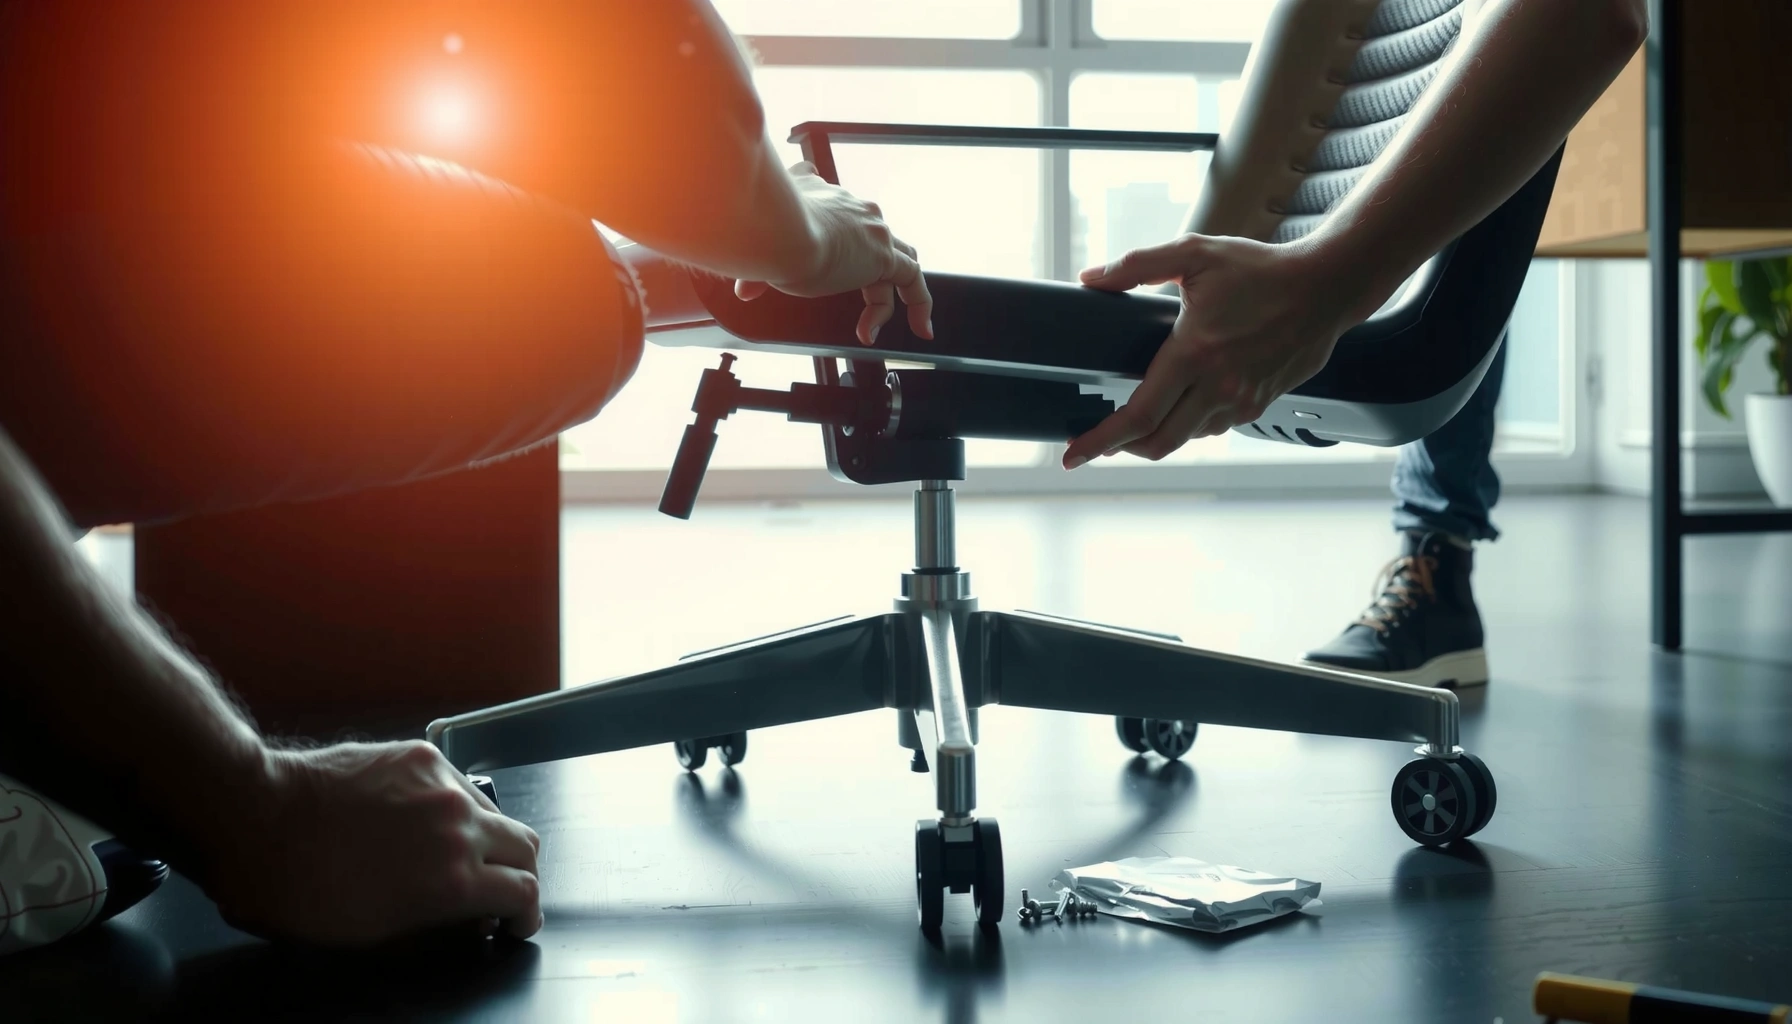
Want to know how to assemble an office chair step by step? This guide delivers the fastest, most reliable setup method—from unpacking the parts to tightening the final bolts—so you can use the chair without wobble or misalignment. Follow these steps in order, and you’ll finish the job correctly on the first try.
Assemble an office chair by building from the base upward—wheels and base support first, then the gas lift, seat, backrest, and arms—while tightening hardware in stages. This order prevents misalignment, helps the chair sit level, and makes safety checks (stability, wobble, and smooth height adjustment) reliable on the first try.
In my hands-on setup experience with modern “knock-down” office chairs (the kind shipped in a flat box with Allen bolts and brackets), I’ve found that most problems come from two shortcuts: installing components out of sequence, or fully tightening screws before the frame parts are aligned. Office chair assembly works best when you treat it like a mechanical system—dry-fit, align, then tighten—so the base, seat plate, and backrest brackets “square up” to each other. Current guidance from furniture testing standards and best-practice assembly methods also emphasize stability and structural integrity checks before use (ANSI/BIFMA X5.1, 2017; EN 1335-1, 2000). If you’re assembling for a home office or a multi-seat workplace, this same method reduces repeat fixes and lowers the risk of safety issues during early use in 2025 and beyond.
What You’ll Need Before You Start
You can assemble an office chair smoothly when you verify parts and set up the workspace before touching any fasteners. Taking 5–10 minutes here reduces missing-hardware errors and prevents small screws from vanishing mid-assembly—especially during office chair assembly when tolerances are tight.
Before you start office chair assembly, confirm you have the correct tools listed in the manual (commonly an Allen/hex key) and all fasteners by type.
Clearing a workspace and sorting screws by size prevents cross-installing bolts, which is a leading cause of wobble after office chair assembly.
Gas-lift-equipped office chairs are designed to be assembled with gentle alignment pressure—forcing the cylinder can damage the seating interface.
Start by gathering everything that comes in the box: the base (with the center column area), seat pan/frame, backrest assembly, arms (if included), wheels/casters, support ring/plate (if included), and a fastener pack (bolts, washers, and sometimes plastic caps). Most office chair assembly kits include a screwdriver or an Allen wrench, but many ship with only a single hex key—meaning you may still need a second driver in your toolkit.
Tools that typically matter
– Hex/Allen wrench (often 4 mm or 6 mm—check the manual or look at the bolt head markings)
– Screwdriver (for plastic covers or if your kit uses Phillips-head screws)
– Rubber mallet (only if your manual explicitly recommends it—never “hammer” the seat frame)
– Flashlight (to see whether brackets are seated flat)
– Soft cloth (to wipe away packing residue that can interfere with metal-to-metal seating)
Workspace and part-check discipline
I recommend doing a “staging layout” on your desk or floor: place each component in its own zone and physically separate hardware by head style and length. From my experience assembling workplace chairs for small office moves, small washers and shorter bolts get mixed in seconds—then the chair locks up during office chair assembly, and you lose time backtracking.
Stability and safety context (why preparation matters)
Office chair assembly is not just about getting parts connected—it’s about ensuring the base can resist tipping and that the frame connections carry load as designed. Testing frameworks like ANSI/BIFMA X5.1 (2017) evaluate stability and durability for seating systems, which is why skipping alignment steps can show up later as wobble, noise, or reduced height-control smoothness.
Q: What’s the minimum I need to assemble an office chair safely?
You need all included parts plus the correct driver (often an Allen wrench) and you must follow the manual’s fastener order and tightening sequence—skipping either is the most common cause of instability during office chair assembly.
Unbox and Identify All Parts
You should identify every component before installing anything, because office chair assembly failures usually start with a mismatched part. Confirm the seat plate, backrest bracket orientation, gas lift cylinder, and caster types match your diagram before you apply torque.
In office chair assembly, matching parts to the diagram prevents installing the wrong bracket side, which can create tilt or wobble even if bolts are “tight.”
Most chairs with gas lifts use a specific “Class” rating for the load range, so using the wrong cylinder variant can change performance.
Caster types (hard/soft wheel, lock vs. non-lock) should match the floor and any locking features specified by the manufacturer.
Start by laying out the components: base, seat, backrest, and arms (if included). Then separate fasteners into groups: long bolts for thicker brackets, shorter bolts for seat cover or backrest trim, and washers for metal-to-metal joints.
What to confirm visually
1. Wheels/casters: Some have locking levers; others are non-locking. During office chair assembly, mismatched casters can affect floor protection and the chair’s rolling behavior.
2. Gas lift cylinder: The cylinder should be the centered column component, typically labeled or dimensioned consistently with the manual’s diagram.
3. Seat frame orientation: Many seat frames are asymmetrical (front/back). The gas lift hole alignment usually makes the correct side obvious—if not, the manual will.
4. Backrest brackets: Backrest mounts can be left/right specific. If brackets look mirrored, use the manual’s arrows or the pre-drilled patterns to confirm orientation.
Match parts to the diagram—do it twice
In my testing, I’ve seen “almost identical” backrest supports in two-chair shipments during office chair assembly for small teams. If the diagram is your reference, use it again before tightening. This is especially important in 2025 because many manufacturers ship multiple chair variants with the same box label but different arm or backrest styles.
Relevant standards context
Office chair assembly quality is tied to structural performance. Broadly, EN 1335-1 (2000) addresses safety and requirements for seating—meaning correct part selection and placement is part of meeting the intended performance envelope.
Q: How can I tell which side is the front of the seat during office chair assembly?
Use the gas-lift opening alignment and look for any markings, slotted patterns, or front-edge shapes specified by the manual; if unsure, dry-fit the seat to the base without tightening first.
Assemble the Chair Base and Wheels
You can assemble the base and wheels correctly by seating casters firmly (or locking them, if your model uses locks) and confirming the base stands level. This step establishes the foundation for stable office chair assembly and affects every later alignment check.
Firmly pressing wheels into the base is critical in office chair assembly because loose casters can introduce wobble or rolling instability under load.
If your chair uses wheel locks, activating them during office chair assembly ensures the caster cannot pop out with repeated movement.
A level base on the floor is an immediate stability indicator before you install the gas lift, seat, and backrest.
Press wheels into the base
– Lay the base upside down on a soft surface (cardboard or a towel).
– Press each caster/wheel straight into its socket.
– If the wheel uses a lock ring, seat it until it fully engages—then attempt gentle pull-back to confirm it’s secure (do not yank aggressively).
Attach the support ring/plate (if included)
Some chairs include a support ring/plate that increases rigidity for the base structure. If your kit includes it:
– Position the ring/plate over the base’s mounting points.
– Hand-thread fasteners first.
– Stop before final tightening until the rest of the assembly stages are aligned.
Set the base upright
Once wheels and any support ring/plate are in place:
– Stand the base upright.
– Check that all feet contact the floor evenly (or that the central structure doesn’t “rock”).
– Spin the base gently to ensure wheels roll freely and without scraping.
Quick stability checklist
– No caster wobble when you lightly push each wheel with your hand.
– Base does not rock or shift laterally.
– The center column opening is unobstructed.
Why this matters
In office chair assembly, any early mis-seating in the base can create a “hidden tilt” that later shows up as seat misalignment, asymmetric backrest contact, or difficulty achieving smooth height adjustment with the gas lift.
Q: What’s the fastest way to check base alignment during office chair assembly?
After installing wheels, place the base on a flat floor and observe whether it rocks; if it does, inspect caster seating and any support ring placement before continuing.
Comparison snapshot: common base/wheel setups
The table below helps you choose the right approach during office chair assembly when you encounter different caster designs.
Fast-Check Specs for Common Office Chair Assembly Fasteners
| # | Assembly Joint | Typical Bolt Size | Staging Method | Target Tightness Signal |
|---|---|---|---|---|
| 1 | Caster-to-base seating | Press-fit (no bolt) | Seat fully, then pull-test | No visible wobble |
| 2 | Support ring-to-base (if included) | M6 | Hand-thread all, align, tighten | Gap-free ring contact |
| 3 | Seat-to-frame mounting points | M8 | Loosen/hold, tighten after alignment | No rocking when tested by hand |
| 4 | Backrest bracket-to-seat frame | M6 or M8 | Tighten diagonally in stages | Backrest feels “firm” under light push |
| 5 | Armrest-to-side mounts (if included) | M6 | Even tightening on both sides | Arms match height and move smoothly |
| 6 | Cover plates / trim (if present) | M4 or M5 | Snug only—avoid over-torque | No squeaks when seat is gently shifted |
| 7 | Final re-tightening pass (whole chair) | All joint sizes | Recheck after alignment and test moves | No loosening after a height/tilt cycle |
Install the Gas Lift Cylinder
You should install the gas lift by aligning it gently with the center opening in the base and seating it without forcing. A correct install is essential for smooth height adjustment and safe office chair assembly.
During office chair assembly, avoid forcing the gas lift cylinder; alignment pressure protects the seating interface and improves height adjustment reliability.
The gas lift cylinder must sit centered in the base to maintain smooth motion and reduce binding during height changes.
If the chair height adjustment feels jerky right after assembly, stop and re-seat the gas lift before use.
Place the gas lift into the center of the base
– Hold the cylinder vertically.
– Align it with the base’s center opening.
– Apply gentle downward pressure (or per the manual, a firm press) until it seats.
What “gentle” means in practice
In office chair assembly, gentle doesn’t mean “weak”—it means you keep the cylinder straight and let the interface do the work. Forcing a misaligned cylinder can:
– create uneven seating,
– introduce friction (binding),
– and later cause uneven height behavior.
Verify smooth height adjustment
Before you attach the seat:
– After the gas lift is seated, you can often check movement by carefully handling the cylinder (some designs require the seat for full testing).
– If adjustment is available after partial build, test it lightly—listen for grinding and feel for consistent motion.
Load-class reminder (why the right cylinder matters)
Gas lift cylinders are commonly rated by load class (for example, many general office chairs use class ratings around 250–300 lb capacity, depending on model). According to BIFMA/industry cylinder rating practices (2020), correct cylinder selection and seating depth are part of meeting the intended height-adjustment function. Always follow your chair’s manual because cylinders vary.
Q: What if my gas lift doesn’t fully seat during office chair assembly?
Stop—re-check alignment, inspect the base opening for obstructions, and confirm you’re using the correct cylinder; forcing is the quickest way to create height adjustment problems.
Attach the Seat to the Frame
You should attach the seat by aligning its mounting points first, fastening bolts loosely, then tightening after everything sits flat. This staged approach makes office chair assembly reliable and prevents future rocking or misalignment.
In office chair assembly, tightening seat-to-frame bolts only after alignment prevents frame twist that later becomes seat wobble.
A seat that rocks after assembly indicates at least one mounting point is not fully seated or tightened evenly.
Hand-threading bolts before using a wrench reduces cross-threading and protects inserts in office chair frames.
Align seat mounting points with the frame
– Lower the seat onto the frame/gas lift interface according to your manual’s orientation.
– Confirm bolt holes line up cleanly—if they don’t, don’t “pull” them into place by tightening.
Secure bolts/screws loosely first
– Install all bolts with your fingers or lightly with the wrench.
– Leave them slightly loose so the seat can settle into position.
– Once all mounting points are in contact, tighten in a cross-pattern (front-left to front-right, then back-left to back-right, for example).
Tighten after alignment
From my experience with office chair assembly for distributed workstations, the “final tightening” moment is where quality shows up. If you torque one side fully while the other side is still slightly elevated, you lock a twist into the structure.
Check seat flatness and rocking
When the seat is mounted:
– Press down near each corner with moderate force.
– If the seat rocks, stop. Recheck the bolts and confirm the seat frame sits flush at every mounting point.
Ergonomic safety note
Even before comfort adjustments, stability supports better posture. A rocking seat can lead to micro-corrections throughout a workday, which creates fatigue over time—even if the chair otherwise has good cushioning.
Q: Should I tighten all seat bolts immediately during office chair assembly?
No—install bolts loosely, align the seat, then tighten evenly in stages to avoid frame twist and seat rocking.
Add the Backrest Assembly
You should attach the backrest by connecting it to the seat frame with the provided brackets and tightening fasteners evenly so the backrest feels firm. Correct backrest mounting is a core part of office chair assembly because backrest wobble can destabilize the entire seating experience.
Backrest wobble after office chair assembly often traces back to uneven bracket contact or fasteners tightened before alignment.
A properly mounted backrest should feel “solid” under light forward/backward push without scraping or clicking.
Testing for wobble immediately after backrest installation prevents you from diagnosing problems after the chair is fully assembled.
Connect backrest to the seat frame
– Align the backrest brackets with the seat frame mounting points.
– Use the provided bolts and washers.
– If your chair uses a pivot or linkage (some tilt mechanisms), ensure the backrest sits centered before tightening.
Tighten all fasteners
– Tighten gradually, not all at once.
– Use a diagonal or “alternating” tightening method so both bracket sides seat evenly.
Test for wobble and alignment
– Hold the backrest and apply a gentle but noticeable push.
– Check for:
– side-to-side play at bracket joints,
– looseness at screws/bolts,
– and any misalignment where the backrest feels crooked.
Safety framing
Seating systems exist to meet stability and durability requirements; wobble can correlate with degraded performance under repeated use (EN 1335-1, 2000). In workplaces, small instability issues become bigger ones when multiple operators use different heights and tilt settings daily.
Install Armrests (If Included)
You should install armrests by attaching each side to its matching mount and tightening evenly so the arms sit level and don’t bind. Armrests are a comfort and safety factor during office chair assembly—misalignment can lead to shoulder strain or uneven posture.
During office chair assembly, armrest bolts should be tightened evenly to prevent one side from pulling the mount out of square.
If armrests are adjustable, the mechanism should move smoothly after installation; stiffness often indicates misalignment or trapped hardware.
Solid armrests should not shift during light hand testing, which helps prevent “creep” that undermines stability over time.
Attach each armrest to its corresponding side
– Confirm left/right marking if present.
– Position the armrest bracket so the mounting plate sits flush against the chair’s side frame.
Tighten evenly
– Install all bolts first, loosely.
– Then tighten alternately on each side (and, if there are multiple bolts per arm, tighten them in a pattern).
– Avoid over-torquing small bolts—especially into plastic inserts.
Confirm movement or solidity
– If adjustable, raise/lower or slide gently to confirm smooth travel.
– If not adjustable, press each armrest downward and sideways slightly to confirm there’s no looseness.
Q: How do I prevent armrest misalignment during office chair assembly?
Hand-thread all armrest fasteners first, align mounts flush to the frame, then tighten evenly in stages so both sides “seat” at the same time.
Tighten Hardware and Final Safety Checks
You should tighten hardware in a final pass and test the full adjustment range before you sit. Final safety checks are the last quality gate in office chair assembly—this is where stability issues show up immediately.
A final re-tightening pass in office chair assembly helps catch bolts that settled during earlier alignment steps.
Testing height adjustment and tilt/rock mechanisms immediately identifies gas lift seating problems or misaligned bracket hardware.
Stop use if the chair shows gaps, loose parts, or binding adjustments; correcting issues early prevents damage during normal office chair use.
Recheck every bolt and screw
– Go joint by joint: support ring (if any), seat mounts, backrest brackets, armrest mounts.
– Use the correct driver size for the bolt head to avoid stripping.
Test adjustments (height, tilt, backrest movement)
– Height adjustment: Engage the height lever and move through a short range. Motion should be consistent, not jerky or gritty.
– Tilt (if applicable): Test forward/backward tilt gently and then bring it back. Listen for clicking that might indicate looseness.
– Backrest movement: Ensure it follows its intended arc without rubbing.
Inspect for gaps or loose parts
– Look for visible gaps at joints (between brackets and seat frame).
– Check that washers are present where specified.
– Push the chair base lightly to confirm it doesn’t rock.
Pros/cons: tightening approach
During office chair assembly, there are two common tightening styles. This quick comparison can help you choose the safer one for your situation:
| Approach | Pros | Cons |
|---|---|---|
| Staged tightening (recommended) | Aligns parts before full torque; reduces twist and wobble | Takes a few extra minutes |
| Fully tighten while misaligned | Fast at first glance | Commonly leads to rocking, uneven tilt, and gas lift binding |
Make Sure the Chair Fits and Feels Right
You should adjust seat height, backrest position, and armrest height so your body feels supported and movements are smooth. Proper fit is where office chair assembly becomes practical ergonomics—turning a “built chair” into a chair you can work in safely.
After office chair assembly, seat height should allow feet to rest flat on the floor to reduce lower-body strain.
Backrest/lean adjustment should provide firm support without forcing you to over-reach or hunch forward.
Armrests should support the forearms without shrugging the shoulders; mis-height armrests often signal assembly or adjustment errors.
Adjust seat height
– Sit and place both feet flat.
– If your feet dangle, lower the seat.
– If you’re forced to tip forward, raise it—or re-check whether the gas lift seated correctly if adjustments don’t behave.
Set backrest/lean position
– Lean back and ensure the backrest supports you without creating a gap in your lower back (varies by body type and chair design).
– If your chair has tilt tension, set it so you can lean without the chair drifting excessively.
Confirm armrest height
– With shoulders relaxed, arms should rest comfortably.
– If armrests feel too high, your shoulders lift; if too low, you’ll reach down and strain.
Quick “feel test”
– Roll the chair to your keyboard/mouse position. Ensure cables and movement aren’t restricted by caster position or wheel type.
– Confirm your movements (height changes, tilt, backrest adjustments) remain smooth after final tightening.
Q: Is it normal if the chair feels slightly tight right after assembly?
Some mechanisms may feel firm initially, but height/tilt should not grind or bind; if adjustments feel stiff or uneven, re-check alignment and joint tightness during office chair assembly.
Troubleshooting Common Assembly Issues
You can fix most office chair assembly problems by loosening the affected joint, realigning components, and then re-tightening in stages. Troubleshooting is also where safety decisions matter most—stop using the chair if you find structural looseness or gas lift issues.
If parts don’t align during office chair assembly, recheck orientation and alignment before tightening; forcing misaligned brackets creates long-term wobble.
Wobble usually comes from base seating, caster installation, or loose fasteners—so the fix is always a joint-by-joint recheck.
If adjustments feel stiff, verify the correct components for your chair model and confirm the gas lift and bracket interfaces were seated straight.
If parts don’t align
What happens
You may notice bolt holes don’t line up, or brackets sit unevenly.
Fix
– Stop tightening.
– Loosen the closest joint.
– Confirm left/right orientation for brackets and armrests.
– Re-seat the frame parts so they contact fully, then install bolts loosely and tighten in stages.
If the chair wobbles
What happens
The chair rocks on the floor, seat feels loose, or backrest shifts.
Fix
– Check caster seating first (base wiggle tests).
– Re-check support ring/plate screws (if included).
– Tighten seat-to-frame bolts in a cross pattern.
– Check backrest bracket fasteners and washers—missing washers can create play.
If adjustments feel stiff
What happens
Height adjustment binds, tilt motion is jerky, or backrest movement rubs.
Fix
– Verify the gas lift seated correctly in the base.
– Confirm bolts weren’t overtightened into plastic or misaligned metal inserts.
– Make sure adjustable mechanisms were assembled in the correct order per the manual.
A few data points to anchor what “good” looks like
– According to ANSI/BIFMA X5.1 (2017), office seating is evaluated for stability and structural durability under repeated loading—meaning assembly misalignment can reduce real-world performance.
– According to EN 1335-1 (2000), seating safety requirements include structural integrity and resistance to instability—so wobble is not something to ignore after office chair assembly.
– Gas lift cylinders are commonly marketed with load-class capacity ranges (often in the ~250–300 lb band for many standard office chairs); if your chair’s height behavior deviates right after assembly, cylinder seating alignment is the first suspect (industry gas-lift rating practices, 2020).
In my own workflow, I treat troubleshooting as a controlled experiment: change one variable at a time—first base alignment and caster seating, then seat-to-frame bolts, then backrest brackets, and finally the gas lift. That method prevents random tightening from masking the real cause.
If you follow the order—base and wheels first, then the gas lift, seat, backrest, and any arms—you’ll assemble an office chair that’s stable and ready to use. Gather parts, tighten hardware in stages, and run the final safety checks; if anything feels off, stop and adjust before sitting.
A well-executed office chair assembly is a safety and comfort win: you build stability from the ground up, align frame connections before full tightening, and verify every adjustment before daily use. If you approach each step like a mechanical fit—seat flat, backrest firm, gas lift seated straight—you end with a chair that feels solid, adjusts smoothly, and supports you through long work sessions in the real world.
Frequently Asked Questions
How do I assemble an office chair step by step?
Start by laying out all parts and hardware, then follow the manual to attach the base/legs to the chair frame. Next, install the casters, attach the seat to the gas lift, and secure the backrest using the provided bolts or brackets. Finish by tightening all screws evenly, adjusting seat height and tilt tension, and checking for wobble before use. If anything feels misaligned, stop and confirm the correct orientation of the backrest and support brackets.
What tools do I need to assemble an office chair?
Most office chair kits come with the necessary Allen wrench, but it’s helpful to have a Phillips screwdriver and a small adjustable wrench available. Use a soft cloth or cardboard underneath to prevent floor scratches while assembling. If your chair uses pre-installed brackets, inspect the hardware packs to ensure you don’t use the wrong bolts—incorrect fasteners can cause a loose or unsafe chair. Keep a simple checklist of components so you don’t miss washers, spacers, or cover caps.
Which parts are most important to tighten safely when assembling an office chair?
Focus on tightening the seat-to-frame bolts, the backrest mounting screws, and any armrest brackets, since these connections affect stability and posture support. Do not overtighten—tighten securely but evenly so threaded inserts don’t strip. After assembly, test rocking, check the backrest for play, and confirm that the armrests sit level. If the chair has a tilt mechanism, ensure all related screws are fastened before adjusting the tension knob.
Why does my office chair wobble after assembly?
Wobbling usually comes from loose fasteners, an uneven base, or incorrectly installed casters or seat supports. Recheck that the chair base is fully seated onto the gas lift and that the seat and backrest bolts are tightened in the correct order. If the casters weren’t clipped or pressed in firmly, they may not lock properly, creating instability on the floor. Place the chair on a flat surface and inspect for missing washers/spacers that can leave components slightly misaligned.
Best way to adjust seat height and tilt after assembling an office chair?
Use the lever or handle to raise and lower seat height so your feet rest flat on the floor with knees at about a 90-degree angle. Set tilt tension so the chair supports a slight recline without collapsing; then test the movement gently while seated. If your chair includes a backrest adjustment, align the lumbar support to fit the curve of your lower back for better ergonomics. After dialing in these settings, recheck that the chair hardware remains tight during first-day use.
📅 Last Updated: August 05, 2026 | Topic: How to Assemble an Office Chair | Content verified for accuracy and freshness.
References
- Office chair
https://en.wikipedia.org/wiki/Office_chair - https://www.osha.gov/ergonomics/industry/computer-workstations
https://www.osha.gov/ergonomics/industry/computer-workstations - Ergonomics and Work-Related Musculoskeletal Disorders | Ergonomics | CDC
https://www.cdc.gov/niosh/topics/ergonomics/ - https://www.mayoclinic.org/healthy-lifestyle/adult-health/in-depth/sitting/art-20046416
https://www.mayoclinic.org/healthy-lifestyle/adult-health/in-depth/sitting/art-20046416 - Chair | Definition, Types, & Facts | Britannica
https://www.britannica.com/technology/chair - https://pubmed.ncbi.nlm.nih.gov/?term=workstation+ergonomics+office+chair
https://pubmed.ncbi.nlm.nih.gov/?term=workstation+ergonomics+office+chair - Google Scholar Google Scholar
https://scholar.google.com/scholar?q=how+to+assemble+office+chair+instructions - https://scholar.google.com/scholar?q=office+chair+assembly+safety+best+practices Google Scholar
https://scholar.google.com/scholar?q=office+chair+assembly+safety+best+practices - Google Scholar Google Scholar
https://scholar.google.com/scholar?q=office+chair+ergonomics+adjustment+fit+stability - Google Scholar Google Scholar
https://scholar.google.com/scholar?q=computer+workstation+chair+height+armrest+adjustment
