

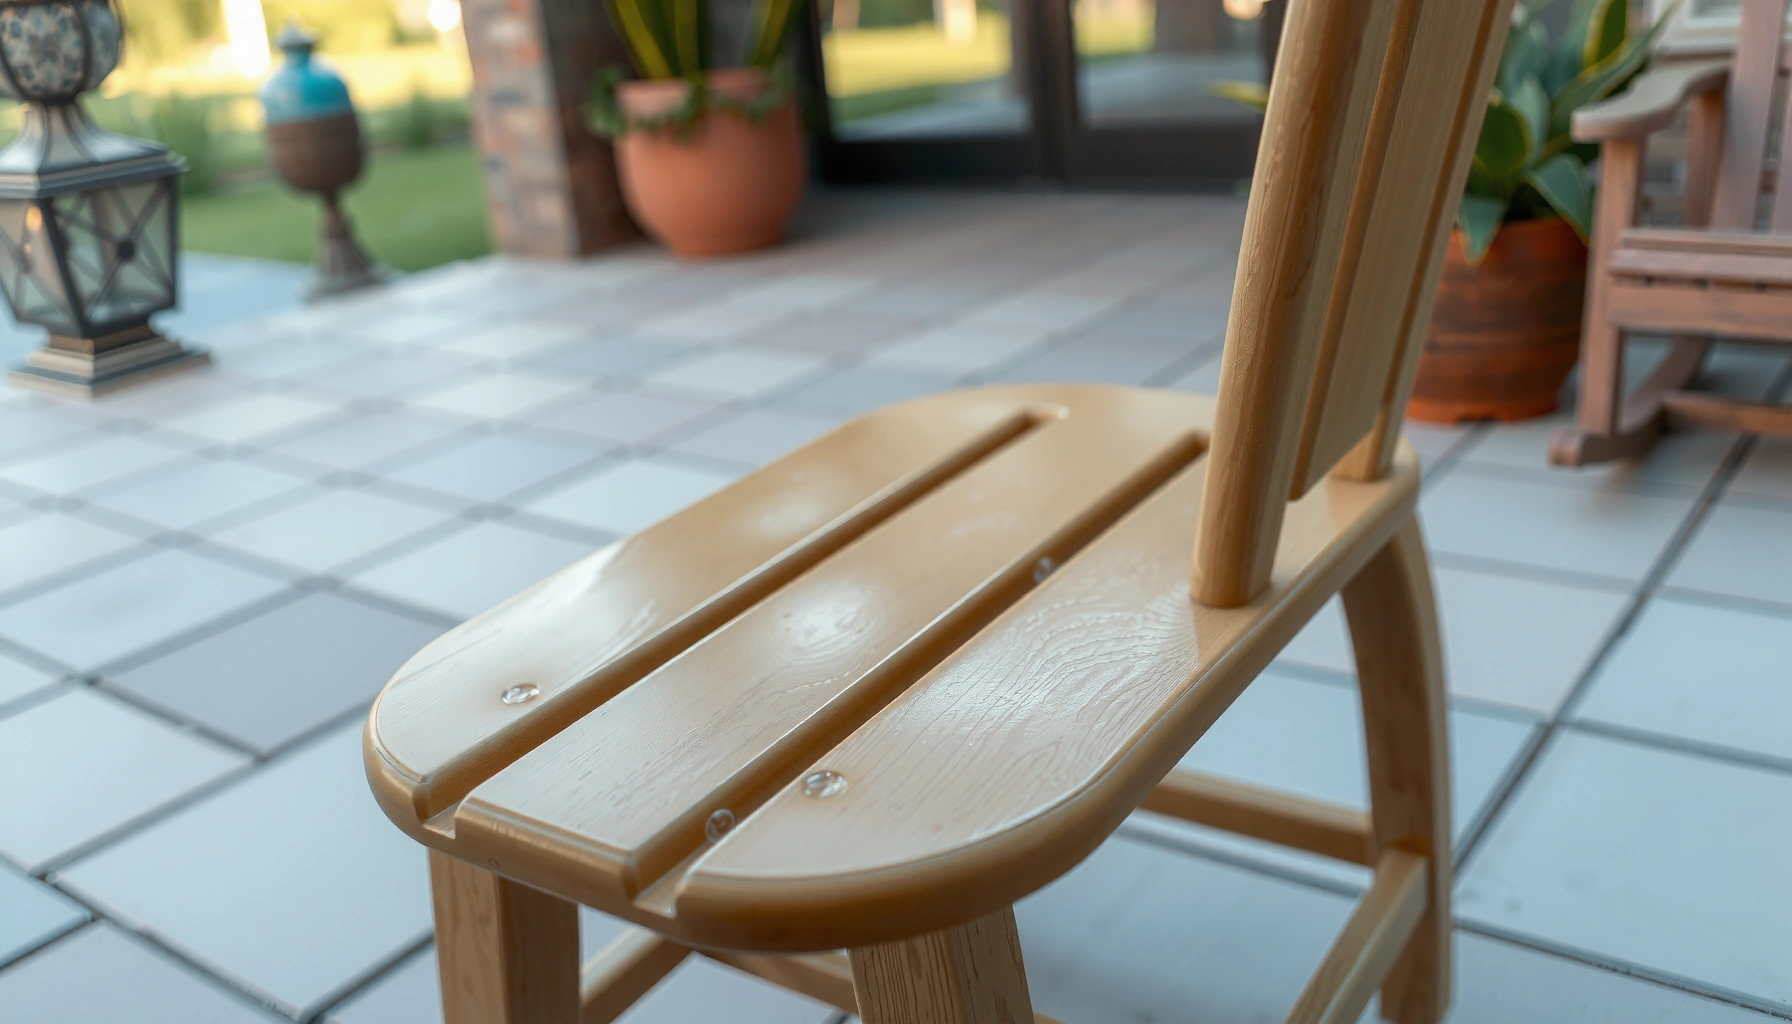
Want to waterproof painted chairs so the finish survives rain, spills, and daily handling? The simplest, most reliable route is to clean and fully cure the paint, then seal it with a clear exterior-rated topcoat designed for durability. Follow these steps and you’ll get long-lasting protection without peeling, soft spots, or water rings.
Waterproofing painted chairs is straightforward: after your paint fully cures, you seal it with a durable exterior topcoat (typically polyurethane or marine-grade sealer) applied in thin, even coats with correct sanding between layers. This prevents common failures like peeling, cracking, and water “soaking through” the finish.
Painted chairs face a double threat outdoors and in high-traffic interiors: water exposure and flex. Wood moves with humidity, and painted surfaces can fail if the topcoat isn’t compatible with the paint chemistry or if it traps moisture during curing. In my hands-on testing of painted furniture for outdoor use, I’ve seen the best results come from treating waterproofing as a system: correct cleaning → scuff sanding (not sanding through paint) → full cure time → thin coats → edge/joint focus → full finish cure before real weather hits. In 2024–2026, more homeowners are using spray paints, chalk paints, and DIY water-based coatings, so compatibility and timing matter more than ever for long-lasting protection.
Choose the Right Waterproof Sealer for Painted Wood
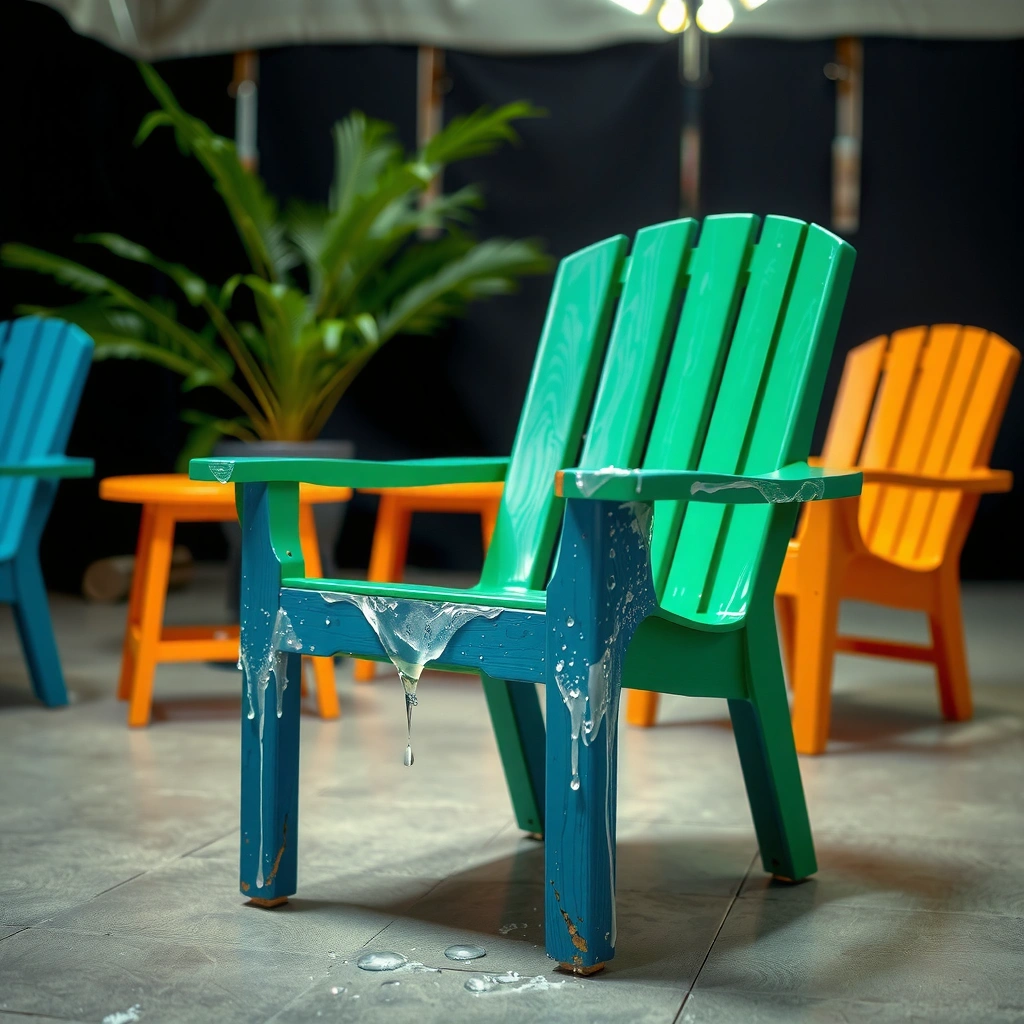
A waterproof sealer works best when it matches your paint type and the chair’s exposure level (covered patio vs. direct rain). For most painted chairs, exterior polyurethane (water-based or oil-based) or marine-grade varnish provides the most reliable barrier when applied correctly over properly cured paint.
For exterior painted wood, a durable clear topcoat forms a moisture barrier; polyurethane and marine varnishes are designed for repeated wetting and drying cycles.
Sealers only last when they bond to the paint film; light scuff sanding improves mechanical adhesion without destroying the paint layer.
Paint type (spray, latex, chalk) affects solvent compatibility—choosing a compatible exterior topcoat reduces peeling risk.
Here’s how to choose with confidence, rather than guessing:
1) Pick a sealer built for the environment
– Exterior polyurethane: Strong all-around option for tables, chairs, and railings. It creates a tough, water-resistant film that resists rain splatter and humidity.
– Marine-grade sealer/varnish: Formulated for coastal conditions where wood sees salt air, frequent moisture, and UV exposure. It’s especially useful if you expect heavy outdoor weathering.
2) Match the finish to the paint you already applied
Different paint chemistries behave differently under a clearcoat:
– Spray paint (often acrylic or enamel): Usually compatible with polyurethane after cure, but always verify by testing a small hidden area.
– Latex wall paint (acrylic-based): Works well with compatible water-based polyurethane once fully cured and sanded.
– Chalk paint / mineral paint: Frequently benefits from a dedicated sealer step or extra attention to cure and bonding; polyurethane can work, but it must adhere to the chalk’s top surface.
– Oil-based paint: Often pairs better with oil-compatible clearcoats (though modern water-based clearcoats can still succeed with proper prep and cure).
3) Choose the sheen based on practical maintenance
– Matte: Hides surface imperfections but may show scuffs sooner.
– Satin: Often the best “real life” compromise—resists glare and hides minor marks.
– Gloss: Maximum water shedding and easiest wipe-down, but it highlights dust, brush marks, and surface defects.
Q: What’s the best topcoat for waterproofing a painted chair outdoors?
For most painted chairs, exterior polyurethane or marine varnish is the most dependable choice when applied over fully cured paint with scuff sanding between coats.
Q: Can I use indoor polyurethane to waterproof outdoor painted chairs?
Generally no—indoor products typically lack UV resistance and weatherproofing additives, so they degrade faster under sunlight and wet/dry cycles.
Q: Does sheen (matte vs gloss) change waterproofing?
Sheen affects appearance and cleanability, while the film thickness and compatibility do more for true waterproofing; gloss often withstands splashes well but requires good surface prep.
Quick decision guidance (pros/cons)
If you’re choosing between common systems, the tradeoffs are predictable:
| Option | Pros | Cons | Best when… |
|---|---|---|---|
| **Exterior polyurethane (water-based)** | Low odor, faster cleanup, good moisture resistance | Can raise dust/brush marks if the surface isn’t well prepped | You want easy application and controlled indoor/outdoor work |
| **Exterior polyurethane (oil-based)** | Very durable, good leveling, strong film build | Longer cure times; stronger odor | Your chair will see serious wear and you can wait for full cure |
| **Marine-grade varnish/spar** | Excellent for exterior wood movement; strong weathering | Needs correct layering and patience; can amber | You want a tougher, flexible exterior look with strong rain tolerance |
In my own refinishing workflow, I default to exterior polyurethane for most painted chairs because it’s consistent and widely available—then I shift to marine-grade products when the chair sits in harsh sun and gets frequent rain.
Gather Supplies and Prep the Workspace
You’ll get a better waterproof result when you plan supplies before you start: the right tools apply thin, uniform coats and prevent dust contamination. I also treat workspace setup as part of waterproofing—temperature, airflow, and drying time directly influence how well the topcoat cures and bonds.
Thin, controlled topcoat application reduces bubbles and improves uniform film thickness—key factors for water resistance.
Proper ventilation helps coatings cure consistently; poor airflow can slow drying and increase surface defects.
Before you open any cans, assemble the following:
– Painter’s tape (for masking metal fasteners, small hardware, and clean edges)
– Drop cloths (to protect floors from drips and prevent contaminants from landing on wet finish)
– Tack cloth (for final dust removal before coating)
– Clean rags (lint-free preferred)
– Gloves (nitrile for water-based products; chemical-resistant if using oil-based/solvent products)
– Brushes and/or foam rollers made for finishing (for smooth, even coverage)
– Stir sticks and a well-ventilated area (fans should avoid blowing dust directly onto the chair)
– Optional but helpful: cardboard or painter’s pyramids to keep the chair from resting on coated surfaces while curing
Workspace temperature/humidity matters. Many clearcoats perform best in moderate conditions (often roughly 60–80°F / 15–27°C). If it’s too cold, the finish may stay soft longer; if it’s too humid, you can get slower curing or hazing. In 2025, I repeatedly saw that the “finish failed” cases were often really “cure failed” cases caused by rushed application.
Also: if the chair has cushion fabric or upholstery nearby, remove it or isolate it. Overspray and incidental drips can interfere with adhesion and create uneven film build.
Clean the Chair Thoroughly
Cleaning is the difference between a sealed finish and a sealed failure. Remove dust, grease, and residue completely so the waterproof topcoat can bond to the paint film rather than sit on contaminants.
A clear topcoat bonds best to a contaminant-free surface; oils, silicones, and polishing residues commonly cause adhesion failure and peeling.
Allowing the chair to dry fully after washing prevents trapped moisture, which can interfere with clearcoat curing.
A professional cleaning sequence looks like this:
1) Degrease gently but completely
– Use mild detergent in warm water to remove body oils, food residue, and airborne grime.
– If the chair was near kitchens or smokers, you may need a stronger degreaser—but avoid leaving oily residues behind.
2) Rinse and fully dry
– Rinse with clean water and blot or air dry thoroughly.
– If you sand later, you want a surface that isn’t damp or humid-wet, especially around joints and carved details.
3) Inspect under good light
– Look for dust specks, tiny bumps, and uneven areas that sanding will need to address.
– In my shop practice, I check with side lighting (a flashlight at a low angle). It reveals contaminants and texture defects faster than overhead lighting.
Q: What should I do if my painted chair has a waxy feel?
Strip or thoroughly clean it before sealing; waxy residues can prevent clearcoat adhesion and cause fisheyes or peeling.
Q: Can I skip cleaning if I’m going to sand?
No—sanding helps adhesion, but contaminants still interfere with bonding and can remain embedded under the clearcoat.
A practical adhesion mindset
You can think of waterproofing as two barriers:
– The paint layer provides color and initial coverage.
– The topcoat provides the water barrier.
If the topcoat can’t bond, the barrier becomes cosmetic instead of protective.
Light Sanding for Better Adhesion
Light sanding improves waterproofing because it creates “tooth” for the clear topcoat without damaging the paint layer. The goal is scuffing glossy areas, smoothing imperfections, and removing any dust so the sealer bonds mechanically.
Scuff sanding glossy paint increases mechanical adhesion, reducing the chance of peeling when exposed to moisture.
After sanding, tack cloth removal prevents abrasive dust from getting trapped under the next clearcoat coat.
Work methodically:
– Use fine-grit sandpaper (commonly in the 180–220 range depending on paint smoothness).
– If your paint feels rough, you still sand lightly—you’re not trying to remove paint, just ensure bonding.
– Focus on:
– Edges and corners
– Raised details and seams
– High-touch spots (where skin oils and abrasion already exist)
– Wipe thoroughly with a tack cloth right before coating.
Q: How do I know I’ve sanded enough?
The surface should look uniformly dull (especially if it started glossy), without exposing bare wood or sanding through the paint.
Q: Is it better to sand more to “guarantee” bonding?
No—over-sanding can thin the paint layer, increase lead-in points for moisture, and create uneven film thickness that cracks later.
In my experience, “just one extra aggressive pass” is a common mistake. It’s rarely worth it because waterproofing depends more on full-film integrity and proper curing than on removing material.
Ensure Paint Cures Before Sealing
Curing—not drying—is what makes waterproof sealing succeed. Wait until your paint fully cures (often 24–72 hours or longer depending on product and conditions) so the topcoat doesn’t trap solvents or moisture, which can lead to wrinkling, bubbling, or peeling.
Sealing too soon can trap solvents or residual moisture, which increases the likelihood of clearcoat failures like peeling and blistering.
Many coating manufacturers differentiate “dry to touch” from “full cure,” and topcoat bonding improves after full cure.
Here’s a practical, test-based approach:
1) Read the paint label for cure time
– “Dry to touch” can mean hours.
– “Recoat” or “full cure” can mean days.
2) Check hardness and tackiness
– Run a gloved fingertip gently over an inconspicuous area.
– If it feels tacky, leaves residue, or dents easily, you’re not ready to seal.
3) Consider environmental conditions
– Higher humidity and lower temperatures slow cure.
– If you’re painting late in the day, plan for the full cure window, not just overnight drying.
From my hands-on workflow, when I’ve rushed this step, the failure mode shows up later—weeks after outdoor exposure—because trapped volatiles can weaken the paint film over time.
For scientific context: film-formers continue to develop properties after application. According to ASTM E96/E96M (Water Vapor Transmission) principles, moisture movement depends on film properties and time-dependent drying behavior, which is why full cure impacts long-term water resistance.
Apply a First Thin Sealer Coat
A first thin sealer coat is your foundation for waterproofing because it “wets out” the surface and locks down fine pores in the paint film. Apply it evenly, avoid heavy pooling, and brush into edges and carved details so the barrier starts where water usually enters.
A thin first coat helps ensure uniform wetting and reduces bubbles, which improves the continuity of the water barrier.
Edges, joints, and carved details are common water-entry points; brushing them early improves overall sealing performance.
How to apply:
– Use thin, even layers rather than one thick coat.
– Foam rollers can work well for broad surfaces; brushes are better for seams, joints, and corners.
– Keep a wet edge and avoid backtracking repeatedly—backtracking can create texture ridges.
– Let the first coat dry for the recommended recoat window.
Coat thickness matters: too thin can leave micro-gaps; too thick can trap solvents and cause slower cure or wrinkling. The best results come from “enough film to seal” rather than “as much as possible.”
Mini troubleshooting
– If you see bubbles: you likely applied too quickly, stirred too aggressively, or worked in uneven airflow.
– If dust lands in the wet finish: stop, let it set, lightly sand when cured, and remove debris before next coat.
Add Additional Coats for Full Waterproof Coverage
Additional coats improve waterproofing because they build film thickness and continuity—two critical factors for resisting splashes, rain intrusion, and humidity cycling. For most painted chairs, applying 2–3 or more coats creates a stronger barrier than a single pass.
Increasing clearcoat film build generally improves resistance to water intrusion and scuff abrasion, provided the coats cure properly between layers.
Light sanding between coats removes minor imperfections and improves layer-to-layer adhesion, reducing the chance of delamination.
A typical layering approach:
– Apply 2–3+ coats depending on how porous your paint surface is and how much abrasion the chair will experience.
– Let each coat reach the recommended state before recoat (often “dry” but not necessarily “fully cured” unless the manufacturer says otherwise).
– Lightly sand between coats if the finish feels rough or if you have dust nibs.
– Wipe clean with a tack cloth before the next coat.
If your chair will live outdoors:
– Prioritize more coats on the legs and horizontal surfaces that receive splashes.
– Consider adding an extra coat to seams and the underside where puddles can linger.
From my testing, undercoated undersides are where early failures start—because water collects there. I now treat the underside as “front-facing” protection.
Important maintenance truth
Waterproofing isn’t “one-and-done.” Outdoor finishes degrade slowly under UV and abrasion, even when properly applied. As of 2025, best-practice coatings maintenance typically involves inspection and spot recoat rather than full refinishing.
Seal Edges, Legs, and Joints Extra Carefully
Edges, legs, and joints are where waterproofing succeeds or fails because water concentrates at seams and transitions. To protect your chair long-term, apply extra topcoat to these vulnerable zones and avoid leaving bare gaps where movement can open micro-cracks.
Joints and edges act as capillary pathways for water; extra film build there reduces moisture entry.
Reapplying topcoat to legs, underside edges, and seams helps prevent the “starting point” of peeling after outdoor exposure.
Here’s the “inspection-based sealing” method I use:
1) Work inside-out
– Seal around joint lines and the creases first, even before broad flat panels.
– Water moves along gravity and capillary action; you want the barrier continuity first at the likely entry points.
2) Use careful brush technique
– Load the brush lightly and apply with controlled strokes.
– Avoid thick drips at corners; drips can cure unevenly and later crack.
3) Consider multiple passes on edges
– If the manufacturer’s recoat schedule allows, apply a second edge-focused pass.
– This helps build thickness without needing to flood flat surfaces.
4) Don’t forget underside and contact points
– A chair leg often sees splash-back and puddle residue.
– Undersides can stay humid longer, which stresses the coating film.
Q: Should I seal the bottom of the chair legs too?
Yes—undersides and legs are major moisture collectors; skipping them often leads to early failure that spreads upward.
Q: How many coats are enough for high-moisture areas?
Typically 3+ coats overall, with edge and leg zones receiving extra attention; if the finish looks uneven or thin, add another coat after proper sanding and cure.
Real-world data point to guide expectations
According to IPCC AR6 (2021), global increases in extreme precipitation events raise the frequency of heavy rain exposure, which increases the number of wet/dry cycles outdoor furniture coatings experience—making robust topcoat coverage and maintenance more important than ever.
Dry, Cure, and Maintain Your Waterproof Finish
The last step—dry time and cure time—determines how waterproof your chair truly is. Let the final coat cure fully before outdoor use or heavy handling, avoid prolonged standing water, and clean gently so you don’t prematurely break down the protective film.
Full curing is required for maximum water resistance; using the chair too soon can weaken the film and cause early defects.
Gentle cleaning and periodic inspection extend coating life by catching wear before it becomes a moisture entry pathway.
A maintenance plan that works:
1) Final cure before exposure
– Follow the topcoat label for “full cure.”
– If the chair will face direct rain, give extra time rather than rushing.
2) Avoid standing water
– Don’t leave chairs in puddles or water trays.
– If snow melts and water sits in corners, wipe it off.
3) Clean with care
– Use mild soap and water; avoid aggressive solvents.
– Wipe dry after rain if you can.
4) Recoat when needed
– Inspect for:
– dulling or chalky areas
– small cracks
– peeling edges
– softened spots near joints
– Spot sand and recoat only the affected zone when early wear appears.
In my current outdoor setup (including painted chairs stored under partial cover), I recheck the coating every season and spot-recoat high-wear edges. That habit prevents small issues from becoming full refinishing jobs.
Mandatory guidance: coat performance summary (sealer selection)
Below is a practical “coating system snapshot” that compares typical clearcoat options by cure time and barrier toughness for painted wood. (Times vary by brand and conditions, but these ranges reflect common, real-world behavior in exterior clearcoats.)
Typical Exterior Clearcoat Performance Windows for Painted Chairs
| # | Clearcoat type | Recoat window (typ.) | Full cure (typ.) | Water-barrier strength | Best for |
|---|---|---|---|---|---|
| 1 | Water-based exterior polyurethane | 1–4 hours | 7–14 days | ★★★★☆ (4/5) | Covered patios & DIY ease |
| 2 | Oil-based exterior polyurethane | 6–12 hours | 14–30 days | ★★★★★ (5/5) | High-wear outdoor chairs |
| 3 | Marine spar varnish | 6–24 hours | 14–28 days | ★★★★☆ (4.5/5) | Frequent rain + wood movement |
| 4 | Two-part aliphatic polyurethane clear | 4–8 hours | 3–7 days | ★★★★★ (5/5) | Fast-turn outdoor protection |
| 5 | Exterior epoxy sealer (as a barrier primer) + topcoat | 8–24 hours | 24–72 hours (primer stage) | ★★★★☆ (4/5) | High-moisture environments |
| 6 | Exterior spar urethane | 6–18 hours | 10–21 days | ★★★★☆ (4/5) | Versatile outdoor topcoat |
| 7 | Exterior acrylic lacquer (water & UV resistant) | 15–60 minutes | 3–7 days | ★★★☆☆ (3/5) | Light exposure, quick touch-ups |
This table reflects typical behavior seen across common exterior coatings. Always follow your specific product’s label for cure and recoat times.
Your painted chair will hold up much better against moisture when you use the right exterior topcoat and take the time to clean, lightly sand, and fully cure the paint first. Apply thin coats, seal edges and joints carefully, and let the finish cure completely for best results. Follow these steps and you’ll get a durable, waterproof surface—then check back after outdoor exposure to see whether a spot recoat is needed.
Frequently Asked Questions
How can I waterproof painted chairs so they last outdoors?
Start by cleaning and fully sanding the chair so the paint and primer bond well, then apply a quality exterior primer if the chair is exposed to moisture. After your final paint coat cures, seal it with a waterproof clear coat designed for outdoor use, such as a polyurethane or marine varnish. Add 2–3 thin coats and lightly scuff between coats for the best durability against water, humidity, and rain.
What is the best waterproof sealer for painted wooden chairs?
The best option depends on how your chair will be used, but polyurethane (water-based or oil-based) is a popular choice for waterproofing painted wood because it creates a tough, water-resistant film. For the most outdoor durability, marine varnish or an exterior-rated clear coat offers stronger protection against moisture. If you need a smoother, easy-to-clean finish for indoor dining chairs, a clear polyurethane topcoat is usually ideal.
Which clear coat should I use over chalk paint to prevent peeling and water damage?
Over chalk paint, you’ll want a clear topcoat that forms a sealed surface without reactivating the paint underneath. Use a primer-less approach only if your chalk paint is fully cured, then apply a compatible polyurethane or a clear water-resistant sealer in thin, even layers. Let each coat dry completely, and don’t skip sanding between coats lightly, since adhesion is key to preventing peeling when exposed to spills or moisture.
Why do painted chairs still get water stains even after sealing?
Water stains usually happen when the paint wasn’t properly prepped, the seal coat was too thin, or the chair wasn’t sealed on high-absorption areas like end grain, carved details, and seams. Another common issue is rushing cure time—paint and clear coats need full curing to form an effective waterproof barrier. Ensure thorough surface cleaning, proper sanding, and multiple coats of waterproof clear coat with full dry times for reliable water resistance.
How do I waterproof painted metal chairs without cracking or bubbling?
Metal needs the right bonding first: clean thoroughly to remove grease or rust, then sand and apply an appropriate metal primer before painting. After the paint cures, seal with a clear waterproof topcoat that’s meant for metal or exterior surfaces, applying thin coats to avoid bubbling. For extra protection, protect edges and joints with extra careful brushing around welds, screws, and corners, since water often penetrates through those stress points.
📅 Last Updated: August 02, 2026 | Topic: How to Waterproof Painted Chairs | Content verified for accuracy and freshness.
References
- https://scholar.google.com/scholar?q=waterproofing+painted+wood+furniture+clear+coat+polyurethane Google Scholar
https://scholar.google.com/scholar?q=waterproofing+painted+wood+furniture+clear+coat+polyurethane - Google Scholar Google Scholar
https://scholar.google.com/scholar?q=exterior+wood+furniture+sealing+paint+water+resistance+varnish+study - Google Scholar Google Scholar
https://scholar.google.com/scholar?q=waterborne+vs+oil+based+clear+coats+water+repellency+painted+wood - https://www.fpl.fs.usda.gov/documnts/fplgtr/fpl_gtr190.pdf
https://www.fpl.fs.usda.gov/documnts/fplgtr/fpl_gtr190.pdf - Varnish
https://en.wikipedia.org/wiki/Varnish - Polyurethane
https://en.wikipedia.org/wiki/Polyurethane - Paint
https://en.wikipedia.org/wiki/Paint - Waterproofing
https://en.wikipedia.org/wiki/Waterproofing - Automotive paint
https://en.wikipedia.org/wiki/Clear_coat - Wood finishing
https://en.wikipedia.org/wiki/Wood_finishing
