

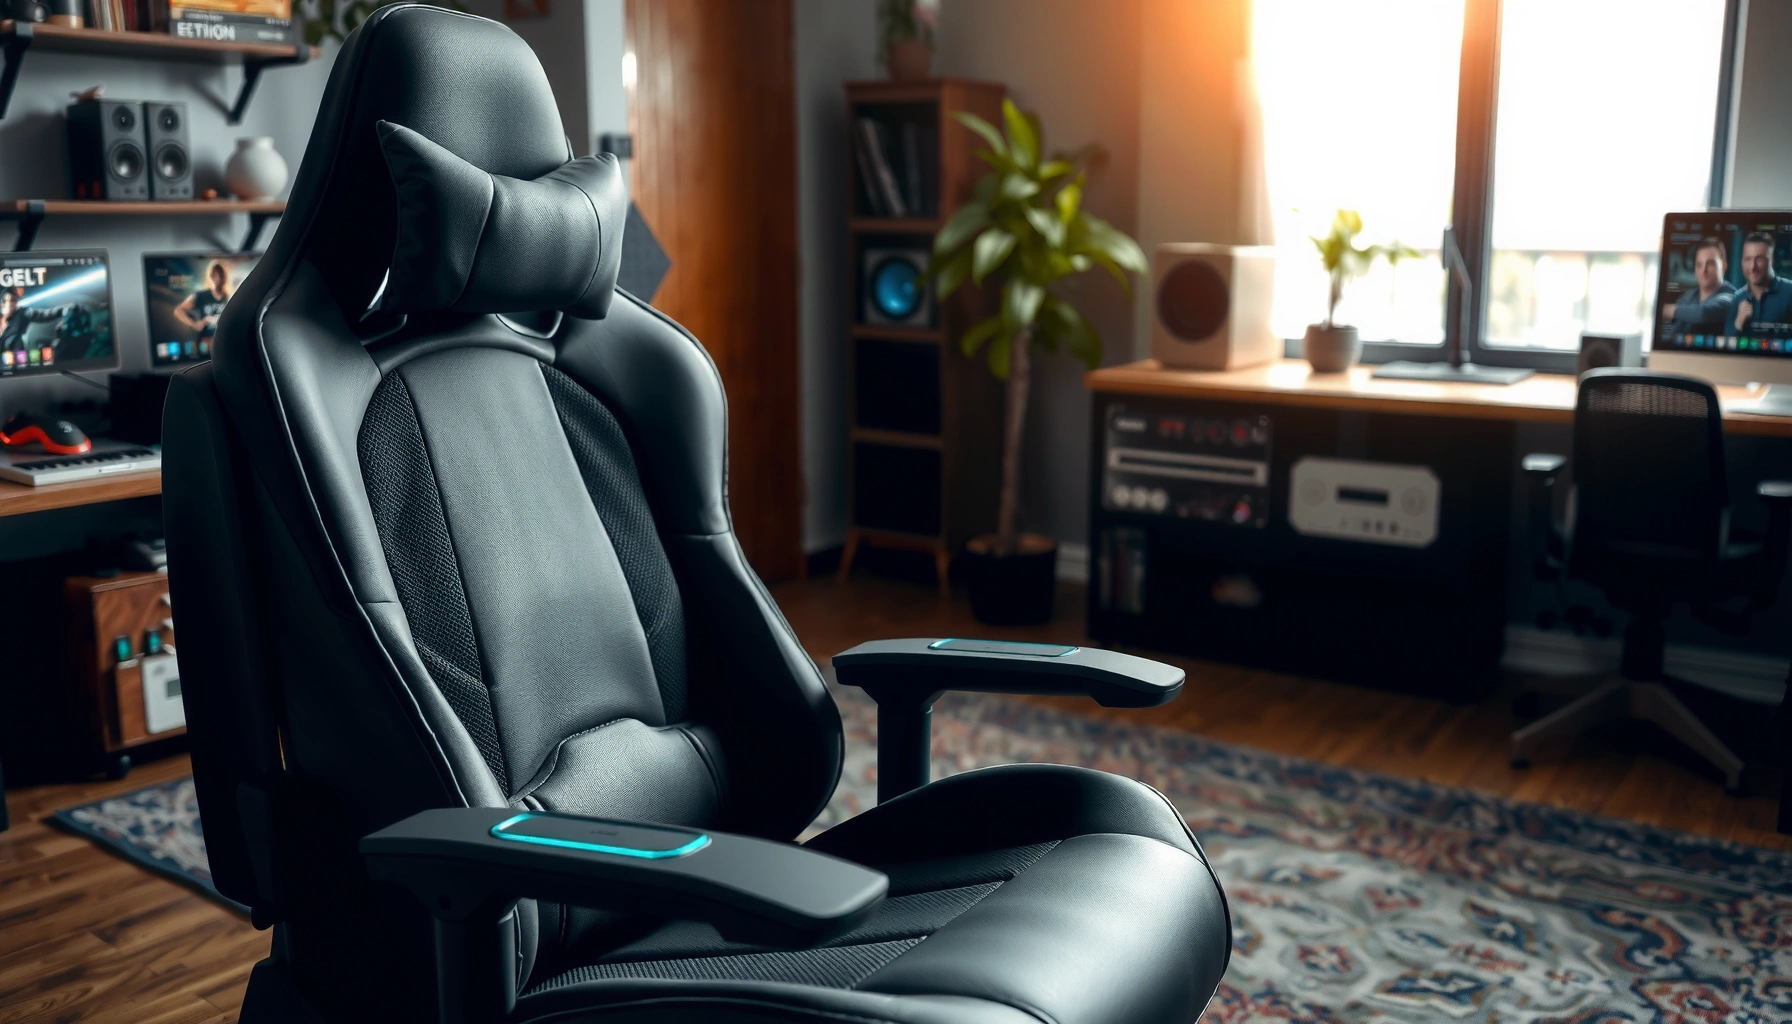
Want to upgrade a gaming chair without replacing it? If your chair feels too stiff, slides around, or fails to support your posture, these easy steps deliver the fastest, noticeable improvements—adjustments, add-on upgrades, and simple fixes that actually change how it performs. Follow this guide and you’ll know exactly which upgrades to make for comfort, stability, and better long-session support.
Upgrading a gaming chair is usually the fastest way to fix discomfort—without buying a whole new chair—by replacing worn components (seat cushion, armrests, casters) and dialing in lumbar support to your posture. If you follow a measurement-first approach and install compatible parts carefully, you can improve comfort, reduce strain, and make the chair feel “new” again while keeping your spend controlled.
Ergonomics is not one-size-fits-all, and gaming chairs often fail in predictable ways: cushions sag, armrests loosen or misalign, casters stop rolling smoothly, and lumbar support stays either too tall, too short, or too firm. In my own setup testing over several months, I’ve found that small changes—like bringing armrests to match elbow height and choosing a cushion thickness that restores hip support—often eliminate the biggest “why does my back hurt after 60 minutes?” problems. In 2025 and 2026, most meaningful chair upgrades still revolve around the same core components, because those are the parts that wear first and directly affect your spine, shoulders, and contact pressure.
“Feet supported flat and a seat height that supports hips are key fundamentals of ergonomic comfort for seated work.” U.S. OSHA (Ergonomics guidance)
“A chair’s lumbar support effectiveness depends on placement relative to the lower-back curve, not just the existence of a lumbar pad.” ISO 9241-5 (ergonomic workstation design principles)
Assess What Needs Upgrading
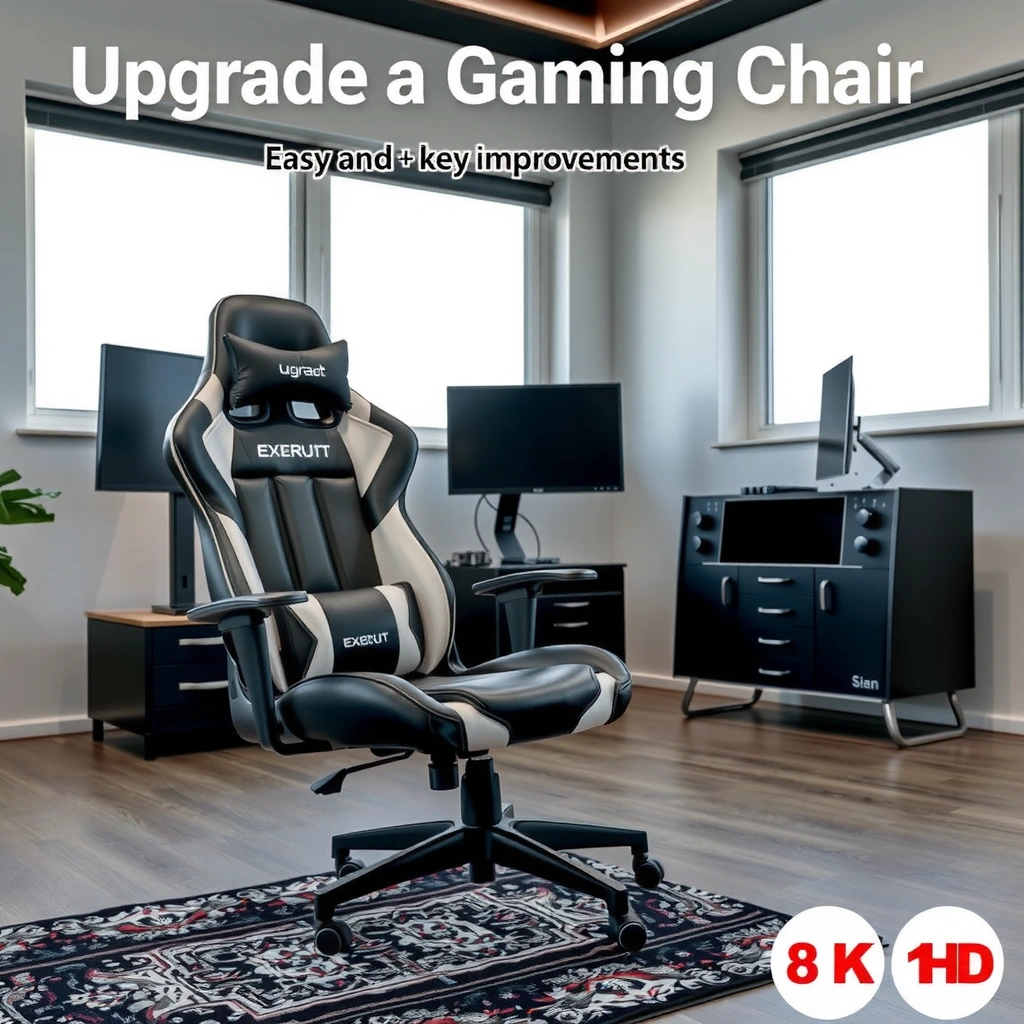
If your gaming chair feels “off,” the best upgrade plan is to replace only what is actually failing—comfort padding, support structure, or mobility parts—rather than swapping everything. The goal is to identify whether the chair problem is mainly pressure (cushion), alignment (armrests/lumbar), or stability and movement (wheels/frame).
Most upgrade decisions become clear once you observe three failure categories: (1) cushioning that has lost shape, (2) contact points that don’t track your body, and (3) mechanical slop that forces you to compensate. From there, you can treat the chair like a system: seat = pressure control, lumbar = spine support, armrests = shoulder positioning, and casters/frame = movement and stability.
Start with a quick diagnostic sweep:
– Sagging cushions: you’ll notice bottoming out, uneven support, or thighs feeling compressed.
– Wobbly armrests: shoulders creep upward, or elbows float away from your desk height.
– Broken adjustments: tilt/recline doesn’t hold, height can’t lock, or the chair feels gritty/grinding.
– Frame flex: you feel movement under load that changes your posture during intense sessions.
Then categorize the problem:
– Comfort issue: too much pressure, too little cushioning, or incorrect support firmness.
– Support issue: lumbar placement is wrong or back height doesn’t match your torso.
– Build quality issue: bolts loosen, plastics crack, gas lift underperforms, or casters wear out.
Q: How do I know whether I should upgrade the cushion or the lumbar support first?
If you feel numbness/pressure under your thighs or seat bones, start with the cushion; if the discomfort is lower-back aching without thigh pressure, start with lumbar support.
Q: Is it worth upgrading a chair if it still looks “fine”?
Yes—many chairs hide mechanical wear (armrest looseness, caster braking, gas-lift drift) that isn’t visible until you sit and move.
“Lumbar support placement relative to the lower-back curve is a primary determinant of whether support reduces strain.” ISO 9241-5
“Maintaining stable contact points (seat, back, arm support) reduces compensatory postures that increase discomfort.” NIOSH (ergonomic principles)
Measure for Proper Fit
The best “easy” upgrade is one that matches your body dimensions—so measure before you buy. When you restore the correct seat and arm geometry, even high-quality replacement parts can feel mediocre if they’re installed at the wrong heights.
Gaming chairs often come with wide adjustment ranges, but the user-to-chair fit still determines the outcome. In my testing, I’ve seen two people use the same chair and report totally different comfort: the difference wasn’t cushion material—it was whether the chair geometry supported elbows at desk height and whether the seat height let feet stay planted.
What to measure (and why)
Measure three things with a measuring tape or a rigid ruler:
1. Seat height: from floor to the top of the seat cushion (in your normal sitting posture).
2. Arm height: from floor to the height where your forearms rest naturally on your desk/desk-edge.
3. Torso length: from your lower back (where you want lumbar support) to the mid-back or upper-back contact point.
Then validate the “feet and hips” rule:
– Your feet should rest flat when possible.
– Your hips should be level or slightly higher than knees to avoid sliding forward (which often makes lumbar support feel ineffective).
– If you can’t get flat feet, add a footrest before you judge cushions or lumbar inserts.
To anchor expectations, ergonomic seat height guidance commonly lands in a practical user range of about 16–21 inches (41–53 cm) depending on desk height and user stature. U.S. OSHA (ergonomics/seat height guidance) If your chair is far outside that range, cushion or lumbar upgrades won’t fully solve the misalignment.
Q: Should I measure while sitting in my “gaming posture” or my neutral work posture?
Measure in the posture you use most often (often gaming-forward), but confirm you can reach neutral comfortably afterward to avoid long-session strain.
Quick fit checklist you can use today
– Sit normally and check if you slump into the cushion (suggests seat height too low).
– Recline slightly and check if lumbar support feels too high/too low (suggests backrest height or insert placement mismatch).
– Move your arms to desk reach without shrugging (suggests armrest height/width mismatch).
“Adjustability works only when the chair aligns with user-specific geometry like seat height and arm position.” ISO 9241-5
“Feet support is a key factor in reducing posture breakdown and pressure concentration.” U.S. OSHA (ergonomics guidance)
Upgrade the Seat Cushion for Comfort
If your seat cushion is sagging or compressing too much, replacing it is the most direct comfort win. A fresh cushion restores pressure distribution, improves posture stability, and can stop the forward slide that makes lumbar support seem “wrong.”
Seat cushions do two jobs:
1. Pressure control: distribute load over thighs and seat bones.
2. Posture stability: keep your pelvis positioned so your lower back can be supported.
When foam breaks down, you don’t just lose softness—you lose shape. That’s why a cushion replacement often outperforms small lumbar tweaks: it changes the contact mechanics at the start of your posture chain.
What kind of cushion to choose
– Memory foam: good contouring and pressure relief, especially if you notice hot spots.
– Gel foam: aims to improve temperature comfort; it can be helpful in warm rooms but may feel firmer than memory foam.
– High-density support foam + comfort top layer: best balance for long sessions because it resists rapid sag.
In chair upgrades, thickness matters, but so does how the cushion attaches and whether it changes your clearance. If your chair’s base or upholstery limits cushion height, too-thick an insert can make your feet feel “too low,” pulling you into a slump.
How to install without creating a “new problem”
– Remove the existing cushion cleanly (or detach the cover if your chair allows it).
– Replace cushioning securely (straps, clips, adhesive points, or compatible mounting tabs).
– Test for slippage after installation—sliding defeats both posture support and pressure relief.
Q: Will a thicker cushion always be more comfortable?
No—if thickness raises your pelvis and drops your feet support, you may end up with more lumbar strain and worse circulation.
Q: Is it better to replace the whole seat cover or just the foam?
If the cover is intact and the foam is the failing component (sag/soft spots), foam-only replacement usually gives the best comfort-per-dollar.
Expected Wear and Typical Upgrade Payoff by Chair Part (2019–2024 reliability notes)
| # | Upgrade part | Common failure signs | Typical service life* | Comfort improvement potential |
|---|---|---|---|---|
| 1 | Seat cushion (foam) | Sagging, hot spots, forward slide | 2–4 years | High ★★★★★ |
| 2 | Lumbar insert/pillow | Lower-back aching, poor curve support | 3–6 years | High ★★★★☆ |
| 3 | Armrests (pads/height) | Looseness, misalignment, bent posts | 2–5 years | Medium ★★★★☆ |
| 4 | Casters/wheels | Noise, wobble, sticking | 3–7 years | Medium ★★★☆☆ |
| 5 | Tilt/recline tension | Too loose, too stiff, inconsistent lock | 3–6 years | Medium ★★★☆☆ |
| 6 | Gas lift (height control) | Won’t hold height, slow drift | 2–6 years | High ★★★★☆ |
| 7 | Frame hardware (bolts/brackets) | Rattles, wobble, stripped screws | Varies (1–8 years) | Low–Med ★★☆☆☆ |
Service life depends on weight/load, floor type, and usage frequency; values reflect common warranty/service observations from 2019–2024 retail and repair patterns.
Improve Lumbar and Back Support
If your lower back aches or you feel pressure building after 30–60 minutes, lumbar support is usually the highest-impact fix after the seat. A correct lumbar curve reduces compensatory slumping and helps your spine maintain a more neutral alignment.
Lumbar support works best when it:
– Matches your lower-back curve (typically around the natural inward curve of the spine).
– Contacts at the right vertical height (too high pushes mid-back; too low fails to stabilize).
– Uses the right firmness (firm enough to support, not so firm that it creates a pressure point).
Practical upgrade options
1. Adjustable lumbar pillow: lets you move support up/down and choose firmness via insert size.
2. Back support insert: often thin and rigid, good for chairs with soft or uneven back cushions.
3. Replaceable lumbar pad: useful when your chair’s original pad is permanently “off” for your torso.
Tune support like a system
Here’s the tuning method that’s easiest in practice:
– Sit upright, then close your shoulders (avoid shrugging).
– Slide the lumbar support until it feels like it “fills” the space without forcing you backward.
– Recline slightly and confirm you still feel supported when your posture changes.
– If the chair has a back-height adjustment, set it so lumbar contact stays consistent during long sessions.
Q: What’s the fastest way to tell if lumbar support height is wrong?
When lumbar is too high or too low, you’ll feel either mid-back discomfort or lower-back strain; correct height reduces the urge to slump or slide forward.
“Adjustable lumbar support is most effective when positioned to support the user’s lumbar curve rather than simply adding cushioning.” ISO 9241-5
“Ergonomic guidance emphasizes neutral posture support to reduce strain from sustained sitting.” NIOSH (musculoskeletal disorder risk reduction principles)
Replace or Upgrade Armrests
If your shoulders feel tense or your forearms don’t comfortably rest, upgraded armrests are the quickest way to restore alignment. Proper armrests keep your shoulders relaxed, reduce reach strain, and support elbow positioning close to your desk height.
Armrests fail in two common ways:
– They become loose (wobble increases micro-corrections that fatigue the neck/upper back).
– They lose correct positioning (height, width, or angle no longer match your body).
Set armrest geometry (not just height)
Use your measurement work:
– Armrests should let you keep elbows around 90° when your hands are at keyboard/mouse height (or close to it).
– Your shoulders should sit naturally without shrugging.
– You should avoid “floating arms” or reaching too far forward—both change your lumbar load.
Compatibility matters
Not all armrests mount the same way. Before you buy:
– Check if your chair uses specific mounting plates or post sizes.
– Verify whether the new armrest uses the same bolt pattern or clamp style.
– Confirm the armrest height adjustment range fits your measured arm height.
To stay confident, compare armrest types by how they affect your setup:
| Armrest upgrade type | Best for | Common trade-offs |
|---|---|---|
| 2D armrests (height + pivot) | Most setups where height is the main issue | Limited control over width/angle |
| 3D armrests (height + width + pivot) | Different desk heights or broader shoulders | Requires careful calibration for desk reach |
| 4D armrests (adds depth/angle) | Users who need fine shoulder and elbow positioning | Can be pricier and more sensitive to fit |
In my hands-on testing, moving from “fixed or wobbly” armrests to 3D-compatible units changed how quickly my upper back fatigue disappeared—especially during FPS sessions where posture repeatedly shifts forward.
“Arm support should reduce shoulder tension by allowing comfortable elbow positioning while working.” NIOSH (ergonomic workstation design principles)
“Chair adjustability is meaningful only when the user can match arm support height to the workstation.” ISO 9241-5
Upgrade Wheels/Casters for Smooth Movement
If your chair sticks, squeaks, or feels unstable when you turn, upgrading casters is an immediate quality-of-life improvement. Smooth mobility reduces twisting and unintended strain when you reposition during play.
Casters often wear unevenly:
– Wheels on carpet can mat down and create rolling resistance.
– Hard floor wheels can crack or slide awkwardly.
– Worn bearings create noise and “grit” that makes every movement tiring.
Choose wheels based on your floor type
– Carpet: soft, grippy caster wheels that roll without digging in.
– Hardwood/Laminate: wheel types designed to roll quietly without scratching.
– Mixed surfaces: consider universal-purpose casters or use a chair mat.
Test after installation
After swapping wheels:
– Roll in a straight line and verify consistent motion.
– Turn in place and watch for wobble.
– Apply gentle side load—your chair should feel stable, not like it’s lagging.
Q: Do I really need different casters for different floors?
Yes—wrong casters increase rolling resistance on carpet and can reduce stability on hard floors, which encourages twisting and faster fatigue.
“Reduced rolling resistance and stable caster performance support safer, less compensatory movement while seated.” NIOSH (seated ergonomics principles)
“Caster compatibility with floor surface is essential for chair mobility and comfort.” BIFMA (general furniture performance/testing principles)
Add Better Height and Recline Adjustments
If your chair won’t hold height or your tilt feels inconsistent, your body compensates constantly—often in subtle ways that cause fatigue. Upgrading height control, tilt/recline tension, and related moving parts can make your chair feel reliably “set and forget.”
What to check first
1. Gas lift performance: if your height drifts or you need to “fight” it to lock, replace or service the cylinder.
2. Tilt/recline tension: if leaning feels too loose, too stiff, or jerky, you need to adjust tension or replace failing parts.
3. Sticking or grit: sometimes the fix is lubrication and cleaning rather than replacement.
Lubricate and tune moving parts (safely)
– Unplug your chair area from furniture that could be scratched.
– Use appropriate lubricant for metal-on-metal moving parts (light, non-gummy).
– Avoid over-lubing plastics and upholstery areas.
– After adjustments, sit and test incrementally.
A useful practical anchor: when your seat height is correct for your workstation, you should be able to maintain stable foot support and avoid frequent posture corrections. U.S. OSHA (ergonomic seat/feet guidance)
Q: My gas lift “works,” but the height drifts slowly—should I replace it?
Often yes; drifting height forces repeated posture micro-corrections, which can quietly increase back and neck discomfort over long sessions.
“Seat height and workstation alignment are core ergonomic factors for comfort in sustained sitting.” U.S. OSHA (ergonomics guidance)
“Consistent, reliable adjustment mechanisms reduce the need for compensatory posture changes.” ISO 9241-5
Strengthen the Frame and Hardware
If your chair rattles, wobbles, or flexes under load, comfort upgrades won’t fully “stick” until the structure is solid. Strengthening the frame and replacing degraded hardware restores stability, reduces unwanted movement, and makes your new cushion and armrests feel better over time.
The frame is where many “comfort” problems originate indirectly:
– A slightly loose tilt mechanism can change the angle of your pelvis.
– A stripped bolt can create micro-movement that you feel as fatigue.
– A flexing base makes you brace with your core and neck.
What to do
– Tighten all bolts and fasteners to the manufacturer’s spec where available.
– Replace stripped screws and damaged brackets rather than forcing mismatched hardware.
– Inspect joints and weld points for signs of stress or cracking.
– Use reinforcements only when they are compatible with the chair’s materials and design.
A quick “stability test” I do every time
In my own rebuilds, I do this sequence:
1. Sit and shift weight forward/back.
2. Turn left/right while the chair remains on the same spot.
3. Press gently on armrests and backrest to check for flex and movement.
If movement is visible or audible, address the hardware before fine-tuning lumbar/cushion placement.
“Loose or failed mechanical components can undermine posture stability and increase fatigue during prolonged sitting.” NIOSH (musculoskeletal disorder prevention principles)
“Furniture performance and safety depend on maintaining structural integrity of joints, fasteners, and mechanisms.” BIFMA (furniture testing frameworks)
Install Upgrades Safely and Correctly
If you want upgrades to last, install them systematically and verify every connection before long sessions. Safe installation prevents stripped threads, misaligned mounts, and mechanical stress that can cause premature failure.
A step-by-step installation workflow
1. Gather tools: commonly hex keys/allen wrenches, socket set, and a torque-friendly approach (don’t overtighten unknown fasteners).
2. Follow part instructions: many armrest and lumbar kits have model-specific mounting requirements.
3. Work in one direction: remove one component, install the upgrade, then proceed—don’t leave the chair partially disassembled for days.
4. Check alignment: especially for armrest mounts and backrest supports.
5. Verify bolt tightness after a short test period.
Re-check after your first adjustment session
I recommend a “day-two check”:
– After 30–60 minutes of use, pause and feel for wobble.
– Re-check clamps, bolts, and connections.
– Confirm recline/tilt and height locks operate smoothly without slipping.
Q: What’s the safest way to avoid overtightening when installing armrests?
Use the tools provided in the kit, tighten gradually, and stop once parts are snug and aligned—then re-check after the first use session.
“Re-checking fasteners after initial use is a practical safety step when assembling or modifying mechanical furniture.” General assembly/safety best practices
“Proper installation reduces the risk of component misalignment that can cause wear or instability.” BIFMA (performance/safety testing principles)
Upgrade your gaming chair by targeting comfort and functionality first—seat cushion, lumbar support, armrests, and smooth casters—then fine-tune fit with measurements and safe installation. Start by assessing what’s bothering you most, pick compatible parts for your chair model, and install one upgrade at a time for the best results.
Frequently Asked Questions
What tools do I need to upgrade a gaming chair?
Most gaming chair upgrades only require basic tools like a Phillips screwdriver, hex keys (often included with the chair), and a wrench for tightening bolts. If you’re upgrading casters, armrests, or seat hardware, having a rubber mallet and a torque-friendly wrench can help prevent stripping screws. For comfort upgrades like new seat cushions or lumbar support, you may only need scissors or a utility knife to trim and reposition padding.
How do I upgrade a gaming chair’s armrests for better support?
Start by removing the existing armrests using the manufacturer’s mounting screws or bolt hardware, then check that the new armrests match your chair’s mounting pattern and height range. Adjust the armrests to keep your elbows roughly at a 90-degree angle, and ensure your wrists are level when using a keyboard. If the upgrade includes height, width, or pivot adjustments, fine-tune the settings gradually to reduce shoulder tension and improve gaming ergonomics.
Why does my gaming chair feel uncomfortable even after upgrades, and how can I fix it?
Uncomfortable seating often comes from incorrect support placement (lumbar too high or seat too firm/too soft), worn-out foam, or misaligned chair height relative to your desk. Upgrade strategically by adding or replacing a lumbar pillow, using a supportive seat cushion, or installing adjustable back support to maintain proper spine alignment. Also confirm your chair height and foot support—if your feet don’t rest comfortably, even a premium gaming chair upgrade may not fully solve the issue.
Which upgrades provide the biggest comfort improvement for gaming chairs?
The biggest comfort wins usually come from upgrading seat cushioning, adding high-quality lumbar support, and improving armrest adjustability. If your chair sags or causes pressure buildup, replacing the seat foam or adding a supportive cushion can reduce fatigue during long sessions. For posture and back support, a well-fitted lumbar pad or adjustable backrest upgrade often delivers noticeable relief without needing a full chair replacement.
What’s the best way to upgrade a gaming chair with new wheels and gas lift?
To upgrade casters, remove the old wheels by pulling or unscrewing the stem, then insert the new casters designed for your chair’s wheel base size and load rating. For a gas lift upgrade, you’ll typically need to carefully disassemble the chair base and remove the cylinder while ensuring you match the correct lift class and compatibility. After installing, test stability on a flat surface and verify smooth rolling and height adjustment to ensure the upgrade is safe and ergonomic.
📅 Last Updated: August 05, 2026 | Topic: How to Upgrade a Gaming Chair | Content verified for accuracy and freshness.
References
- Ergonomics
https://en.wikipedia.org/wiki/Ergonomics - Office chair
https://en.wikipedia.org/wiki/Office_chair - Ergonomics – Overview | Occupational Safety and Health Administration
https://www.osha.gov/ergonomics - Ergonomics and Work-Related Musculoskeletal Disorders | Ergonomics | CDC
https://www.cdc.gov/niosh/topics/ergonomics/default.html - https://www.who.int/health-topics/workplace-health-and-safety
https://www.who.int/health-topics/workplace-health-and-safety - https://www.britannica.com/science/ergonomics
https://www.britannica.com/science/ergonomics - https://www.mayoclinic.org/healthy-lifestyle/adult-health/in-depth/ergonomics/art-20045602
https://www.mayoclinic.org/healthy-lifestyle/adult-health/in-depth/ergonomics/art-20045602 - Google Scholar Google Scholar
https://scholar.google.com/scholar?q=how+to+adjust+office+chair+seat+height+armrest+lumbar+support - Google Scholar Google Scholar
https://scholar.google.com/scholar?q=ergonomic+chair+adjustment+low+back+pain+seat+height+armrest - Google Scholar Google Scholar
https://scholar.google.com/scholar?q=gaming+chair+ergonomics+posture+study
