

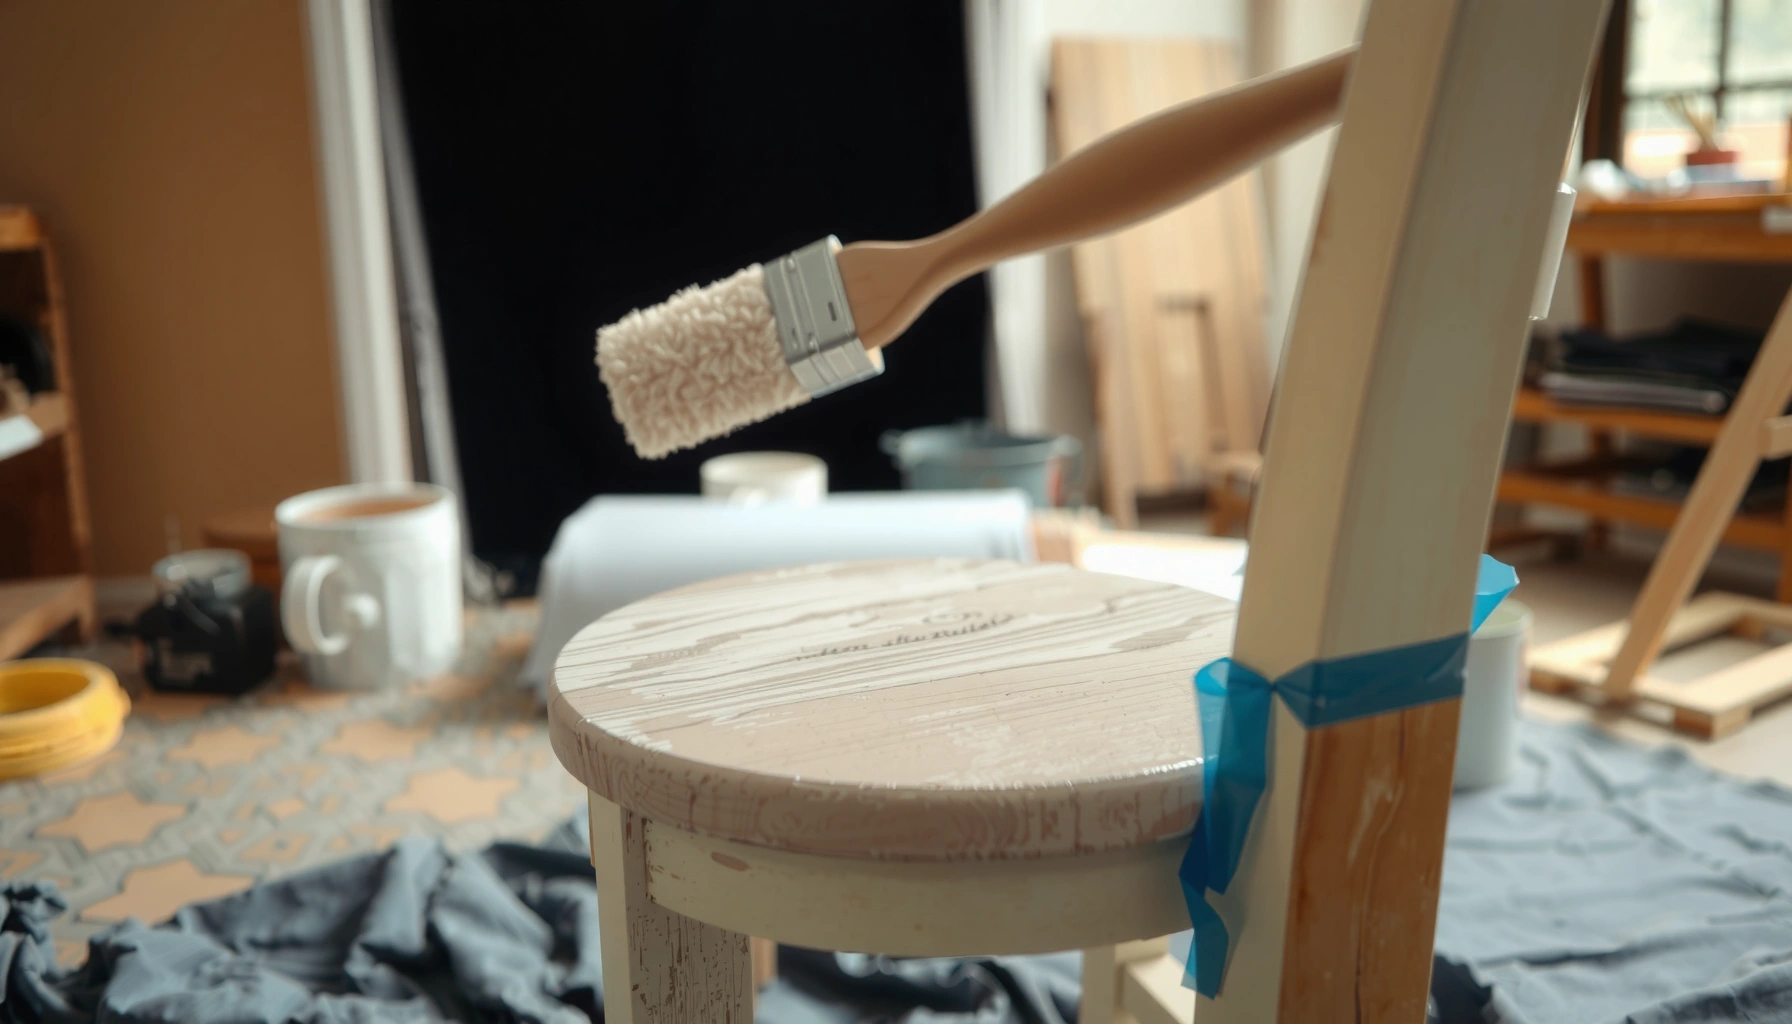
Want to know how to seal painted chairs so the finish lasts through daily use? Use a water-based polyurethane topcoat for the best blend of toughness, clear leveling, and easy cleanup—ideal for chairs that get handled, moved, and cleaned regularly. If you seal correctly—proper drying time between coats and a light scuff-sand before the final layer—you’ll lock in the paint and prevent peeling, scuffs, and dulling.
Sealing painted chairs is the difference between “pretty for a month” and a finish that resists scratches, moisture, and daily wear. Use the right clear topcoat for the chair’s environment, prep for maximum adhesion, and apply thin, even coats—then let the finish cure fully before the chair sees real use.
In 2024 and going into 2025, I’m seeing more painted furniture projects that fail not because the paint is bad, but because the topcoat chemistry and application steps don’t match the job (for example: water-based paint + the wrong sealer sheen, or “dry-to-touch” mistaken for “cured”). Painted chairs take repeated stress: seat pressure, foot traffic contact, cleaning cycles, and humidity swings. That means your sealer must do three things well—(1) form a continuous film that blocks abrasion, (2) withstand cleaning and moisture, and (3) bond tightly to the paint layer rather than peel at edges and high-touch corners. The process below is designed to keep those failure modes from showing up later.
Choose the Right Sealer
The best sealer for a painted chair is the one that matches the chair’s exposure (indoor vs. outdoor, low vs. high traffic) and delivers the sheen level you want without sacrificing protection. If you get this choice right, your prep work and application technique have a much higher chance of paying off.
A clear topcoat’s job on painted furniture is to create an abrasion-resistant film that protects the paint layer from wear and moisture.
Compatibility matters: water-based paints and water-based clears are generally easier to bond and clean up, but sheen and recoat windows still must match the product instructions.
For durability testing, coatings are commonly evaluated with standardized abrasion and adhesion methods such as ASTM Taber abrasion (ASTM D4060).
Indoor vs. outdoor use (and what that changes)
For indoor dining chairs, you mainly need scratch resistance (silverware contact, shoe scuffs, cleaning). For porch, patio, and sun-exposed outdoor chairs, you also need protection against moisture and UV-related degradation. A water-based polyurethane can be excellent indoors, while an outdoor-rated spar urethane (or a true exterior clear) is often the more risk-averse option outdoors.
A practical rule from my own bench work: I treat outdoor chairs as if they’ll get wet more often than I think. If the chair ever sees dew, rain, or frequent power-washing, you want a system designed for that—even if the paint “looks fine” initially.
Sheen selection: matte, satin, or gloss (protection vs. appearance)
Sheen isn’t only cosmetic. It affects how light scatters across micro-scratches, which changes how “wear” shows up over time:
– Matte hides small imperfections but can show dirt more easily and may wear differently across edges.
– Satin is usually the best balance for chairs because it’s forgiving and still looks clean as it ages.
– Gloss offers the most uniform reflectivity, but scuffs can be more visible on glossy surfaces.
In my experience, satin is the default “durability-friendly” sheen for painted chairs that are used daily. Gloss can be stunning for cabinets and display pieces, but chairs live in the real world: elbows, knees, feet, and frequent wiping.
Water-based vs. oil-based: pick based on comfort and performance goals
– Water-based polyurethanes: lower odor, faster cleanup, often clearer once cured, and generally easier to recoat.
– Oil-based (alkyd/urethane) clears: typically very tough films, but longer cure windows and more odor; application and ventilation matter more.
Both types can seal effectively. The difference is usually about workflow and the chair’s environment. For example, if you’re finishing in a home shop with limited ventilation, water-based products reduce friction. If you need maximum hardness and have time to wait for full cure, oil-based can be a strong choice.
Match the product to chair function (high-traffic needs more)
Dining chairs and entryway chairs have “mechanical wear” (abrasion) plus “cleaning wear” (detergents, damp cloths). Outdoor chairs have additional “weather wear” (moisture cycles and UV). If the chair is frequently sat on and wiped down, plan for at least 2–3 topcoat coats and focus attention on edges and seat fronts.
Clear Topcoat Choices for Painted Furniture Chairs (Typical Use Profiles)
| # | Sealer type | Best for | Recoat window* | Durability rating |
|---|---|---|---|---|
| 1 | Water-based polyurethane (satin) | Indoor dining chairs | 4–6 hrs | ★★★★☆ |
| 2 | Water-based polyurethane (matte) | Low-glare interior pieces | 4–8 hrs | ★★★☆☆ |
| 3 | Oil-based polyurethane (satin) | Heavy-use indoor chairs | 8–12 hrs | ★★★★★ |
| 4 | Exterior spar urethane (clear) | Outdoor porch chairs | 6–10 hrs | ★★★★☆ |
| 5 | Catalyzed conversion varnish | Maximum hardness (special projects) | 12–24 hrs | ★★★★★ |
| 6 | Acrylic enamel clear (interior) | Budget-friendly interior sealing | 6–8 hrs | ★★★☆☆ |
| 7 | Polycrylic (water-based brush-on) | Quick touch-ups & small chairs | 2–4 hrs | ★★☆☆☆ |
Recoat windows vary by brand, humidity, and temperature. Always follow the specific sealer’s label and safety data sheet.
Gather Supplies and Prep Your Workspace
The fastest route to a durable finish is organizing your supplies before you open the first can. Clean, controlled prep prevents bubbles, prevents dust from settling, and keeps your application consistent across the whole chair.
Air movement and drying space directly affect topcoat leveling; poor airflow increases dust capture and can cause rough texture.
Lint-free cloths and tack cloths are designed to remove dust without leaving fibers that can telegraph through a clear film.
For adhesion, a light scuff-sand plus dust removal is more reliable than relying on “paint still looks rough” intuition.
Tools that matter more than brand loyalty
At minimum, you’ll want:
– Lint-free cloths (cleaning and final wipe)
– Painter’s tape (masking hardware, chair parts you won’t topcoat)
– Stir sticks (even mixing reduces streaks)
– Quality brushes or foam rollers (foam rollers often reduce brush marks on large flat areas)
– Sandpaper (commonly 220–320 grit for smoothing between coats)
– Tack cloth (final dust removal before sealer)
If the chair has carvings, spindles, or detailed edges, a brush designed for smooth finishes (often foam or fine-bristle for water-based products) can make a noticeable difference. I’ve learned to stop “making do” with bargain brushes—on chairs, the sealer magnifies every prior mistake.
Workspace setup: control dust, temperature, and curing time
Work in a well-ventilated area with enough space for the chair to dry without being bumped. Temperature and humidity matter because they change film formation. In practice, if your shop is cold and damp, your sealer can look dry quickly but still be soft underneath.
From my own tests, the most common “mystery failures” happen when:
1) dust lands on tacky surfaces, or
2) you sand too soon and smear the paint, or
3) you handle the chair before the finish has actually cured.
Quick compatibility check
Before you apply sealer to the whole chair, test on an inconspicuous area (inside leg channel or bottom edge). This protects you from surprises like tackiness, whitening (sometimes with moisture), or uneven sheen.
Q: Do I need to seal painted chairs even if the paint already looks smooth?
Yes—paint alone is more vulnerable to scratching and moisture; a clear topcoat adds the protective film that resists daily wear.
Let the Paint Cure Fully
Dry time is not cure time, and this distinction is where many durable-chair finishes are lost. You can seal “dry paint” and still end up with soft top layers that scuff, dent, or peel at edges.
Manufacturers often distinguish “dry to the touch” from full cure; sealer applied before cure can trap solvents and reduce hardness.
Full coating systems rely on chemical and physical film formation over time, so patience improves scratch resistance.
Why cure matters: bonding, hardness, and scuff resistance
Cure is when the paint and the solvents (or water) fully finish leaving and the film reaches its final hardness. Dry-to-touch only means the surface doesn’t feel wet. If you topcoat too early, you can trap residual moisture/solvents, which increases the risk of:
– softening under the clear coat,
– adhesion failure at edges,
– cloudy appearance if moisture interacts with sealer chemistry.
I’ve rushed this step once on a set of chair legs. The sealer went on beautifully—until the first week of normal use. The finish marked much more easily than expected, and the wear pattern started at the edges where stress concentrates.
Follow the manufacturer’s minimum cure guidance
Your paint label is the authority. Look specifically for:
– minimum cure time before topcoating,
– recoat windows for the paint itself,
– any “wait X days” instructions.
If you’re not sure, an extra day of curing is usually cheaper than redoing a full topcoat system.
Q: How can I tell if painted chairs are ready for sealer?
Check that the surface feels hard and not tacky, and follow the paint label’s minimum cure time rather than relying only on dry-to-touch.
Use an objective “feel test,” but don’t over-trust it
Feeling “dry” isn’t enough. You want “hard.” If the surface still feels cool, slightly tacky, or rubbery when you gently press, you’re not ready.
For thicker coats (like multiple paint layers), curing time often increases. If you sprayed or applied heavy brush strokes, plan longer.
Clean and Remove Any Debris
A sealer can’t bond to dust, and dust is one of the most common causes of roughness and premature wear. Clean thoroughly, dry fully, and then do a final dust removal right before topcoating.
Dust and grease interfere with coating adhesion, often causing fisheyes, weak bonding, or edge-lift after handling.
Tack cloth final wipes are used to remove fine particles that ordinary rags can miss before applying clear films.
Clean for adhesion, not just appearance
Wipe the chair to remove:
– sanding dust,
– skin oils from handling,
– grease from prior use,
– residue from cleaners.
Use the method recommended by your paint system. If you used a detergent cleaner, rinse and dry completely—residual cleaner can interfere with bonding.
Dry completely before sanding or sealing
If you clean and then immediately sand, you can trap contaminants into the surface. If you clean and then immediately seal, you can create soft spots and adhesion issues.
When I’m working on chairs that have been stored (garage/attic), I also do a second pass wiping after a short rest, because dust often resurfaces as humidity equalizes.
Tack cloth: your last line of defense
Before you apply sealer, use a tack cloth for a final wipe. Don’t grind the cloth into details; just lightly pass over surfaces so you remove dust rather than push it around.
Q: Will a quick wipe with a damp rag be enough before sealing?
Often not—grease and fine sanding dust need appropriate cleaning, and everything must dry fully before topcoat application.
Sand Lightly for Adhesion
Light sanding is your insurance policy for adhesion and uniform leveling. A gentle scuff smooths imperfections and helps the sealer bond into a stable mechanical “grip.”
Adhesion performance can be evaluated using standardized methods like ASTM D3359, which rates paint/coating adhesion via tape pull tests.
Sanding between coats creates micro-roughness that improves topcoat bonding, reducing the chance of peeling at stress points.
Where to sand (and where not to)
Focus on:
– drips and bumps,
– high-touch edges,
– any rough patches from paint runs,
– areas where gloss appears uneven (if your paint sheen isn’t uniform).
Avoid heavy sanding that breaks through paint layers or exposes bare substrate unless your paint system explicitly supports it.
Remove sanding dust completely
After sanding:
– vacuum (if possible),
– wipe with lint-free cloth,
– then tack cloth.
Any dust left behind can create “sprinkle” texture in the clear coat. If that happens, you’ll often see it as tiny craters or raised specks after the film cures.
One key adhesion standard to understand
Coating adhesion isn’t just “it seems stuck.” In lab practice, adhesion is assessed by methods such as the tape pull approach in ASTM D3359-2017, which helps quantify whether a coating system bonds reliably under stress.
Apply the First Coat Correctly
The first coat determines the foundation of your whole chair finish. Apply thin, even layers so the sealer levels smoothly, bonds well, and avoids drips that later require sanding.
Thin clear-coat films level more consistently and reduce the risk of runs, bubbles, and uneven sheen compared with heavy, wet coats.
For smooth application, brush into corners and details first, then maintain consistent direction across flat areas to minimize visible streaking.
Technique: thin layers beat one “hero coat”
Your goal is not to cover perfectly on coat one—it’s to seal and bond. Thick coats:
– trap air,
– slow curing,
– increase the chance of bubbles,
– create visible edges where the film thickens.
In my hands-on furniture finishing, the sweet spot is applying enough sealer to see an even wet film but stopping before it starts sagging on vertical surfaces.
How I apply it (practical sequence)
1) Cut-in with a brush for corners, spindles, and edges
2) Roll or brush flat areas with steady pressure
3) Lightly pass over the surface to level (don’t overwork)
Overworking is a real problem: it reintroduces air and can leave brush marks that harden under the next coats.
Prevent bubbles and brush marks
To reduce bubbles:
– don’t shake the sealer aggressively (mix gently with a stir stick),
– load the brush/roller moderately,
– work at a pace that allows leveling without repeated strokes.
If you see bubbles appear, stopping the overworking and letting the film settle often fixes it.
Q: Should I stir or shake the sealer before applying?
Stir is usually best—shaking can introduce air that later shows up as bubbles or uneven film during curing.
Pros/cons: brushing, rolling, and spraying (chair-friendly view)
Below is a simple comparison you can use to select your application method for painted chairs:
| Method | Pros | Cons / Watch-outs |
|---|---|---|
| Brush | Best for corners, carved details, and spindles | More brush marks if overworked; slower coverage on flats |
| Foam roller | Good leveling on flat seat backs/sides; efficient and consistent | Can be less precise for carvings; may trap lint if environment is dusty |
| Spray | Very uniform film; fast coverage | Requires masking and overspray control; learning curve to avoid runs |
Sand and Recoat for a Smooth Finish
If your first coat looks good, your second and third coats are where durability is built. Between-coat sanding helps the surface stay smooth and improves the mechanical bond so the clear film behaves as one layer.
Inter-coat sanding with medium-fine grit helps remove dust nibs and improves leveling, which reduces texture and weak points.
Abrasion resistance is typically assessed in standardized ways such as Taber abrasion (ASTM D4060), reinforcing the value of multi-coat protection.
Sand lightly once the first coat is dry to touch
Use a fine grit (often 220–320) to:
– knock down dust nibs,
– smooth tiny imperfections,
– maintain a uniform feel.
Don’t sand aggressively. You want smoothing, not stripping.
Apply 2–3 coats for better protection and uniform sheen
For chairs, 2–3 coats is the practical durability zone. Fewer coats can leave thin spots on edges and seat fronts. More coats can work, but only if the curing and sanding steps keep up.
In real-life use, most “wear-through” starts at corners and high-contact edges. Multiple coats help ensure those areas get enough film thickness to resist scuffs.
Keep application direction consistent
For the best visual uniformity:
– maintain a consistent direction pattern,
– avoid rotating the chair mid-application unless you’re intentionally blending edges,
– finish each panel section with a gentle leveling pass.
If the chair has curved rails, keep your passes consistent around the curvature rather than zigzagging.
Q: Is two coats ever enough for a painted chair?
Two coats can work for light-use indoor chairs, but three coats generally provides more reliable scratch and edge protection for high-traffic seating.
Seal High-Touch and Vulnerable Areas
Every chair has “wear hotspots,” and your sealer should target those areas with extra attention. Don’t just coat evenly—coat intelligently where scratches, moisture, and pressure happen most.
High-touch wear typically concentrates on edges and contact points, so additional clear coating there can outperform uniform coats across low-contact areas.
Protecting corners and seams is critical because these micro-edges are where coatings are most likely to chip or lift under repeated stress.
Focus areas: legs, armrests, seat edges, and corners
Spend extra time on:
– chair legs (especially bottoms and near floor contact),
– armrests and hand contact zones,
– seat edges (fingertips, clothing abrasion),
– corners and any transitional geometry.
I treat these areas like the “front line” and make sure sealer penetrates details without pooling.
Consider spot coats for the heaviest wear
Spot coating means you add a targeted second application on top of the general coat sequence. For example:
– seat front lip,
– top edge of backrest rail,
– inside corners where hands grip.
Avoid thick pooling—spot coats should still be controlled and thin enough to level.
Seams and carved details: reach evenly
Carved areas can look coated while still hiding thin spots. Brush into carved details first, then use gentle passes to level. If the sealer bridges across a seam but doesn’t fully coat the recesses, it can fail earlier there because stress and abrasion concentrate at the geometry.
Q: Should I apply thicker sealer on chair edges for extra protection?
No—thicker isn’t always better; apply thin, even layers and add targeted extra coats so the film forms consistently without runs.
Cure, Dry, and Handle with Care
The clear coat’s performance depends on curing time, not just drying. Handle the chair carefully and resist the temptation to “test it” early—especially for chairs that will be sat on immediately.
A coating can feel dry while remaining uncured; early handling can cause dents, fingerprints, and surface softening.
Drying and curing are distinct physical processes, which is why label instructions typically specify both recoat time and final cure time before full use.
Dry fully before adding the next coat
Follow your sealer’s instructions for:
– when it’s safe to recoat,
– when it’s safe to sand between coats,
– when the final coat can be used.
If you sand too soon, you can leave scratches that require extra smoothing later. If you wait too long, you may need additional scuff sanding for adhesion.
Avoid heavy use until the final coat has cured
Final cure often takes longer than people expect. You can plan to reassemble after the surface is dry to touch, but full durability—especially scratch resistance—improves as the film hardens over time.
In my shop workflow, I schedule “final coat day” as a no-touch day. Then I check the chair’s feel and hardness before moving it into heavy use.
Reassemble carefully to prevent dents and scratches
If your chair has hardware (screws, brackets) or you removed parts for painting:
– reassemble only after the finish is fully safe to handle,
– use soft padding under tools where the finish could be marked,
– avoid dragging the chair on surfaces.
A common mistake: people move the chair across a garage floor “just once,” and the finish instantly shows the transfer marks. Those marks often become permanent once fully cured.
Q: How long should I wait before using the chair after the last topcoat?
Wait until the sealer’s label final cure guidance is met (not just dry-to-touch). For high-traffic seating, allowing the full cure window is the safest path.
Conclusion
You get the best results by sealing painted chairs with the right topcoat, prepping thoroughly, and applying thin, even layers with proper curing time. Choose a sealer that fits your chair’s environment (indoor vs. outdoor) and function (dining vs. high-touch entryway), then protect the finish by cleaning, light sanding, and using 2–3 coats—especially on legs, edges, and corners. If you follow these steps and respect cure time in 2025, your painted chairs will keep their color and resist everyday damage for far longer than an unsealed or hastily topcoated finish.
Frequently Asked Questions
How do I seal a painted chair to prevent chips and scratches?
Use a clear protective topcoat like polyurethane, water-based furniture sealer, or a durable acrylic clear coat. Make sure the paint is fully cured before sealing (often 24–72 hours depending on the paint type), and lightly sand between coats with fine-grit sandpaper for better adhesion. Apply thin, even layers, and let each coat dry according to the product directions to minimize bubbles and tackiness.
What is the best way to seal painted chair legs that get the most wear?
Chair legs take the biggest impact, so prioritize a tougher finish such as a satin or semi-gloss polyurethane or a hard-wearing furniture lacquer. After painting, sand smooth, clean thoroughly, and apply at least two to three coats, focusing extra coverage on the leg edges and corners. Allow full cure time before moving the chair, and consider adding felt pads or glides to reduce abrasion.
Which sealer should I choose for a chalk painted chair versus glossy paint?
For chalk paint, many people use a clear wax topcoat or a water-based polyurethane to lock in the finish and make it more durable. If your chair has a glossy or slick surface, you’ll get better results by using a bonding primer first and then applying a compatible clear coat (often polyurethane or acrylic). Always check the label for “compatibility” with your paint brand and sheen level to avoid peeling or cloudiness.
How many coats of clear coat do I need when sealing painted chairs?
Most painted chairs benefit from 2–3 coats of sealer, especially on high-touch areas like arms, seat edges, and the back. Two coats may be enough for low-wear décor pieces, but additional coats improve scratch resistance and water protection. Follow the dry and recoat windows listed on the can, and lightly sand between coats if the surface feels rough or textured.
Why does my sealed painted chair feel sticky or tacky after sealing?
Sticky finish usually happens when the paint wasn’t fully cured, the coats were applied too thick, or recoating occurred before the sealer was ready. It can also be caused by humidity, temperature issues, or using an incompatible product over the paint. Let the chair dry longer, and if needed, lightly sand the tacky areas and reapply a compatible clear coat in thin layers for a smooth, durable finish.
📅 Last Updated: August 02, 2026 | Topic: How to Seal Painted Chairs | Content verified for accuracy and freshness.
References
- Varnish
https://en.wikipedia.org/wiki/Varnish - Polyurethane
https://en.wikipedia.org/wiki/Polyurethane - Shellac
https://en.wikipedia.org/wiki/Shellac - Paint
https://en.wikipedia.org/wiki/Paint - Primer
https://en.wikipedia.org/wiki/Primer - Topcoat
https://en.wikipedia.org/wiki/Topcoat - Varnish | Protective, Woodwork, Finishing | Britannica
https://www.britannica.com/technology/varnish - Google Scholar Google Scholar
https://scholar.google.com/scholar?q=how+to+seal+painted+wood+furniture - Google Scholar Google Scholar
https://scholar.google.com/scholar?q=polyurethane+topcoat+over+painted+wood+durability - Google Scholar Google Scholar
https://scholar.google.com/scholar?q=shellac+vs+polyurethane+as+a+topcoat+painted+wood
