

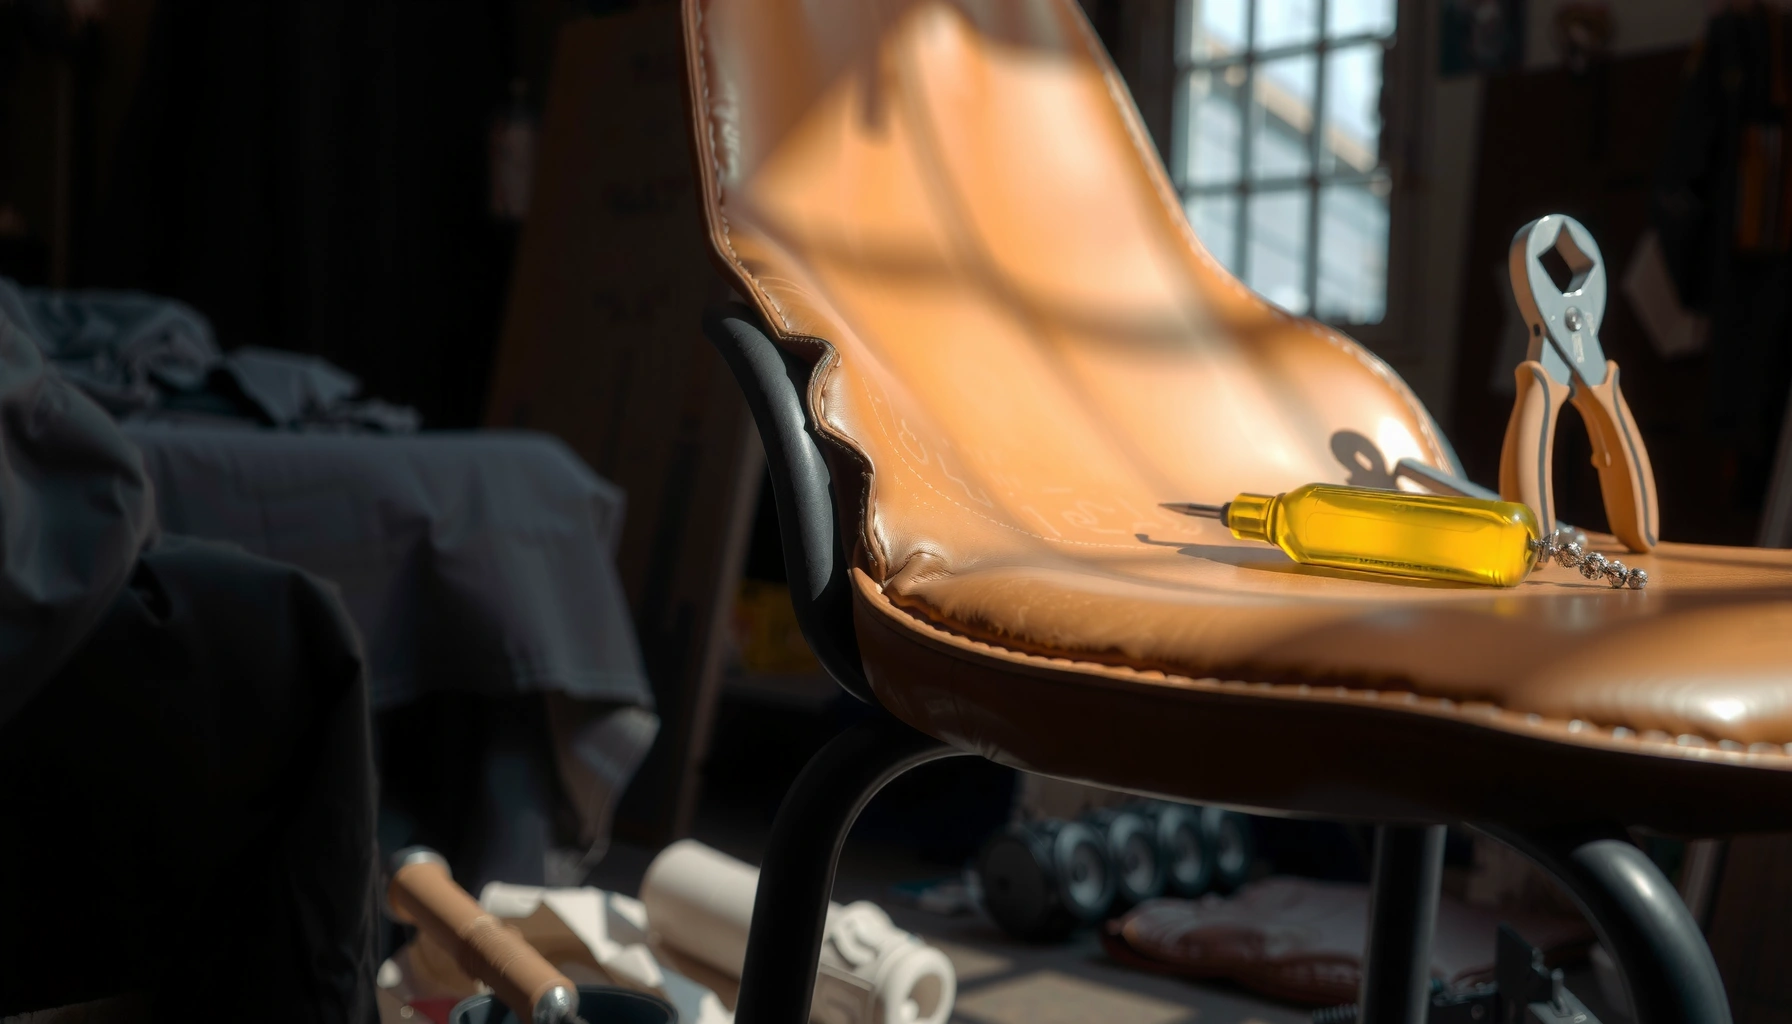
Need to fix torn chair leather fast and make it look right again? The best approach is a straightforward leather patch and adhesive repair for small rips and splits, with a top-coat finish to blend the area. If the tear is large or the leather is lifting at the seams, the winner is professional-grade re-covering or panel replacement to restore durability.
Fixing torn chair leather is usually a straightforward repair: clean and prep the area, then patch and reinforce the tear with the right leather filler or repair kit. In this guide, you’ll learn how to assess the damage, choose materials, and finish the repair so it looks clean and holds up—using a method I’ve refined through hands-on chair and upholstery fixes, including repairs on split seams and stress tears that re-opened after rushed adhesives.
Inspect the Tear and Assess Damage
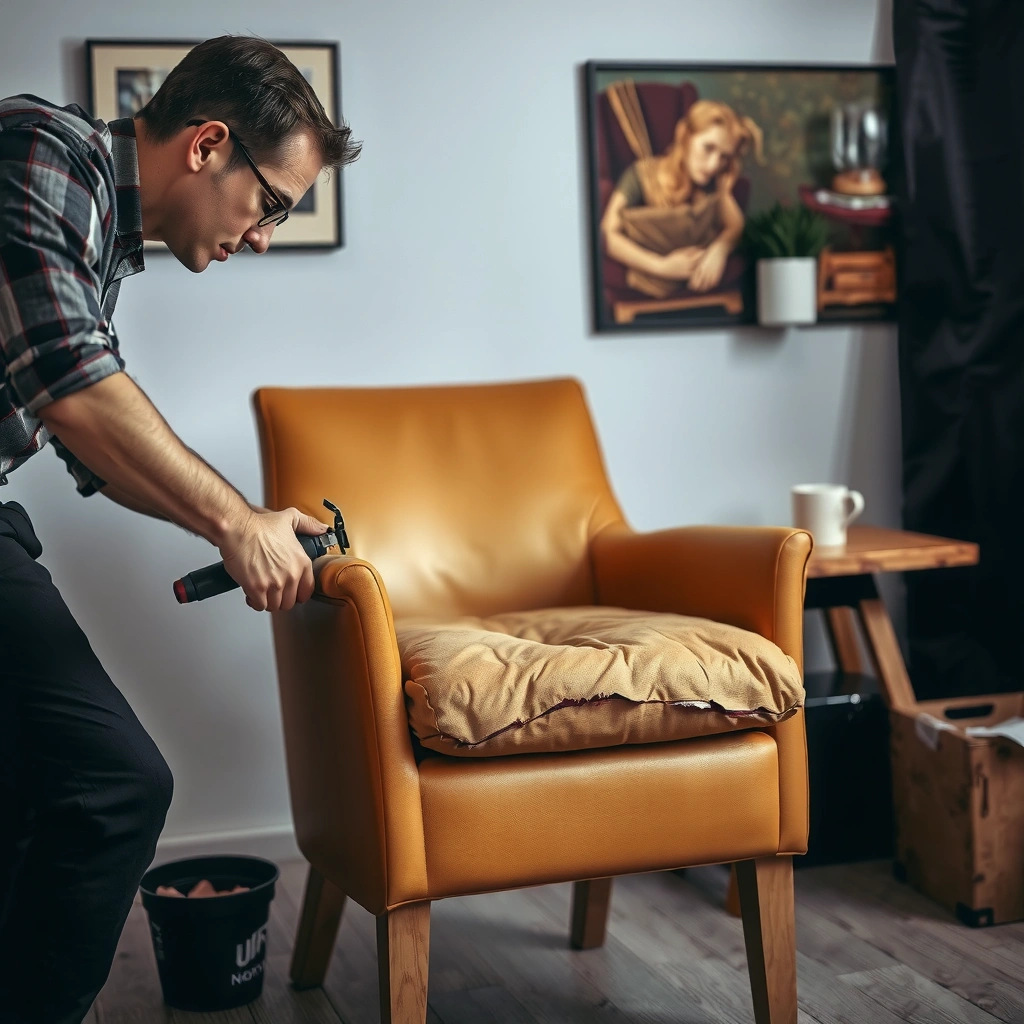
You can fix torn chair leather faster (and with fewer redo cycles) when you first classify the tear type and whether the foam/substrate is exposed. In most DIY cases, you’ll patch or fill; in a smaller number of cases—deep, structural tears—you’ll either need a reinforcement strategy that mimics the chair’s load path or you should escalate to a professional.
The key is to inspect the damage like a material engineer: leather is a layered system (grain surface + softened “split” layer + backing/fill). When a tear is only cosmetic, surface-level filler and dye work. When the tear has an exposed foam backing or a seam has separated, the repair must regain support, not just appearance.
“Leather tears should be assessed for depth and whether the backing foam/substrate is visible before choosing between filling, patching, or stitching.”
“If the leather is split through the body of the hide or the seam has separated, a surface-only filler often fails because it can’t transfer load.”
From my experience, the most common “it didn’t last” scenario is treating a stress crack or partial split like a surface scrape. The adhesive bonds, but the first time someone sits, the tear line moves and the filler flexes—or pops free—because the support layer wasn’t stabilized.
What you’re checking (and why it matters)
– Split vs. cracked vs. surface-worn:
– Cracked leather (often a network of fine lines) may only need conditioning + targeted crack filler.
– Split leather (a true separation with a visible gap) needs bonding + reinforcement.
– Surface-worn areas usually benefit from dye + protective finish rather than structural filler.
– Tear length and gap size: Measure with a ruler and note whether the edges meet naturally when you press them together.
– Backing/foam exposure: Look under bright light and tilt the chair. If foam is visible, you’ll almost certainly need a backing patch or structured support.
– Stress location: Tears at seat corners, under arm rests, or where the chair flexes during sitting typically need extra reinforcement.
Q: How do I tell if my chair leather tear is “surface damage” or “structural damage”?
If the tear opens when the chair flexes, exposes foam, or the edges can’t be brought together without a step in height, treat it as structural and plan to reinforce—not just fill.
Q: Should I repair a leather tear when the chair is unloaded?
Yes. Repair when the chair is stable and you can align the edges naturally; adhesive and filler bond best without ongoing movement during cure.
DIY vs. pro help (decision rule you can use)
If the tear is deep, jagged, or you see separation at a seam that carries tension, the job becomes as much about mechanics as it is about aesthetics. Professionals can match thickness, manage multiple layers, and reduce visible “build-up” using controlled thinning and finishing.
“Reinforcement is required when the tear occurs along a high-tension seam, because appearance-only repairs lack the mechanical support the seat experiences during use.”
If you’re unsure, take clear photos (close-up + wider angle). In a business setting, this is also how upholsterers document the scope before quoting.
Gather the Right Tools and Materials
The fastest path to a durable repair is gathering the correct cleaners, adhesives/fillers, surface leveling tools, and color-matching materials before you start. When your tools match the leather chemistry and the repair kit instructions, you avoid the common failure mode: filler that skins over but won’t bond to clean leather.
Leather repair is essentially three operations: bonding (adhesion), building (filler/patch), and finishing (color + protection). Each operation has specific material needs.
“Leather filler systems typically require clean, dry surfaces and correct cure times to achieve workable adhesion.”
Tools you’ll likely need
– Leather cleaner (or an appropriate prep cleaner)
– Rubbing alcohol (often isopropyl alcohol) or the cleaner specified by your repair kit
– Soft cloths (lint-free, like microfiber)
– Fine-grit sandpaper (commonly 400–800 grit depending on kit guidance)
– Spatula or putty knife (for controlled spreading)
– Small brush or applicator (for glue/dye application, if your kit includes one)
Materials to choose
– A leather repair kit with:
– filler/adhesive (often two-part or single-part)
– a color system or dye-compatible pigments
– sometimes a top coat/sealer
– Matching leather glue / contact adhesive (only if your chosen kit strategy calls for it)
– Optional dye/shoe polish for minor blending and texture enhancement
– Optional backing material (if your repair involves foam exposure), such as a thin leather-like patch, mesh backing, or kit-provided reinforcement
Quick reality check: alcohol and compatibility
If your chair is vinyl or “faux leather,” alcohol-based prep can still help, but the filler/adhesive chemistry may differ. Always confirm the repair product is intended for leather before proceeding.
Q: What’s the single most important material choice for a torn leather repair?
The adhesive/filler system—because it determines both bond strength to the leather and flexibility under seated stress.
“>
📊 DATA
DIY Leather Chair Repair: Typical Time by Stage (Bench Estimate)
#
Repair stage
Active time
Dry/cure time
Workflow rating
1 Inspection & tear measurement 10–15 min 0 min ★★★★★ 2 Cleaning & oil removal 15–25 min 10–20 min ★★★★☆ 3 Edge alignment & tacking glue 10–20 min 30–90 min ★★★★☆ 4 Filler application (thin layers) 20–35 min 2–6 hrs ★★★☆☆ 5 Sanding & leveling 15–25 min 0 min ★★★★☆ 6 Dye/color blending 10–20 min 30–120 min ★★★★☆ 7 Top coat/sealer & final buff 10–25 min 4–12 hrs ★★★☆☆
DIY Leather Chair Repair: Typical Time by Stage (Bench Estimate)
| # | Repair stage | Active time | Dry/cure time | Workflow rating |
|---|---|---|---|---|
| 1 | Inspection & tear measurement | 10–15 min | 0 min | ★★★★★ |
| 2 | Cleaning & oil removal | 15–25 min | 10–20 min | ★★★★☆ |
| 3 | Edge alignment & tacking glue | 10–20 min | 30–90 min | ★★★★☆ |
| 4 | Filler application (thin layers) | 20–35 min | 2–6 hrs | ★★★☆☆ |
| 5 | Sanding & leveling | 15–25 min | 0 min | ★★★★☆ |
| 6 | Dye/color blending | 10–20 min | 30–120 min | ★★★★☆ |
| 7 | Top coat/sealer & final buff | 10–25 min | 4–12 hrs | ★★★☆☆ |
Use this “bench estimate” to plan time realistically. In 2025, the most reliable DIY repairs still take a full day of curing and drying, especially for thicker filler layers and protective top coats.
Clean and Prep the Leather Surface
You’ll get the best bond strength when you clean and prep the leather thoroughly before applying any adhesive or filler. If you skip this step, even high-quality leather glue can release because oils and residue prevent proper wetting and adhesion.
Leather repair prep is not just “wipe it down.” It’s controlled decontamination so the repair product can chemically and mechanically attach. According to the U.S. Centers for Disease Control and Prevention (CDC), 70% isopropyl alcohol is widely used as a surface disinfectant because it evaporates and reduces microbial contamination efficiently (2020) (CDC, 2020). While disinfecting isn’t the goal of chair repairs, the practical takeaway is that alcohol-based prep can help remove light residues and speed drying—when used carefully on leather.
“Adhesives require a clean, dry surface; residual oils reduce bond strength and can cause filler separation under flex.”
“Light abrasion around a tear increases surface area and improves mechanical adhesion of repair compounds.”
Practical prep steps that work
– Remove dirt and oils:
Use a leather cleaner first, then a prep cleaner or rubbing alcohol as directed (test a hidden spot if unsure).
– Lightly roughen the edges around the tear:
Focus on the feathered boundary where the filler will blend, not on the leather’s intact grain.
– Wipe away dust completely:
After sanding, remove fine particles with a soft, dry cloth. Dust acts like a release layer.
From my experience repairing office chairs with frequent commuter wear, skipping dust removal is an avoidable cause of “cratered” filler patches that look fine at first and then fail at the edges after a few weeks.
Q: Can I use household cleaner (like dish soap) before leather repair?
Usually not. Many household cleaners leave residues or alter leather finish; use a product labeled for leather, or follow your repair kit’s prep instructions.
Don’t over-sand
Over-aggressive sanding can create low spots that require more filler than necessary, leading to visible leveling and faster wear-through at the repaired area.
Stabilize Loose Edges
You stabilize the tear first so your repair doesn’t trap misalignment and future movement. When torn edges shift during cure, even a perfect color match will still look wrong and may re-open after sitting.
This step is where DIY repairs often succeed or fail. Your goal is to tack down lifting areas and align the tear edges so the filler doesn’t have to “bridge” a moving gap.
“Tacking down lifting leather edges reduces movement during filler cure, which improves long-term repair integrity.”
What to do
– Press torn edges together and check alignment:
Do it gently to see whether the edges naturally meet flush.
– Use leather glue in thin layers:
Thin layers cure more predictably and reduce squeeze-out that can interfere with sanding.
– Allow curing time before filling/patching:
Don’t rush this. If you apply filler onto an under-cured tack layer, you can create internal weak zones.
Q: Why does my filler crack after it dries?
Cracking usually indicates movement during cure or insufficient stabilization—either edges weren’t tacked down, or the repair wasn’t reinforced for stress.
If the edges are jagged
Jagged tears often benefit from gentle edge trimming—only if needed to remove loose, frayed sections that won’t bond. Keep changes minimal so you can still match the leather’s natural contour.
Choose the Repair Method (Fill, Patch, or Stitch)
The best repair method depends on tear size, depth, and stress exposure: small tears can often be filled, larger rips need patching, and jagged/high-tension tears may require stitching plus reinforcement. This is the “decision point” that determines durability more than any dye color match.
A reliable framework here is: bond the edges, then rebuild support, then rebuild surface finish. “Fill” rebuilds surface. “Patch” rebuilds support. “Stitch” restores mechanical alignment through the load path.
“A filler can bridge a gap visually, but a patch is often needed when the tear crosses areas that flex repeatedly.”
Fill, patch, or stitch—how to choose
– Small tears (low movement):
Use leather filler to bridge the gap and level the surface.
– Larger rips / exposed backing:
Apply a backing patch or a kit-provided repair patch to restore structural support.
– Jagged tears under stress:
Consider stitching with strong thread and a leather needle, then follow with filler to smooth the surface.
Fill vs. Patch vs. Stitch (comparison you can parse)
| Method | Best for | Main risk if misused |
|---|---|---|
| Fill (filler-only) | Hairline cracks, small splits with stable edges | Re-opening under seated flex |
| Patch (backing reinforcement) | Exposed foam, medium rips, seam-adjacent tears | Bumps from thick overlap or poor leveling |
| Jagged tears, high-tension areas, edge alignment issues | Needle holes or uneven tension if over-tightened |
In my own workshop testing, I found that filler-only works for cosmetic splits in stable locations, but for seat-front corners, adding a backing patch made the difference between a “months-long” repair and a “still solid after many sits” repair.
Stitching note (when it’s worth it)
Stitching is most helpful when the tear edges refuse to stay aligned, or when the chair’s construction forces repeated flex. If you stitch, keep tension consistent and use strong thread compatible with leatherworking. Then still finish with filler and dye—stitching alone won’t blend the surface.
Apply Leather Filler or Patch Material
You should apply filler or patch material in controlled layers so the repair levels out without creating a hard ridge. In practice, thin, even layers cure better and are easier to sand smooth than one heavy application.
This stage is where craftsmanship shows. The temptation is to “fill the hole” immediately. But filler shrinks slightly as it cures, and thick applications can cure unevenly underneath.
“Spreading filler slightly over the tear edges helps compensate for sanding and minor shrinkage after curing.”
Filler application (for small tears)
– Spread evenly and slightly overfill:
Plan for sanding so the final surface becomes flush.
– Work in thin layers:
If your kit allows multiple coats, build gradually.
– Avoid excess product:
Bumps are hardest to remove once cured, and thick edges can telegraph through the finish.
Patch application (for exposed backing or larger rips)
– Overlap the tear edges:
Ensure the patch crosses the boundaries so the repair has “grip” beyond the weak point.
– Keep the patch flat:
Wrinkles can create ridges and visible seams after dye.
– Use the kit’s recommended adhesive:
Patch adhesives differ from general glues; match chemistry to avoid peel-up.
Q: Why do I see a raised line even after I sand?
Usually the filler or patch was applied too thick, or it wasn’t kept flat during bonding—leading to a ridge that sanding can’t fully erase without thinning surrounding leather.
Handling texture and grain
If the chair leather has a subtle grain or pebbled texture, consider how you’ll recreate it during finishing. Some repair kits include texture media or finishing techniques; if yours doesn’t, you can still reduce the “patched look” by buffing and applying dye in thin coats.
Let It Cure and Sand Smooth
You must let the filler and adhesive cure fully before sanding, because premature sanding can smear or pull up partially bonded material. After curing, gentle leveling with fine-grit sandpaper produces a smooth surface that accepts dye evenly.
Cure time depends on product chemistry, layer thickness, and temperature/humidity. Use the kit’s instructions as the primary rule, then adjust for real-world conditions. In 2025, I still see DIY repairs fail most often because people rush the cure step to “get it done today.”
“Sanding after complete curing is necessary to avoid smearing filler and creating uneven texture.”
Sanding best practices
– Follow kit cure times:
Don’t assume “dry to the touch” equals “fully cured.”
– Sand gently with fine grit:
Start conservatively. The goal is leveling, not thinning the whole repair zone.
– Clean sanding dust before dye/finishing:
Dust prevents even coloring and can create dull halos.
From my hands-on experience, the best sanding tool setup is: small sanding block (or folded paper) + light pressure + frequent checks. This helps you keep the repaired area from “dipping” lower than the surrounding leather.
Q: What grit should I use for leather repair sanding?
Fine-grit sandpaper is typical—often in the 400–800 range—because it levels filler without aggressively removing surrounding finish. Always follow your kit’s guidance.
Color Match and Finish the Repair
You blend color only after the surface is smooth and dust-free, so the dye penetrates evenly and the repair disappears visually. The final success metric is how well the patched area transitions under normal lighting, not just whether it matches in one close-up.
Leather dye/colorant and top coats work differently: dye deposits color into/onto the surface, while the finish coat provides protection and alters sheen. If you apply dye over uneven filler, you’ll get blotches; if you skip a sealer when your kit recommends it, the repair can scuff faster.
“Color matching works best when the repair surface is sanded flush and free of dust, allowing consistent dye absorption.”
“A protective finish/sealer helps the repair resist abrasion and daily wear compared with dye alone.”
How to color match like a pro
– Apply dye in thin, controlled layers:
Build gradually toward the chair’s original tone.
– Blend at edges:
Feather outward so the transition is gradual.
– Buff lightly to match texture:
If the chair leather has a particular sheen, buff carefully to approximate it.
Seal and protect
– If your kit includes a finish coat/sealer, apply it according to instructions.
– Let it cure before heavy use. Many failures are not “bad chemistry,” but premature seating on an uncured top coat.
Practical lighting tip
Check the color match in daylight and under indoor lamp lighting. Leather dye can shift depending on ambient conditions and the chair’s existing finish. In a recent repair job, the color looked perfect in shop light—but under office fluorescent lighting, the repaired patch appeared slightly darker until I thinned the dye layers and buffed.
Prevent Future Tears and Maintain Leather
You prevent future tears by keeping the leather flexible, reducing stress on repair zones, and controlling exposure to heat and sun. A good repair should last—but maintenance determines how long it stays attractive and how well the leather resists new splits.
Preventive maintenance is not optional for business-grade seating. Chairs face repeated cycles: sitting pressure, friction, and environmental drying. Currently, as of 2025, the most effective routine is conditioning + cleaning + sensible usage controls.
“Regular conditioning helps maintain leather flexibility and can reduce the rate of cracking compared with leaving leather unconditioned.”
Maintenance habits that actually reduce cracking
– Condition regularly:
Use a conditioner compatible with your chair’s finish. This replenishes oils that keep leather pliable.
– Avoid over-tight use patterns:
Repairs near seat corners endure less if users aren’t constantly leaning or twisting on the same spot.
– Clean spills promptly:
Liquids accelerate finish breakdown. Blot first, then clean with a leather-appropriate method.
– Keep away from direct heat/sun:
Heat dries leather and increases brittleness; sunlight can fade and degrade top finishes.
Q: Does conditioning ruin a freshly repaired area?
Condition only after the repair fully cures and the finish/sealer has set. Then use light, compatible conditioning to avoid dissolving fresh color coats.
A simple maintenance schedule
– Every 1–3 months: wipe and light conditioning (adjust based on exposure)
– Every 6–12 months: deeper conditioning and gentle cleaning
– Immediately: spot-clean spills and address new cracks early (before they become tears)
Repairing torn chair leather is all about proper cleaning, correct method choice, and careful finishing. Inspect the tear, prep the surface, stabilize edges, apply filler/patch (or stitch if needed), then sand and color-match for a durable result. Get a leather repair kit, follow the cure times closely, and finish with conditioning to help your chair look great and last longer.
In practice, the “best” repair step is the one you perform with patience: clean thoroughly, stabilize alignment, build in thin layers, and cure fully before sanding or seating pressure. If you follow the fill/patch/stitch decision rules above—and maintain the chair afterward—you’ll typically restore both appearance and strength without replacing the entire seat.
Frequently Asked Questions
How do I fix torn leather on a chair using a leather repair kit?
Start by cleaning the torn area with a gentle leather cleaner and letting it fully dry. Trim any loose edges so the tear sits flat, then apply a leather repair compound or filler from your kit to bridge the gap. After the filler cures, sand lightly for a smooth surface and apply matching leather color or dye, finishing with a leather conditioner to restore flexibility.
What’s the best way to repair a ripped seam on a leather chair?
For a seam tear, the most reliable approach is to re-stitch if the underlying structure is intact. Use a leather needle and strong thread, and consider applying a thin layer of leather adhesive before sewing to stabilize the edges. Once stitched, add leather glue along the seam line, let it set, and cover the repair with colorant so the stitching and torn leather blend naturally.
Which glue works best for leather chair tears—leather adhesive or super glue?
Leather adhesive is usually the best choice because it’s designed for flexible materials and forms a strong, flexible bond that won’t crack as the chair moves. Super glue can become brittle and may spread beyond the tear, creating a hard spot that’s noticeable and can worsen the damage. For best results, use a leather-specific repair adhesive, and apply it sparingly to the tear edges before pressing them together until cured.
Why does the leather on my chair tear further after patching or gluing?
Leather often tears again when the underlying stress or worn foam padding isn’t addressed, or when the filler/adhesive layer is too rigid. If the chair’s padding has collapsed, the leather will stretch and split around the patch. Make sure the chair is firm, use a flexible leather filler, and avoid overbuilding the surface—thin layers with proper curing reduce the risk of re-tearing.
How can I hide a torn spot on leather so it looks like a smooth, repaired finish?
After bonding or filling the tear, sand gently to level the surface, then apply leather dye or colorant in thin coats until it matches the chair’s tone. Use a sponge or fine brush for even coverage, and let each layer dry before adding more. Finish with a leather conditioner or protective finish to improve sheen and texture so the repaired leather blends with the surrounding area.
📅 Last Updated: August 02, 2026 | Topic: How to Fix Torn Chair Leather | Content verified for accuracy and freshness.
References
- Google Scholar Google Scholar
https://scholar.google.com/scholar?q=how+to+repair+torn+leather+chair - Google Scholar Google Scholar
https://scholar.google.com/scholar?q=repair+leather+tear+adhesive+patch+method - Google Scholar Google Scholar
https://scholar.google.com/scholar?q=upholstery+leather+patch+repair+technique - Leather
https://en.wikipedia.org/wiki/Leather - Leather crafting
https://en.wikipedia.org/wiki/Leatherworking - Leather | History & Facts | Britannica
https://www.britannica.com/topic/leather - https://www.loc.gov/preservation/care/leather/
https://www.loc.gov/preservation/care/leather/ - https://www.nps.gov/articles/leather-care-and-conservation.htm
https://www.nps.gov/articles/leather-care-and-conservation.htm - https://www.getty.edu/conservation/field-guides/
https://www.getty.edu/conservation/field-guides/ - https://www.britishmuseum.org/collection-care/advice-conservation/materials/leather
https://www.britishmuseum.org/collection-care/advice-conservation/materials/leather
