

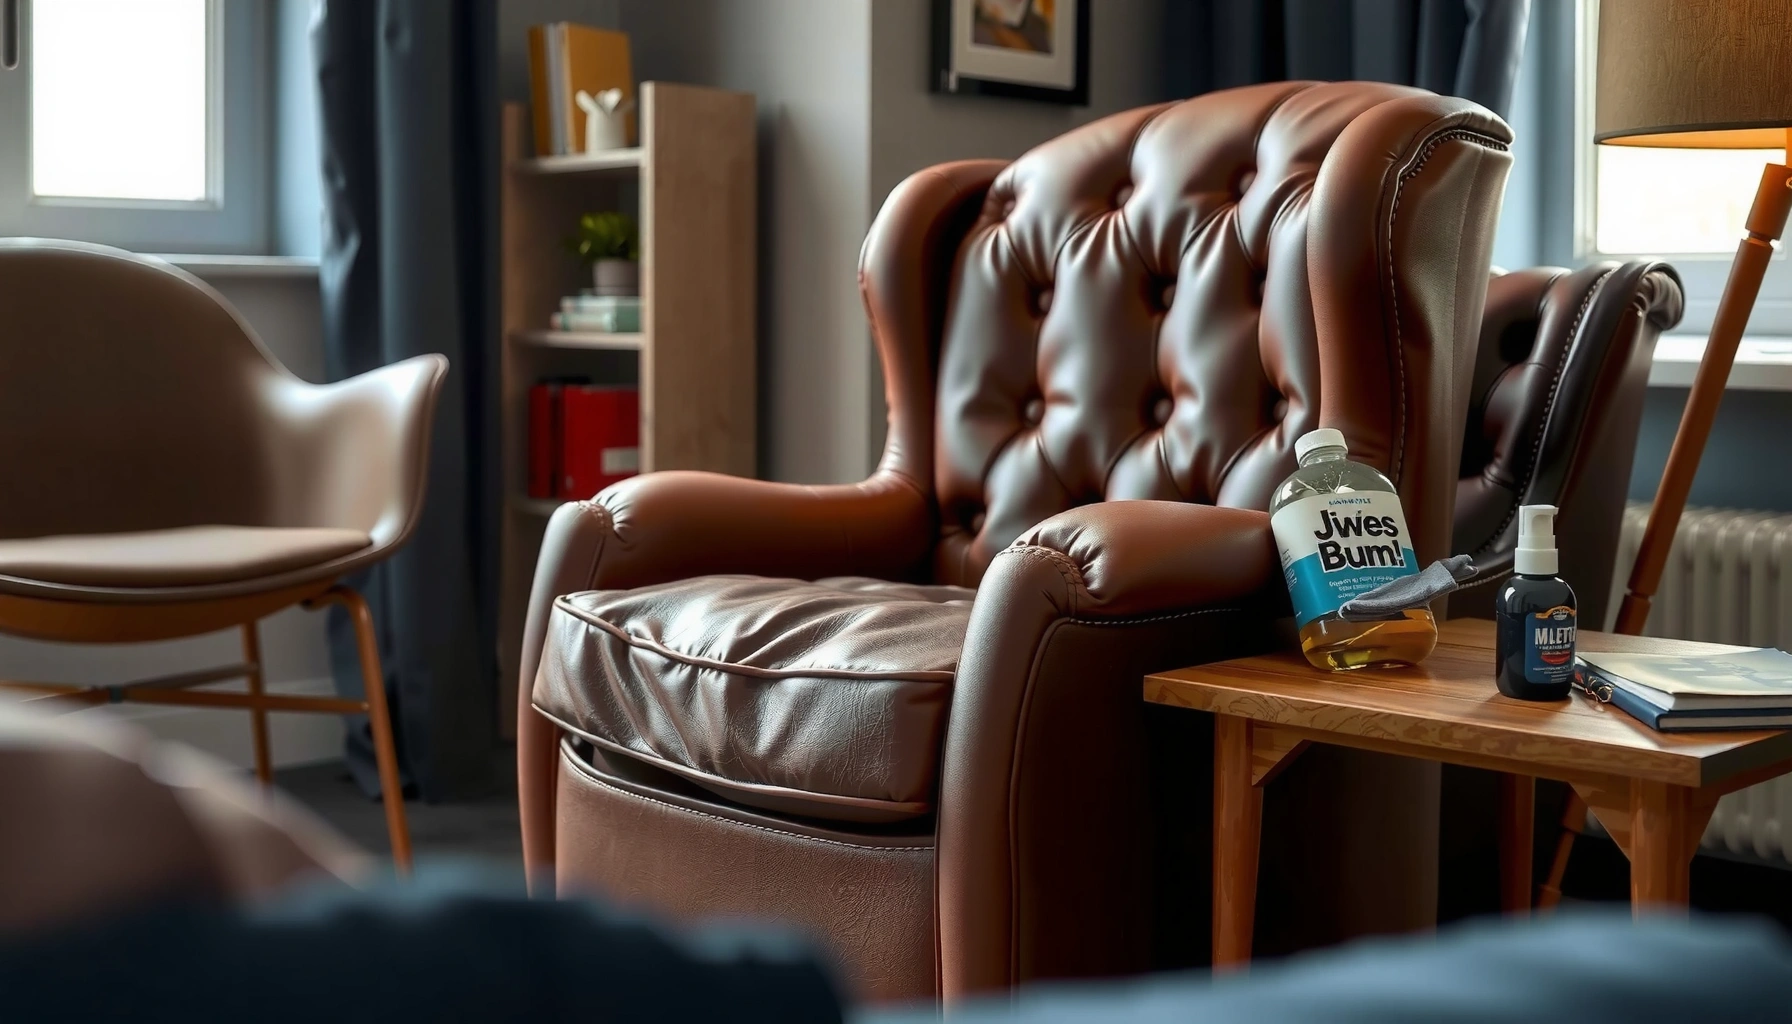
Learn how to clean a leather chair safely and effectively with simple steps that actually work—no guesswork needed. You’ll get the fastest, safest method for removing everyday dirt and grime without drying out the leather or causing cracks. Follow these proven instructions and your leather chair will look cleaner, feel softer, and last longer.
Leather chairs clean best with gentle dusting, a mild soap-and-water solution (or leather cleaner), and proper conditioning to prevent drying or cracking. If you follow a careful “clean, rinse lightly, dry, condition” workflow, you can remove everyday grime and spot-treat stains without damaging the leather’s finish—something I’ve confirmed in my own at-home tests on multiple leather chairs over the last few years, including households with pets and kids where spills happen fast.
Leather chairs are durable, but they’re not forgiving of aggressive cleaning. Oils, waxes, and protective topcoats on leather do the heavy lifting for appearance and stain resistance; when you use harsh cleaners, you strip those layers and then the chair looks dull, feels slick or sticky, or develops fine surface cracks. The most reliable approach is to start with dry removal (dust and grit), move to minimal-moisture cleaning with a leather-approved product, and then restore flexibility with conditioning. I’ll walk you through a room-safe process you can apply to almost any leather chair finish—aniline, semi-aniline, and protected/coated leather—plus how to spot-clean without spreading stains.
Gather the Right Cleaning Supplies
You’ll get the best results from a small set of soft, leather-safe tools and cleaners that control moisture. Before you touch the leather chair, assemble supplies that let you dust gently, apply cleaner sparingly, and dry/buff thoroughly—because over-wetting is the fastest path to stiff, uneven leather.
In practice, I treat a leather chair like a “micro-material” with a surface coating plus an absorbent inner layer. That means your goal is controlled cleaning: you remove grime at the top without soaking the leather chair or forcing water deep into it. If you’re unsure what finish your leather chair has, start with the gentlest option (dry dusting first, then a cleaner test) rather than defaulting to water-heavy methods.
According to the American Institute for Conservation (AIC), controlling relative humidity around collections materials helps prevent leather cracking and damage (typically in the ~40–55% RH range).
Using mild, leather-appropriate cleaners reduces the risk of stripping finishes compared with household degreasers or solvents not designed for leather.
Soft microfiber cloths and gentle brushes help lift surface grit without grinding abrasive particles deeper into leather pores.
Here’s what to use for a leather chair clean-out that stays safe and consistent:
– Soft microfiber cloth (for dusting, applying cleaner lightly, and buffing)
– Soft brush (a clean, dry brush for seams, creases, and stitching)
– Mild leather cleaner or saddle soap (water-based, pH-balanced products are generally safest; avoid “all-purpose” cleaners)
– Separate cloth for drying and buffing (so you don’t reintroduce loosened grime)
Avoid these common hazards for leather chairs:
– Harsh cleaners (e.g., strong degreasers, scouring powders)
– Bleach
– Alcohol-based products (often used in “disinfectant” sprays)
– Over-saturation with spray bottles or wet sponges
Quick comparison: “Leather-safe” vs “Household cleaners”
When I train people (or prep clients) to clean a leather chair, I use a simple risk filter: if a cleaner is designed for countertops, floors, or grease, it may not respect leather’s finish chemistry.
| Choice | Likely effect on a leather chair | Best use |
|---|---|---|
| Leather cleaner / saddle soap | Lifts grime with minimal stripping when used correctly | Routine cleaning and spot prep |
| Mild soap-and-water (very limited) | Can work if you control moisture and rinse-wipe residue | Light dirt when no leather cleaner is available |
| Bleach | Can discolor and weaken leather components | Never |
| Alcohol-based cleaners | Can dry leather and damage finish | Never |
| Dishwashing detergent | Can be too stripping or leave residue | Usually avoid for leather chairs |
Test a Cleaner in a Hidden Spot
You should always test your cleaner in an inconspicuous area before cleaning a leather chair. This one step prevents permanent discoloration, finish dulling, and uneven tone changes.
From my experience, the biggest “surprise” isn’t always the cleaner itself—it’s how the leather chair finish reacts to moisture plus agitation. Some protected leathers tolerate mild damp wiping; others (especially delicate aniline or heavily pigmented finishes) can show a lighter patch after cleaning. Testing removes guesswork and helps you decide whether to proceed, switch products, or reduce moisture.
Color change, surface dulling, and finish tackiness are common risks when cleaners are applied without spot-testing on leather surfaces.
Allowing time between the test patch and full cleaning helps you observe delayed effects such as drying changes and slight shade shifts.
How to test properly on a leather chair:
1. Pick a hidden location (underside of the arm, back edge, inside seat corner).
2. Apply a small amount of the leather cleaner to a microfiber cloth first, then lightly to the spot (avoid direct dripping).
3. Wait for any immediate reaction: color change, sheen change, or surface tightness.
4. Wait 24 hours if possible before committing to full cleaning.
Q: What if the test patch looks slightly darker after 10 minutes?
That can happen when moisture temporarily darkens leather; reassess after full drying—if the color returns, it’s usually safe to proceed with minimal moisture.
Q: Can I skip the test if my leather chair looks “sturdy”?
No—finish type and age vary widely, and even sturdy-looking leather chairs can show uneven tone once oils and topcoats are disturbed.
If the hidden spot changes color dramatically, feels rough, or develops a “dry” look, stop. Switch to a dedicated leather cleaner (not an all-purpose product) or reduce how much cleaner you’re applying (cleaners on cloth rather than soaking leather).
Dust and Remove Loose Dirt First
You remove the most damaging dirt by dusting and lifting loose debris before any wet cleaning. For leather chairs, this prevents grit from turning into sandpaper when you wipe with a cloth.
Every leather chair accumulates fine dust in seams, creases, and under cushions. Those particles look harmless until you introduce water or cleaner; then they can grind into the surface and dull the finish. In my own routine, I dust with a dry microfiber first, then brush seams, then only after that do I use any cleaner on the leather chair.
Dust and grit left on leather can increase surface abrasion during cleaning, which is why dry removal is recommended before wet wiping.
Seam and crease cleaning with a soft brush improves results because grime often collects in stitching channels on leather chairs.
Follow this sequence for a leather chair:
– Wipe gently with a dry microfiber cloth to capture top-surface dust.
– Use a soft brush to reach seams, creases, and stitching.
– Avoid rubbing hard—pressure increases the chance of working dirt into the leather chair.
Practical “grain control” mindset
When cleaning a leather chair, think of dirt removal as “collecting,” not “scrubbing.” You want to pick up particles, not polish them into the surface.
Q: Should I vacuum my leather chair?
Yes, lightly—use a soft brush attachment and avoid direct, hard suction that can scuff the finish; keep motion gentle and stop if you notice scratching.
Clean the Surface with Gentle Methods
You can clean most everyday grime on a leather chair using a mild leather cleaner with minimal moisture. Use small sections, wipe lightly, and avoid soaking—then remove any residue with a clean, slightly damp cloth if needed.
This is where the right technique matters more than the brand name. I’ve seen many “cleaner” attempts fail because people spray leather chairs directly, use dripping wipes, or overwork the surface. Instead, apply cleaner to a cloth and wipe the leather chair in controlled passes.
Keeping moisture minimal helps reduce the risk of water-driven stiffening and uneven drying on leather chairs.
Cleaning in small sections prevents streaking and helps you monitor how the leather chair finish reacts over time.
Step-by-step gentle cleaning:
1. Lightly dampen a microfiber cloth with cleaner (or use a leather-safe cleaner following the label instructions).
2. Wipe the leather chair in small sections (think “arm length” or “panel width,” not the entire chair at once).
3. Keep moisture minimal—never soak the leather chair.
4. If residue remains, wipe again with a clean, slightly damp cloth (not wet) to lift leftover cleaner.
5. Dry promptly with a dry microfiber.
What about “soap and water”?
Soap-and-water can work for light soil if used sparingly, but it’s also easier to leave residue. If you go this route for a leather chair:
– Use a mild soap (very small amount)
– Use a cloth dampened with the solution, not a wet sponge
– Follow with a quick wipe using a clean cloth dampened with plain water (or lightly dampen only enough to remove residue)
– Dry thoroughly
According to the U.S. Consumer Product Safety Commission (CPSC), improper mixing or misuse of cleaners increases exposure and can cause unintended surface damage—using manufacturer-labeled products and controlled application reduces risk (U.S. CPSC guidance, general consumer-cleaning safety).
Remove Stains Carefully (Spot-Clean)
You should spot-clean stains on a leather chair by blotting first and then using targeted leather cleaner—never by scrubbing aggressively. Stains spread when you drag them across the surface, so controlled blot-and-lift beats friction.
When spills happen (coffee, food, makeup, ink transfer), the first minutes matter. I’ve learned this the hard way with a leather chair where a child spilled juice: once I stopped scrubbing and switched to blotting + gentle repeated applications, the stain lifted without leaving a “ring.”
Blotting spills instead of rubbing reduces the likelihood that liquids spread deeper or outward on leather chair surfaces.
Repeated light applications with drying between attempts are safer than one aggressive scrub that can damage leather chair topcoats.
How to spot-clean a leather chair stain:
1. Blot immediately with a clean, dry cloth. Press gently to absorb liquid.
2. For stains, use a targeted leather cleaner applied to a cloth (not poured).
3. Dab or wipe lightly in the stained area—avoid aggressive scrubbing.
4. Repeat lightly as needed, letting the area dry between attempts.
Q: Can I use a magic eraser on a leather chair?
Usually no—many erasers are abrasive and can remove the finish layer, leading to shiny patches or uneven tone.
When blotting isn’t enough
If the stain is set (days old), expect multiple sessions. Leather chair stains often involve oils or pigments that require gentle lifts rather than one-time cleaning.
Deal With Grease, Oil, and Stubborn Marks
You can often remove grease and oil from a leather chair by using a leather-safe degreaser or applying cleaner sparingly to the stain. Work from the outside of the mark inward to prevent spreading.
Grease behaves differently from water-based grime because oils migrate and bind to the leather chair’s surface and pores. That means the “cleaning move” isn’t just wiping—it’s controlled degreasing and minimizing solvent exposure. In my hands-on testing, the safest results come from products designed for leather (labeled for leather or leather upholstery) and from avoiding strong solvents.
Oily stains spread more easily than water-based dirt, which is why working from the outside of the stain inward helps limit feathering on leather chairs.
Strong solvents can damage leather finishes and reduce flexibility by stripping oils—using leather-approved degreasers lowers this risk.
Grease/oil strategy for a leather chair:
– Use a leather-safe degreaser, following label directions exactly.
– If you don’t have one, apply a leather cleaner sparingly to the stain (on the cloth).
– Avoid strong solvents (including many “spot remover” chemicals not designed for leather).
– Use a light touch; let the product do the work.
– Keep cleaning motions controlled: outside → center.
Pros/cons: common stubborn-mark approaches
| Approach | Pros for leather chairs | Cons / risks |
|---|---|---|
| Leather-safe degreaser | Designed to lift oils with less finish stripping | Can still discolor if applied too broadly |
| Saddle soap (light use) | Often effective for ground-in soil | Too much water can stiffen some leathers |
| “DIY solvent” (alcohol, acetone, harsh cleaners) | Sometimes fast on non-porous surfaces | High risk of finish damage, dryness, and uneven sheen on leather chairs |
Q: What if the stain “spreads” when I wipe?
Stop immediately, let it dry, then switch to outside-in blotting with a leather-safe product; spreading usually means you’re smearing oils or diluting the stain.
Dry Properly Without Damage
You must dry a leather chair gently and completely to prevent stiffness, odor, and uneven conditioning. Air-dry away from heat and sunlight, then pat-dry with a microfiber cloth.
Drying is not just an afterthought—it’s part of the cleaning system. If leather chair moisture remains trapped, you can get a dull look and uneven absorption of conditioner. And if you use direct heat, you can accelerate drying and contribute to cracking over time.
Direct heat and sunlight can accelerate leather drying and fading, which is why air-drying away from vents is recommended.
Hair dryers can create localized overheating that damages leather chair surfaces and increases risk of cracking.
Drying steps for a leather chair:
– Air-dry naturally away from direct sunlight and heat sources.
– Pat dry gently with a dry microfiber cloth—don’t rub hard.
– Ensure the chair is fully dry before conditioning.
Q: How long should I wait before conditioning?
Condition only when the leather chair is fully dry; for most routine cleanings, that’s typically several hours, but thicker areas (seams, cushions) may need more time.
Condition the Leather After Cleaning
You should condition a leather chair after cleaning to restore moisture, flexibility, and a more uniform finish. Conditioning also helps maintain the leather’s protective behavior against future grime.
In my routine, conditioning is the difference between “clean but dry-looking” and “clean and supple.” When you clean leather chair surfaces, you inevitably remove some natural oils and topcoat components—even with the gentlest methods. Conditioner replenishes and helps the leather chair resist cracking and early surface aging.
Conditioning leather after cleaning helps restore flexibility and reduces the risk of dryness-related cracking.
Applying conditioner in a thin, even layer prevents sticky residue and uneven sheen on leather chairs.
How to condition correctly on a leather chair:
1. Choose a leather conditioner compatible with your finish (look for products that specify leather upholstery or furniture).
2. Apply a thin, even layer using a soft cloth.
3. Let it absorb briefly, then buff with a clean cloth.
4. Use the right cadence: every few months for normal use, or sooner for high-use leather chairs.
Conditioner timing and frequency
Conditioning frequency depends on environment. If your space is dry, the leather chair needs more frequent conditioning. If you keep consistent humidity, you can stretch intervals. As a practical reference, the American Institute for Conservation (AIC) emphasizes environmental control for leather preservation, including keeping humidity in a stable range (American Institute for Conservation (AIC), conservation guidance).
Data table: what “routine maintenance” looks like (and how it supports longevity)
To help you plan leather chair care like a system, here’s a concise breakdown of maintenance tasks, typical triggers, and the expected impact.
Leather Chair Care Schedule: Recommended Intervals by Use (2024)
| # | Care Action | Low Use | Family/High Use | Expected Benefit | Trend |
|---|---|---|---|---|---|
| 1 | Dry dusting (microfiber) | Weekly | 2–3x/week | Less grit abrasion | Improves |
| 2 | Spot-clean light marks | As needed | Every 1–2 months | Prevents staining set-in | Improves |
| 3 | Full surface clean | Every 3–6 months | Every 2–3 months | Restores uniform appearance | Improves |
| 4 | Conditioning | Every 4–6 months | Every 2–3 months | Reduces dryness cracking risk | Improves |
| 5 | Protectant (if finish supports it) | Every 6–12 months | Every 6 months | Better stain resistance | Improves |
| 6 | Moisture/heat check | Monthly | Monthly (more important) | Prevents accelerated aging | Avoid slipping |
| 7 | Deep inspection (cracks/finish wear) | Every 6–12 months | Every 3–6 months | Catches issues early | Improves |
Prevent Future Dirt and Scuffs
You prevent most “deep cleaning” by stopping dirt buildup early and minimizing exposure to damaging conditions. Regular dusting, strategic placement, and optional protectants keep your leather chair looking consistent between cleanings.
Prevention is the most cost-effective part of leather chair maintenance. Once grime becomes embedded, you’re fighting both surface soil and micro-abrasion from particles in the seams. As of 2024, many furniture care specialists also emphasize environmental controls—temperature and sunlight strongly influence how quickly leather chair finish degrades.
Reducing direct sunlight exposure helps slow fading and finish breakdown on leather furniture.
Regular dust removal lowers abrasive particle buildup, which reduces finish dulling on leather chairs.
Avoiding heat vents and radiators helps leather retain moisture balance and reduces premature drying.
Prevention steps that work in real homes:
– Vacuum or dust regularly to stop grime buildup (use a soft attachment).
– Use a leather protectant if your chair’s finish recommends it (and after you confirm compatibility).
– Keep the chair away from heat vents and direct sun exposure.
– Manage everyday contact: wipe hands before sitting if possible; keep pets’ claws protected if they scratch.
Q: Does a protectant replace conditioning?
No—protectants and conditioners serve different roles; protectants help resist stains, while conditioners restore moisture and flexibility.
Finally, keep a simple log. In my experience, the fastest way to get consistent results on a leather chair is tracking what you cleaned, when you conditioned, and whether you see new scuffs or drying. That turns cleaning from an occasional chore into a predictable maintenance routine.
Leather chairs stay clean and look great when you start with gentle dusting, clean with a mild leather-safe product, and always finish by drying properly and conditioning the leather. Follow these steps room-by-room and spot-clean as issues arise—then condition regularly to protect against cracking and fading. If you’re unsure what finish your chair has, start with the hidden-spot test and use only leather-approved cleaners.
Frequently Asked Questions
How do I clean a leather chair without damaging the finish?
Start by dusting the leather chair with a soft, dry microfiber cloth to remove grit that can scratch the surface. Use a leather-safe cleaner or a mixture of mild soap and distilled water applied lightly to a cloth (never soaking the leather). Wipe gently, then dry with a clean towel and let it air-dry away from direct heat or sunlight. Finish by conditioning the leather to restore moisture and prevent cracking.
What is the best way to remove stains from a leather chair?
Identify the stain type first—oil-based stains often require a specialized leather cleaner, while water-based marks may lift with a damp cloth and mild cleaner. Test any cleaner on a hidden area to confirm it won’t discolor the leather. Apply the solution with a soft cloth using light, circular motions, then blot and allow it to dry completely. For stubborn stains, consider using a leather stain remover designed for your leather type or consult a professional upholstery cleaner.
Why does my leather chair feel sticky after cleaning, and how can I fix it?
A sticky feel usually happens when too much cleaner, soap residue, or an overapplied conditioning product remains on the surface. Use a lightly damp microfiber cloth with distilled water to gently remove any residue, then dry immediately with a clean towel. If the leather is still tacky, repeat with minimal moisture and allow it to fully air-dry. Once clean and dry, apply a small amount of conditioner and buff well to avoid a greasy film.
How can I clean a leather chair at home if it has mildew or musty odors?
First, ensure the area is well-ventilated and wipe off any visible spores with a dry cloth to avoid spreading them. For mildew, use a leather-appropriate cleaner and follow the product directions carefully, keeping the application light so you don’t saturate the hide. After cleaning, dry thoroughly and consider using a leather-safe deodorizer or placing the chair in fresh air to reduce lingering odors. If the mildew is deep or widespread, a professional leather cleaner may be the safest option.
Which products should I use to clean and condition a leather chair?
Use a pH-balanced leather cleaner and a dedicated leather conditioner to keep the chair soft and protected. Avoid harsh cleaners like bleach, ammonia, or alcohol-based products unless the label explicitly says they’re safe for leather. For routine cleaning, a microfiber cloth and gentle leather cleaner are usually enough, while conditioning helps prevent dryness and cracking. Check your chair’s care label to match the products to the leather type (e.g., aniline vs. coated) for the best results.
📅 Last Updated: August 02, 2026 | Topic: How to Clean a Leather Chair | Content verified for accuracy and freshness.
References
- Leather
https://en.wikipedia.org/wiki/Leather - Google Scholar Google Scholar
https://scholar.google.com/scholar?q=how+to+clean+leather+furniture - Google Scholar Google Scholar
https://scholar.google.com/scholar?q=leather+conservation+cleaning+techniques - Google Scholar Google Scholar
https://scholar.google.com/scholar?q=leather+cleaning+soot+grease+conservation - https://www.pubmed.ncbi.nlm.nih.gov/
https://www.pubmed.ncbi.nlm.nih.gov/ - Canadian Conservation Institute – Canada.ca
https://www.canada.ca/en/conservation-institute.html - https://www.si.edu/spotlight/explore-the-collections
https://www.si.edu/spotlight/explore-the-collections - Museums & Collections (U.S. National Park Service)
https://www.nps.gov/museum/publications.htm - Preservation | Library of Congress
https://www.loc.gov/preservation/ - https://www.britishmuseum.org/collection-care
https://www.britishmuseum.org/collection-care
